Four Ways to Handle a Broken Sewage Pipe

Youmna Rehman

A broken sewage pipe is more than just an inconvenience—it’s a full-blown plumbing emergency that can cause extensive property damage, unsanitary conditions, and costly repairs if not handled promptly. Whether it’s a small leak or a catastrophic rupture, understanding the causes, solutions, and preventive measures can make all the difference. Sewer pipes can fail due to aging, tree root invasion, shifting soil, corrosion, or unexpected physical damage. Whatever the reason, a swift and effective response is crucial to prevent contamination and restore your plumbing system to proper working order.


In this guide, we’ll explore four practical ways to handle a broken sewage pipe, walking you through each approach step by step. We’ll discuss traditional excavation, trenchless repairs, spot repairs, and temporary DIY fixes that can help mitigate damage until professional assistance is available. With expert recommendations, real-world examples, and actionable advice, you’ll be well-equipped to handle any sewer pipe disaster with confidence.


Repairing a Sewer Line Without Digging Using Trenchless Pipe Repair


Understanding the Causes of a Broken Sewage Pipe

Before diving into repair options, it’s essential to recognize the factors that lead to pipe failure. Age is one of the most common culprits—older sewer pipes made of clay, cast iron, or Orangeburg materials are prone to deterioration over time. Tree roots seeking moisture can infiltrate small cracks and expand, causing significant blockages and pipe fractures. Shifting soil, seismic activity, or heavy vehicle traffic over underground lines can lead to stress fractures and misalignment. In some cases, corrosive chemicals, grease buildup, or flushing non-degradable materials down the drain can accelerate pipe degradation, eventually leading to a break.


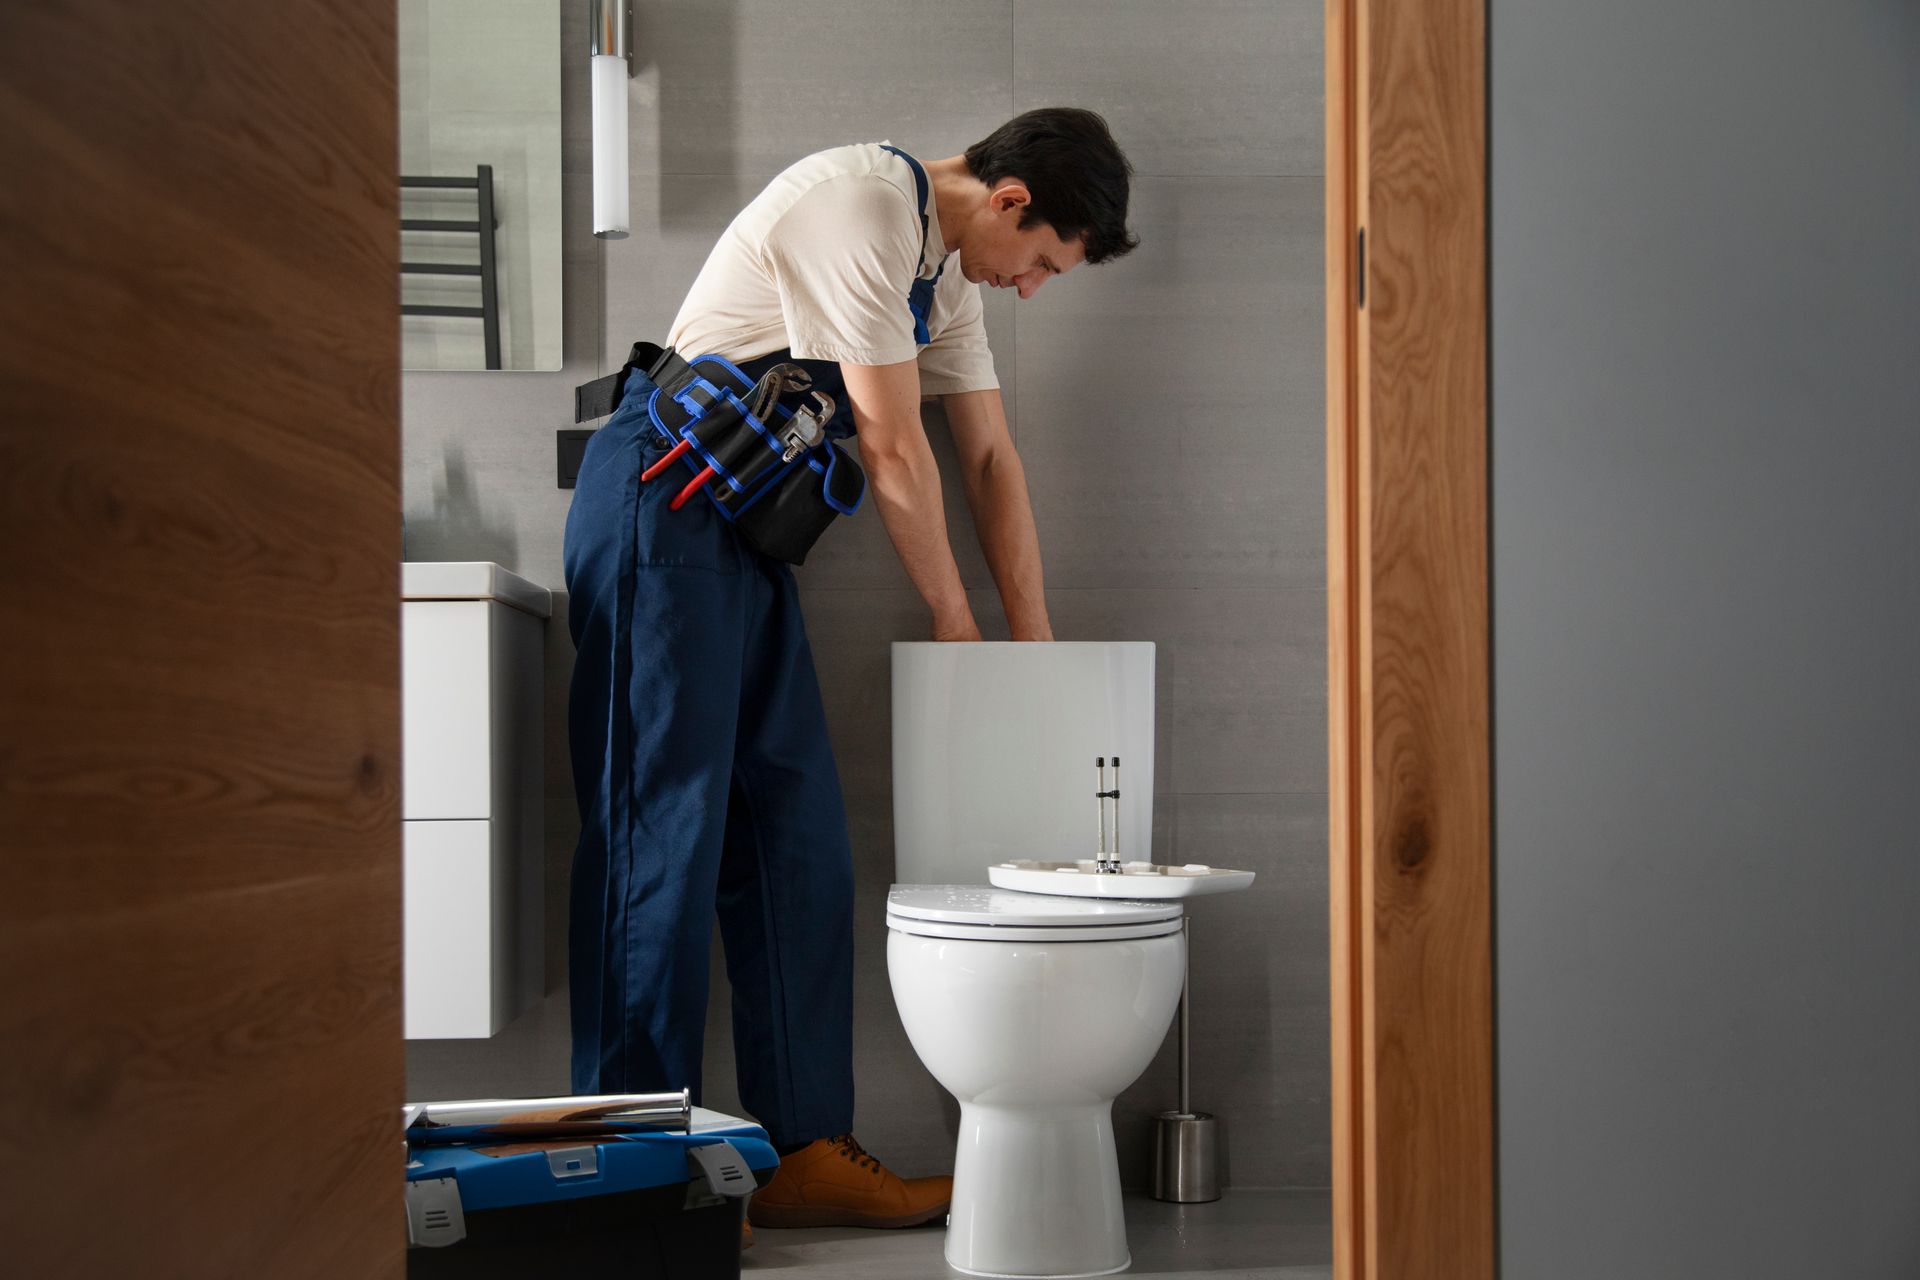
Solution #1: Traditional Excavation Repair

For severely damaged pipes, traditional excavation remains one of the most reliable solutions. This method involves digging a trench to access and replace the broken sewer line entirely. Although it’s labor-intensive and can be disruptive to landscaping, driveways, or sidewalks, it ensures a brand-new, long-lasting pipeline.


The process begins with a thorough inspection using a sewer camera to pinpoint the exact location and extent of the damage. Once identified, professional plumbers excavate the area, remove the broken section, and install a new pipe—typically made of durable materials like PVC or HDPE. After securing the connections, the trench is backfilled, and the area is restored as much as possible.

While excavation provides a permanent fix, it does come with risks. The cost of labor and restoration can be significant, particularly if structures like patios, roads, or gardens need to be torn up. Additionally, the time required to complete the repair may be longer compared to modern trenchless alternatives. However, for pipes that are severely misaligned, collapsed, or beyond repair, excavation is often the best solution.


Solution #2: Trenchless Pipe Repair

For homeowners looking to avoid the destruction associated with traditional excavation, trenchless pipe repair is a cutting-edge alternative. This method allows professionals to repair or replace sewer lines with minimal digging, preserving your yard and infrastructure while ensuring a fully functional pipe system.

Trenchless repair techniques include pipe lining and pipe bursting. Pipe lining, also known as cured-in-place pipe (CIPP) repair, involves inserting a flexible resin-coated liner into the existing damaged pipe. Once expanded and hardened, this liner creates a seamless new pipe within the old one, sealing any cracks or leaks. Pipe bursting, on the other hand, involves pulling a new pipe through the existing one while simultaneously fracturing the old pipe outward. This method effectively replaces the sewer line without requiring extensive excavation.


Trenchless repairs are faster, less invasive, and often more cost-effective than traditional excavation. However, they may not be suitable for pipes with extreme misalignment or complete collapse. Consulting with a professional plumber to assess feasibility is essential before proceeding with this option.


Solution #3: Spot Repairs for Localized Damage

Sometimes, a sewage pipe doesn’t require full replacement—minor cracks or leaks can be addressed with spot repairs. This approach is ideal for localized damage, such as a small fracture or a specific section affected by tree root intrusion.


Spot repairs typically involve cutting out the damaged portion of the pipe and replacing it with a new segment. For minor cracks, epoxy resins or sewer sleeves can be used to reinforce the existing structure, effectively sealing the damaged area. These repairs are quicker and more affordable than full replacements, making them a preferred option when the rest of the sewer line is still in good condition.

However, spot repairs are not always a long-term fix. If the pipe has underlying issues such as widespread deterioration or multiple weak points, addressing only one section may lead to recurring problems in the future. Therefore, a thorough inspection is necessary to determine if a spot repair is a viable solution.


Solution #4: Temporary DIY Fixes to Mitigate Damage

While waiting for professional assistance, homeowners can take temporary measures to reduce the immediate impact of a broken sewer pipe. These quick fixes won’t solve the problem entirely but can help prevent further damage and contamination.


Applying waterproof tape or a rubber patch to small leaks can provide a temporary seal. Epoxy putty is another short-term solution that hardens over cracks, stopping sewage from leaking until a permanent repair is made. If the break is underground, diverting water away from the affected area can minimize further soil erosion and structural damage.


It’s important to remember that these DIY solutions are only stopgap measures. Attempting to fix a major sewer line issue without professional help can lead to bigger problems down the road. As soon as a break is detected, scheduling an inspection and repair with a licensed plumber should be the priority.


Preventive Measures to Avoid Future Sewer Pipe Breaks

Prevention is always better than repair, and taking proactive steps can help extend the lifespan of your sewer pipes. Regular maintenance, including professional inspections and hydro-jetting to clear debris, can prevent blockages and early-stage cracks from worsening. Avoiding the disposal of grease, harsh chemicals, and non-biodegradable materials down drains can also protect the pipe’s structural integrity.

For properties with trees near sewer lines, installing root barriers or opting for slow-growing tree species can reduce the risk of root intrusion. Additionally, monitoring for warning signs such as slow drains, foul odors, or wet patches in the yard can help catch problems early before they escalate into costly repairs.


Conclusion: Choosing the Right Approach for Your Situation

Dealing with a broken sewage pipe is never a pleasant experience, but knowing your options can make the process more manageable. Traditional excavation remains a foolproof solution for severely damaged pipes, while trenchless repair offers a modern, less invasive alternative. Spot repairs provide quick fixes for minor issues, and temporary DIY solutions can help mitigate damage while awaiting professional intervention.


By understanding the causes of sewer line damage, selecting the appropriate repair method, and taking preventive measures, homeowners can protect their plumbing systems and avoid future crises. When in doubt, consulting with an experienced plumber is the best way to ensure a durable and effective solution. A well-maintained sewer system keeps your home safe, functional, and free from the headaches of unexpected plumbing disasters.

Bathroom Water Hammer Explained and How to Stop the Loud Banging?
by Hadi Masood 30 January 2026
Unpack bathroom water hammer—causes like sudden valve closures and high pressure—and learn proven fixes like arrestors and PRVs for silent pipes.
by Hadi Masood 30 January 2026
Nothing disrupts a morning routine like a shower turning icy midstream, leaving you shivering and frustrated. This common issue stems from imbalances in your home's plumbing and heating systems, often triggered by everyday usage patterns or overlooked maintenance. Understanding the root causes empowers homeowners to diagnose problems swiftly and implement lasting fixes. This guide delves into the mechanics behind sudden temperature drops, explores diagnostic techniques, and outlines prevention strategies to keep your showers consistently warm. Common Causes of Sudden Cold Showers Sudden cold water in showers typically arises from water heater malfunctions or plumbing disruptions. Sediment buildup in tank-style heaters insulates the burner or element, causing inconsistent heating—over time, minerals from hard water accumulate at the bottom, reducing efficiency and leading to temperature fluctuations during peak demand. Similarly, a failing dip tube in the heater fails to direct cold incoming water to the top for proper mixing, so hot water depletes faster than it replenishes. High demand elsewhere in the home exacerbates this; simultaneous use of washing machines, dishwashers, or multiple faucets dilutes hot water supply. Pressure imbalances from clogged aerators or faulty mixing valves can also shift temperatures abruptly. In larger households, undersized heaters struggle with back-to-back usage, mimicking a sudden cold blast. Diagnosing Water Heater Problems Start diagnosis by checking the water heater's thermostat setting—most should hover between 120 and 140 degrees Fahrenheit for safety and performance. Listen for unusual noises like popping or rumbling, hallmarks of sediment; if present, a professional flush resolves it. Test the heating element in electric models with a multimeter for continuity, or inspect the gas burner for a weak blue flame indicating dirty components. Expansion tanks play a crucial role here—they mount on the cold water inlet to absorb thermal expansion pressure, preventing relief valve drips that signal overpressure and potential cold surges. Without one, especially in closed-loop systems, heaters cycle inefficiently, dropping output temperatures. Monitor the pressure relief valve; frequent activation points to expansion issues. For tankless units, error codes on the display often pinpoint flow sensors or igniters as culprits. Identifying Plumbing and Pipe Issues Plumbing beyond the heater often hides the problem. Reverse flow from check valves or backflow preventers can introduce cold water into hot lines, especially if sediment clogs them. Undersized pipes struggle with volume, causing pressure drops that chill the stream. Air locks from recent repairs trap bubbles, disrupting flow until purged by running all hot taps sequentially. Leaky fixtures upstream siphon hot water unnoticed, leading to sudden cools. Inspect for hidden corrosion in galvanized pipes, which narrows passages over time. All City Plumbers emphasize tracing lines with a pipe camera for blockages invisible to the eye, revealing scale or debris that starves the showerhead. The Impact of Water Pressure Fluctuations Pressure swings directly affect shower temperature consistency. Municipal supply variations, like nighttime boosts or peak-hour drops, strain home systems. Faulty pressure regulators fail to stabilize incoming force, overwhelming the heater. Clogged showerheads or aerators restrict hot flow while cold rushes in unchecked. In multi-story homes, gravity amplifies upper-floor issues, where thinner pipes can't maintain velocity. Install a whole-house pressure gauge to baseline readings—ideal is 50-80 PSI. Fluctuations beyond this trigger mixing valve failures, designed to blend water but prone to wear. Step-by-Step Fixes for Cold Showers Addressing the issue begins with simple resets. Flush the water heater by attaching a hose to the drain valve and running it until clear, refilling slowly to avoid air pockets. Clean aerators by soaking in vinegar overnight, then reinstall for restored balance. Insulate exposed pipes with foam sleeves to minimize heat loss in unheated spaces. For persistent problems, replace the dip tube or upgrade to a higher-capacity heater. Adding or servicing expansion tanks restores pressure equilibrium. Test post-fix by timing recovery—hot water should resume within 30 seconds of demand spikes. Preventive Maintenance Strategies Prevention hinges on routine care. Annually flush tank heaters and descale tankless ones to banish sediment. Set programmable schedules to avoid simultaneous high-demand usage, staggering laundry and showers. Install low-flow fixtures that ease heater load without sacrificing pressure. Prepare your plumbing before vacations by shutting off the water main, draining lines, and setting the heater to pilot mode—this averts stagnant water growth and pressure builds during absence. Water softeners combat mineral buildup in hard-water areas, extending system life. Upgrading for Long-Term Reliability Consider modern solutions like on-demand tankless heaters, which heat water instantly without standby losses, eliminating cold-start woes. Hybrid heat pump models offer efficiency gains up to 300 percent. Whole-home recirculation pumps deliver instant hot water, minimizing waste and temperature dips. Smart thermostats monitor usage patterns, adjusting preemptively. Pair with pressure-balancing shower valves that auto-compensate for fluctuations, ensuring steady warmth. Conclusion Sudden cold showers disrupt more than comfort—they signal underlying issues that, if ignored, escalate to costly repairs. By pinpointing causes from heater sediment to pressure imbalances and embracing proactive maintenance, you safeguard reliable performance year-round. Implementing these strategies not only restores blissfully warm showers but also boosts energy efficiency and system longevity for peace of mind.
How To Install ADA-Compliant Bathroom Fixtures?
by Hadi Masood 28 January 2026
Learn step-by-step how to install ADA-compliant bathroom fixtures for accessibility, including toilets, sinks, grab bars, and pro tips for compliance and safety.
What Are Some Of The Best Layouts For Dual Sink Bathrooms?
by Hadi Masood 28 January 2026
Explore top dual sink bathroom layouts: linear, island, L-shaped, and more, with plumbing, lighting, storage, and pro design tips.
How to Repair Leaking Vanity Drain Assemblies (Complete Guide)
by Hadi Masood 26 January 2026
Complete guide to fixing leaking vanity drain assemblies: disassembly, washer replacement, reassembly, testing, and pro upgrade tips.
How to Fix Intermittent Toilet Flush Failures (Complete Guide)
by Hadi Masood 26 January 2026
Fix intermittent toilet flush failures: troubleshoot flappers, venting, pressure, and clogs with step-by-step repairs for reliable performance.
How to Prevent Mineral Rings in Toilet Tanks (Simple Solutions)
by Hadi Masood 25 January 2026
Prevent mineral rings in toilet tanks with vinegar soaks, softeners, liners, and maintenance tips for clean, efficient performance.
Why Low-Flow Toilets Still Clog (Causes and Easy Fixes)
by Hadi Masood 25 January 2026
Why low-flow toilets still clog: causes like waste habits, buildup, venting, and fixes for better performance without wasting water.
Bathroom Remodeling Plumbing Mistakes to Avoid For Costly Repairs
by Hadi Masood 23 January 2026
Avoid costly bathroom remodeling plumbing mistakes like undersized lines, poor venting, and waterproofing errors—essential tips for flawless results.
Why Your Toilet Sweats in Summer (And How to Stop It)
by Hadi Masood 23 January 2026
Uncover why toilets sweat in summer due to condensation, plus fixes like insulation, ventilation, and pro tips to prevent mold and slips.