Is it Worth it to Repair a Garbage Disposal?

Youmna Rehman

A garbage disposal is one of those kitchen appliances that you don’t think much about—until it stops working. Whether it starts making strange noises, refuses to turn on, or emits a foul smell, a malfunctioning disposal can disrupt your daily kitchen routine. When this happens, you face an important question: should you repair it or replace it altogether? Understanding the factors that influence this decision can help you save money, time, and frustration. Let’s dive into whether repairing your garbage disposal is worth it and what you should consider before making your final choice.


Common Issues That Affect Garbage Disposals

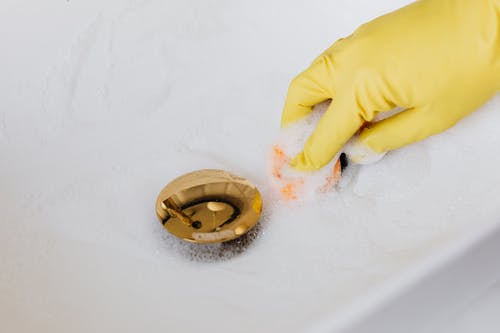
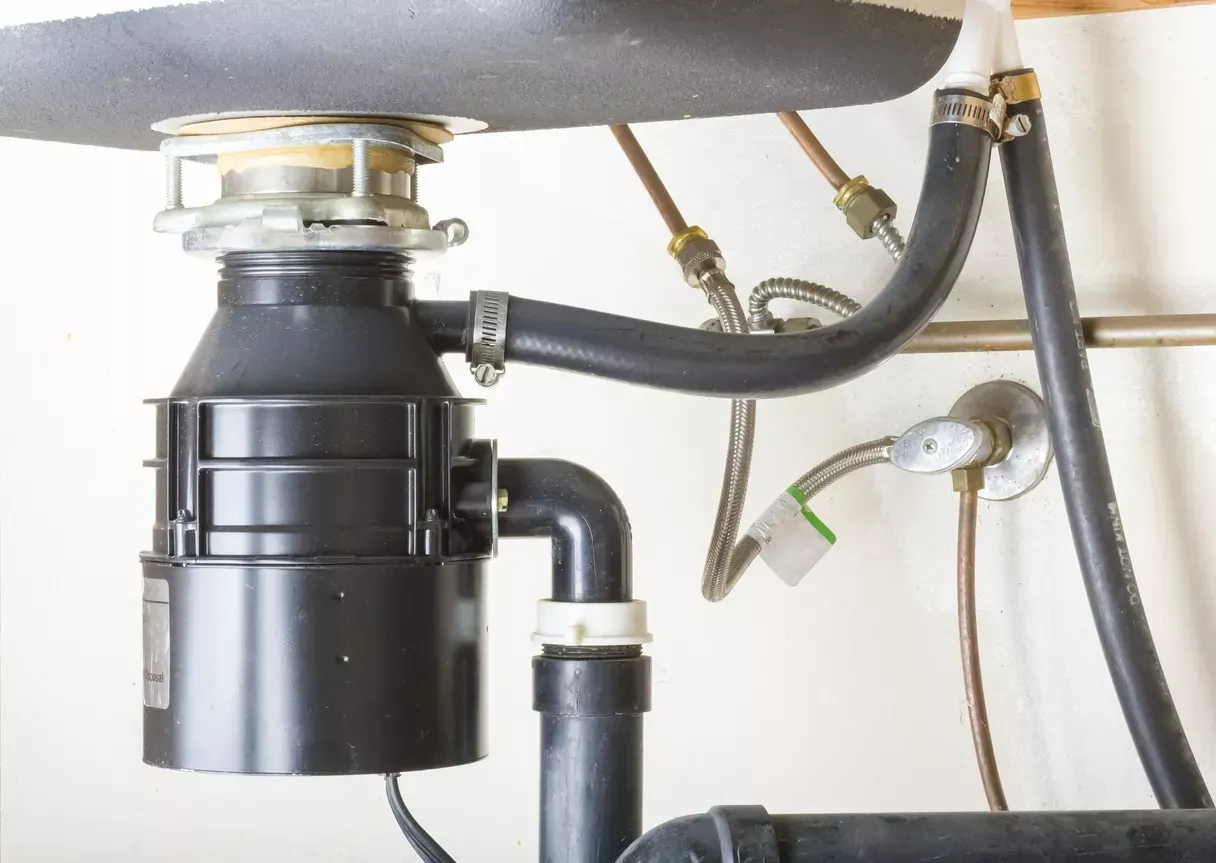
Garbage disposals are built to last, but they aren’t invincible. Over time, they may develop issues that impact performance. Some of the most frequent problems include:

  • Jamming: Foreign objects like silverware, bones, or fibrous foods can clog the blades, making the unit stop working.
  • Leaks: A garbage disposal can develop leaks due to worn-out seals or cracks in the casing.
  • Strange Noises: Grinding, rattling, or humming noises may indicate loose or broken components.
  • Clogs: Food waste and grease buildup can block the drain, leading to slow water flow.
  • Failure to Turn On: If the unit won’t power on, the issue might be electrical, such as a tripped breaker or a faulty switch.

Each of these problems has different repair complexities and costs, which will influence whether fixing the unit is a good investment.


Cost Comparison: Repair vs. Replacement

One of the first considerations when deciding whether to repair a garbage disposal is cost. In general, minor fixes like unclogging, resetting, or tightening a loose component may only cost $50–$150 if you hire a professional. However, more severe issues, such as motor failure or extensive leaks, can push the repair costs closer to $200–$300.

A new garbage disposal, on the other hand, typically costs between $100 and $350, depending on the brand, power, and features. Installation fees can add another $100–$200 if you hire a plumber. If the repair costs approach or exceed half the price of a new unit, replacement may be the more cost-effective choice.


Age of Your Garbage Disposal: A Key Factor

The lifespan of a garbage disposal ranges from 8 to 15 years, depending on usage and maintenance. If your unit is approaching the end of its expected life, repairing it might not be worth it. Even if you fix one issue, another component could fail soon after, leading to repeated expenses. If your disposal is under five years old and has a minor problem, repair is usually the better option.


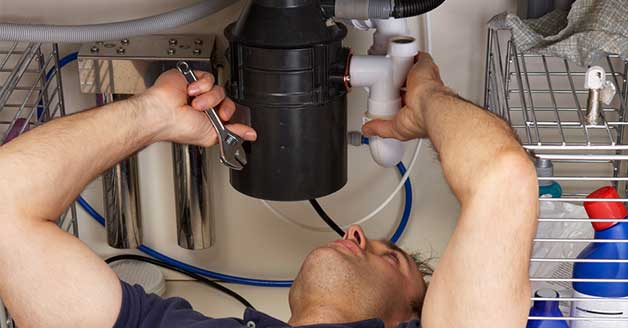
DIY Fixes vs. Professional Repairs

Some garbage disposal issues are easy to fix without professional help. Before calling a plumber, try these troubleshooting steps:

  • Press the Reset Button: Located at the bottom of the unit, the reset button can restore function if the disposal has overheated.
  • Check for Jams: Use an Allen wrench in the bottom slot to manually turn the blades and free a stuck object.
  • Inspect the Power Source: Ensure the unit is plugged in and the circuit breaker hasn’t tripped.
  • Clean the Disposal: Flushing with a mixture of baking soda and vinegar can remove odors and minor clogs.

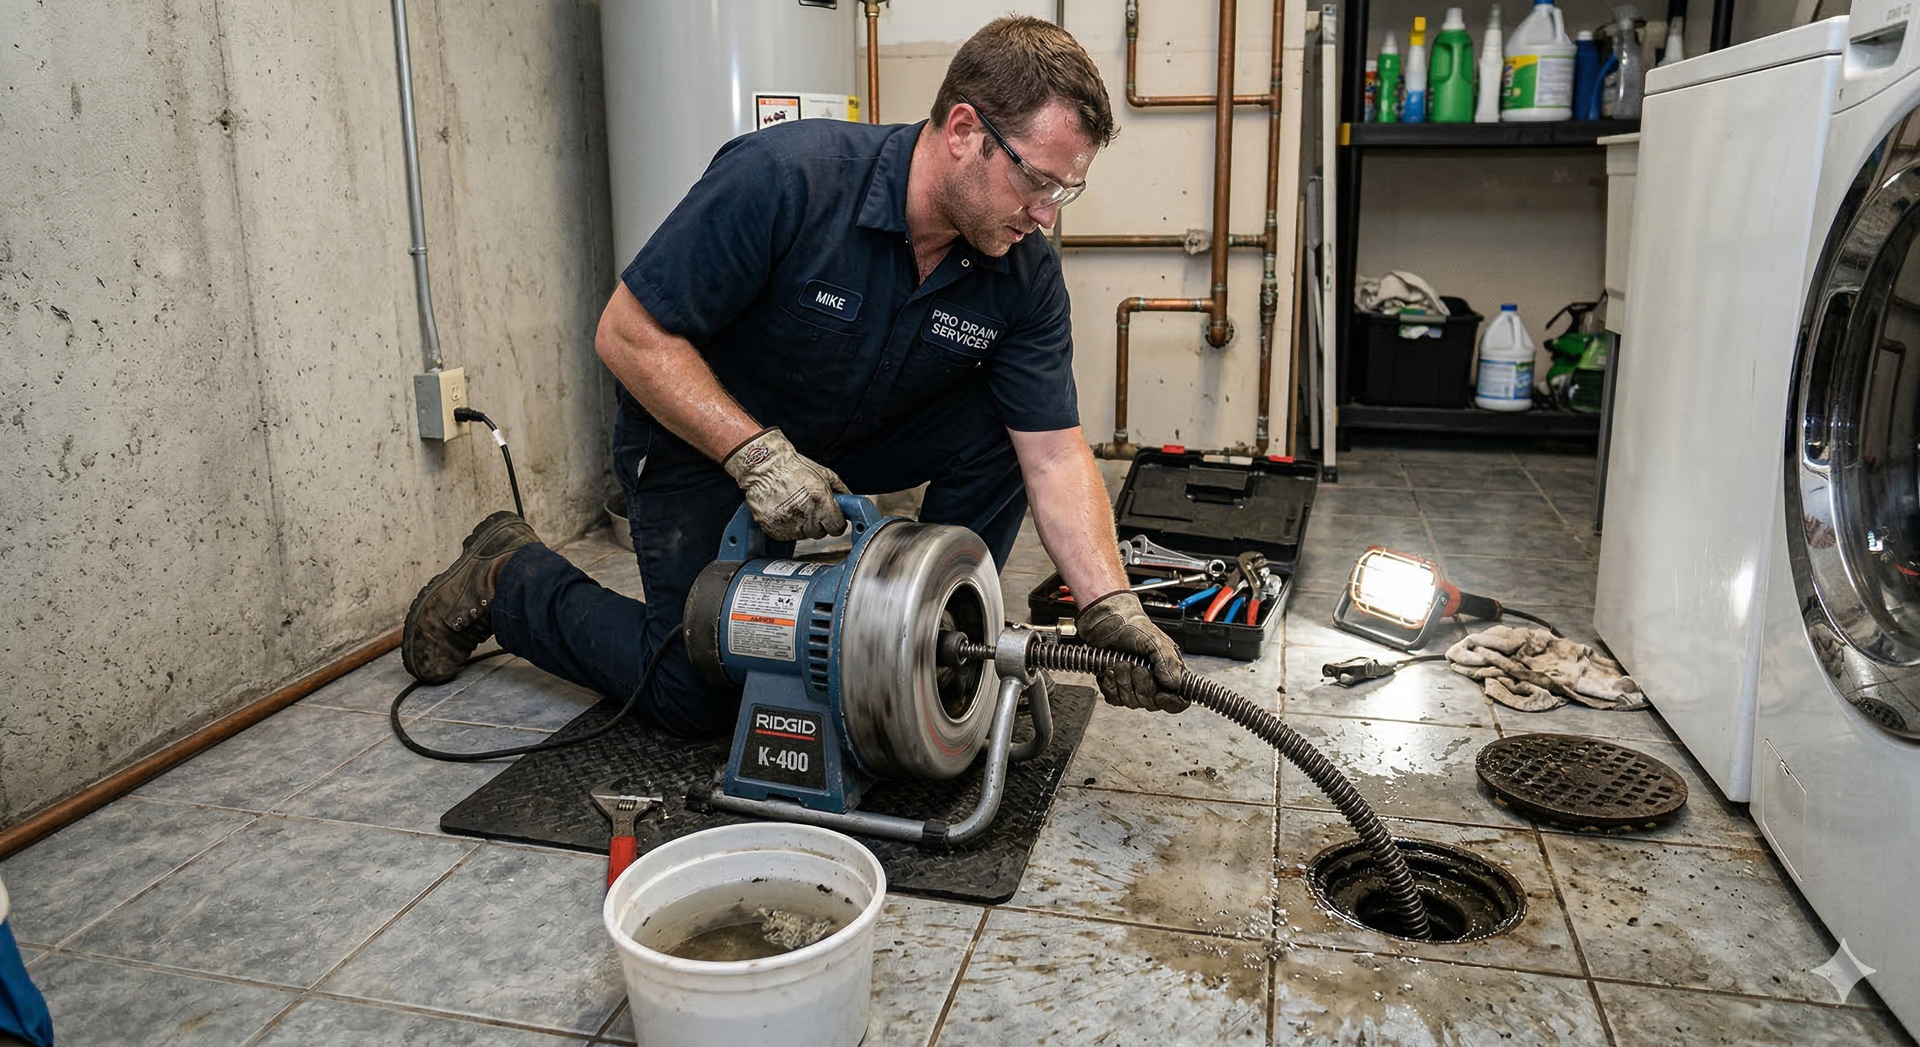
If none of these DIY solutions work, it’s best to call a professional. Attempting complicated repairs yourself can be dangerous and may void any existing warranty.


Risks of Repairing vs. Replacing

Choosing to repair a garbage disposal instead of replacing it comes with potential risks:

  • Recurring Problems: If one part has worn out, others may soon follow, leading to frequent repairs.
  • Hidden Damage: Older disposals might have internal damage that isn’t immediately visible.
  • Wasted Money: Spending on multiple repairs over time can sometimes exceed the cost of a brand-new, efficient unit.

On the flip side, replacing your disposal prematurely means spending money on a new appliance when a simple, affordable repair could have extended the life of your existing unit.


Expert Recommendations: When to Repair and When to Replace

Plumbing professionals generally advise following these guidelines:

  • Repair if:
  • The unit is under five years old.
  • The issue is minor, such as a jam or clog.
  • Repair costs are significantly lower than replacement.
  • Replace if:
  • The unit is over ten years old.
  • Major components like the motor or blades have failed.
  • Frequent repairs are needed, indicating ongoing deterioration.
  • You want to upgrade to a more powerful or quieter model.


Preventive Measures to Extend Garbage Disposal Life

If you opt for repair, or even if you install a new unit, following best practices can extend the life of your garbage disposal:

  • Avoid Hard and Fibrous Foods: Items like bones, corn husks, and coffee grounds can damage the blades and clog the system.
  • Use Cold Water: Running cold water while operating the disposal helps solidify grease, making it easier to grind.
  • Clean Regularly: Flushing with vinegar and baking soda can prevent buildup and odors.
  • Run the Disposal Often: Infrequent use can lead to rust and component degradation.


Conclusion: Making the Right Decision

So, is it worth repairing a garbage disposal? The answer depends on the severity of the issue, the unit’s age, and the repair cost. If the disposal is relatively new and the problem is minor, a repair is a smart and cost-effective choice. However, if the unit is old and experiencing frequent breakdowns, replacement is the better long-term investment. Understanding the signs of failure and knowing when to call a professional will help you make the best decision for your home and budget.

Bathroom Water Hammer Explained and How to Stop the Loud Banging?
by Hadi Masood 30 January 2026
Unpack bathroom water hammer—causes like sudden valve closures and high pressure—and learn proven fixes like arrestors and PRVs for silent pipes.
by Hadi Masood 30 January 2026
Nothing disrupts a morning routine like a shower turning icy midstream, leaving you shivering and frustrated. This common issue stems from imbalances in your home's plumbing and heating systems, often triggered by everyday usage patterns or overlooked maintenance. Understanding the root causes empowers homeowners to diagnose problems swiftly and implement lasting fixes. This guide delves into the mechanics behind sudden temperature drops, explores diagnostic techniques, and outlines prevention strategies to keep your showers consistently warm. Common Causes of Sudden Cold Showers Sudden cold water in showers typically arises from water heater malfunctions or plumbing disruptions. Sediment buildup in tank-style heaters insulates the burner or element, causing inconsistent heating—over time, minerals from hard water accumulate at the bottom, reducing efficiency and leading to temperature fluctuations during peak demand. Similarly, a failing dip tube in the heater fails to direct cold incoming water to the top for proper mixing, so hot water depletes faster than it replenishes. High demand elsewhere in the home exacerbates this; simultaneous use of washing machines, dishwashers, or multiple faucets dilutes hot water supply. Pressure imbalances from clogged aerators or faulty mixing valves can also shift temperatures abruptly. In larger households, undersized heaters struggle with back-to-back usage, mimicking a sudden cold blast. Diagnosing Water Heater Problems Start diagnosis by checking the water heater's thermostat setting—most should hover between 120 and 140 degrees Fahrenheit for safety and performance. Listen for unusual noises like popping or rumbling, hallmarks of sediment; if present, a professional flush resolves it. Test the heating element in electric models with a multimeter for continuity, or inspect the gas burner for a weak blue flame indicating dirty components. Expansion tanks play a crucial role here—they mount on the cold water inlet to absorb thermal expansion pressure, preventing relief valve drips that signal overpressure and potential cold surges. Without one, especially in closed-loop systems, heaters cycle inefficiently, dropping output temperatures. Monitor the pressure relief valve; frequent activation points to expansion issues. For tankless units, error codes on the display often pinpoint flow sensors or igniters as culprits. Identifying Plumbing and Pipe Issues Plumbing beyond the heater often hides the problem. Reverse flow from check valves or backflow preventers can introduce cold water into hot lines, especially if sediment clogs them. Undersized pipes struggle with volume, causing pressure drops that chill the stream. Air locks from recent repairs trap bubbles, disrupting flow until purged by running all hot taps sequentially. Leaky fixtures upstream siphon hot water unnoticed, leading to sudden cools. Inspect for hidden corrosion in galvanized pipes, which narrows passages over time. All City Plumbers emphasize tracing lines with a pipe camera for blockages invisible to the eye, revealing scale or debris that starves the showerhead. The Impact of Water Pressure Fluctuations Pressure swings directly affect shower temperature consistency. Municipal supply variations, like nighttime boosts or peak-hour drops, strain home systems. Faulty pressure regulators fail to stabilize incoming force, overwhelming the heater. Clogged showerheads or aerators restrict hot flow while cold rushes in unchecked. In multi-story homes, gravity amplifies upper-floor issues, where thinner pipes can't maintain velocity. Install a whole-house pressure gauge to baseline readings—ideal is 50-80 PSI. Fluctuations beyond this trigger mixing valve failures, designed to blend water but prone to wear. Step-by-Step Fixes for Cold Showers Addressing the issue begins with simple resets. Flush the water heater by attaching a hose to the drain valve and running it until clear, refilling slowly to avoid air pockets. Clean aerators by soaking in vinegar overnight, then reinstall for restored balance. Insulate exposed pipes with foam sleeves to minimize heat loss in unheated spaces. For persistent problems, replace the dip tube or upgrade to a higher-capacity heater. Adding or servicing expansion tanks restores pressure equilibrium. Test post-fix by timing recovery—hot water should resume within 30 seconds of demand spikes. Preventive Maintenance Strategies Prevention hinges on routine care. Annually flush tank heaters and descale tankless ones to banish sediment. Set programmable schedules to avoid simultaneous high-demand usage, staggering laundry and showers. Install low-flow fixtures that ease heater load without sacrificing pressure. Prepare your plumbing before vacations by shutting off the water main, draining lines, and setting the heater to pilot mode—this averts stagnant water growth and pressure builds during absence. Water softeners combat mineral buildup in hard-water areas, extending system life. Upgrading for Long-Term Reliability Consider modern solutions like on-demand tankless heaters, which heat water instantly without standby losses, eliminating cold-start woes. Hybrid heat pump models offer efficiency gains up to 300 percent. Whole-home recirculation pumps deliver instant hot water, minimizing waste and temperature dips. Smart thermostats monitor usage patterns, adjusting preemptively. Pair with pressure-balancing shower valves that auto-compensate for fluctuations, ensuring steady warmth. Conclusion Sudden cold showers disrupt more than comfort—they signal underlying issues that, if ignored, escalate to costly repairs. By pinpointing causes from heater sediment to pressure imbalances and embracing proactive maintenance, you safeguard reliable performance year-round. Implementing these strategies not only restores blissfully warm showers but also boosts energy efficiency and system longevity for peace of mind.
How To Install ADA-Compliant Bathroom Fixtures?
by Hadi Masood 28 January 2026
Learn step-by-step how to install ADA-compliant bathroom fixtures for accessibility, including toilets, sinks, grab bars, and pro tips for compliance and safety.
What Are Some Of The Best Layouts For Dual Sink Bathrooms?
by Hadi Masood 28 January 2026
Explore top dual sink bathroom layouts: linear, island, L-shaped, and more, with plumbing, lighting, storage, and pro design tips.
How to Repair Leaking Vanity Drain Assemblies (Complete Guide)
by Hadi Masood 26 January 2026
Complete guide to fixing leaking vanity drain assemblies: disassembly, washer replacement, reassembly, testing, and pro upgrade tips.
How to Fix Intermittent Toilet Flush Failures (Complete Guide)
by Hadi Masood 26 January 2026
Fix intermittent toilet flush failures: troubleshoot flappers, venting, pressure, and clogs with step-by-step repairs for reliable performance.
How to Prevent Mineral Rings in Toilet Tanks (Simple Solutions)
by Hadi Masood 25 January 2026
Prevent mineral rings in toilet tanks with vinegar soaks, softeners, liners, and maintenance tips for clean, efficient performance.
Why Low-Flow Toilets Still Clog (Causes and Easy Fixes)
by Hadi Masood 25 January 2026
Why low-flow toilets still clog: causes like waste habits, buildup, venting, and fixes for better performance without wasting water.
Bathroom Remodeling Plumbing Mistakes to Avoid For Costly Repairs
by Hadi Masood 23 January 2026
Avoid costly bathroom remodeling plumbing mistakes like undersized lines, poor venting, and waterproofing errors—essential tips for flawless results.
Why Your Toilet Sweats in Summer (And How to Stop It)
by Hadi Masood 23 January 2026
Uncover why toilets sweat in summer due to condensation, plus fixes like insulation, ventilation, and pro tips to prevent mold and slips.