What to Do If Your Sump Pump Stops Working

Youmna Rehman

A sump pump plays a crucial role in keeping your basement dry by removing excess water from the area around your home. When it stops working, it can lead to water accumulation, resulting in flooding, property damage, and costly repairs. If your sump pump stops working, it's essential to act quickly to prevent damage. Here's an in-depth guide to help you troubleshoot and fix the problem, or know when to call a professional for assistance.


"How to Choose the Right Sump Pump for Your Home"


Step 1: Check the Power Supply

One of the most common reasons for a sump pump failure is a power outage or disconnection. The pump relies on electricity to function, and if there's no power, it will not work. Another significant factor contributing to sump pump failure is a clogged discharge line. Over time, debris, mud, and other materials can accumulate in the discharge pipe, restricting the flow of water. If the pump can't effectively expel water from the sump pit, it will ultimately lead to flooding, negating its entire purpose.

Power outage: If there's a power cut in your area, wait until the electricity is restored. If your sump pump runs on a battery backup system, check the battery level and ensure it's functioning properly.

Circuit breaker: Sometimes, the circuit breaker may trip, cutting off power to the pump. Locate your home's electrical panel and check if the breaker for the sump pump is in the "off" position. If it is, simply reset the breaker.

Loose connections: Ensure that all power cables and connections are secure. A loose or disconnected cable may prevent the sump pump from turning on.


Step 2: Inspect the Float Switch

The float switch is a critical component of the sump pump system. It activates the pump when the water level in the sump pit rises above a certain point. If the float switch gets stuck or damaged, the pump won't turn on. This can lead to flooding in the basement or crawl space, causing damage to your property and creating a potential mold issue. Regular inspections of the float switch are essential to ensure it is functioning properly. You should check for any debris or obstructions that could prevent the float from moving freely. Additionally, if the float switch shows signs of wear or corrosion, it may be time for a replacement.

Float obstruction: Check if the float is obstructed by debris, dirt, or other objects. It should be able to move freely up and down. If it's stuck, gently dislodge it and make sure it moves without any hindrance.

Faulty float switch: If the float switch is damaged or malfunctioning, it will need to be replaced. In some cases, you may be able to manually operate the switch to get the pump running temporarily, but it's important to repair or replace it as soon as possible.


Step 3: Check for Clogs or Debris

A clogged or obstructed pump discharge line can prevent the water from being properly drained away from your home. This can cause water to back up into the basement, leading to flooding.

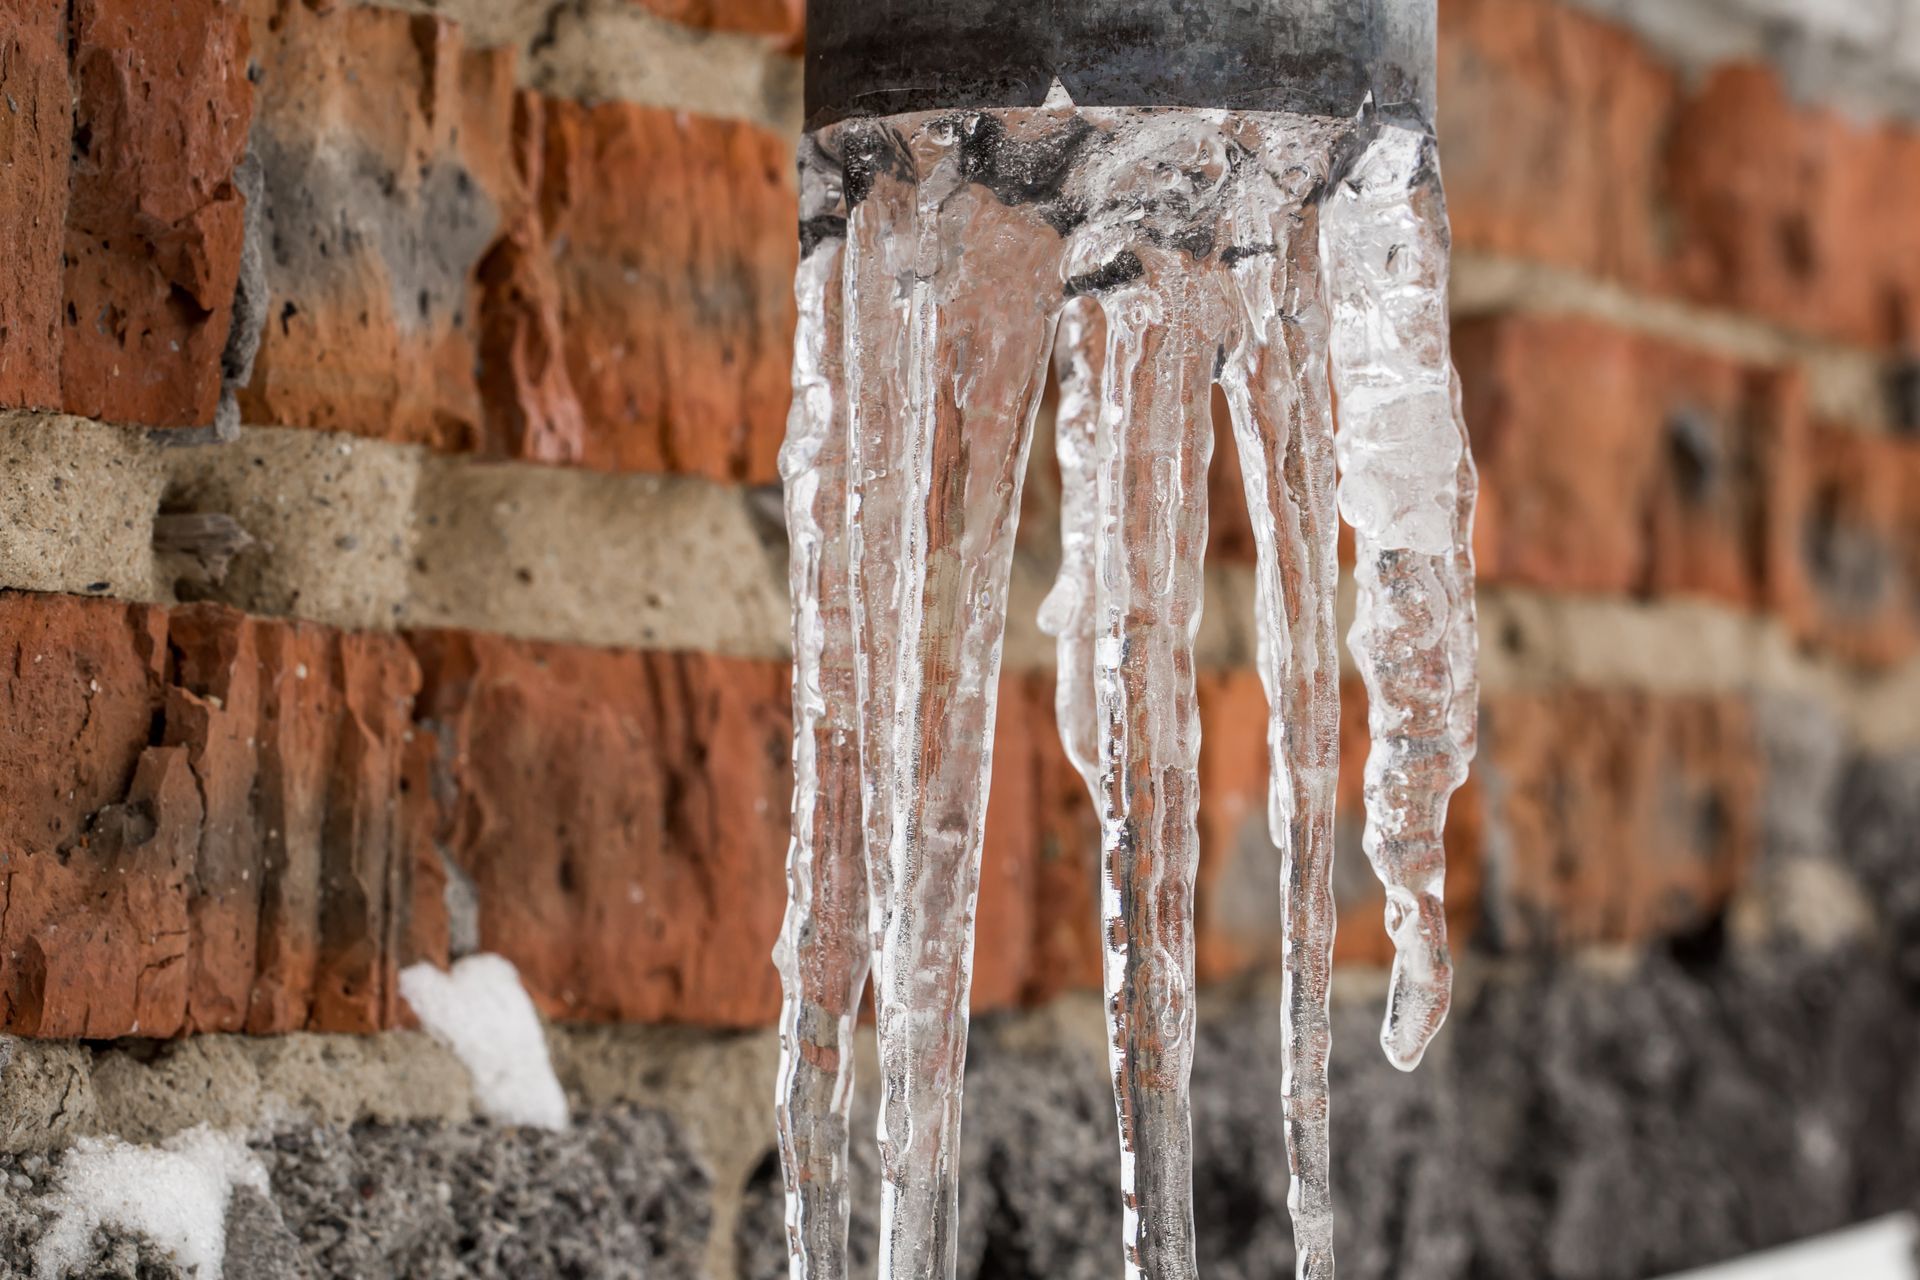
Inspect the discharge line: Examine the pipe that carries the water away from the sump pit. Look for any signs of clogs or blockages such as dirt, debris, or frozen sections (in colder climates).

Clear the blockage: If you find a clog, use a plumber’s snake, a high-pressure hose, or a wet-dry vacuum to clear it. Make sure the water can flow freely through the discharge pipe to prevent backups.


Step 4: Examine the Check Valve

A check valve is installed on the discharge pipe to prevent water from flowing back into the sump pit. If this valve becomes faulty, the water may flow back, causing the pump to work harder and potentially leading to malfunctions. This added strain on the pump can not only shorten its lifespan but also increase operational costs due to higher energy consumption. Moreover, a faulty check valve can compromise the entire drainage system, leading to water accumulation in areas where it is not intended, which may result in damaging structural elements and creating an environment conducive to mold growth. 

Inspect the valve: Check for any signs of leakage or damage to the check valve. If you find that it's cracked or broken, you may need to replace it.

Test the valve: Manually test the check valve by running the pump and checking if water flows back into the pit. If it does, the check valve is not functioning properly and should be replaced.


Step 5: Test the Sump Pump Motor

If the power, float switch, and discharge line are functioning correctly, the problem may lie with the motor. A motor failure can prevent the pump from operating, even when everything else seems to be working fine. In such cases, begin by inspecting the motor for any visible signs of damage or wear. Look for frayed wires, burnt components, or any unusual noises that could indicate an internal issue. It may also be worthwhile to check the motor's thermal overload protection to see if it has tripped, which can occur if the motor overheats due to excessive load or lack of ventilation.

Motor noise: If the motor is making a humming sound but not operating, the impeller could be jammed or there may be an electrical issue.

Replace the motor: If the motor is completely dead and the pump is not running at all, you may need to replace the motor or the entire sump pump unit.


Step 6: Check for Water Overload

If your sump pump is overwhelmed with water, it may stop working due to excessive strain. This is more common during heavy rain or flooding situations. To prevent such scenarios, it's essential to regularly maintain your sump pump. This includes checking the pump for debris, ensuring that the discharge pipe isn't clogged, and testing the float switch to confirm proper operation. A well-maintained sump pump can handle more water and reduce the risk of failure during critical times.

Overcapacity: Ensure that your sump pump is the right size for the amount of water your home typically experiences. If your pump is too small for the volume of water, it may stop working.

Consider upgrading: If your sump pump struggles to keep up with heavy rainfall, consider upgrading to a more powerful unit or installing a secondary pump for extra capacity.


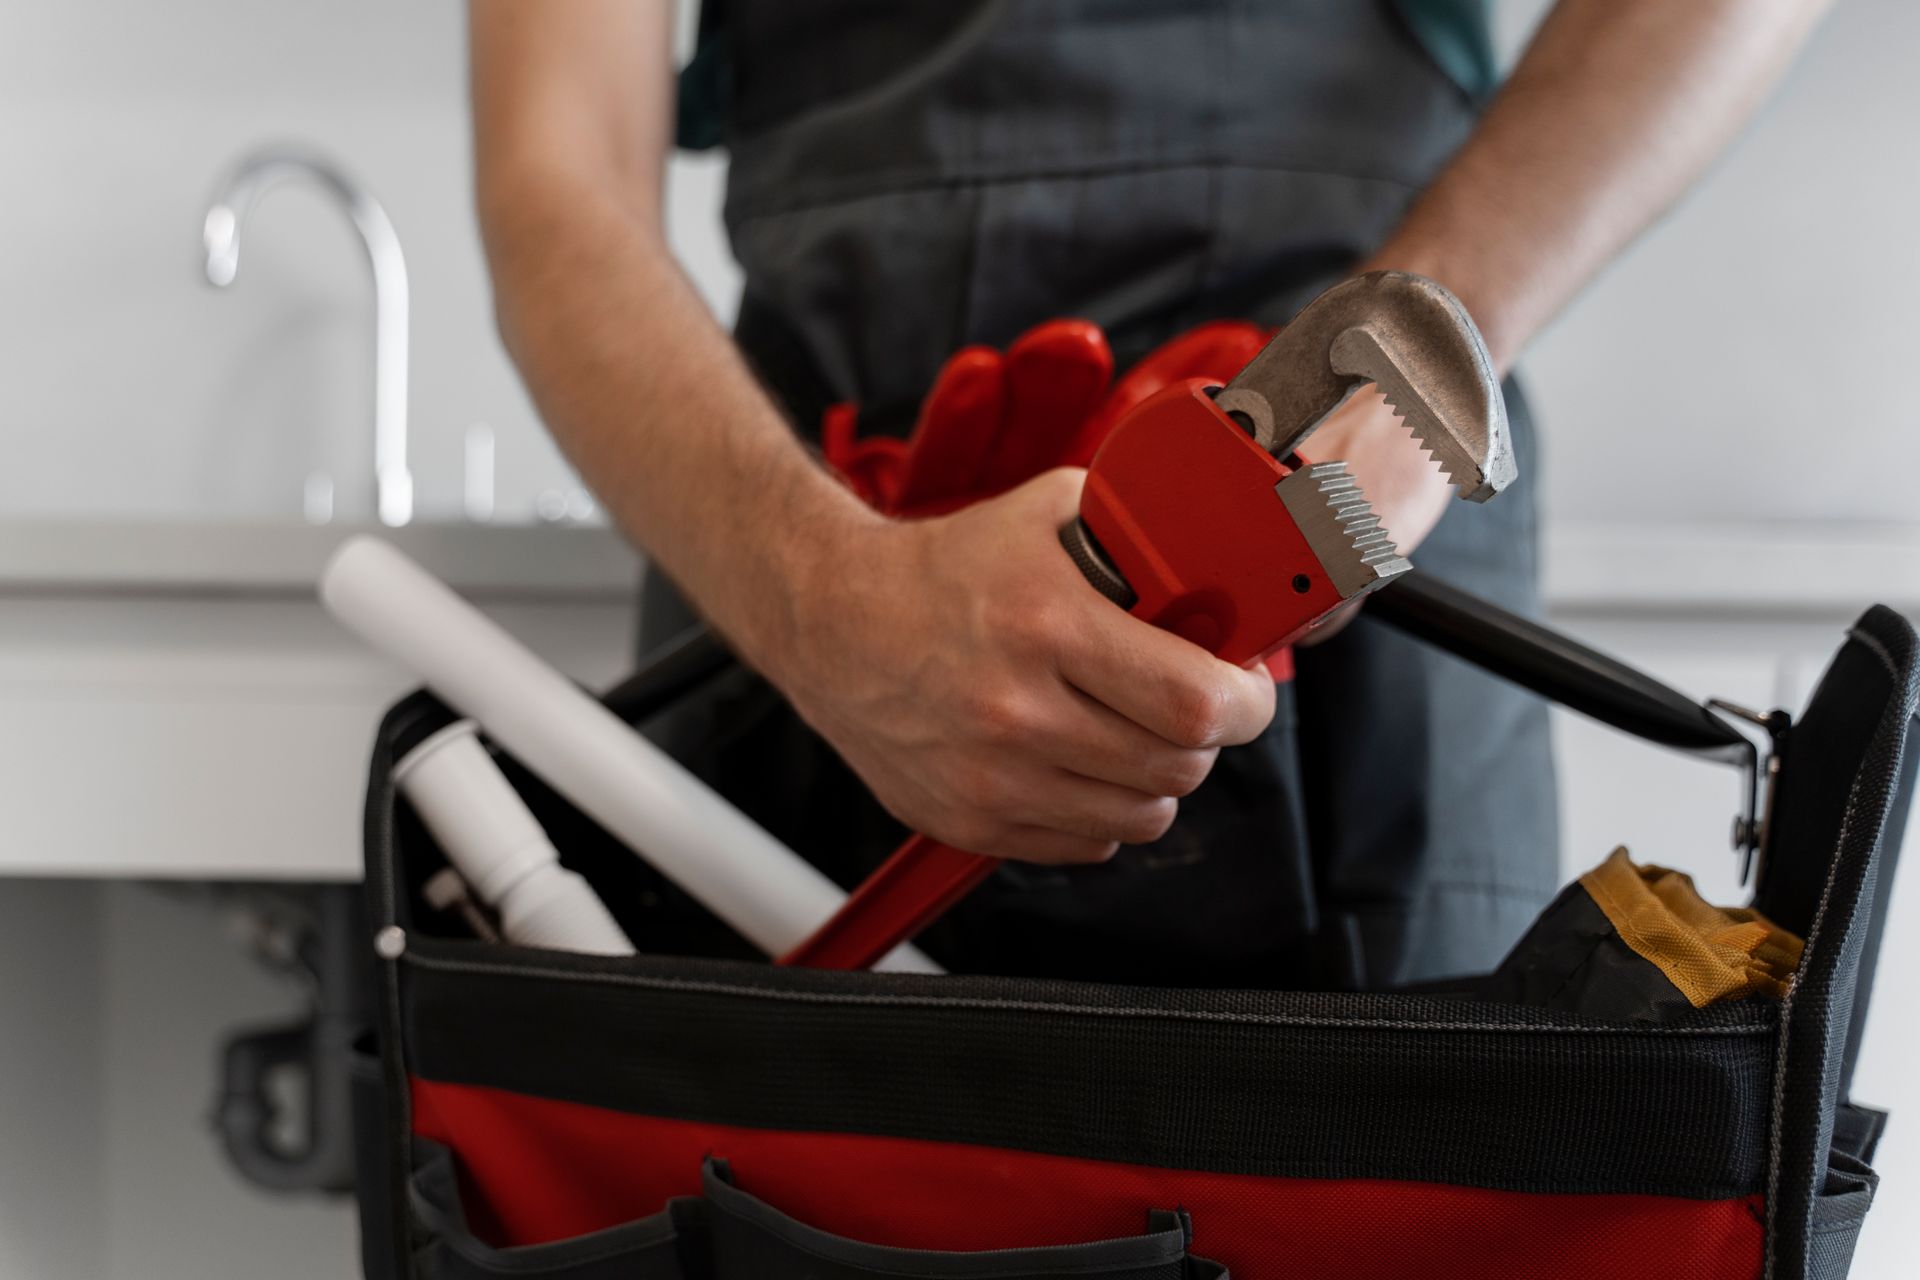
Step 7: Call a Professional

If you've gone through these troubleshooting steps and your sump pump is still not working, it’s time to call a professional plumber. Attempting to repair the pump yourself without proper knowledge can lead to further damage, additional costs, or even injury. A qualified plumber can diagnose the issue more effectively, as they possess the expertise and tools necessary to address complex problems. They will conduct a thorough inspection of your sump pump system, checking for electrical issues, clogs, or mechanical failures that may not be immediately apparent.

Expert diagnosis: A professional plumber can properly diagnose the issue and provide the necessary repairs or replacement.

Preventive maintenance: Even if your pump seems to be functioning well, regular maintenance can prevent future issues. Consider scheduling annual sump pump inspections to ensure it's operating at peak efficiency.


Conclusion

Your sump pump plays a vital role in protecting your home from flooding, and it’s essential to act quickly when it stops working. By following these troubleshooting steps, you can potentially resolve minor issues and get your pump running again. However, for more complex issues or when you're uncertain of the cause, it's always best to consult with a professional plumber. Timely repairs and routine maintenance can extend the life of your sump pump and keep your basement dry for years to come.

How to Prevent Frozen Pipes in Winter: A Step-by-Step Guide
by Hadi Masood 11 May 2025
Learn effective, step-by-step strategies to prevent frozen pipes in winter. Protect your home with insulation tips, temperature control, and expert advice on handling plumbing issues.
How To Maintain Your Garbage Disposal For Longevity?
by Hadi Masood 11 May 2025
Learn essential tips and expert advice on how to maintain your garbage disposal for long-lasting performance. Discover daily care routines, cleaning methods, and when to seek professional help.
What To Do If Your Water Pressure Drops Suddenly?
by Hadi Masood 9 May 2025
Experiencing a sudden drop in water pressure? Learn the common causes, troubleshooting tips, and when to call a professional to protect your home’s plumbing system.
Essential Plumbing Tools Every Homeowner Should Own
by Hadi Masood 9 May 2025
Discover the essential plumbing tools every homeowner should have—from pipe wrenches to plungers—and learn when it's best to tackle repairs yourself or call a professional.
The Dangers of DIY Plumbing Repairs: When to Call a Professional
by Hadi Masood 8 May 2025
DIY plumbing may seem like a cost-saving solution, but it often leads to expensive repairs, health risks, and safety hazards. Learn why hiring a professional plumber is the smarter, safer choice for your home.
How To Choose The Right Plumber For Your Home
by Hadi Masood 7 May 2025
Learn how to choose a reliable plumber for your home with expert tips on credentials, experience, tools, emergency services, and preventative maintenance
by Youmna Rehman 1 May 2025
Clogged drains are one of those household issues that always seem to show up at the worst possible time. Whether it’s a backed-up kitchen sink during dinner prep or a slow-draining shower when you're rushing for work, they’re inconvenient, unpleasant, and often expensive to fix if left unattended. The good news? With a bit of regular care and a few simple techniques, you can avoid most clogs before they start. DIY drain maintenance isn’t just a reactive fix—it’s a proactive approach that saves time, money, and stress. Think of it like brushing your teeth. You don’t wait for a cavity; you clean daily to prevent one. Drains work the same way. Let’s dive into the common causes, smart solutions, and everyday habits that will keep your plumbing flowing freely. Benefits of Having an Expansion Tank Installed in Your Home What Causes Drains to Clog in the First Place? Understanding the problem is the first step to preventing it. Drains clog because of everyday use—but not always in ways we notice right away. In the kitchen, grease, oil, and food scraps stick to pipe walls, harden, and build up over time. In bathrooms, hair, soap scum, and toothpaste form stubborn tangles that slow water flow. Laundry drains face detergent residue and lint. Even so-called “flushable” wipes can wreak havoc in toilet pipes. The challenge is that most of this buildup is gradual. You may not notice a problem until the water starts pooling or smells start rising—and by then, a full-blown clog could be just around the corner. Step-by-Step: How to Maintain Your Drains at Home Step 1: Flush Your Drains Weekly with Hot Water One of the easiest habits you can adopt is flushing your drains with hot water once a week. This helps melt away minor grease deposits and dislodge small bits of debris before they can build up. Simply boil a kettle of water and pour it slowly down your drain. For kitchen sinks, you can follow it with a squirt of dish soap to cut through any residual grease. Step 2: Use a DIY Baking Soda and Vinegar Cleanse This old-school method is a favorite for a reason—it works. Once a month, pour half a cup of baking soda down the drain, followed by one cup of vinegar. Let it sit and fizz for 15 to 30 minutes, then flush with boiling water. This mixture helps break down organic material and neutralize odors without using harsh chemicals. It’s especially useful for bathroom sinks and shower drains where buildup tends to be slow but persistent. Step 3: Install Drain Strainers or Hair Catchers Mechanical prevention is often the most effective. Installing strainers or mesh covers over your drains can dramatically reduce the amount of debris entering your pipes. In kitchens, they stop food scraps. In bathrooms, they catch hair. They’re inexpensive, easy to clean, and one of the smartest tools in your DIY maintenance kit. Step 4: Clean the Stoppers and Covers Drain stoppers in bathroom sinks and tubs collect grime over time. Every couple of weeks, remove and clean them thoroughly with hot water, an old toothbrush, and soap. This prevents buildup at the entry point of your drain and keeps water flowing smoothly. Step 5: Use Enzyme Cleaners Monthly Enzyme-based drain cleaners are a safe, eco-friendly way to maintain your plumbing. These cleaners use natural bacteria and enzymes to digest organic material in your pipes. Unlike chemical alternatives, they won’t corrode your pipes or kill beneficial bacteria in septic systems. Regular monthly use keeps your drains clean and odor-free. The Risks of Ignoring Drain Maintenance Many people wait until there’s a problem to think about their drains. But ignoring routine maintenance carries hidden risks. Minor clogs can turn into major backups, leading to overflows, water damage, and costly plumber visits. If you’re dealing with old pipes, recurring blockages can weaken their integrity and eventually cause leaks or breaks. Additionally, standing water from partial clogs creates a breeding ground for mold and bacteria, which can affect your indoor air quality. Odors, slow drainage, and constant plunging become part of your everyday routine—and that’s not a habit anyone wants. By contrast, maintaining your drains regularly prevents emergencies and keeps your home healthy and hygienic. Challenges You Might Face With DIY Drain Maintenance DIY drain care is effective, but it comes with a few challenges. First, it requires consistency. One-time fixes won’t cut it. Just like you wouldn’t brush your teeth once and forget it, drain maintenance has to be a habit. Second, you may encounter deeper problems that simple DIY methods can't solve—like tree root intrusion, damaged pipes, or long-standing grease clogs. In these cases, professional tools like snaking or hydro jetting may be necessary. Finally, not all products work for every type of drain. Enzyme cleaners may be perfect for organic buildup but won’t help with mineral deposits or foreign objects. You’ll need to understand your system and use the right tools at the right time. Expert Advice: What Plumbers Recommend for Homeowners Most plumbers agree on one thing: Prevention is cheaper and easier than repairs. They often recommend homeowners adopt a monthly maintenance routine and take steps to avoid the most common clogging culprits. Grease is one of the worst offenders. Never pour it down the drain, even if you flush it with hot water. Instead, collect it in a jar and dispose of it in the trash. Similarly, hair may seem harmless, but it binds with soap and forms heavy clumps that are hard to dislodge. Experts also recommend keeping a plunger and drain snake handy for minor clogs. These manual tools are your first line of defense and often solve problems without the need for chemicals or a professional visit. Preventive Habits That Make All the Difference Incorporating small habits into your routine can have a big impact. Run hot water for a few seconds after using the sink to help push residue through. Don’t treat your garbage disposal like a trash can—avoid fibrous foods like celery, eggshells, and coffee grounds. Always dispose of hygiene products in the trash, no matter what the label says. And when in doubt, install a catch-all filter. By combining these habits with monthly enzyme treatments and occasional deep cleaning, you can keep your entire drain system running like new. Conclusion: Stay Ahead of Clogs with Simple, Smart Maintenance Taking care of your drains doesn’t require fancy tools or a plumber on speed dial. It’s about adopting a mindset of prevention and following through with simple, consistent actions. From flushing with hot water to monthly enzyme cleanings and mindful kitchen habits, DIY drain maintenance is both achievable and impactful. By investing just a little time each week, you can save yourself the frustration, cost, and mess of clogged pipes later on. So start today—your future self (and your plumbing) will thank you
by Youmna Rehman 1 May 2025
While harsh chemical cleaners might seem like the quick fix, they can actually cause more harm than good by corroding pipes and harming the environment. That’s where enzyme cleaners come into the picture. They offer a natural, effective way to clean and maintain drains without introducing toxins into your home. In this guide, we’ll explore what enzyme drain cleaners are, how they work, the best options available, how to use them effectively, and how to prevent future issues altogether. For professional plumbing services, please reach out to us!
by Youmna Rehman 1 May 2025
If you’ve ever faced a slow-draining sink, a gurgling toilet, or water pooling in the shower, you already know how frustrating drain issues can be. While some minor clogs can be tackled with a plunger or homemade remedy, more stubborn blockages demand professional intervention. That’s where two popular methods come into play: drain snaking and hydro jetting. Both techniques aim to restore normal water flow, but they use completely different tools, levels of force, and strategies. Choosing the wrong one can lead to a temporary fix—or worse, damage to your plumbing system. In this guide, we’ll walk you through everything you need to know to make an informed decision. We’ll break down what each method does, when it’s best used, and how it holds up in the long run.
by Youmna Rehman 29 April 2025
There’s nothing like a relaxing shower to wash away the day—until the water starts pooling around your ankles, and you realize your drain isn’t working the way it should. One of the most common culprits? Hair. Whether it’s long, short, curly, or straight, hair has an uncanny ability to weave itself into your plumbing and cause slow drains, bad smells, or full-on blockages. The good news? You can do a lot to stop hair from becoming a plumbing nightmare. This guide walks you through why hair is such a problem, what it does to your drain over time, and how to tackle it with a mix of smart habits and practical tools. We'll go over causes, risks, step-by-step solutions, and preventive techniques—so you can enjoy your showers without worrying about what’s happening beneath your feet.
More posts