How To Identify And Fix A Slab Leak?

Hadi Masood

Slab leaks are a serious plumbing issue that can cause extensive damage to a home’s foundation and interior if left untreated. These leaks occur when water pipes beneath a concrete slab foundation crack or break, leading to water escaping into the soil under the house. Because the leak is hidden beneath the slab, detection and repair require careful attention and professional expertise, often necessitating prompt emergency services to prevent further damage. This article provides a detailed guide on how to identify and fix slab leaks, helping homeowners protect their property and avoid costly repairs.


Understanding Slab Leaks

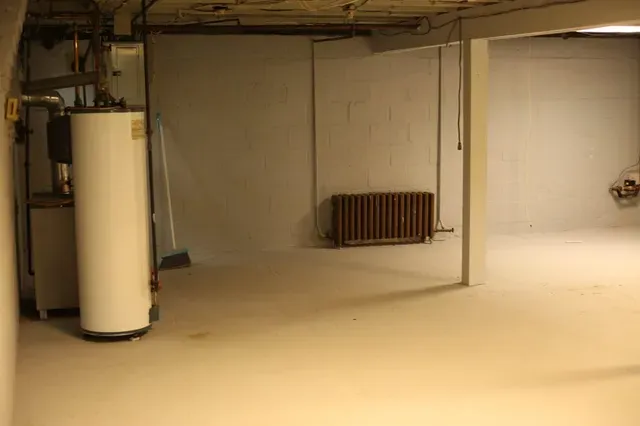
Modern homes often rest on concrete slab foundations, which consist of a thick layer of concrete poured directly on the ground. Water pipes, both hot and cold, run beneath or through this slab to supply the home. A slab leak happens when one of these pipes develops a crack or hole, allowing water to leak into the soil beneath the foundation. The consequences of a slab leak can be severe, including structural damage to the foundation, mold growth, warped flooring, and increased utility bills.


Common Causes of Slab Leaks

Several factors contribute to slab leaks:

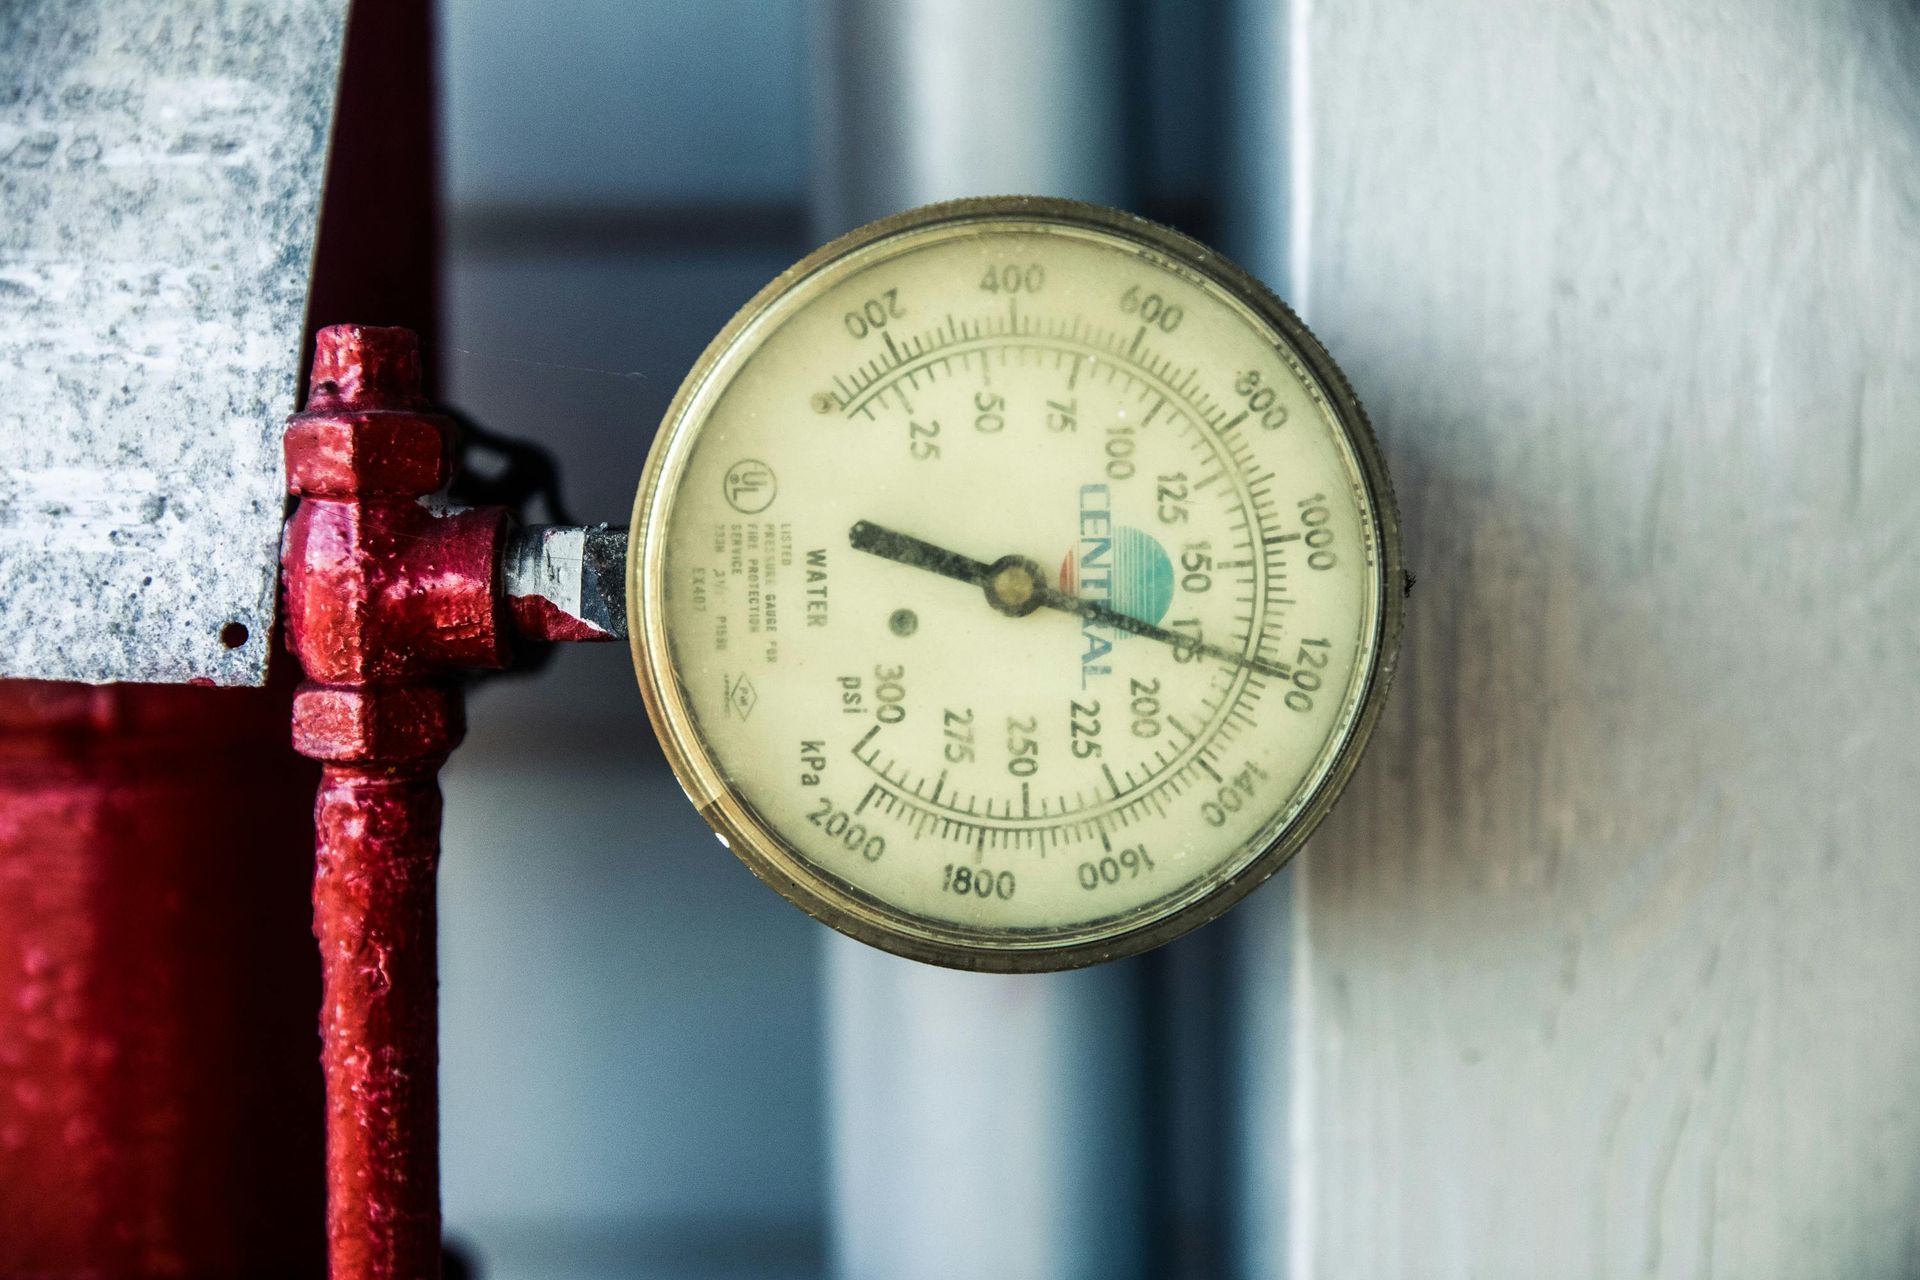
  • Excessive Pressure: Pipes under the slab can be subjected to high water pressure or soil pressure, especially in areas with expansive clay soil that shifts with moisture changes.
  • Corrosion: Pipes in contact with soil may corrode over time, especially if different metals are involved, leading to holes.
  • Abrasion: Pipes rubbing against concrete or rebar can wear down, causing leaks.
  • Poor Installation: Improperly installed pipes or substandard materials can fail prematurely.
  • Soil Movement: Earthquakes or soil shifting can stress and crack pipes beneath the slab.


How to Identify a Slab Leak

Detecting a slab leak early is crucial to prevent extensive damage. Because the leak is hidden, homeowners must look for indirect signs and symptoms.


Warning Signs of a Slab Leak

One of the earliest indicators is an unexplained spike in water bills without increased water usage, signaling a hidden leak. Homeowners may also notice hot or cold spots on the floor where a leaking pipe transfers temperature through the slab, creating unusual warmth or coolness in localized areas.

Damp or wet flooring is another telltale sign. This can manifest as water stains, bubbling or warping on hardwood, linoleum, or carpeted areas, often in spots unrelated to visible plumbing fixtures.

A drop in water pressure throughout the home may occur because the leak reduces water flow to faucets and appliances. Additionally, some homeowners report hearing the sound of running water beneath the floor even when all taps are turned off, which can be a direct auditory clue of a leak.

Other physical signs include gaps appearing between flooring and walls, difficulty opening doors or windows due to foundation shifts, and even visible water puddles outside the house near the foundation.


Diagnosing a Slab Leak

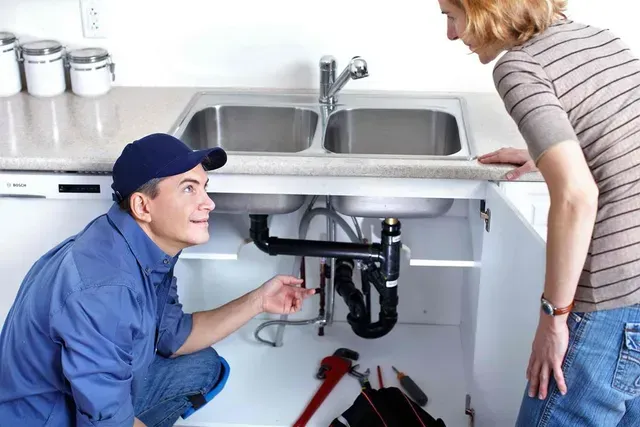
Once you suspect a slab leak, professional diagnosis is essential. Plumbers use specialized equipment such as electronic listening devices, line-tracing tools, and video inspection cameras to pinpoint the exact location of the leak beneath the slab. These technologies allow for precise detection without unnecessary damage to the foundation or flooring.


How to Fix a Slab Leak

Repairing a slab leak depends on the leak’s size, location, pipe condition, and overall plumbing system. There are several repair options ranging from minimally invasive to more extensive procedures.


1. Trenchless Slab Leak Repair

This method involves creating small access holes rather than breaking up large sections of the concrete slab. Techniques such as pipe lining (slip lining) or pipe bursting are used. Slip lining inserts an epoxy liner inside the existing pipe to seal leaks, while pipe bursting replaces the old pipe by pulling a new one through it. Trenchless repair minimizes disruption and is often more cost-effective than traditional methods.


2. Spot Repair

For isolated leaks, a spot repair may be performed by breaking through the slab only where the leak is located and replacing the damaged pipe section. This method is suitable when the rest of the plumbing system is in good condition and the leak is localized.


3. Pipe Rerouting

If the pipes are old or extensively damaged, rerouting involves installing new pipes above ground or through walls and ceilings, avoiding the slab altogether. This method prevents future leaks under the slab and allows easier access for maintenance.


4. Whole House Repiping

In cases where the plumbing system is aging or deteriorated, repiping the entire house may be the best long-term solution. Though more expensive initially, this option prevents future leaks and provides peace of mind.


Preventive Measures

To reduce the risk of slab leaks, homeowners should ensure proper installation of plumbing systems and use quality materials. Regular inspections can catch early signs of pipe corrosion or damage. Additionally, maintaining stable soil moisture levels around the foundation helps prevent soil shifts that stress pipes.

It is also important to take steps to prevent frozen water pipes, as freezing can cause pipes to crack and lead to leaks beneath the slab, especially in colder climates. Insulating exposed pipes and maintaining consistent indoor temperatures are effective preventive measures.


Conclusion

Slab leaks pose a hidden but serious threat to the structural integrity and safety of a home. Recognizing the warning signs such as increased water bills, damp floors, temperature anomalies, and unusual sounds can help homeowners act quickly. Professional diagnosis and modern repair techniques like trenchless repair or spot repair provide effective solutions tailored to the leak’s severity. Taking preventive steps, including protecting pipes from freezing, can help avoid the costly consequences of slab leaks and preserve the foundation of your home.


The Benefits Of Installing A Water Filtration System
by Hadi Masood 12 May 2025
Discover the comprehensive benefits of installing a water filtration system-from improving water quality and health to protecting appliances and saving costs. Learn how filtration enhances your home’s plumbing and ensures safe, great-tasting water for your family.
How to Prevent Frozen Pipes in Winter: A Step-by-Step Guide
by Hadi Masood 11 May 2025
Learn effective, step-by-step strategies to prevent frozen pipes in winter. Protect your home with insulation tips, temperature control, and expert advice on handling plumbing issues.
How To Maintain Your Garbage Disposal For Longevity?
by Hadi Masood 11 May 2025
Learn essential tips and expert advice on how to maintain your garbage disposal for long-lasting performance. Discover daily care routines, cleaning methods, and when to seek professional help.
What To Do If Your Water Pressure Drops Suddenly?
by Hadi Masood 9 May 2025
Experiencing a sudden drop in water pressure? Learn the common causes, troubleshooting tips, and when to call a professional to protect your home’s plumbing system.
Essential Plumbing Tools Every Homeowner Should Own
by Hadi Masood 9 May 2025
Discover the essential plumbing tools every homeowner should have—from pipe wrenches to plungers—and learn when it's best to tackle repairs yourself or call a professional.
The Dangers of DIY Plumbing Repairs: When to Call a Professional
by Hadi Masood 8 May 2025
DIY plumbing may seem like a cost-saving solution, but it often leads to expensive repairs, health risks, and safety hazards. Learn why hiring a professional plumber is the smarter, safer choice for your home.
How To Choose The Right Plumber For Your Home
by Hadi Masood 7 May 2025
Learn how to choose a reliable plumber for your home with expert tips on credentials, experience, tools, emergency services, and preventative maintenance
by Youmna Rehman 1 May 2025
Clogged drains are one of those household issues that always seem to show up at the worst possible time. Whether it’s a backed-up kitchen sink during dinner prep or a slow-draining shower when you're rushing for work, they’re inconvenient, unpleasant, and often expensive to fix if left unattended. The good news? With a bit of regular care and a few simple techniques, you can avoid most clogs before they start. DIY drain maintenance isn’t just a reactive fix—it’s a proactive approach that saves time, money, and stress. Think of it like brushing your teeth. You don’t wait for a cavity; you clean daily to prevent one. Drains work the same way. Let’s dive into the common causes, smart solutions, and everyday habits that will keep your plumbing flowing freely. Benefits of Having an Expansion Tank Installed in Your Home What Causes Drains to Clog in the First Place? Understanding the problem is the first step to preventing it. Drains clog because of everyday use—but not always in ways we notice right away. In the kitchen, grease, oil, and food scraps stick to pipe walls, harden, and build up over time. In bathrooms, hair, soap scum, and toothpaste form stubborn tangles that slow water flow. Laundry drains face detergent residue and lint. Even so-called “flushable” wipes can wreak havoc in toilet pipes. The challenge is that most of this buildup is gradual. You may not notice a problem until the water starts pooling or smells start rising—and by then, a full-blown clog could be just around the corner. Step-by-Step: How to Maintain Your Drains at Home Step 1: Flush Your Drains Weekly with Hot Water One of the easiest habits you can adopt is flushing your drains with hot water once a week. This helps melt away minor grease deposits and dislodge small bits of debris before they can build up. Simply boil a kettle of water and pour it slowly down your drain. For kitchen sinks, you can follow it with a squirt of dish soap to cut through any residual grease. Step 2: Use a DIY Baking Soda and Vinegar Cleanse This old-school method is a favorite for a reason—it works. Once a month, pour half a cup of baking soda down the drain, followed by one cup of vinegar. Let it sit and fizz for 15 to 30 minutes, then flush with boiling water. This mixture helps break down organic material and neutralize odors without using harsh chemicals. It’s especially useful for bathroom sinks and shower drains where buildup tends to be slow but persistent. Step 3: Install Drain Strainers or Hair Catchers Mechanical prevention is often the most effective. Installing strainers or mesh covers over your drains can dramatically reduce the amount of debris entering your pipes. In kitchens, they stop food scraps. In bathrooms, they catch hair. They’re inexpensive, easy to clean, and one of the smartest tools in your DIY maintenance kit. Step 4: Clean the Stoppers and Covers Drain stoppers in bathroom sinks and tubs collect grime over time. Every couple of weeks, remove and clean them thoroughly with hot water, an old toothbrush, and soap. This prevents buildup at the entry point of your drain and keeps water flowing smoothly. Step 5: Use Enzyme Cleaners Monthly Enzyme-based drain cleaners are a safe, eco-friendly way to maintain your plumbing. These cleaners use natural bacteria and enzymes to digest organic material in your pipes. Unlike chemical alternatives, they won’t corrode your pipes or kill beneficial bacteria in septic systems. Regular monthly use keeps your drains clean and odor-free. The Risks of Ignoring Drain Maintenance Many people wait until there’s a problem to think about their drains. But ignoring routine maintenance carries hidden risks. Minor clogs can turn into major backups, leading to overflows, water damage, and costly plumber visits. If you’re dealing with old pipes, recurring blockages can weaken their integrity and eventually cause leaks or breaks. Additionally, standing water from partial clogs creates a breeding ground for mold and bacteria, which can affect your indoor air quality. Odors, slow drainage, and constant plunging become part of your everyday routine—and that’s not a habit anyone wants. By contrast, maintaining your drains regularly prevents emergencies and keeps your home healthy and hygienic. Challenges You Might Face With DIY Drain Maintenance DIY drain care is effective, but it comes with a few challenges. First, it requires consistency. One-time fixes won’t cut it. Just like you wouldn’t brush your teeth once and forget it, drain maintenance has to be a habit. Second, you may encounter deeper problems that simple DIY methods can't solve—like tree root intrusion, damaged pipes, or long-standing grease clogs. In these cases, professional tools like snaking or hydro jetting may be necessary. Finally, not all products work for every type of drain. Enzyme cleaners may be perfect for organic buildup but won’t help with mineral deposits or foreign objects. You’ll need to understand your system and use the right tools at the right time. Expert Advice: What Plumbers Recommend for Homeowners Most plumbers agree on one thing: Prevention is cheaper and easier than repairs. They often recommend homeowners adopt a monthly maintenance routine and take steps to avoid the most common clogging culprits. Grease is one of the worst offenders. Never pour it down the drain, even if you flush it with hot water. Instead, collect it in a jar and dispose of it in the trash. Similarly, hair may seem harmless, but it binds with soap and forms heavy clumps that are hard to dislodge. Experts also recommend keeping a plunger and drain snake handy for minor clogs. These manual tools are your first line of defense and often solve problems without the need for chemicals or a professional visit. Preventive Habits That Make All the Difference Incorporating small habits into your routine can have a big impact. Run hot water for a few seconds after using the sink to help push residue through. Don’t treat your garbage disposal like a trash can—avoid fibrous foods like celery, eggshells, and coffee grounds. Always dispose of hygiene products in the trash, no matter what the label says. And when in doubt, install a catch-all filter. By combining these habits with monthly enzyme treatments and occasional deep cleaning, you can keep your entire drain system running like new. Conclusion: Stay Ahead of Clogs with Simple, Smart Maintenance Taking care of your drains doesn’t require fancy tools or a plumber on speed dial. It’s about adopting a mindset of prevention and following through with simple, consistent actions. From flushing with hot water to monthly enzyme cleanings and mindful kitchen habits, DIY drain maintenance is both achievable and impactful. By investing just a little time each week, you can save yourself the frustration, cost, and mess of clogged pipes later on. So start today—your future self (and your plumbing) will thank you
by Youmna Rehman 1 May 2025
While harsh chemical cleaners might seem like the quick fix, they can actually cause more harm than good by corroding pipes and harming the environment. That’s where enzyme cleaners come into the picture. They offer a natural, effective way to clean and maintain drains without introducing toxins into your home. In this guide, we’ll explore what enzyme drain cleaners are, how they work, the best options available, how to use them effectively, and how to prevent future issues altogether. For professional plumbing services, please reach out to us!
by Youmna Rehman 1 May 2025
If you’ve ever faced a slow-draining sink, a gurgling toilet, or water pooling in the shower, you already know how frustrating drain issues can be. While some minor clogs can be tackled with a plunger or homemade remedy, more stubborn blockages demand professional intervention. That’s where two popular methods come into play: drain snaking and hydro jetting. Both techniques aim to restore normal water flow, but they use completely different tools, levels of force, and strategies. Choosing the wrong one can lead to a temporary fix—or worse, damage to your plumbing system. In this guide, we’ll walk you through everything you need to know to make an informed decision. We’ll break down what each method does, when it’s best used, and how it holds up in the long run.
More posts