How to Properly Install a New Sink Drain Assembly?
Installing a new sink drain assembly is a fundamental plumbing task that can improve the functionality and longevity of your sink. Whether you are replacing a worn-out drain or upgrading to a more efficient model, understanding the installation process is essential for a successful and leak-free outcome. This article provides a detailed, professional guide on how to install a new sink drain assembly, covering necessary tools, step-by-step instructions, and useful tips. Alongside, we will touch on related plumbing topics such as how to clear a clogged outdoor drain, sump pump repairs, and when to seek help from trusted experts like All City Plumbers.
Tools and Materials Needed
Before starting the installation, gather all the necessary tools and materials to ensure a smooth process. You will need:
- A new sink drain assembly kit (including drain flange, rubber gaskets, washers, locknut, and tailpiece)
- Adjustable wrench or slip-joint pliers
- Plumber’s putty or silicone sealant
- Bucket or container to catch water
- Towels or rags for cleanup
- Screwdriver (if needed for your specific drain model)
Having these tools ready will help you work efficiently and avoid interruptions.
Preparing for Installation
Begin by clearing the area under your sink. Place a bucket beneath the drain to catch any residual water when you disconnect the old drain assembly. Turn off the water supply valves to prevent accidental leaks during the process.
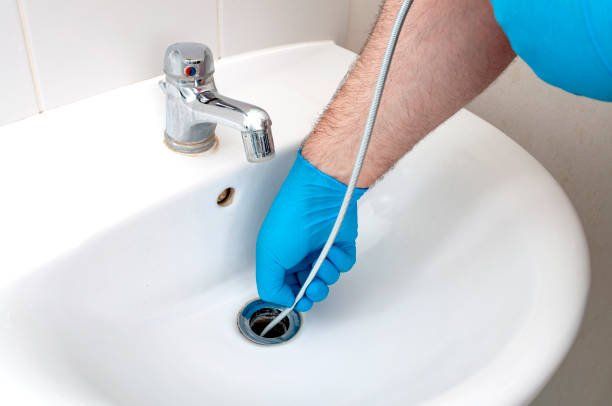
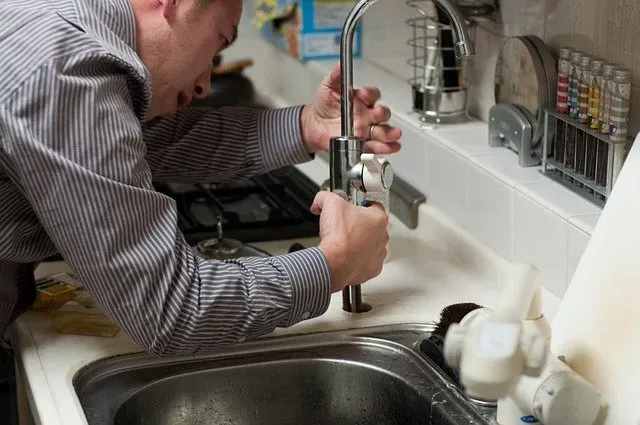
If you are replacing an existing drain, start by loosening and removing the old drain assembly. Use an adjustable wrench or pliers to unscrew the slip nuts connecting the drain pipes. Carefully detach the drain flange from the sink basin, removing any old plumber’s putty or sealant residue to prepare a clean surface for the new installation.
Step-by-Step Installation Process
Step 1: Apply Plumber’s Putty or Sealant
Take a small amount of plumber’s putty and roll it into a rope shape. Apply it evenly around the underside of the new drain flange—the part that will sit inside the sink basin. This creates a watertight seal between the flange and the sink surface. Alternatively, you can use silicone sealant if preferred.
Step 2: Insert the Drain Flange
Insert the drain flange into the sink’s drain hole, pressing it firmly to ensure the putty or sealant spreads evenly and seals the gap. From beneath the sink, position the rubber gasket and friction ring onto the drain flange’s threaded tailpiece.
Step 3: Secure the Drain Assembly
Thread the locknut onto the tailpiece and tighten it by hand initially. Use an adjustable wrench or pliers to tighten the locknut further, securing the drain flange firmly against the sink. Be careful not to overtighten, as this could damage the sink or strip the threads.
Step 4: Attach the Tailpiece and Drain Pipes
Connect the tailpiece to the existing drain pipes using slip nuts and washers. Ensure all connections are snug and properly aligned to avoid leaks. If your sink has a P-trap, reattach it securely to the tailpiece and drain line.
Step 5: Test for Leaks
Turn on the water supply and run water through the sink. Inspect all connections carefully for any signs of leaks. If you notice water dripping, tighten the connections slightly or apply additional plumber’s putty or sealant as needed.
Additional Plumbing Maintenance Tips
While working on your sink drain, it’s a good opportunity to review other plumbing components. For example, if you experience drainage issues outdoors, learning how to clear a clogged outdoor drain can prevent water buildup and damage to your property. Similarly, maintaining your home’s sump pump through regular sump pump repairs can protect your basement from flooding.
If you encounter complex plumbing issues beyond your comfort level, or if leaks persist despite your efforts, it’s wise to consult professional plumbers. Trusted companies like All City Plumbers provide expert service and can handle installations, repairs, and maintenance efficiently and safely.
Conclusion
Installing a new sink drain assembly is a manageable project that enhances your sink’s performance and prevents leaks. By following the detailed steps outlined above and using the right tools, you can complete the installation confidently and effectively. Remember to check for leaks after installation and maintain your plumbing system regularly to avoid future problems.
For more complicated plumbing challenges or peace of mind, don’t hesitate to reach out to professionals such as All City Plumbers. Proper maintenance and timely repairs, whether for your sink drain, outdoor drainage, or sump pump, ensure your home’s plumbing remains reliable and efficient.

