How to Properly Install a New Bathroom Faucet?
Installing a new bathroom faucet is a rewarding home improvement project that can enhance the look and functionality of your bathroom. Whether you are upgrading an outdated fixture or replacing a faulty one, proper installation is key to ensuring leak-free operation and long-lasting performance. This detailed guide will walk you through every step of the process, from preparation to final testing, while also touching on related plumbing topics such as how to fix a slow draining dishwasher, the importance of sump pump repairs, and when to seek emergency services. For complex plumbing needs or professional assistance, trusted experts like All City Plumbers are always ready to help.
Preparing for Installation: Tools and Precautions
Before beginning the installation, it is essential to gather all necessary tools and materials. Typically, you will need an adjustable wrench, plumber’s putty, Teflon tape, a basin wrench, and a screwdriver. Having these on hand ensures a smooth workflow and prevents interruptions. Additionally, turn off the water supply valves under the sink to avoid accidental flooding. If your bathroom lacks individual shut-off valves, you may need to turn off the main water supply to the house.
Removing the old faucet carefully is the next step. This involves disconnecting the water supply lines and unscrewing mounting nuts from beneath the sink. It is advisable to place a bucket or towels underneath to catch any residual water. Once the old faucet is removed, thoroughly clean the sink surface to remove any old putty, grime, or debris. A clean surface ensures a proper seal for the new faucet and prevents leaks.
Understanding Faucet Types and Sink Configurations
Bathroom faucets come in various styles, including single-handle, centerset, and widespread models. The number of holes in your sink or vanity top will influence which faucet type you can install. Single-handle faucets typically require one hole, centerset faucets usually need three holes spaced four inches apart, and widespread faucets can have three holes spaced up to sixteen inches apart.
Before purchasing your new faucet, measure your sink’s hole configuration carefully. This will save time and money by ensuring compatibility. Some faucets come with an optional base plate (escutcheon) to cover extra holes, which is useful if you are replacing a faucet with a different hole count.
Installing the New Faucet: Step-by-Step Process
Begin by applying a small bead of plumber’s putty or a rubber gasket (if provided) around the base of the faucet or escutcheon. This creates a watertight seal between the faucet and the sink surface. Insert the faucet assembly through the sink holes, ensuring the hot and cold water valves are correctly aligned—typically, the hot valve is on the left and the cold on the right.
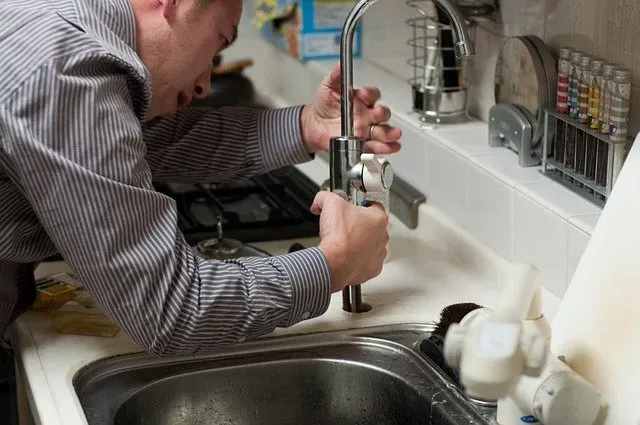
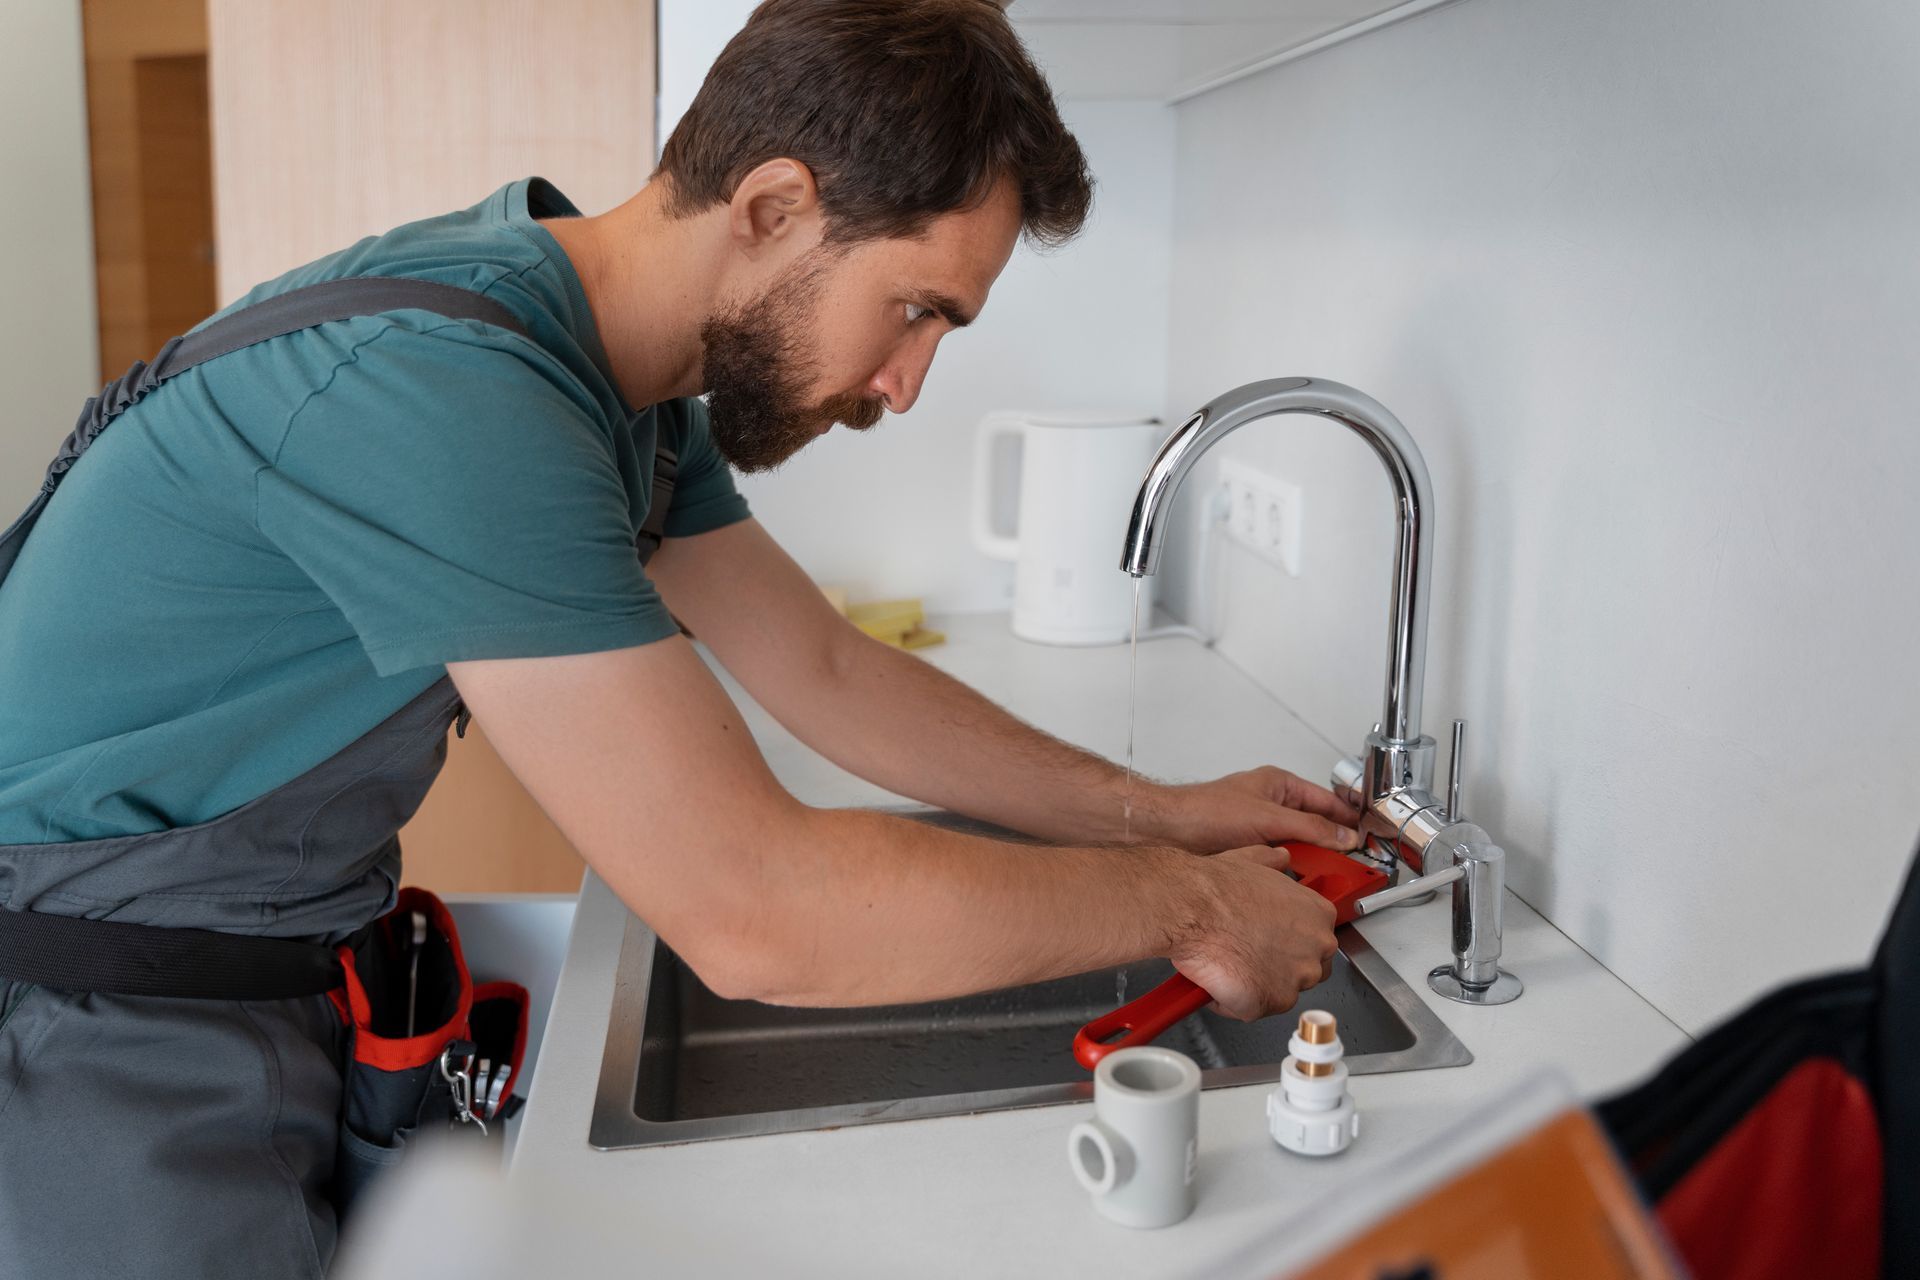
From beneath the sink, secure the faucet by threading mounting nuts onto the valve assemblies. Use a basin wrench or adjustable wrench to tighten these nuts firmly but avoid overtightening, which can damage components or warp the sink. Next, attach the water supply lines to the faucet valves. Wrap the threaded ends with Teflon tape to ensure a leak-free connection, then tighten the fittings with an adjustable wrench.
If your faucet includes a pop-up drain assembly, now is the time to install it. Apply plumber’s putty around the drain flange and insert it into the drain hole. Secure the drain assembly from underneath and connect the pivot rod to the pop-up lever on the faucet. Adjust the pivot rod to ensure smooth operation of the drain stopper.
Testing and Troubleshooting
Once all connections are secure, turn the water supply back on slowly and check for leaks. Open both hot and cold faucets fully to flush out any debris and verify water flow. Inspect all joints and fittings closely for drips or moisture. If you detect any leaks, tighten the connections carefully or reapply plumber’s putty or Teflon tape as needed.
Proper faucet installation also contributes to preventing common plumbing issues. For example, a well-installed faucet reduces the risk of water pooling and helps maintain proper drainage, which can indirectly help fix a slow draining dishwasher by preventing backflow or clogs in the shared drain lines.
Additional Plumbing Considerations
While installing a faucet may seem straightforward, it is important to consider the broader plumbing system. Regular sump pump repairs, for instance, are vital to prevent basement flooding that can affect multiple fixtures, including bathroom sinks. Furthermore, in case of unexpected plumbing failures or complex installations, emergency services may be necessary to avoid water damage or prolonged downtime.
Professional plumbers like All City Plumbers not only provide expert faucet installation but also offer comprehensive plumbing maintenance and repair services. Their expertise ensures that your plumbing system functions efficiently and reliably.
Conclusion
Properly installing a new bathroom faucet requires careful preparation, attention to detail, and understanding of plumbing fundamentals. By following this detailed guide, you can achieve a professional-quality installation that enhances your bathroom’s appearance and functionality. Remember to test thoroughly for leaks and maintain your plumbing system to prevent future issues. When in doubt or faced with complicated repairs, do not hesitate to contact trusted professionals such as All City Plumbers to ensure your home’s plumbing remains in top condition.

