How to Properly Fix a Leaky Pipe Under Your Sink?
A leaky pipe under the sink is one of the most common yet disruptive household plumbing issues. Left unaddressed, even a small drip can lead to water damage, mold growth, and increased utility bills. Repairing a leaky pipe promptly not only preserves the integrity of your home but also contributes to overall plumbing efficiency and energy savings. This comprehensive guide will walk you through the causes, diagnosis, repair steps, and preventative measures for leaks under your sink, while also highlighting related plumbing best practices such as how to insulate exposed pipes for energy saving, the importance of expansion tanks, and when to call trusted professionals like All City Plumbers.
Understanding the Causes of a Leaky Pipe
Leaky pipes beneath the sink can result from a variety of issues. The most common causes include worn-out washers or gaskets, loose or corroded fittings, cracked pipes, or faulty seals around joints. In kitchens, leaks often occur at the P-trap or U-bend, while in bathrooms, supply lines and drain pipes are frequent culprits. Over time, exposure to moisture, temperature fluctuations, and household chemicals can degrade pipe materials and connections, making regular inspection and maintenance essential.
Diagnosing the Leak
Before attempting any repairs, it is crucial to accurately identify the source of the leak. Start by removing items from under the sink and drying the area with a towel. Turn on the faucet and observe where water begins to drip or pool. Common leak points include the connection between the sink drain and the P-trap, the joints between pipe sections, and the shut-off valves or supply lines.
If the leak is slow, you may need to run water for several minutes or fill the sink and then release the drain to reveal the problem area. Mark the leak’s location with painter’s tape or a marker to ensure you address the correct spot during repairs.
Essential Tools and Materials
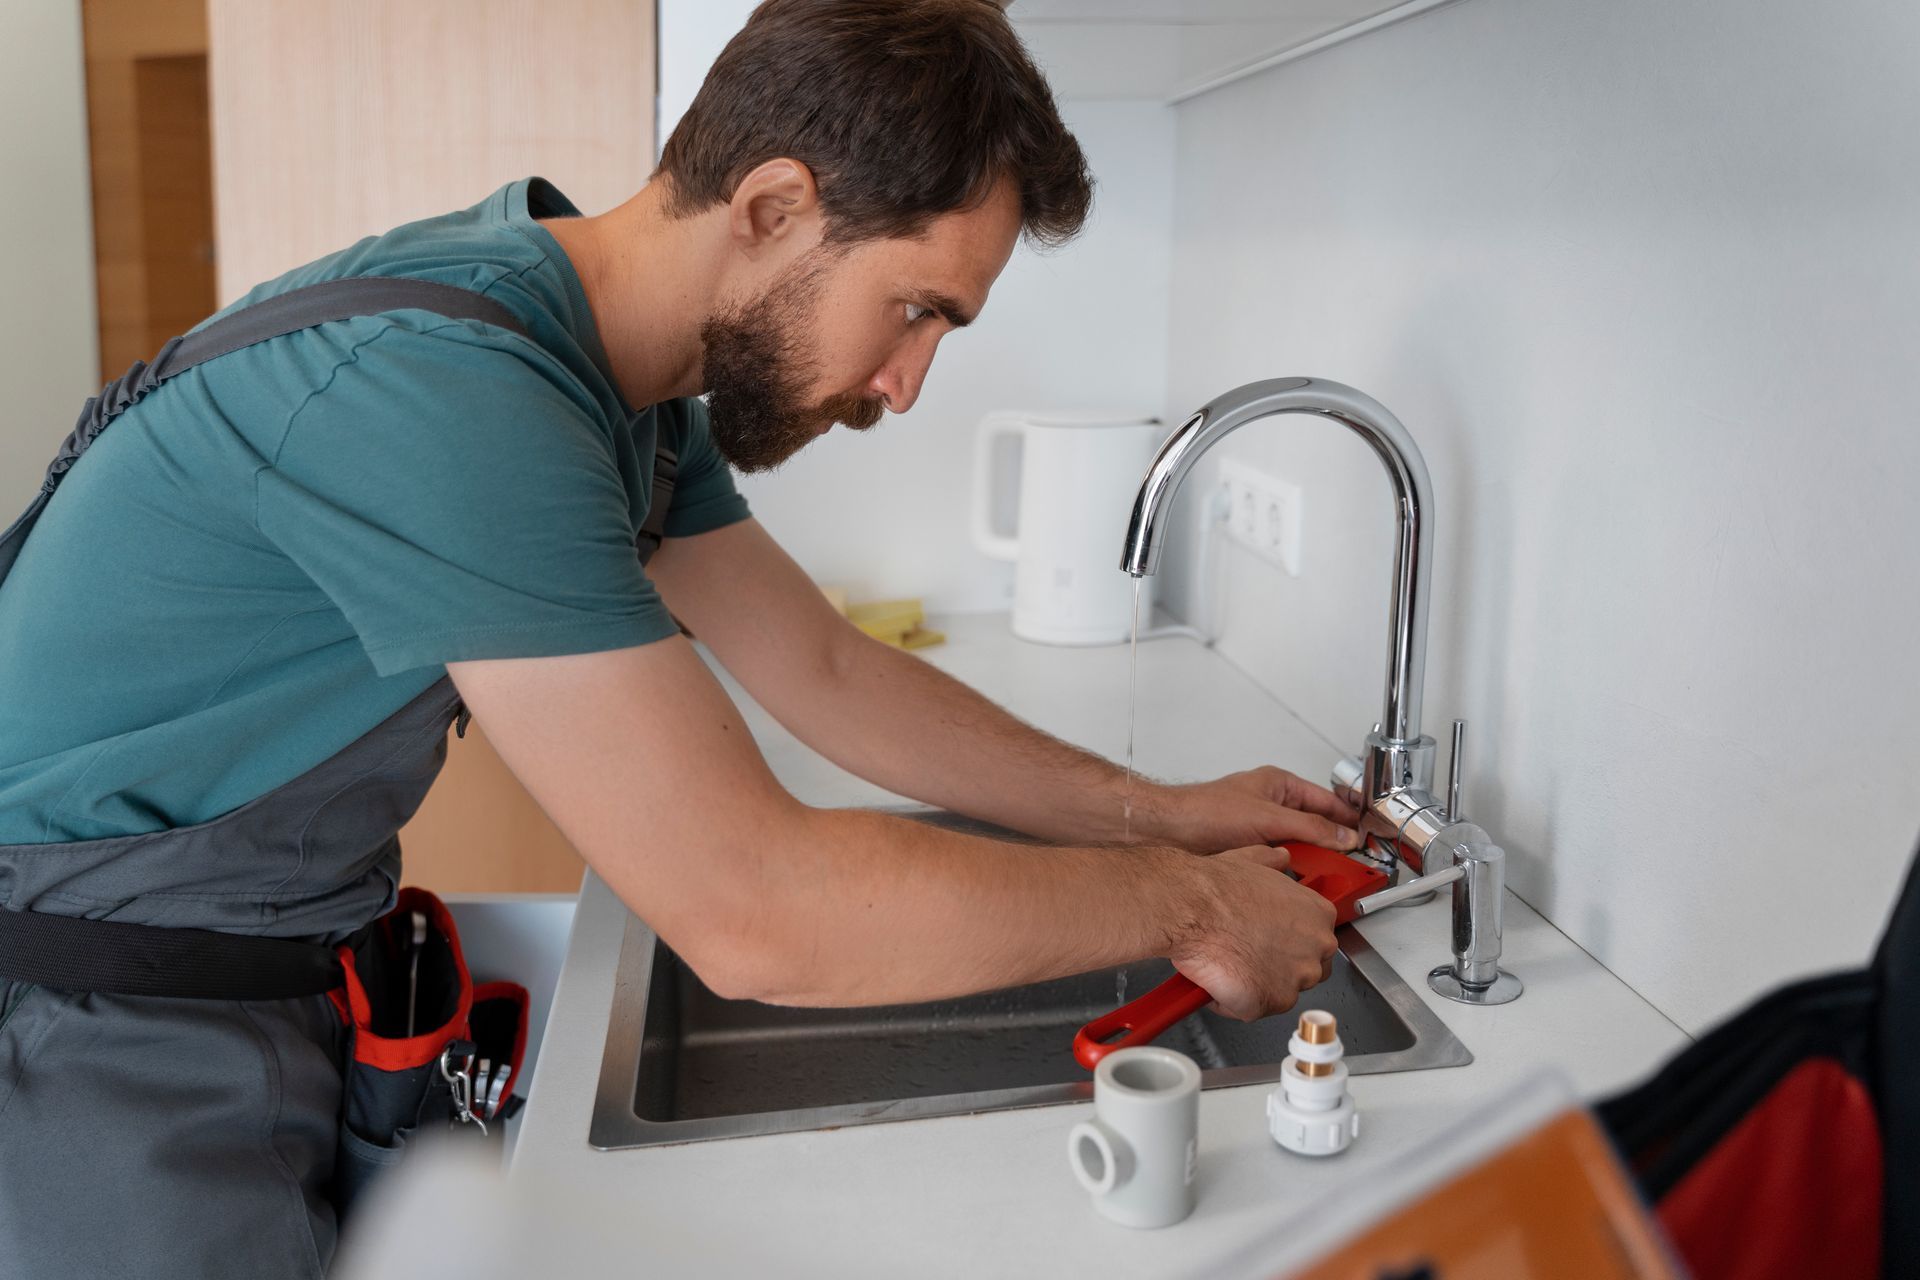
To fix a leaky pipe under your sink, gather several essential tools and supplies. An adjustable wrench is necessary for loosening and tightening nuts and fittings. A pipe wrench or channel lock pliers provide additional grip and leverage for stubborn connections. Replacement washers, gaskets, or pipe sections may be needed depending on the source of the leak. Plumber’s tape, also known as Teflon tape, helps create watertight seals on threaded connections. A bucket or towels are useful to catch water during the repair process, and pipe joint compound or plumber’s putty can assist in sealing joints. A flashlight is also helpful for visibility in the often cramped and dim space under the sink.
Having these tools on hand will streamline the repair process and help you achieve a lasting fix.
Step-by-Step Repair Guide
The first step in repairing a leaky pipe is to turn off the water supply. Most sinks have shut-off valves located under the basin; turning these clockwise until tight will stop the flow of water. If the valves are stuck or absent, it may be necessary to turn off the main water supply to your home.
Next, place a bucket under the leaky pipe to catch any residual water. Open the faucet to relieve pressure and drain any remaining water from the pipes. Use towels to dry the area thoroughly, as a clean, dry surface is essential for effective repairs.
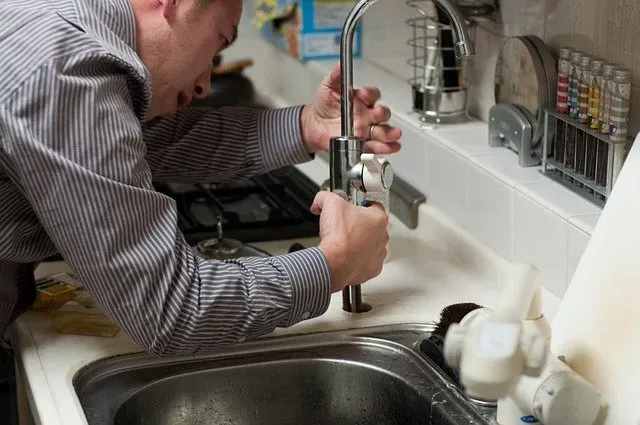
Many leaks are caused by loose slip nuts or fittings. Use an adjustable wrench or pliers to gently tighten all visible connections, including the P-trap, supply lines, and drain fittings. It is important to avoid overtightening, as this can damage plastic components or strip threads.
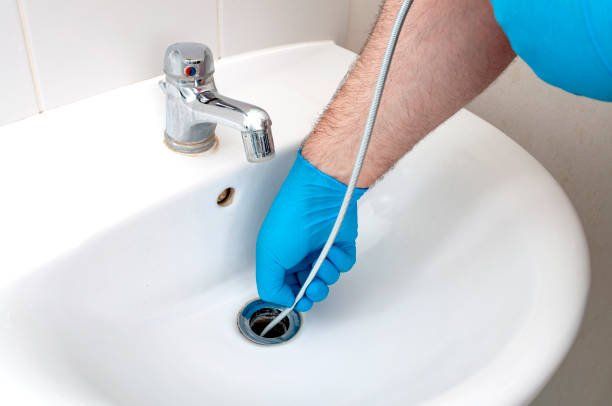
If tightening does not resolve the leak, disassemble the affected section of pipe. Carefully remove the slip nut and separate the pipe joints. Inspect washers and gaskets for signs of wear, cracking, or deformation. Replace any damaged components with new ones of the correct size and material.
In cases where the pipe itself is cracked or corroded, replacement may be necessary. Measure the damaged section and purchase a matching replacement from your local hardware store. For PVC pipes, use a hacksaw to cut out the damaged area and connect the new section with appropriate couplings and plumber’s tape. For metal pipes, ensure all threads are clean and apply pipe joint compound before reassembly.
Once repairs are complete, reassemble the pipework, ensuring all washers and gaskets are properly seated. Hand-tighten all connections, then use a wrench for a final, gentle turn. Remove the bucket, turn the water supply back on, and run the faucet to test for leaks. Wipe the pipes dry and observe for several minutes to confirm the repair is successful.
Preventative Measures and Energy Efficiency
Addressing a leaky pipe is only part of maintaining a healthy plumbing system. To prevent future leaks and improve energy efficiency, consider additional best practices.
Insulating exposed pipes under your sink and throughout your home can significantly reduce heat loss, prevent freezing in cold climates, and minimize condensation that leads to corrosion. Pipe insulation is especially important for hot water lines, as it helps maintain water temperature and reduces energy consumption. Proper insulation also supports the longevity of your plumbing system by protecting pipes from temperature extremes.
If your plumbing system includes a water heater, installing expansion tanks can help manage pressure fluctuations. Expansion tanks absorb excess pressure caused by thermal expansion when water is heated, reducing the risk of leaks, bursts, and premature wear on pipes and fittings. Regular inspection of expansion tanks and associated piping is essential for maintaining system integrity and preventing future leaks.
When to Call All City Plumbers
While many minor leaks can be repaired by homeowners, certain situations require professional expertise. If you encounter persistent leaks, extensive corrosion, water damage, or suspect hidden issues within walls or floors, it is wise to contact a licensed plumber. All City Plumbers offers comprehensive diagnostic and repair services, including advanced leak detection, pipe replacement, and system upgrades. Their experienced technicians can also advise on energy-saving measures such as pipe insulation and the installation of expansion tanks, ensuring your plumbing system operates safely and efficiently.
Maintenance Tips for Lasting Results
After repairing a leaky pipe, perform regular inspections under your sink to catch new leaks early. Look for signs of moisture, corrosion, or mold, and address any issues promptly. Keep the area under the sink clean and free from clutter to facilitate easy access and visibility. Periodically check pipe insulation and expansion tanks to ensure they remain in good condition.
Conclusion
Fixing a leaky pipe under your sink is a vital task that protects your home from water damage, conserves resources, and enhances energy efficiency. By following a systematic approach to diagnosis and repair, insulating exposed pipes for energy saving, and maintaining critical components like expansion tanks, you can ensure the long-term health of your plumbing system. For complex problems or peace of mind, don’t hesitate to consult professionals like All City Plumbers, who bring expertise and reliability to every plumbing challenge. Proactive maintenance and timely repairs are the foundation of a safe, efficient, and comfortable home.

