How to Clean a Clogged Aerator on Your Faucet?
A clogged faucet aerator can significantly reduce water flow, cause uneven spray patterns, and diminish your faucet’s efficiency. Aerators are small screens attached to the tip of your faucet that mix air with water to create a smooth, splash-free stream while conserving water. Over time, mineral deposits, sediment, and debris can accumulate inside the aerator, leading to clogs. Cleaning a clogged aerator is a simple yet essential maintenance task that can restore your faucet’s performance without costly replacements.
This article provides a detailed, professional guide on how to clean a clogged aerator on your faucet. We will also briefly touch on related plumbing topics such as how to install a new faucet in your bathroom, the importance of drain clearing, and when to call trusted professionals like All City Plumbers for expert assistance.
What Is a Faucet Aerator and Why Does It Clog?
A faucet aerator is a small device screwed onto the end of a faucet spout. It contains a mesh screen and sometimes additional components that break the water flow into multiple tiny streams, mixing air into the water. This design reduces water usage and prevents splashing.
However, aerators are prone to clogging due to mineral deposits from hard water, rust particles, and sediment that accumulate over time. These blockages reduce water pressure and cause irregular flow patterns, making it necessary to clean the aerator regularly to maintain optimal faucet function.
Tools and Materials Needed
Before you begin cleaning your faucet aerator, gather the following tools and materials:
- Adjustable pliers or a wrench (preferably with a protective covering to avoid scratching the faucet)
- Masking tape or a rag (to protect the faucet finish)
- Small bowl or container
- White vinegar or a lime-dissolving solution
- Old toothbrush or small wire brush
- Toothpick, needle, or paperclip (for clearing small holes)
- Clean cloth or towel
Having these ready will help you clean the aerator efficiently and safely.
Step-by-Step Guide to Cleaning a Clogged Faucet Aerator
Step 1: Remove the Aerator
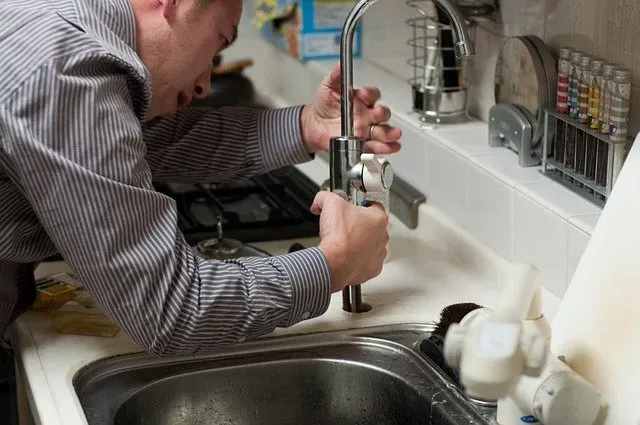
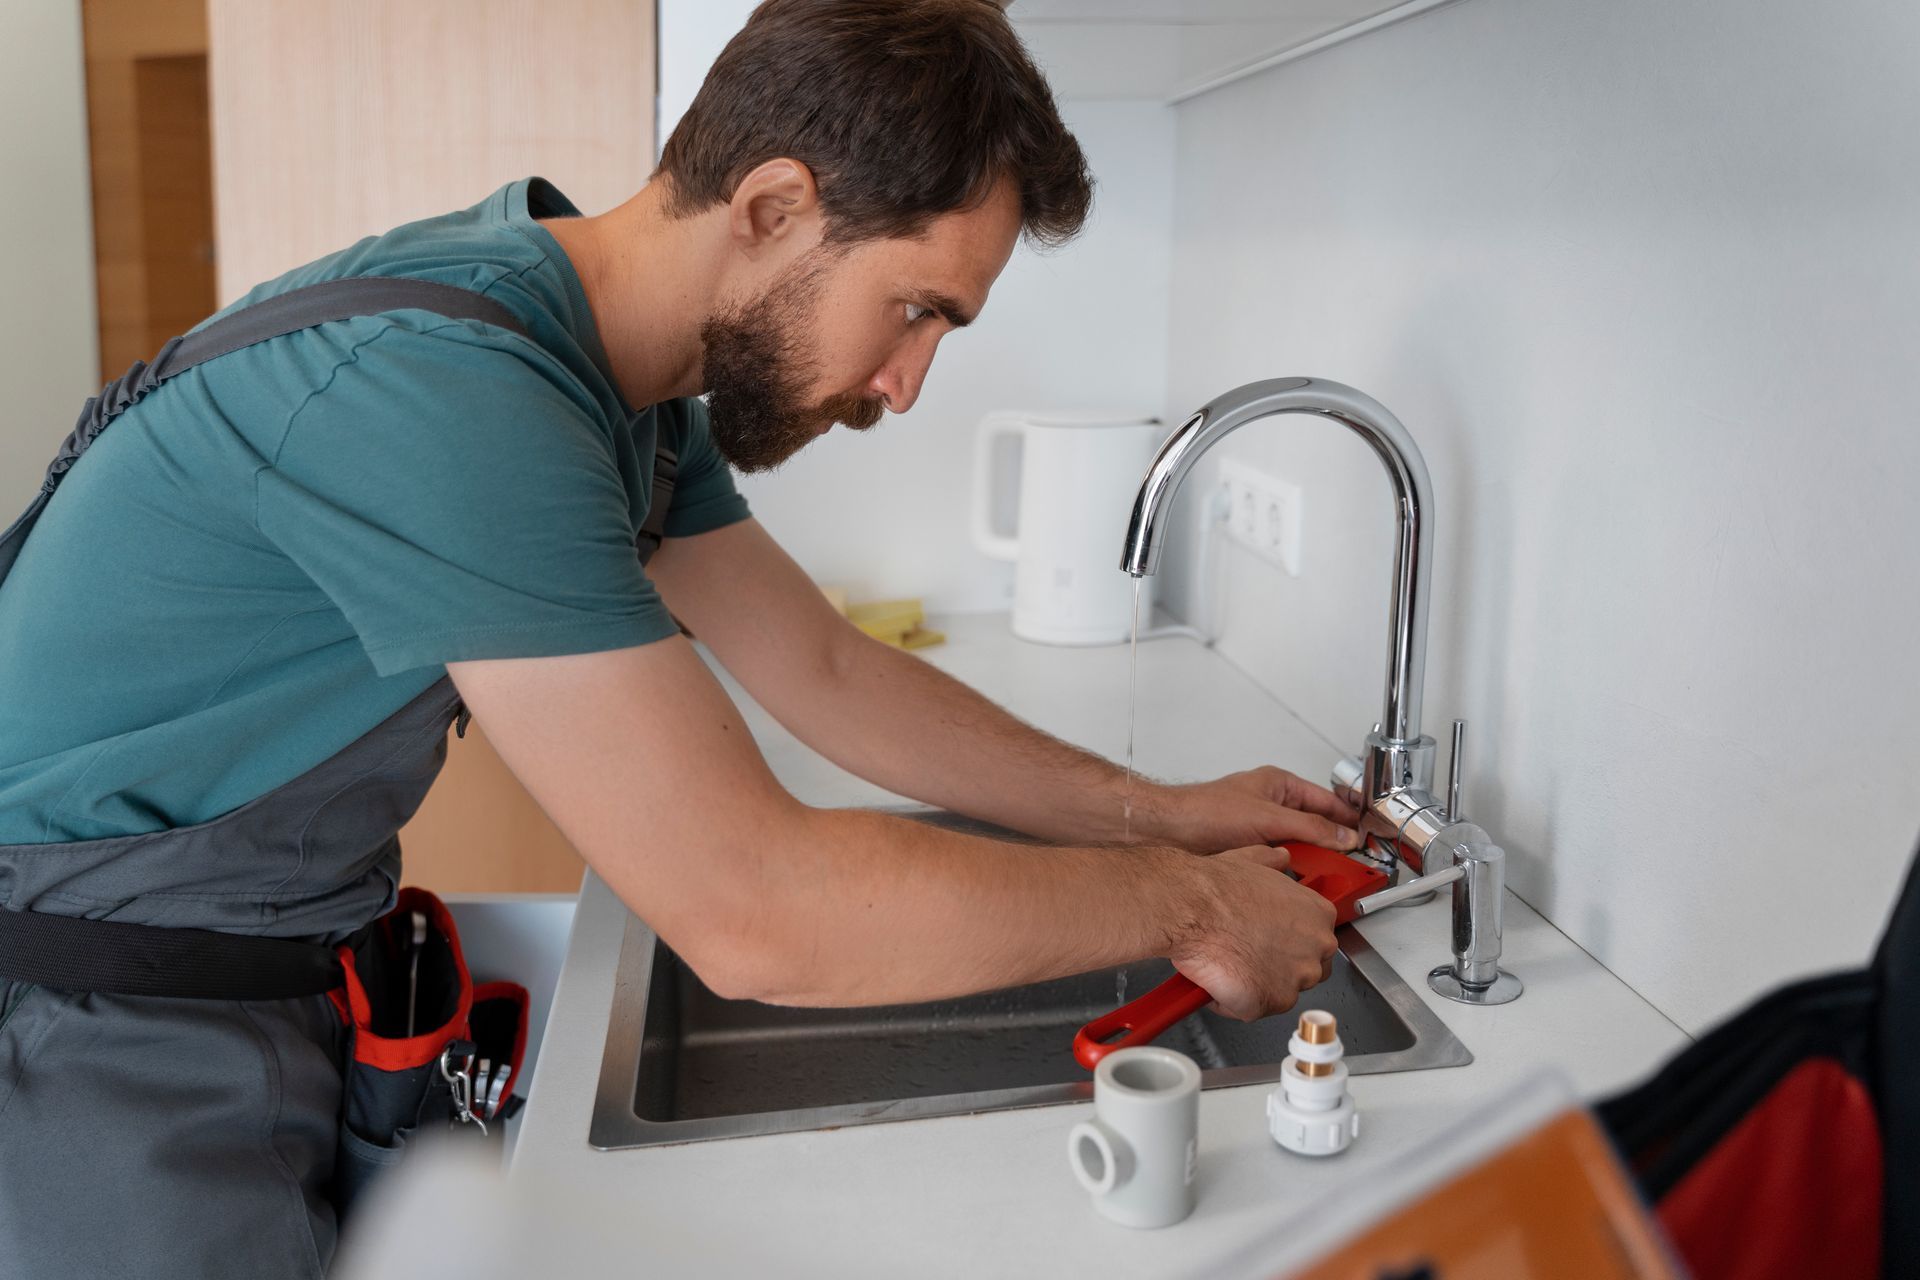
Begin by covering the drain with a rag or stopper to prevent small parts from falling down the drain. Wrap masking tape or a rag around the jaws of your pliers or wrench to protect the faucet’s finish. Grip the aerator firmly and turn it counterclockwise to unscrew it from the faucet spout. Some aerators can be removed by hand, but others may require gentle assistance with tools.
Step 2: Disassemble the Aerator
Once removed, carefully take apart the aerator components. Typically, you will find a screen, a flow restrictor, and a rubber washer or gasket. Note the order and orientation of these parts to ensure proper reassembly later. Place the parts in a small bowl to avoid losing any pieces.
Step 3: Soak the Aerator Parts
Mineral deposits and grime can be stubborn. Submerge the aerator parts in white vinegar or a lime-dissolving solution for at least 20 to 30 minutes. This soaking helps dissolve calcium buildup and other deposits that clog the tiny holes in the screen and restrictor.
Step 4: Clean the Aerator Components
After soaking, use an old toothbrush or small wire brush to scrub the aerator parts gently. Pay special attention to the mesh screen and flow restrictor, ensuring that all holes are clear. For particularly stubborn debris, use a toothpick, needle, or paperclip to carefully clear blocked holes without damaging the screen.
Step 5: Rinse and Inspect
Rinse all parts thoroughly under running water to wash away loosened deposits. Hold the screen up to the light to inspect for any remaining blockages. If needed, repeat the soaking and cleaning process until the aerator is completely clear.
Step 6: Reassemble and Reinstall the Aerator
Reassemble the aerator parts in the exact order and orientation as before. Screw the aerator back onto the faucet spout by hand, turning clockwise. Use the pliers wrapped with tape to snug the aerator securely, but avoid over-tightening, which can damage the threads or the faucet finish.
Step 7: Test the Faucet
Turn on the faucet and observe the water flow. The stream should be smooth and consistent without splashing or irregular spray. If water leaks around the aerator, tighten it slightly more.
Additional Plumbing Maintenance Tips
Regular cleaning of faucet aerators is a simple way to maintain water flow and prevent plumbing issues. If you are planning to install a new faucet in your bathroom, cleaning or replacing the aerator is often part of the process to ensure optimal performance.
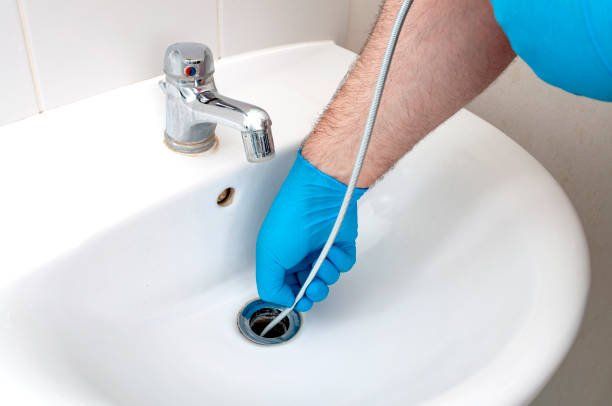
In addition, maintaining clear drains is essential. If you experience slow drainage, learning how to clear a clogged outdoor drain or performing routine drain clearing can prevent backups and water damage.
For more complex plumbing problems, such as persistent clogs or appliance repairs, professional help is invaluable. Companies like All City Plumbers offer expert services to handle installations, repairs, and maintenance efficiently and safely.
Conclusion
Cleaning a clogged faucet aerator is a straightforward task that can restore water flow and improve your faucet’s performance. By carefully removing, soaking, scrubbing, and reassembling the aerator, you can eliminate mineral buildup and debris that cause blockages. Regular maintenance of aerators, along with proper plumbing care, helps extend the life of your fixtures and ensures efficient water use.
For more extensive plumbing needs, whether it’s installing new fixtures or addressing drainage issues, trusted professionals like All City Plumbers are ready to assist. Keeping your plumbing system in top shape contributes to a comfortable and functional home environment.

