How to Effectively Replace a Sink Strainer Basket?
Replacing a sink strainer basket is a practical plumbing task that many homeowners can handle themselves with the right tools and guidance. The sink strainer basket plays a crucial role in preventing debris from clogging your drain pipes and ensuring smooth water flow. Over time, strainers can wear out, corrode, or develop leaks, necessitating replacement. This detailed guide will walk you through the process of replacing your sink strainer basket effectively, while also touching on related plumbing maintenance topics such as waterline repair and replacement and how to clean and maintain your outdoor drains. For complex issues or professional assistance, trusted experts like All City Plumbers are always available to help.
Understanding the Role of the Sink Strainer Basket
The sink strainer basket sits at the bottom of your kitchen or bathroom sink drain. Its primary function is to catch food particles, hair, and other debris, preventing them from entering the drain pipes and causing clogs. Over time, the basket can become damaged, corroded, or clogged, leading to leaks or slow drainage. Replacing the strainer basket restores the sink’s drainage efficiency and prevents water damage under the sink.
Tools and Materials Needed for Replacement
Before starting, gather the necessary tools and materials. You will typically need a replacement sink strainer basket (preferably stainless steel for durability), plumber’s putty or silicone sealant, an adjustable wrench, slip-joint pliers, a putty knife, and a bucket or towels to catch any water spills. Penetrating oil can be helpful if the locknut securing the old strainer is corroded or stuck.
Step 1: Prepare the Work Area and Remove the Old Strainer
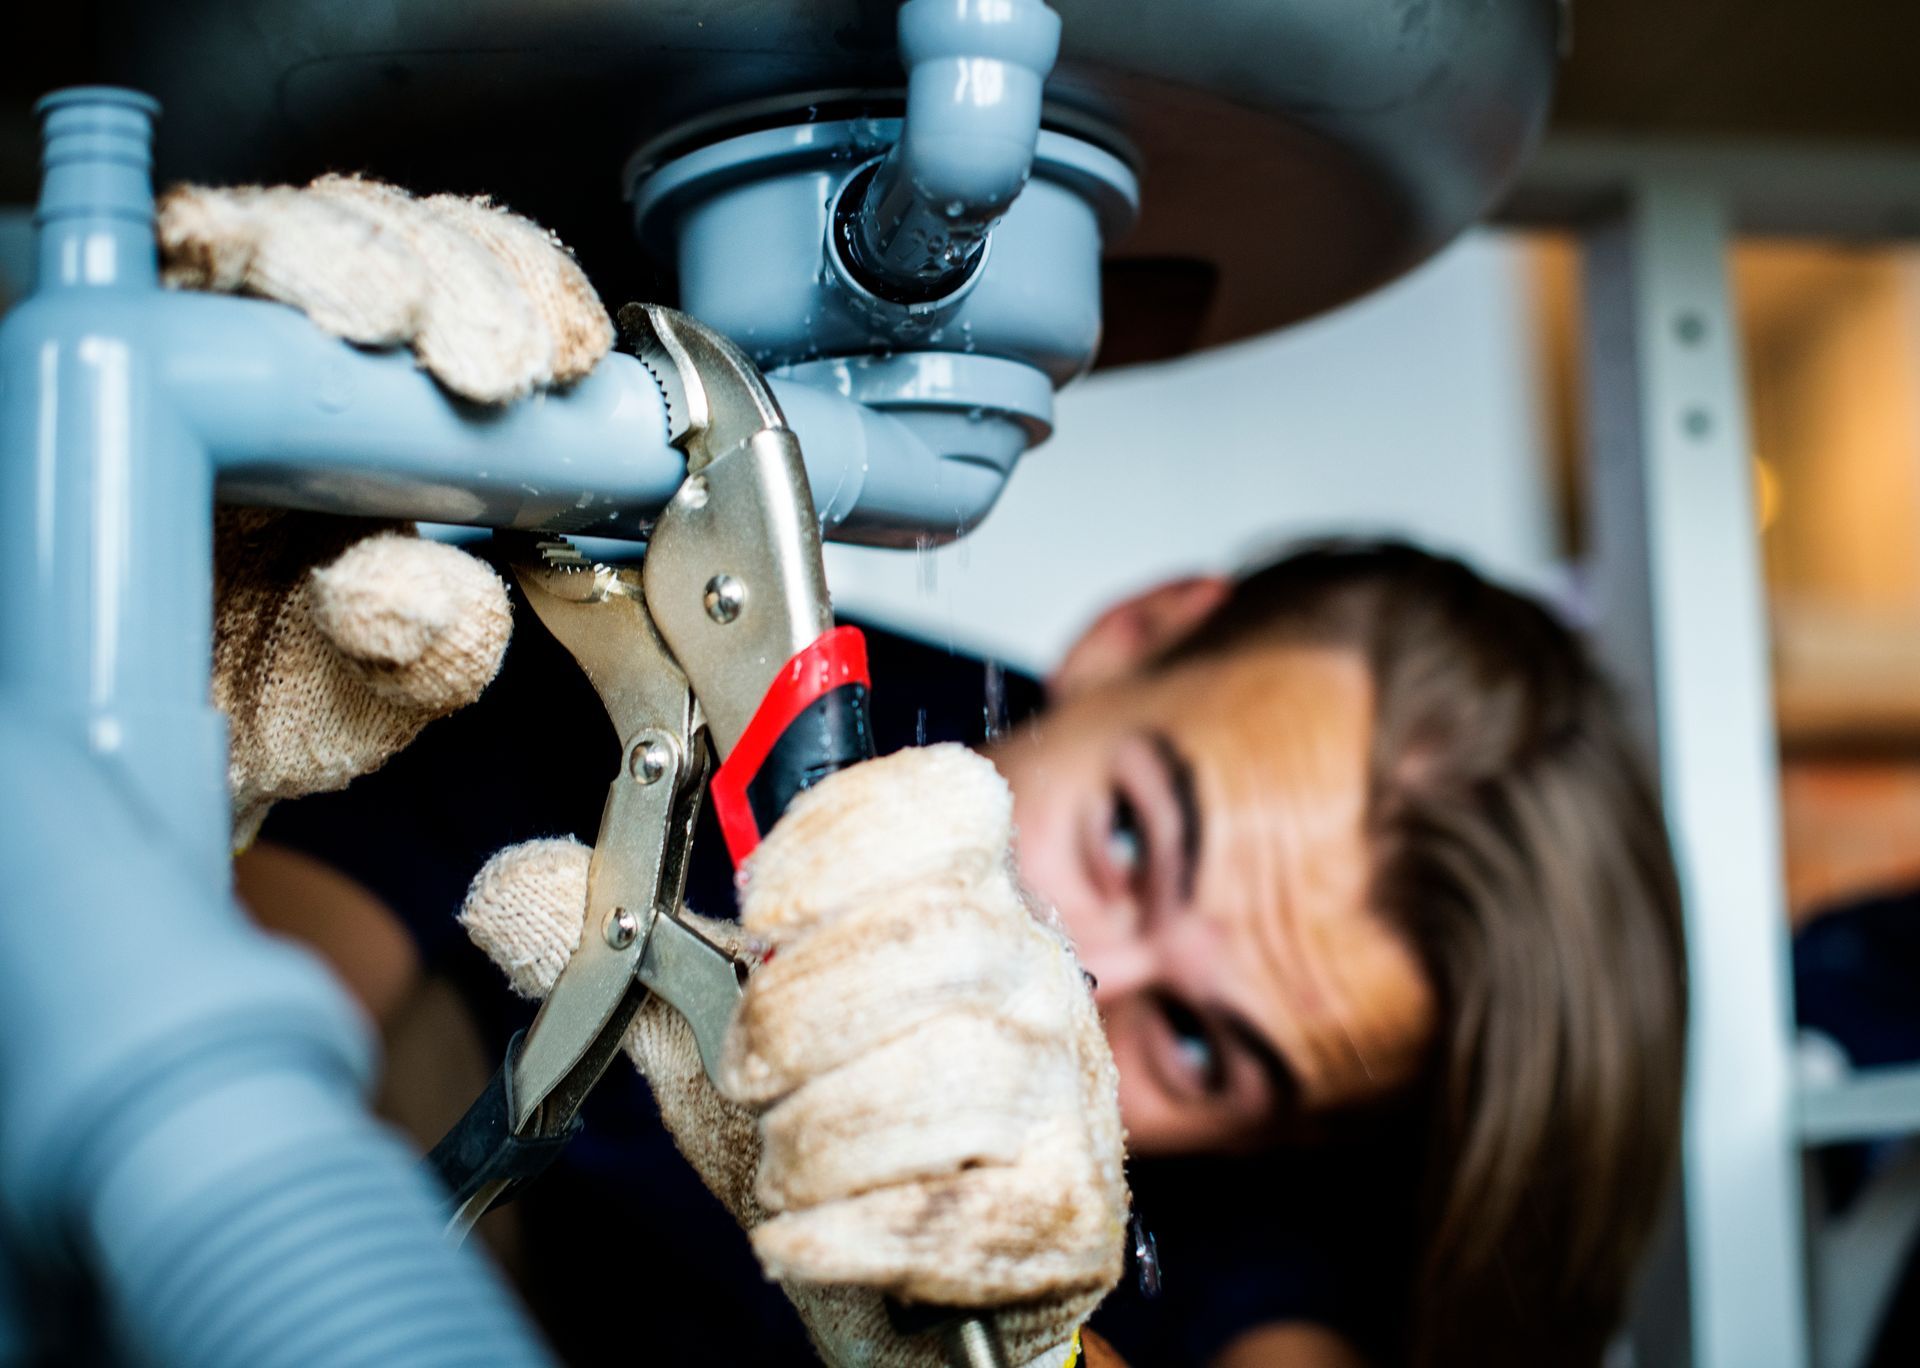
Begin by turning off the water supply to the sink to avoid accidental leaks. Place a bucket or towels beneath the sink to catch any residual water. Using pliers or an adjustable wrench, loosen and disconnect the drain pipe from the strainer assembly carefully.
Next, focus on the locknut that secures the strainer basket to the sink. This nut is located underneath the sink and can become corroded over time. Apply penetrating oil if necessary and allow it to sit for a few minutes to loosen the nut. Use a locknut wrench or pliers to turn the nut counterclockwise until it is free. Once the locknut is removed, you can push the old strainer basket up and out from the top of the sink. If it is stuck, gently pry it loose with a putty knife.
Step 2: Clean the Sink Drain Opening
After removing the old strainer, thoroughly clean the sink’s drain opening. Scrape off any old plumber’s putty or sealant with a plastic putty knife to avoid scratching the sink surface. Wipe the area clean with a damp cloth to remove any debris or residue. A clean surface ensures a watertight seal for the new strainer basket.
Step 3: Install the New Sink Strainer Basket
Roll plumber’s putty between your hands into a rope approximately ¼ inch thick. Press this putty around the underside lip of the new strainer basket. If your sink is made of stone or composite materials, use a silicone sealant instead, as plumber’s putty may cause staining.
Insert the new strainer basket into the sink drain hole, pressing firmly to create an even seal. Excess putty will squeeze out around the edges, which you should wipe away with a clean rag.
From underneath the sink, slide the rubber gasket, friction ring, and locknut onto the strainer body. Tighten the locknut securely with a wrench or pliers, but avoid overtightening to prevent damage. Hold the strainer steady from above with a screwdriver or strainer tool to maintain alignment while tightening.
Step 4: Reconnect the Drain Pipes and Test for Leaks
Reattach the drain pipe to the new strainer assembly, tightening the slip nut securely. Turn the water supply back on and run water through the sink. Check under the sink for any signs of leaks around the strainer and drain connections. If leaks appear, slightly tighten the locknut or slip nuts until the leak stops.
Additional Plumbing Considerations
Replacing a sink strainer basket is often part of broader plumbing maintenance. For example, if you experience persistent drainage issues, you may need waterline repair and replacement to address underlying pipe damage. Similarly, learning how to clean and maintain your outdoor drains can prevent clogs and water backup that affect your entire home’s plumbing system.
If you encounter difficulties during the replacement process or suspect more serious plumbing problems, professional plumbers like All City Plumbers offer expert services to ensure your plumbing functions efficiently and safely.
Conclusion
Replacing a sink strainer basket is a manageable DIY project that can enhance your sink’s performance and prevent leaks. By carefully removing the old strainer, cleaning the drain opening, and installing the new basket with proper sealing, you can achieve a durable, watertight fit. Remember to check for leaks after installation and consider broader plumbing maintenance to keep your home’s water systems in top condition. When in doubt, don’t hesitate to call professionals like All City Plumbers for reliable, expert assistance.


