How To Effectively Install A New Toilet Seat?
Installing a new toilet seat is a straightforward home maintenance task that can dramatically improve the comfort, hygiene, and appearance of your bathroom. Whether you’re upgrading for aesthetics, replacing a worn-out seat, or addressing issues such as the need to fix a loose/wobbly toilet, a proper installation ensures long-term stability and user satisfaction. This comprehensive guide will walk you through each step of the process, highlight important considerations, and explain how related plumbing elements like expansion tanks can play a role in overall bathroom function.
Understanding the Importance of a Secure Toilet Seat
A well-installed toilet seat is essential for both comfort and safety. Over time, toilet seats can become loose, cracked, or stained, detracting from your bathroom’s cleanliness and usability. A loose or unstable seat may also signal underlying problems, such as a wobbly toilet base, which should be addressed to prevent further damage. In some cases, homeowners discover the need to fix a loose/wobbly toilet during a seat replacement, making it an ideal opportunity for a thorough inspection and repair.
Gathering Tools and Preparing for Installation
Before beginning, gather the necessary tools and materials. Most toilet seat installations require only a flathead or Phillips screwdriver, an adjustable wrench, and the new seat with its included hardware. If you encounter rusted or stubborn bolts, a penetrating lubricant can help loosen them. Lay out all parts and read the manufacturer’s instructions to ensure compatibility with your toilet model.
Clean the toilet bowl rim thoroughly before installation. Removing dust, debris, and old residue ensures a secure fit for the new seat and prevents premature loosening. This is also a good time to inspect the toilet base for any signs of movement or instability, which may indicate the need to fix a loose/wobbly toilet before proceeding with the seat installation.
Removing the Old Toilet Seat
Begin by locating the bolts at the back of the existing seat. Most modern seats use plastic or metal bolts that pass through holes in the toilet bowl and are secured underneath with nuts. Hold the nuts in place with your hand or a wrench while unscrewing the bolts from above. If the bolts are corroded or difficult to remove, apply a penetrating lubricant and allow it to sit for several minutes before trying again.
Once the bolts are removed, lift the old seat and hardware away from the toilet. Clean the exposed area, paying special attention to any buildup or stains that may have accumulated around the bolt holes.
Installing the New Toilet Seat
Position the new seat over the toilet bowl, aligning the bolt holes in the seat’s hinges with those on the toilet. Insert the new bolts through the holes and secure them from underneath with the provided nuts. Tighten the bolts evenly, alternating sides to ensure the seat sits squarely on the bowl. Avoid overtightening, as this can crack the toilet or damage the seat’s hardware.
Many modern toilet seats feature quick-release mechanisms or adjustable hinges for easier installation and cleaning. Follow the manufacturer’s instructions for any additional features or adjustments. Once the seat is secure, test it by gently wiggling it from side to side and opening and closing the lid several times. If you detect any movement, tighten the bolts slightly until the seat remains firmly in place.
Addressing Related Plumbing Issues
During installation, you may notice that your toilet itself is unstable or rocks slightly. This is a common issue that often goes unnoticed until a seat replacement is underway. To fix a loose/wobbly toilet, check the floor bolts at the base of the toilet and tighten them as needed. If the movement persists, the problem may be due to an uneven floor or a deteriorated wax ring, both of which require more extensive repair.
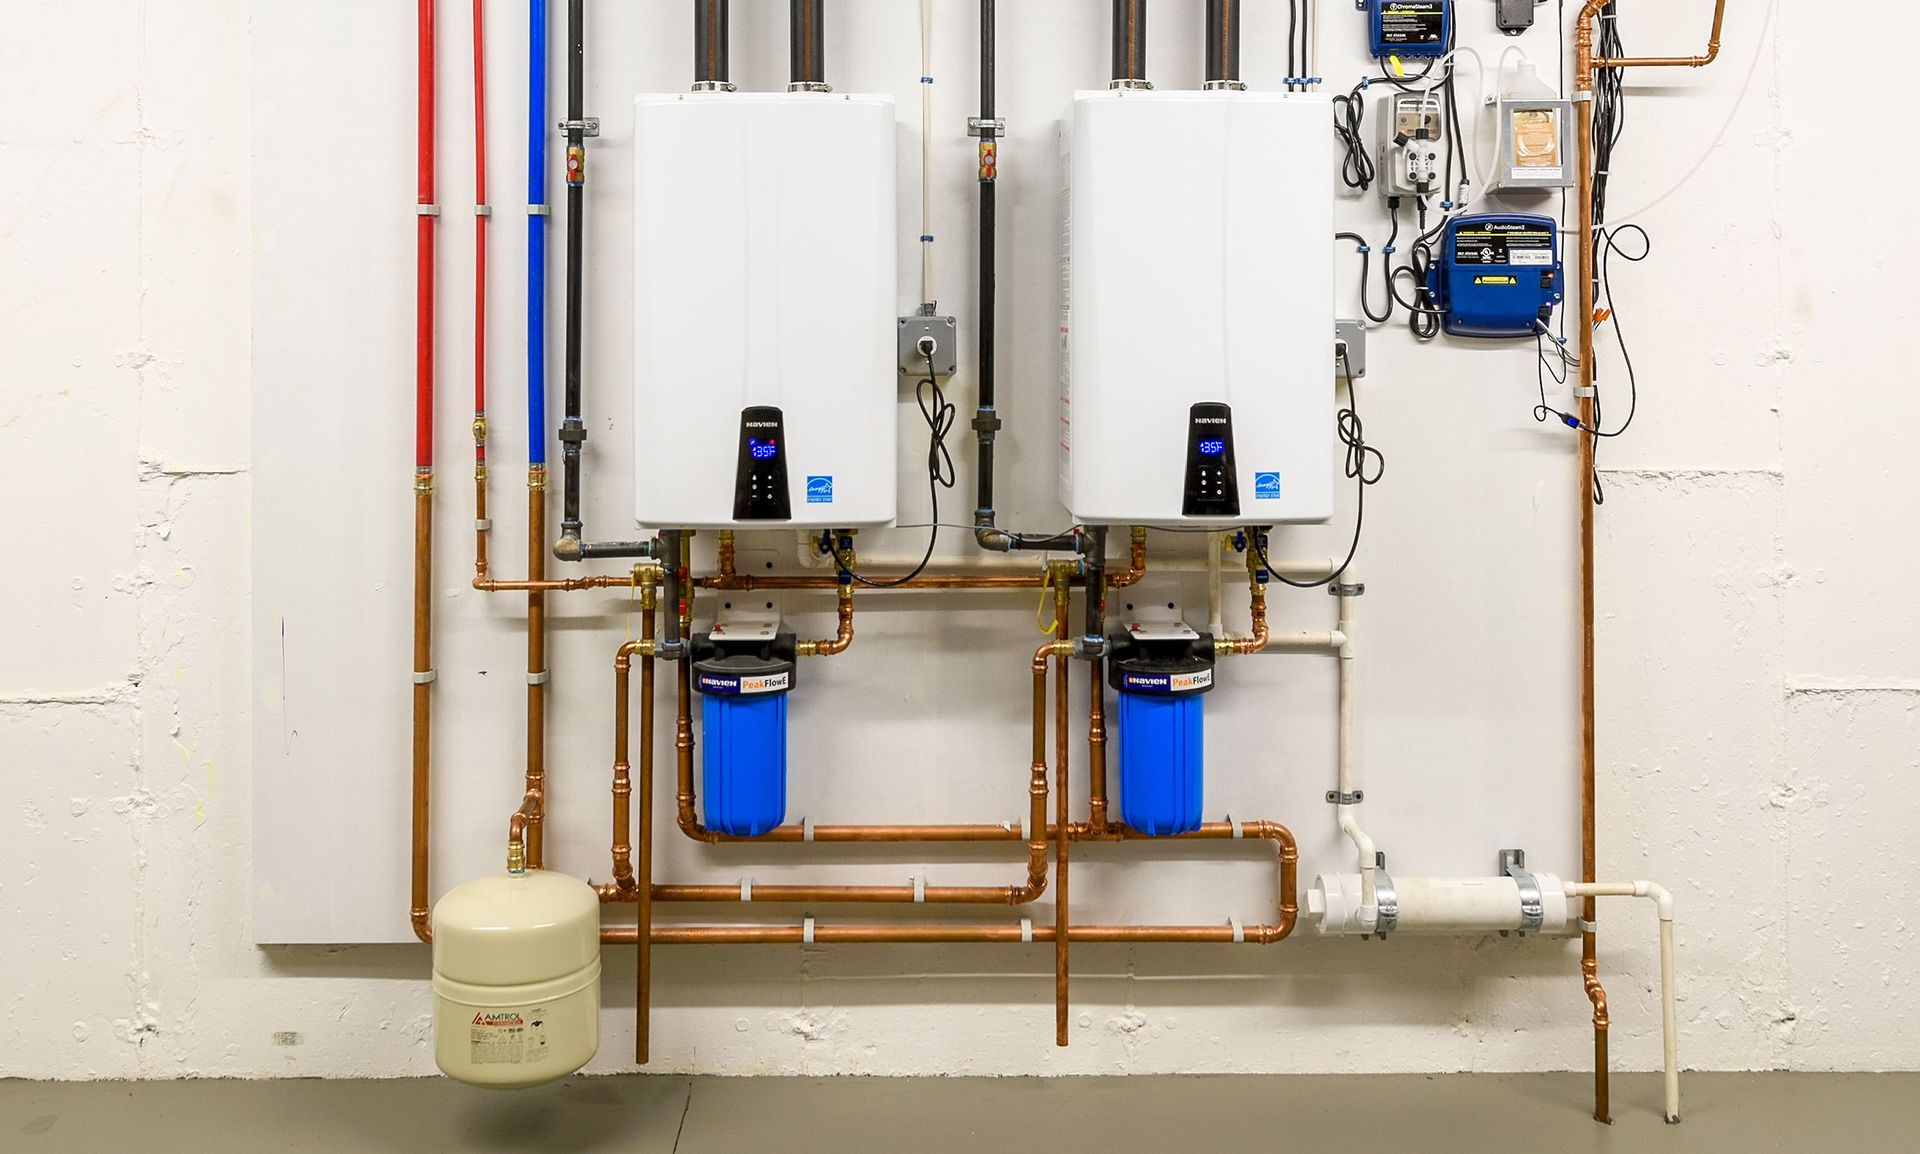
It’s also worth considering the broader plumbing system during bathroom upgrades. For example, expansion tanks are sometimes installed in homes to manage fluctuations in water pressure caused by thermal expansion. While not directly related to toilet seat installation, a properly functioning expansion tank can help prevent pressure surges that might otherwise contribute to leaks or instability in your bathroom fixtures.
Final Checks and Maintenance Tips
After installing your new toilet seat, wipe down all surfaces with a mild disinfectant to remove fingerprints and ensure a clean finish. Periodically check the seat’s bolts for tightness, especially during the first few weeks of use, as new hardware can sometimes settle or shift. Regular cleaning and prompt attention to any signs of loosening will prolong the life of your toilet seat and maintain a comfortable, hygienic bathroom environment.
Conclusion
Effectively installing a new toilet seat is a manageable project that can be completed in under an hour with basic tools and careful attention to detail. By following these steps, you ensure a stable, comfortable seat and address any underlying issues, such as the need to fix a loose/wobbly toilet, before they become major problems. Remember that related plumbing components, like expansion tanks, play a supporting role in maintaining overall bathroom performance. With routine maintenance and periodic inspections, your new toilet seat will provide years of reliable service and comfort.


