How to Prepare Your Plumbing When Going for Vacation

Hadi Masood

Preparing your plumbing before leaving for vacation is a vital step to protect your home from potential water damage, costly repairs, and inconvenient emergencies. Whether your trip is a weekend getaway or an extended absence, taking the time to properly prepare your plumbing system ensures peace of mind and safeguards your property. This comprehensive guide will walk you through the detailed steps necessary to prepare your plumbing for vacation, incorporating expert advice on leak inspections, water shutoff, drain maintenance, and more.


The Critical Need to Prepare Your Plumbing for Vacation

Leaving your home unattended means your plumbing system is vulnerable to leaks, pipe bursts, and clogs that can escalate quickly without immediate attention. Even a minor leak can waste hundreds of gallons of water and cause structural damage or mold growth. Preparing your plumbing is not just a precaution but a necessary measure to avoid returning to a costly and stressful situation. This preparation includes checking for leaks, shutting off water supplies, draining pipes, and ensuring all fixtures are secure.

The phrase "waterline repair" often comes up in emergency situations caused by unattended leaks or bursts, underscoring the importance of pre-vacation plumbing care to avoid such costly interventions.


Step 1: Shut Off the Main Water Supply

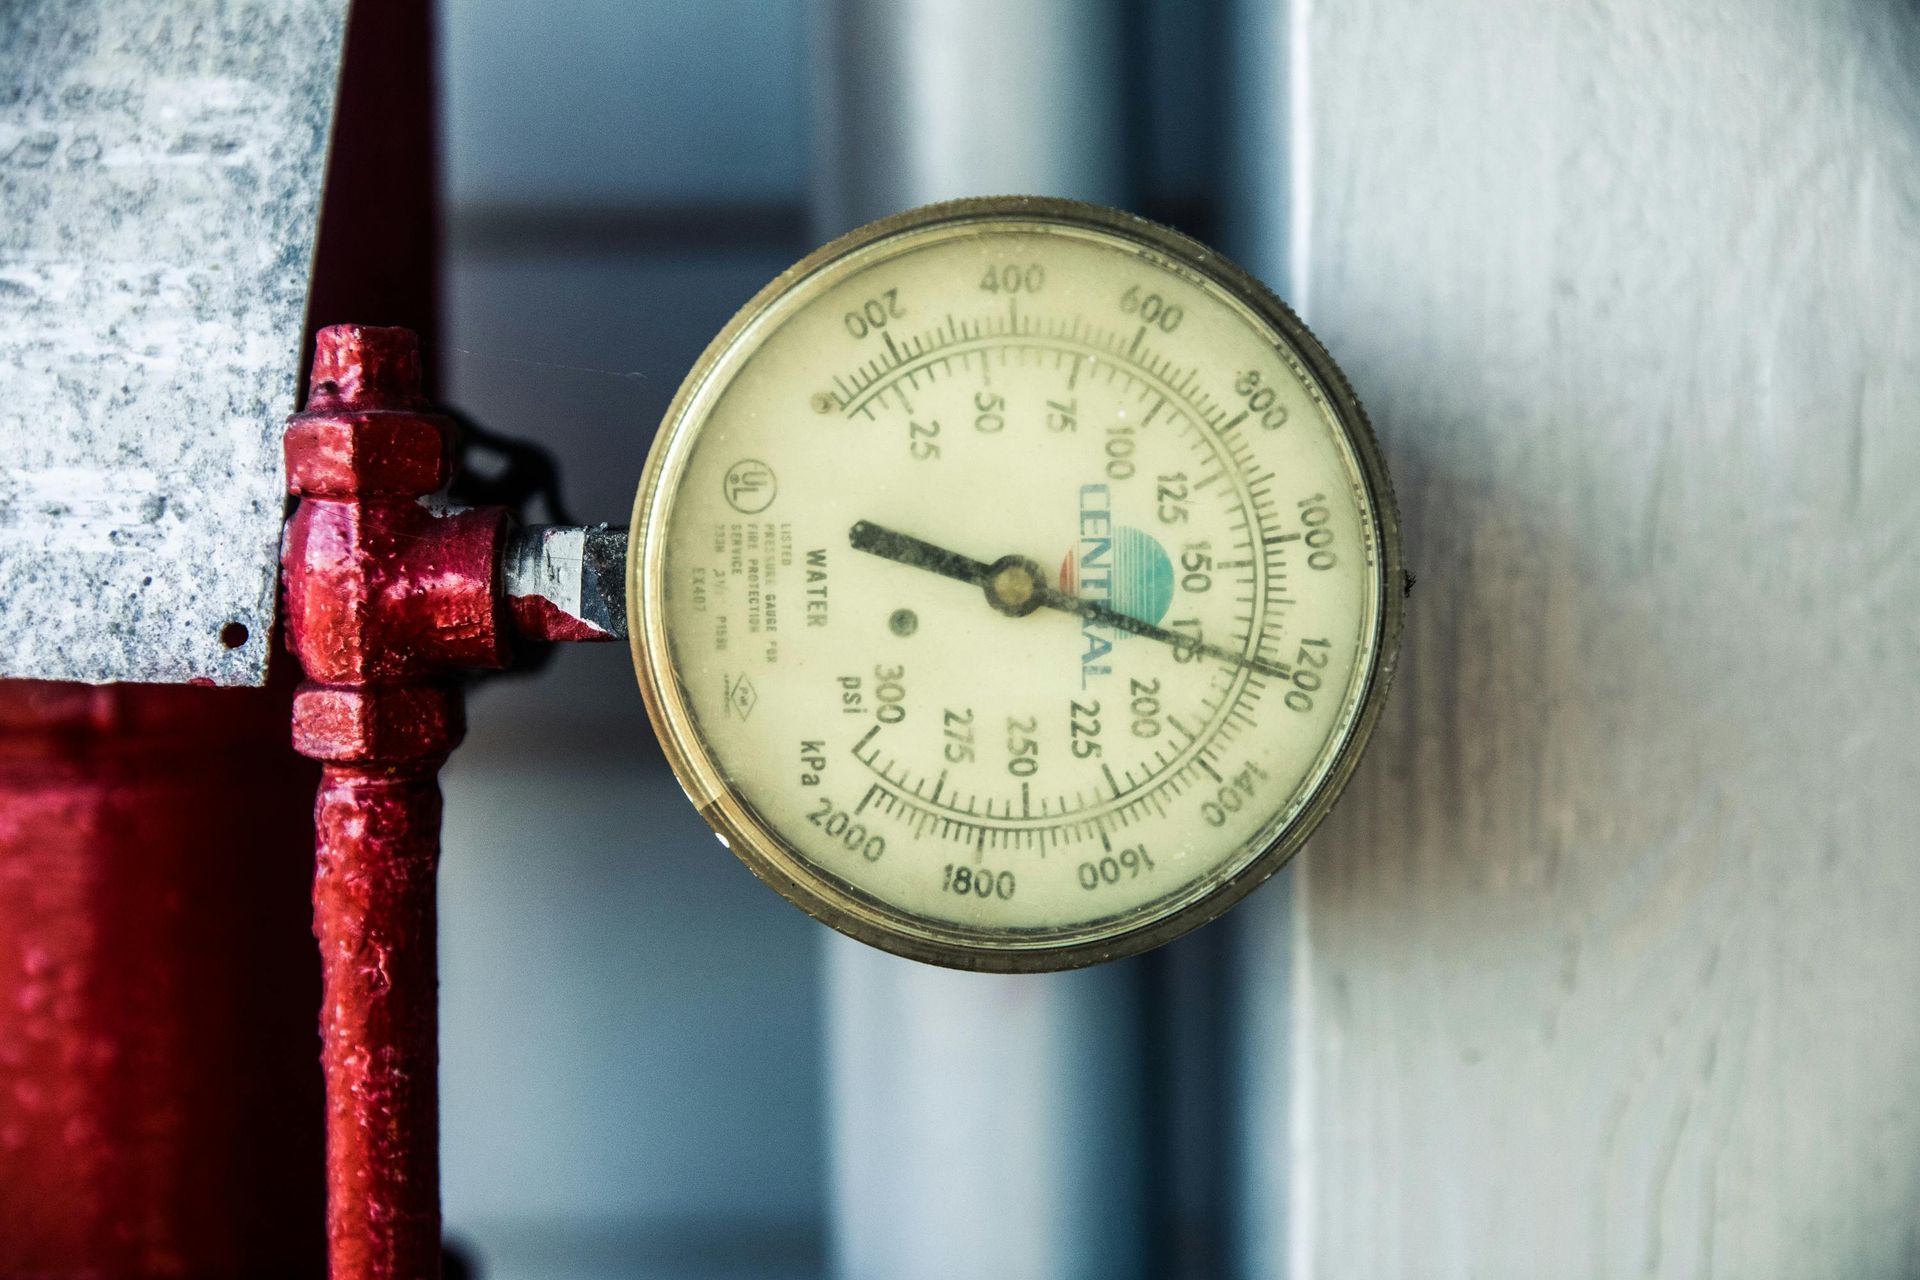
The most effective way to prevent water damage during your absence is to turn off the main water supply. This valve is usually located near the water meter or where the water line enters your home. Turning it clockwise will stop water flow to the entire house, eliminating the risk of leaks or bursts while you are away.

Before shutting off the main valve, ensure all faucets and water-using appliances are turned off. If you have an automatic sprinkler system, you may want to leave it on or adjust its timer to maintain your landscaping. If you are unsure how to locate or operate the main shut-off valve, consulting a professional plumber is advisable to avoid accidental damage or confusion.


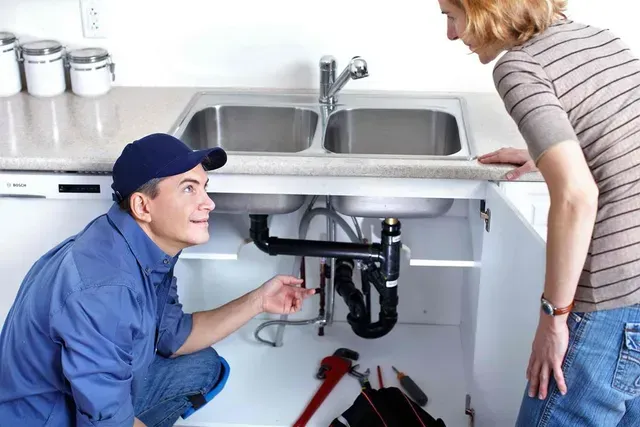
Step 2: Inspect for Leaks and Perform Necessary Repairs

A thorough inspection of your plumbing system is essential before you leave. Check all visible pipes, faucets, toilets, and appliances for leaks or signs of wear. Pay special attention to areas under sinks, around toilets, and near water heaters. Even slow drips can cause significant damage over time.

If you find any leaks, it is crucial to repair them before your vacation. Small leaks can develop into major issues, sometimes requiring emergency waterline repair if left unattended. If you are not confident in your ability to fix leaks, scheduling a professional plumbing inspection and repair is highly recommended.


Step 3: Drain Your Pipes and Fixtures

After shutting off the water supply, open all faucets, including sinks, bathtubs, and outdoor spigots, to drain residual water from the pipes. This step reduces the risk of water freezing in colder climates and prevents pressure buildup that could cause leaks.

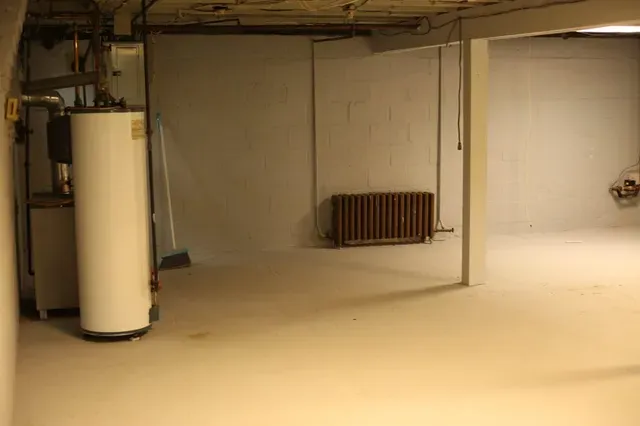
Flushing toilets and draining your water heater is also important. For water heaters, turn off the power or gas supply before draining to prevent damage. Draining removes sediment buildup and prolongs the heater’s lifespan.


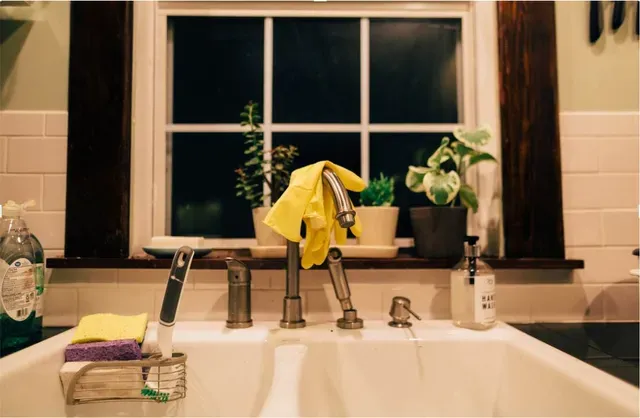
Step 4: Clean and Maintain Drains

Clogged drains can cause backups and unpleasant odors, especially when no one is home to address the issue. Before leaving, clear your drains using a plumber’s snake or natural cleaning agents like baking soda and vinegar. Knowing how to use a plumber’s snake effectively can help you remove blockages in sinks, showers, and tubs, ensuring smooth drainage during your absence.

Maintaining clean gutters and downspouts also prevents water from pooling near your foundation, which could indirectly affect your plumbing system.


Step 5: Secure Water-Using Appliances and Outdoor Plumbing

Appliances such as washing machines, dishwashers, and ice makers should have their water supply valves turned off to prevent leaks. Disconnect hoses if possible to avoid accidental water damage.

Outdoor plumbing requires special attention as well. Disconnect garden hoses, drain outdoor faucets, and, if feasible, shut off water supply lines to exterior spigots from inside the house. This prevents leaks, especially in cooler weather, and protects your home from water damage.


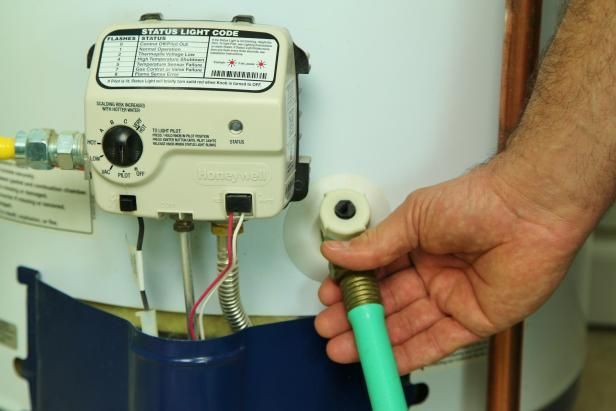
Step 6: Adjust Water Heater Settings to Vacation Mode

Most modern water heaters have a vacation mode or energy-saving setting. Activating this mode lowers the temperature, conserving energy while preventing the system from shutting down completely. For gas water heaters, set the gas valve to pilot mode; for electric heaters, reduce the thermostat or turn off the breaker.

This adjustment helps save energy costs and prevents potential overheating or damage during your absence.


Step 7: Test Safety Devices and Consider Professional Inspection

If your home has a sump pump, test it before leaving to ensure it functions properly. A working sump pump protects your basement from flooding.

Additionally, consider scheduling a professional plumbing inspection before an extended trip. Licensed plumbers can identify hidden issues, perform preventive maintenance, and give you confidence that your system is secure.


Conclusion

Preparing your plumbing for vacation is a detailed process that requires careful attention to multiple components of your home’s water system. From shutting off the main water supply and inspecting for leaks to draining pipes, cleaning drains, and securing appliances, each step plays a crucial role in preventing water damage and costly repairs, such as emergency waterline repair. Understanding how to use a plumber’s snake to clear drains is a valuable skill that can further protect your home from unexpected plumbing issues.

By following these comprehensive steps, you ensure your plumbing system remains safe and functional during your absence, allowing you to enjoy your vacation worry-free and return to a home in perfect condition.


Bathroom Water Hammer Explained and How to Stop the Loud Banging?
by Hadi Masood 30 January 2026
Unpack bathroom water hammer—causes like sudden valve closures and high pressure—and learn proven fixes like arrestors and PRVs for silent pipes.
by Hadi Masood 30 January 2026
Nothing disrupts a morning routine like a shower turning icy midstream, leaving you shivering and frustrated. This common issue stems from imbalances in your home's plumbing and heating systems, often triggered by everyday usage patterns or overlooked maintenance. Understanding the root causes empowers homeowners to diagnose problems swiftly and implement lasting fixes. This guide delves into the mechanics behind sudden temperature drops, explores diagnostic techniques, and outlines prevention strategies to keep your showers consistently warm. Common Causes of Sudden Cold Showers Sudden cold water in showers typically arises from water heater malfunctions or plumbing disruptions. Sediment buildup in tank-style heaters insulates the burner or element, causing inconsistent heating—over time, minerals from hard water accumulate at the bottom, reducing efficiency and leading to temperature fluctuations during peak demand. Similarly, a failing dip tube in the heater fails to direct cold incoming water to the top for proper mixing, so hot water depletes faster than it replenishes. High demand elsewhere in the home exacerbates this; simultaneous use of washing machines, dishwashers, or multiple faucets dilutes hot water supply. Pressure imbalances from clogged aerators or faulty mixing valves can also shift temperatures abruptly. In larger households, undersized heaters struggle with back-to-back usage, mimicking a sudden cold blast. Diagnosing Water Heater Problems Start diagnosis by checking the water heater's thermostat setting—most should hover between 120 and 140 degrees Fahrenheit for safety and performance. Listen for unusual noises like popping or rumbling, hallmarks of sediment; if present, a professional flush resolves it. Test the heating element in electric models with a multimeter for continuity, or inspect the gas burner for a weak blue flame indicating dirty components. Expansion tanks play a crucial role here—they mount on the cold water inlet to absorb thermal expansion pressure, preventing relief valve drips that signal overpressure and potential cold surges. Without one, especially in closed-loop systems, heaters cycle inefficiently, dropping output temperatures. Monitor the pressure relief valve; frequent activation points to expansion issues. For tankless units, error codes on the display often pinpoint flow sensors or igniters as culprits. Identifying Plumbing and Pipe Issues Plumbing beyond the heater often hides the problem. Reverse flow from check valves or backflow preventers can introduce cold water into hot lines, especially if sediment clogs them. Undersized pipes struggle with volume, causing pressure drops that chill the stream. Air locks from recent repairs trap bubbles, disrupting flow until purged by running all hot taps sequentially. Leaky fixtures upstream siphon hot water unnoticed, leading to sudden cools. Inspect for hidden corrosion in galvanized pipes, which narrows passages over time. All City Plumbers emphasize tracing lines with a pipe camera for blockages invisible to the eye, revealing scale or debris that starves the showerhead. The Impact of Water Pressure Fluctuations Pressure swings directly affect shower temperature consistency. Municipal supply variations, like nighttime boosts or peak-hour drops, strain home systems. Faulty pressure regulators fail to stabilize incoming force, overwhelming the heater. Clogged showerheads or aerators restrict hot flow while cold rushes in unchecked. In multi-story homes, gravity amplifies upper-floor issues, where thinner pipes can't maintain velocity. Install a whole-house pressure gauge to baseline readings—ideal is 50-80 PSI. Fluctuations beyond this trigger mixing valve failures, designed to blend water but prone to wear. Step-by-Step Fixes for Cold Showers Addressing the issue begins with simple resets. Flush the water heater by attaching a hose to the drain valve and running it until clear, refilling slowly to avoid air pockets. Clean aerators by soaking in vinegar overnight, then reinstall for restored balance. Insulate exposed pipes with foam sleeves to minimize heat loss in unheated spaces. For persistent problems, replace the dip tube or upgrade to a higher-capacity heater. Adding or servicing expansion tanks restores pressure equilibrium. Test post-fix by timing recovery—hot water should resume within 30 seconds of demand spikes. Preventive Maintenance Strategies Prevention hinges on routine care. Annually flush tank heaters and descale tankless ones to banish sediment. Set programmable schedules to avoid simultaneous high-demand usage, staggering laundry and showers. Install low-flow fixtures that ease heater load without sacrificing pressure. Prepare your plumbing before vacations by shutting off the water main, draining lines, and setting the heater to pilot mode—this averts stagnant water growth and pressure builds during absence. Water softeners combat mineral buildup in hard-water areas, extending system life. Upgrading for Long-Term Reliability Consider modern solutions like on-demand tankless heaters, which heat water instantly without standby losses, eliminating cold-start woes. Hybrid heat pump models offer efficiency gains up to 300 percent. Whole-home recirculation pumps deliver instant hot water, minimizing waste and temperature dips. Smart thermostats monitor usage patterns, adjusting preemptively. Pair with pressure-balancing shower valves that auto-compensate for fluctuations, ensuring steady warmth. Conclusion Sudden cold showers disrupt more than comfort—they signal underlying issues that, if ignored, escalate to costly repairs. By pinpointing causes from heater sediment to pressure imbalances and embracing proactive maintenance, you safeguard reliable performance year-round. Implementing these strategies not only restores blissfully warm showers but also boosts energy efficiency and system longevity for peace of mind.
How To Install ADA-Compliant Bathroom Fixtures?
by Hadi Masood 28 January 2026
Learn step-by-step how to install ADA-compliant bathroom fixtures for accessibility, including toilets, sinks, grab bars, and pro tips for compliance and safety.
What Are Some Of The Best Layouts For Dual Sink Bathrooms?
by Hadi Masood 28 January 2026
Explore top dual sink bathroom layouts: linear, island, L-shaped, and more, with plumbing, lighting, storage, and pro design tips.
How to Repair Leaking Vanity Drain Assemblies (Complete Guide)
by Hadi Masood 26 January 2026
Complete guide to fixing leaking vanity drain assemblies: disassembly, washer replacement, reassembly, testing, and pro upgrade tips.
How to Fix Intermittent Toilet Flush Failures (Complete Guide)
by Hadi Masood 26 January 2026
Fix intermittent toilet flush failures: troubleshoot flappers, venting, pressure, and clogs with step-by-step repairs for reliable performance.
How to Prevent Mineral Rings in Toilet Tanks (Simple Solutions)
by Hadi Masood 25 January 2026
Prevent mineral rings in toilet tanks with vinegar soaks, softeners, liners, and maintenance tips for clean, efficient performance.
Why Low-Flow Toilets Still Clog (Causes and Easy Fixes)
by Hadi Masood 25 January 2026
Why low-flow toilets still clog: causes like waste habits, buildup, venting, and fixes for better performance without wasting water.
Bathroom Remodeling Plumbing Mistakes to Avoid For Costly Repairs
by Hadi Masood 23 January 2026
Avoid costly bathroom remodeling plumbing mistakes like undersized lines, poor venting, and waterproofing errors—essential tips for flawless results.
Why Your Toilet Sweats in Summer (And How to Stop It)
by Hadi Masood 23 January 2026
Uncover why toilets sweat in summer due to condensation, plus fixes like insulation, ventilation, and pro tips to prevent mold and slips.