How to Install a Water-Saving Toilet Flapper?
Installing a water-saving toilet flapper is a practical and effective plumbing upgrade that can significantly reduce water consumption and lower your utility bills. The flapper is a crucial component inside the toilet tank that controls the release of water during a flush. Replacing an old or inefficient flapper with a modern water-saving model not only conserves water but also helps prevent leaks that waste hundreds of gallons annually. This detailed guide will walk you through the step-by-step process of installing a water-saving toilet flapper, along with valuable insights on ensuring optimal performance and integrating this upgrade into your broader plumbing system.
Understanding the Role of a Toilet Flapper
The toilet flapper acts as a valve that seals the flush valve opening at the bottom of the tank. When you press the flush lever, the flapper lifts, allowing water to rush into the bowl and initiate the flush. Afterward, it falls back into place, sealing the tank to allow it to refill. Traditional flappers often allow more water than necessary to flush, leading to excessive water usage.
Water-saving flappers are designed to optimize the amount of water released per flush, reducing wastage while maintaining effective flushing power. This simple plumbing upgrade can save thousands of gallons of water annually, making it an environmentally responsible and cost-effective choice. Additionally, modern flappers are made of durable materials that resist warping and deterioration, reducing the frequency of replacements.
Preparing for Installation: Tools and Initial Steps
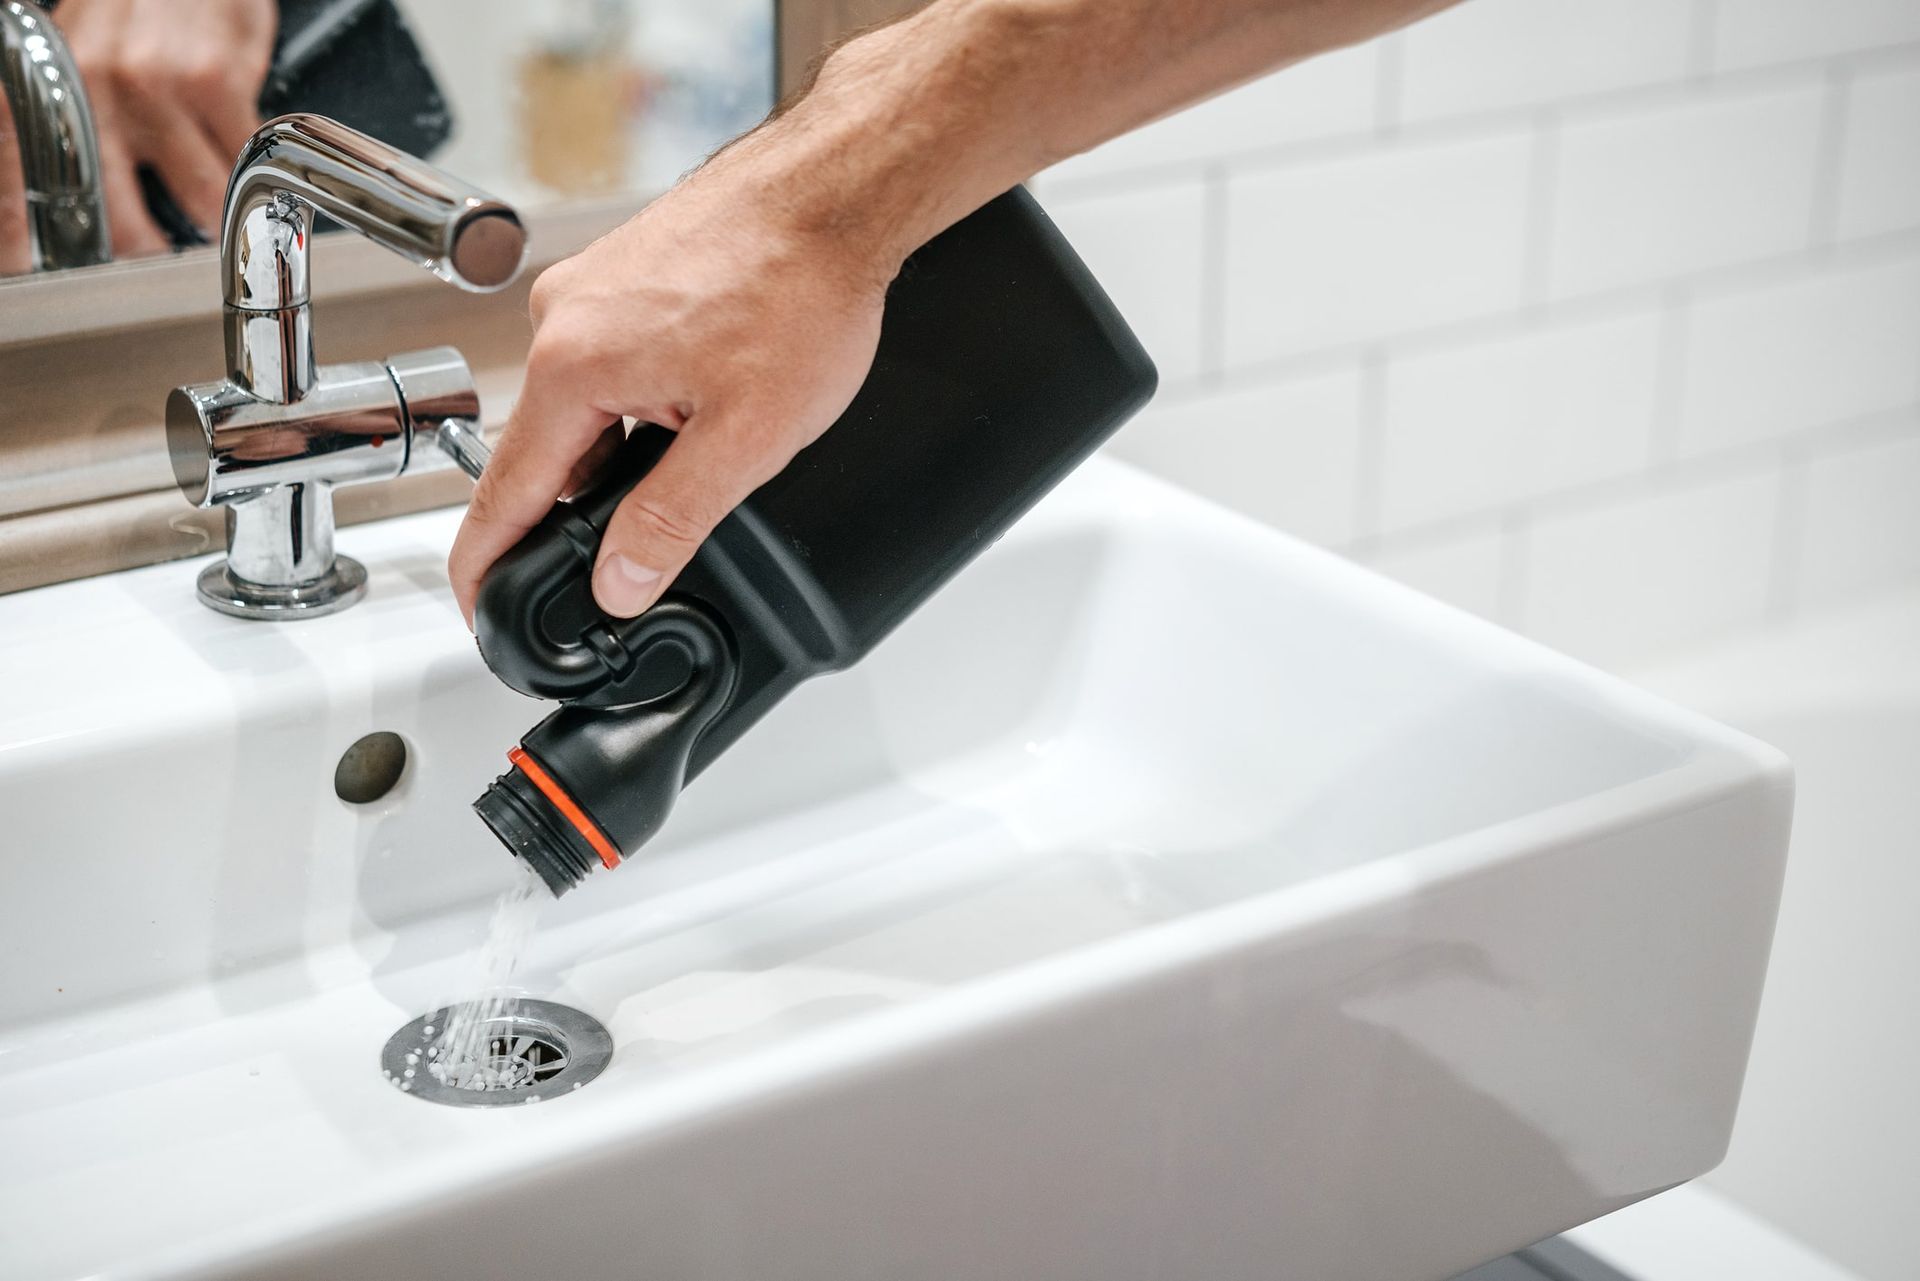
Before beginning installation, gather the necessary tools: adjustable pliers, a sponge or towel for water cleanup, and possibly a utility knife if you need to remove an old flapper with a plastic collar. It is also advisable to have a pencil or waterproof marker handy to mark the water level in the tank.
Start by shutting off the water supply to the toilet. The shutoff valve is usually located near the base of the toilet on the wall or floor. Turn it clockwise until it stops. Then flush the toilet to drain most of the water from the tank. Use a sponge or towel to remove any remaining water to prevent spills during the installation process.
Removing the Old Flapper and Inspecting the Flush Valve
With the tank drained, locate the old flapper attached to the flush valve at the bottom of the tank. The flapper is typically connected via two “ears” that hook onto pegs on either side of the flush valve and linked to the flush lever by a chain.
To remove the old flapper, unhook the chain from the flush lever and carefully lift the flapper ears off the pegs. If your toilet has a plastic flush valve, you may need to cut off the collar of the old flapper using a utility knife to remove it completely.
At this stage, inspect the flush valve seat for any mineral buildup, cracks, or wear. A clean and smooth valve seat is essential for a proper seal with the new flapper to prevent leaks. If necessary, clean the valve seat with a cloth or fine sandpaper.
Installing the Water-Saving Toilet Flapper
Begin installing the new water-saving flapper by attaching its ears to the flush valve pegs. Most water-saving flappers are designed to fit standard 2-inch or 3-inch flush valves, but it is important to verify compatibility with your toilet model. Some universal flappers come with adjustable features to fine-tune the fit.
Next, connect the flapper chain to the flush lever arm. It is critical to leave a small amount of slack in the chain-about half an inch-to allow the flapper to seal properly without being held open or delayed in lifting during a flush. Overly tight or loose chains can cause running toilets or incomplete flushing.
After securing the flapper and chain, turn the water supply back on slowly by turning the shutoff valve counterclockwise. Let the tank fill completely and observe the flapper’s operation by flushing the toilet. Ensure the flapper lifts fully and then reseats firmly without leaking.
If the water level in the tank is adjustable on your flapper model (some have a rotating vent band or adjustable float), fine-tune it to optimize water usage and flushing performance. Marking the water level with a pencil before installation helps you compare and maintain the ideal fill level.
Testing and Troubleshooting Common Issues
Once installed, monitor the toilet for a few flush cycles to confirm there are no leaks or running water. A running toilet often indicates the flapper is not sealing correctly or the chain length needs adjustment.
If you notice water leaking from the tank into the bowl, try repositioning the flapper or cleaning the valve seat again. In some cases, replacing the flapper may not resolve persistent leaks if the flush valve itself is damaged, which might require more extensive repairs.
In the context of plumbing upgrades, installing a water-saving flapper pairs well with other water efficiency improvements, such as installing low-flow toilets or adding expansion tanks to regulate water pressure and reduce stress on your plumbing system.
Benefits Beyond Water Savings: Environmental and Economic Impact
Installing a water-saving toilet flapper is a straightforward way to contribute to water conservation efforts. Household leaks, especially from faulty flappers, account for a significant portion of wasted water nationwide. By upgrading your flapper, you reduce unnecessary water consumption, lower your water bill, and decrease your environmental footprint.
Moreover, this upgrade can extend the life of your toilet components by preventing constant running and pressure fluctuations. When combined with other plumbing upgrades, such as installing expansion tanks or pressure regulators, you create a more efficient and durable plumbing system.
Conclusion
Installing a water-saving toilet flapper is an accessible, cost-effective plumbing upgrade that offers immediate and long-term benefits. By carefully removing the old flapper, installing the new water-efficient model, and adjusting it for optimal performance, you can reduce water waste, save money, and improve your home’s plumbing reliability.
This upgrade is a smart investment in both environmental stewardship and household efficiency. Whether you are a seasoned DIYer or new to plumbing projects, following these detailed steps ensures a professional-quality installation that enhances your toilet’s performance and contributes to sustainable water use.