How to Install a Garbage Disposal
Installing a garbage disposal can significantly enhance the functionality and cleanliness of your kitchen. This guide will walk you through the entire installation process, from preparation and safety measures to plumbing connections and electrical wiring. Whether you're upgrading an old unit or installing one for the first time, follow these steps to ensure a smooth and successful installation.
1. Preparation and Safety Measures
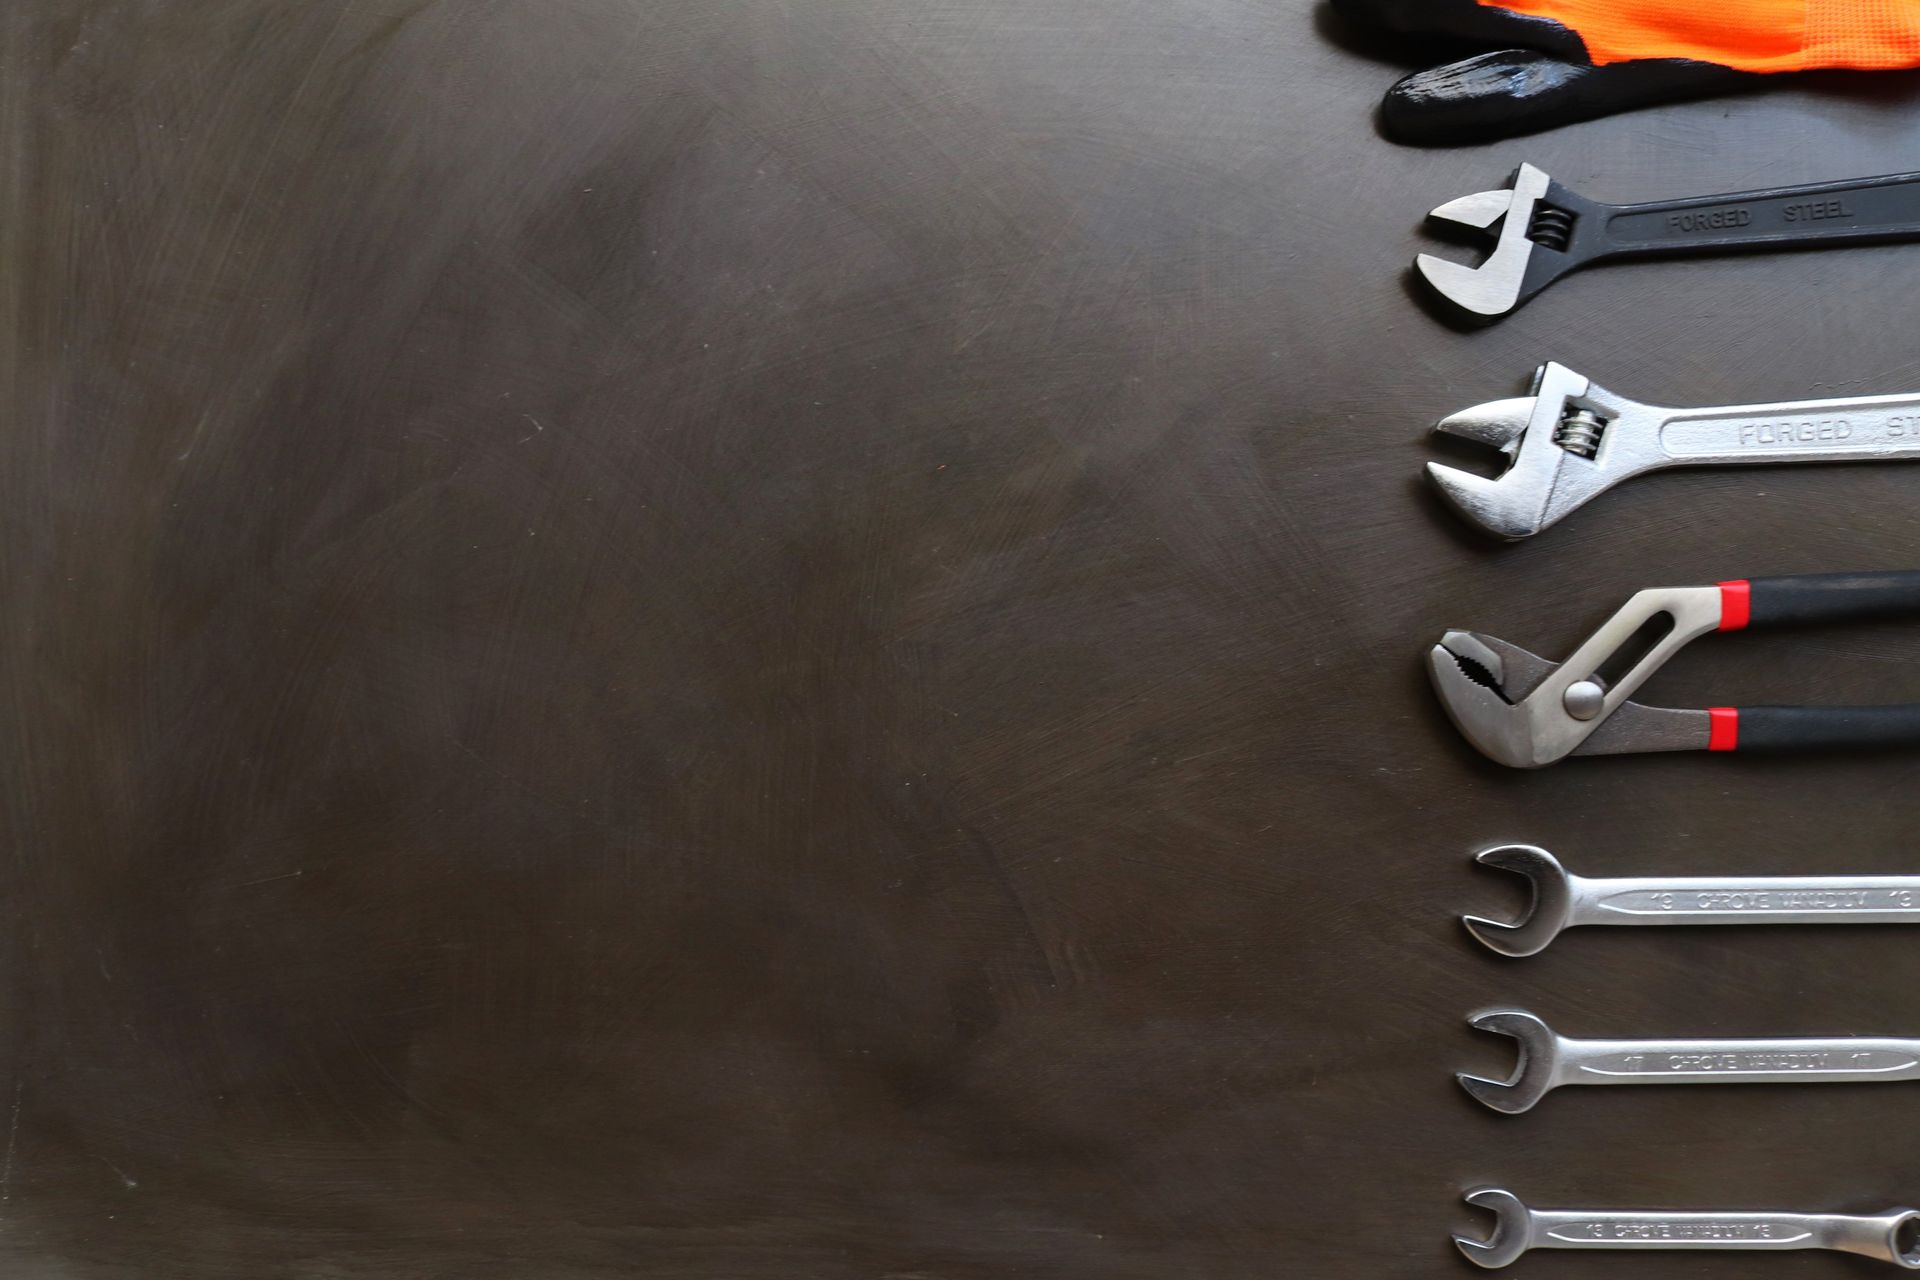
Before you begin installing your garbage disposal, gather the necessary tools and materials. You'll need:
- Screwdrivers (both flathead and Phillips)
- Adjustable wrench
- Plumber's putty (if required)
- Electrical tape
- Safety goggles and gloves
- Garbage disposal unit
- Mounting hardware
Safety First: Start by turning off the power at the breaker box to avoid any electrical accidents. Wear protective gear, including gloves and safety goggles, throughout the installation process.
2. Remove Old Disposal (If Applicable)
If you're replacing an existing garbage disposal unit, start by disconnecting it from the sink and electrical supply.
Steps to Remove:
- Turn Off Power: Ensure the power to the disposal unit is switched off at the breaker box.
- Disconnect Plumbing: Loosen the connections between the disposal unit and the sink drain pipes using an adjustable wrench.
- Disconnect Electrical: Unplug or disconnect the electrical wires from the disposal unit.
3. Install Mounting Assembly
The mounting assembly attaches the garbage disposal unit to the underside of your sink.
Mounting Options: Choose between a 3-bolt mounting system or an EZ mount system, depending on your disposal unit.
Installation Steps:
- Attach Mounting Bracket: Place the mounting bracket onto the sink flange and secure it with the provided screws.
- Position Disposal Unit: Lift the disposal unit into position under the sink and align it with the mounting bracket.
- Secure Disposal Unit: Tighten the mounting screws to secure the disposal unit firmly in place.
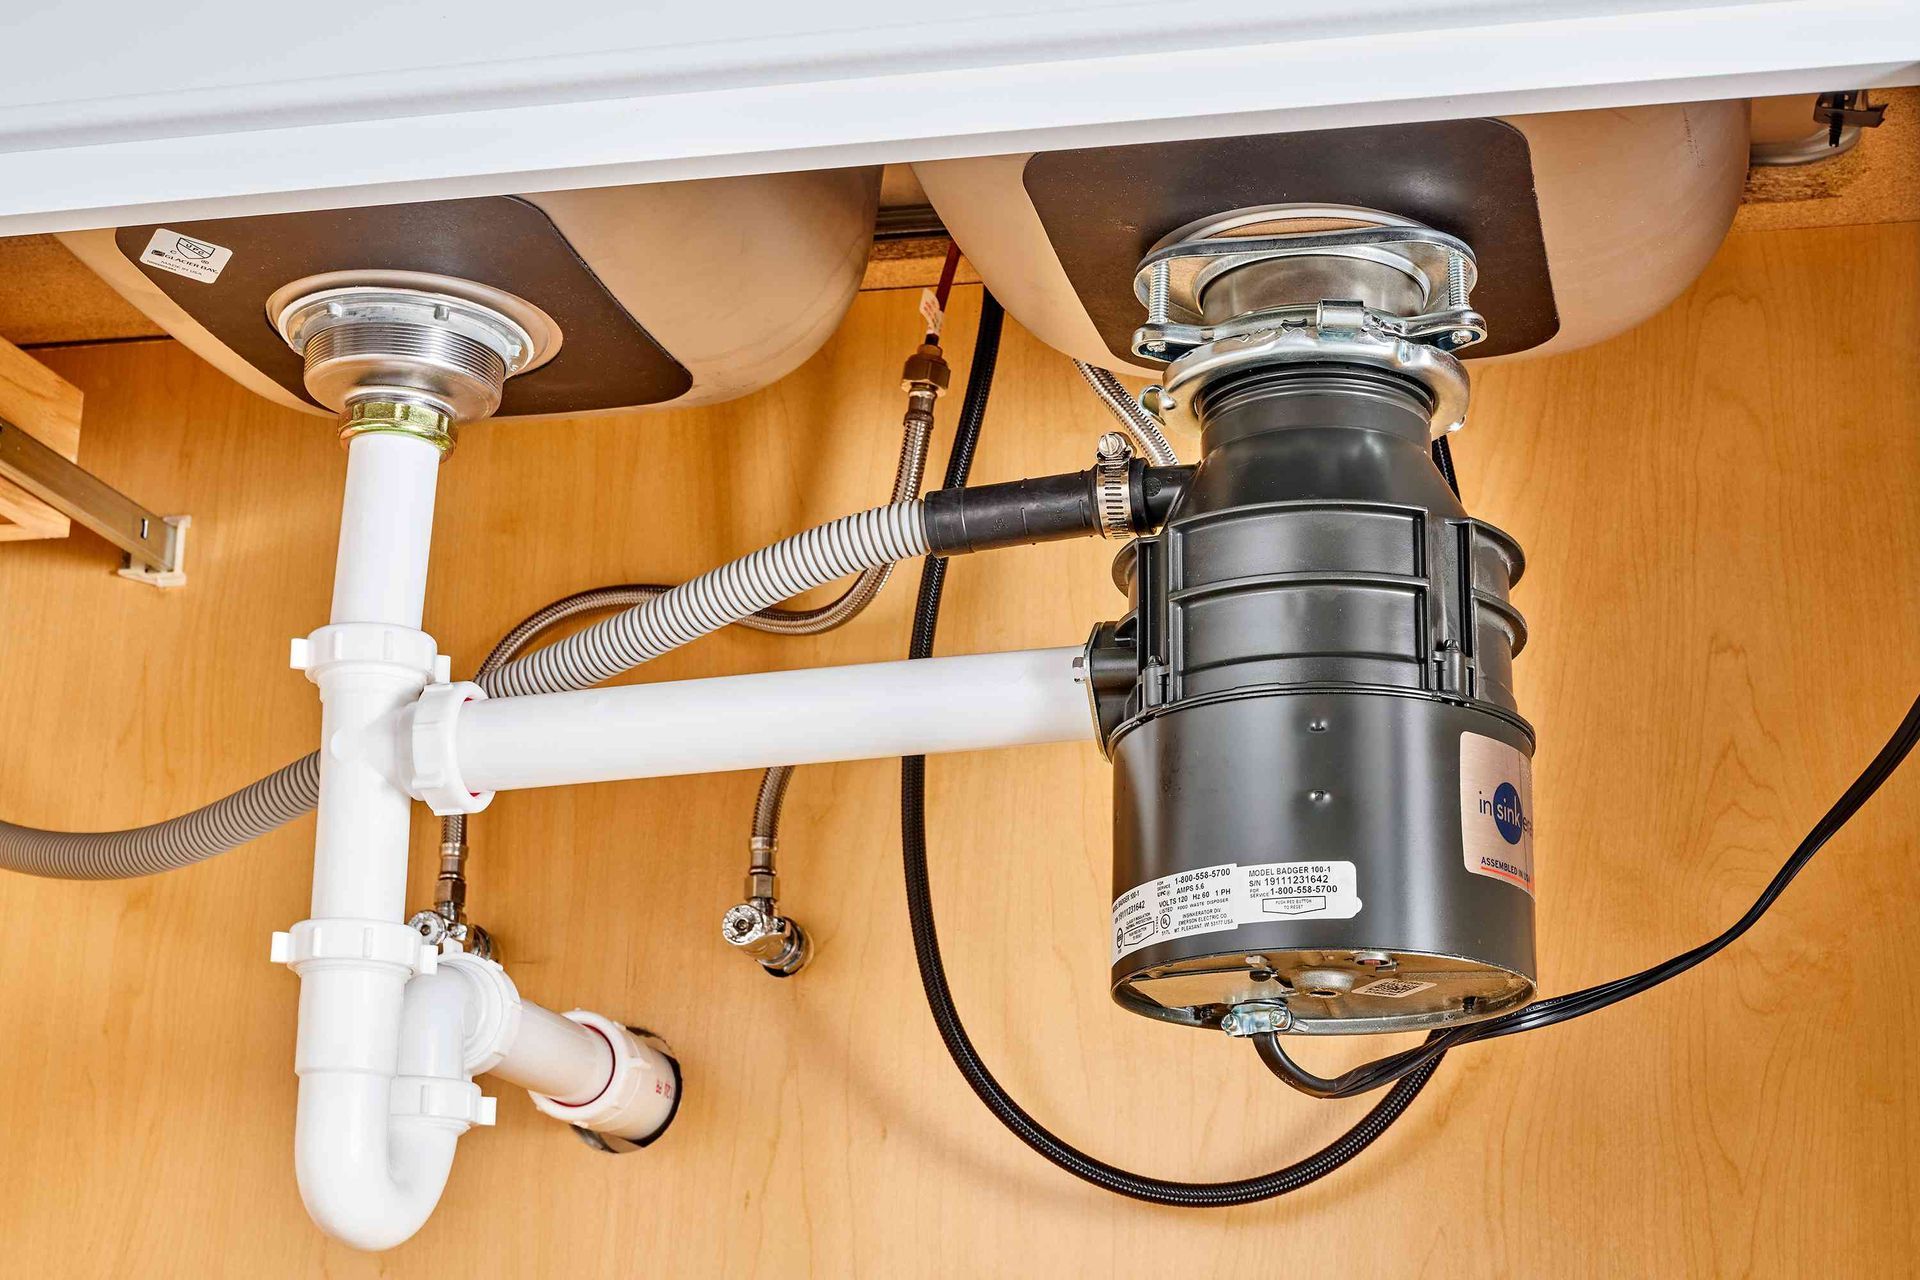
4. Connect Plumbing
Connecting the garbage disposal to the sink drain and dishwasher (if applicable) ensures proper water flow and drainage.
Plumbing Connections:
- Sink Drain: Connect the discharge tube from the garbage disposal to the sink drain pipe using a slip nut and washer.
- Dishwasher (if applicable): Remove the knockout plug from the disposal unit's dishwasher inlet and connect the dishwasher drain hose.
Use of Plumber's Putty:
Apply plumber's putty around the sink flange to create a watertight seal between the disposal unit and the sink.
Electrical Wiring
Proper electrical wiring is crucial for the safe operation of your garbage disposal unit.
Electrical Requirements: Ensure the disposal unit is compatible with your electrical setup and meets local electrical codes.
Wiring Process:
- Connect Wires: Match the corresponding wires from the disposal unit to the electrical supply wires (typically black to black, white to white, and green or copper to ground).
- Secure Connections: Use wire nuts to secure the connections and wrap them with electrical tape for added safety.
- Test Connections: After wiring, carefully tuck the wires into the disposal unit and test the electrical connections before proceeding.
Safety Tips: Install a ground fault circuit interrupter (GFCI) outlet or breaker to protect against electrical shocks.
6. Test and Troubleshoot
Once installation is complete, it's essential to test the garbage disposal unit for proper functionality.
Test Functionality:
- Run Water: Turn on the water and run it through the disposal unit to check for leaks.
- Operate Disposal: Switch on the disposal unit and listen for any unusual noises or vibrations.
- Check Drainage: Ensure water flows freely through the sink drain without backup or clogging.
Troubleshooting: If you encounter any issues such as jamming or leaks, refer to the disposal unit's manual for troubleshooting steps.
Conclusion
By following these step-by-step instructions, you can successfully install a garbage disposal unit in your kitchen. Remember to prioritize safety, follow manufacturer guidelines, and test the disposal unit thoroughly before regular use. Enjoy the convenience of a cleaner kitchen and efficient waste management with your new garbage disposal!
Frequently Asked Questions
Do You Need Plumbers Putty to Install a Garbage Disposal?
Plumber's putty helps create a watertight seal between the sink flange and the disposal unit, preventing leaks. It's recommended for most installations but check your disposal unit's manual for specific instructions.
Can You Put a Garbage Disposal in Any Sink?
Most standard sinks are compatible with garbage disposals. However, ensure your sink has a standard drain opening and sufficient space under the sink for installation.
When Should I Install a Garbage Disposal?
Install a garbage disposal when upgrading your kitchen or replacing an old unit. It's also a practical addition during kitchen renovations to improve convenience and cleanliness.
How Are Garbage Disposals Wired?
Garbage disposals are typically wired to a dedicated electrical circuit with the appropriate voltage and amperage rating. Follow local electrical codes and manufacturer instructions for safe wiring practices.
Also Read:
how to repair a broken garbage disposal