How to Properly Replace a Leaky Shower Cartridge?
A leaky shower cartridge is a common plumbing problem that causes dripping faucets, inconsistent water temperature, and wasted water. Replacing the faulty cartridge can restore your shower's performance and help avoid higher water bills or water damage. Proper replacement requires careful steps to ensure the new cartridge fits correctly and functions flawlessly.
This article provides a detailed, professional guide on how to properly replace a leaky shower cartridge, including preparation, removal, installation, and testing. Along the way, we will also refer to related household plumbing issues like how to fix a slow draining dishwasher, consider cases for waterline repair and replacement, and explain the value of skilled professionals like All City Plumbers for more complex jobs.
Understanding the Shower Cartridge’s Role
The shower cartridge controls the flow and mix of hot and cold water in your shower faucet. Over time, mineral deposits, wear, or damage can cause the cartridge to leak or malfunction. Whether it’s a single-handle or dual-handle system, the cartridge is central to temperature control and water conservation.
Replacing the cartridge can solve leaks, fix difficulties in adjusting water temperature, and improve water flow rates. But it requires precision to match the replacement with your specific valve to prevent further leaks.
Tools and Materials You Will Need
Before starting, make sure you have:
- Replacement shower cartridge compatible with your shower valve
- Adjustable wrench or pliers
- Flathead and Phillips screwdrivers
- Cartridge removal tool (if available)
- Silicone grease for O-rings
- Silicone caulking for sealing
- Towels or rags for water spills
- Bucket for catching water during removal
Having these at hand saves time and ensures smoother progress during the replacement process.
Step-by-Step Process to Replace a Leaky Shower Cartridge
Step 1: Turn Off the Water Supply
Locate and close the water supply to your bathroom or entire home to prevent flooding when removing the cartridge. This usually involves closing a nearby shut-off valve; if unavailable, turn off the main water supply. Open the shower faucet to relieve residual water pressure.
Step 2: Remove the Shower Handle and Trim
Remove any decorative caps on the shower handle to expose screws. Using the appropriate screwdriver, take out the screws and carefully pull off the handle. Then remove the escutcheon plate (cover plate) to expose the cartridge housing behind it. Be gentle to avoid damaging wall tiles or plumbing fixtures.
Step 3: Access and Remove the Old Cartridge
Locate the retaining clip or nut securing the cartridge in place. Use pliers or an adjustable wrench to remove any clips or nuts carefully. Sometimes mineral deposits make the cartridge difficult to remove. Gently wiggle it back and forth or use a cartridge removal tool to loosen the cartridge. Avoid forcing it to prevent valve damage.
Once loose, carefully pull the old cartridge straight out of the valve. Inspect it for visible corrosion, mineral buildup, or broken parts that could have led to leaks.
Step 4: Prepare and Install the New Cartridge
Before installation, apply silicone grease to the O-rings on the new cartridge. This helps create a watertight seal and facilitates future removal. Insert the cartridge into the valve body in the exact orientation as the old one. Some cartridges have alignment tabs to guide correct placement.
Secure the cartridge with the retaining clip or nut and tighten it moderately—avoiding overtightening to preserve threads and prevent leaks.
Step 5: Reassemble and Seal
Replace the escutcheon (cover plate) and screw the shower handle back in place. Apply a bead of silicone caulking around the escutcheon plate where it meets the wall to prevent water seepage behind it. This step is crucial to avoiding water damage to walls and concealed plumbing.
Step 6: Turn On Water and Test
Restore the water supply by reopening valves. Test the shower to check for leaks, proper temperature control, and smooth water flow. Pay attention to any dripping or unusual noises that could indicate installation issues. If leaks persist, it may indicate improper cartridge fit or damaged valve body, requiring professional assessment.
Additional Considerations and Related Plumbing Issues
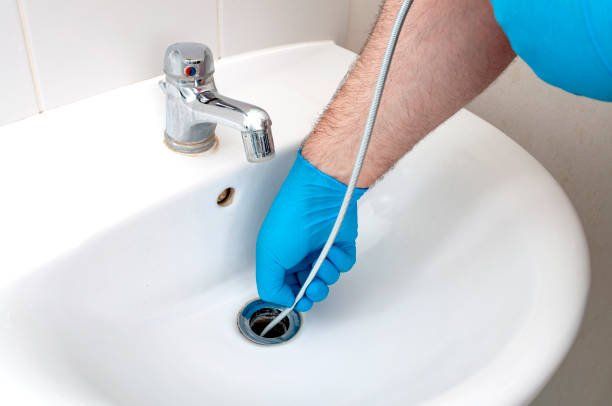
Sometimes, a leaky shower cartridge can be a symptom of broader plumbing issues. If your home experiences persistent drainage problems, knowing how to fix a slow draining dishwasher or recognizing when you need waterline repair and replacement can prevent escalating damage.
For many homeowners, handling these concerns alongside shower plumbing maintenance may be challenging. That’s where trusted professionals like All City Plumbers come in—offering expert diagnosis, repair, and upgrades to keep your home plumbing running efficiently and safely.
When to Call Professional Plumbers
You might want to contact professionals if:
- Your shower valve is an uncommon or complex model.
- The valve housing is corroded or damaged.
- The cartridge is stuck and cannot be safely removed.
- Leaks persist after cartridge replacement.
- You want to upgrade shower fixtures or replace multiple plumbing components simultaneously.
Qualified plumbers have specialized tools and experience that make these repairs efficient and long-lasting.
Conclusion
Properly replacing a leaky shower cartridge involves shutting off water, carefully disassembling fixture parts, removing the old cartridge, and installing a new one with attention to alignment and sealing. Following these steps ensures restored shower function, conserved water, and happy showers.
Managing this repair effectively can also complement other home plumbing tasks, such as addressing slow drains or waterline maintenance. For complex issues or peace of mind, professional services like All City Plumbers offer reliable support to keep your plumbing system in excellent condition.
Taking care of your shower valve ensures consistent water temperature, eliminates leaks, and protects your bathroom from water damage, contributing to a comfortable and efficient home.

