How to Properly Fix a Leaky Dishwasher Connection?
A leaky dishwasher connection is not only inconvenient but can also cause water damage and mold if left untreated. Whether the leak is due to a loose fitting, worn-out hose, or faulty valve, addressing the problem promptly ensures your dishwasher runs efficiently and protects your home’s plumbing infrastructure. This detailed guide covers the causes, diagnosis, and step-by-step repair process for fixing a leaky dishwasher connection while weaving in essential professional advice, including tips from All City Plumbers, considerations about waterline repair and replacement, and relevant plumbing maintenance insights like those used when you replace a broken shower arm.
Understanding the Dishwasher Connection and Its Importance
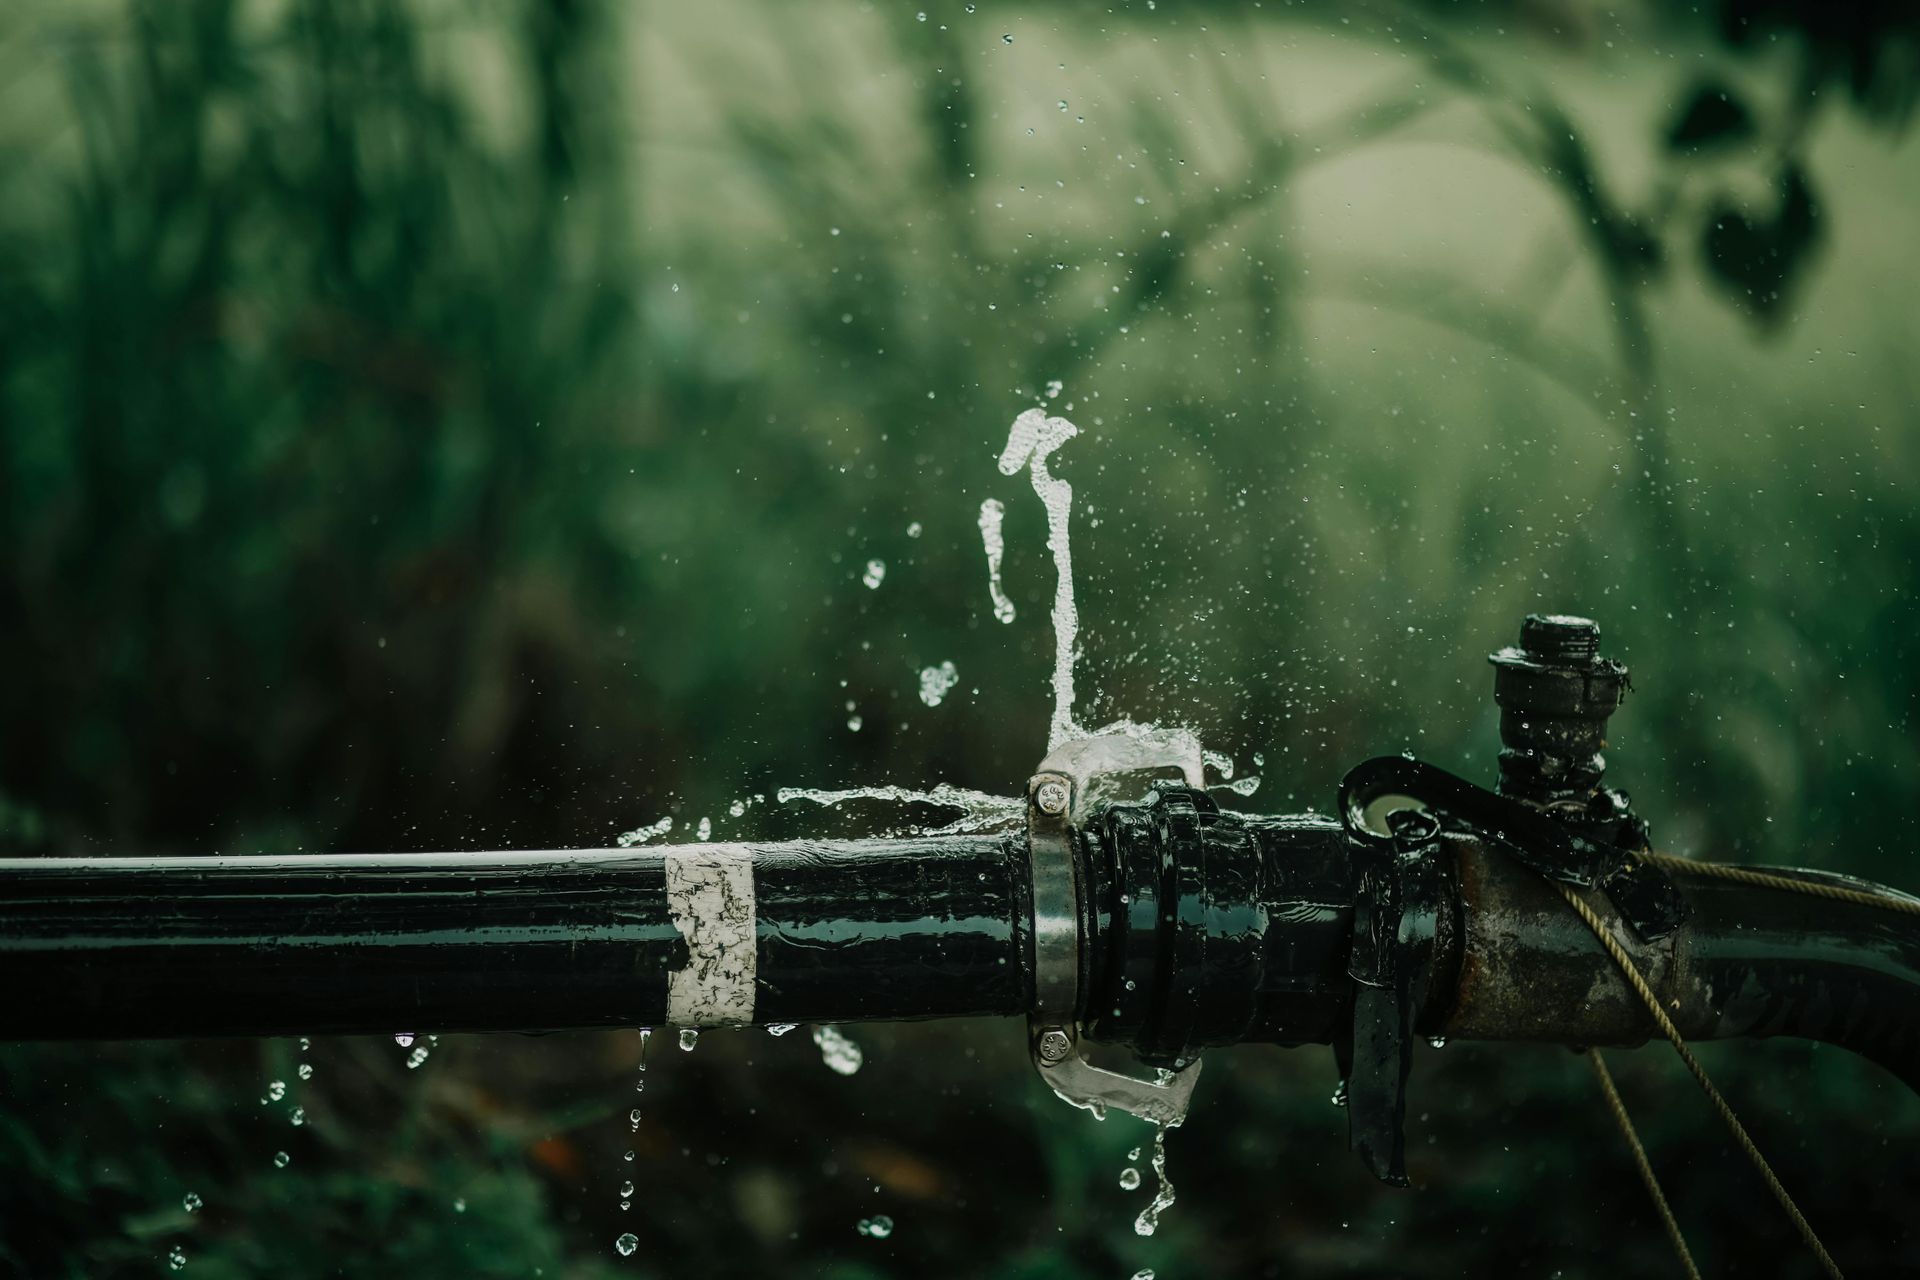
The dishwasher connection primarily consists of the water supply line linking your home’s water source to the dishwasher’s inlet valve. This waterline must be secure and intact to prevent leaks during dishwasher operation. Leaks commonly occur around the water inlet hose or valve, at hose connectors, or where the line meets the water supply stub-out under your sink.
If a leak goes unnoticed, it can damage cabinetry, flooring, or drywall, and even cause electrical hazards given the proximity to the dishwasher’s electrical components. Furthermore, persistent leaks can reduce water pressure, affecting not only your dishwasher’s performance but also the functionality of other fixtures or appliances such as your water heater. Maintaining a leak-free and properly sealed connection, much like other plumbing tasks such as replacing a broken shower arm, is critical to avoid water waste and extensive repairs.
Common Causes of Leaky Dishwasher Connections
Leaky dishwasher connections are often due to a handful of typical issues:
- Loose or improperly tightened fittings: Vibrations during dishwasher cycles can loosen hose clamps or connections over time.
- Worn or cracked hoses: Rubber or plastic hoses degrade due to age or exposure to heat and pressure.
- Damaged or faulty inlet valve: The valve that controls water flow into the dishwasher can fail, causing leaks at the connection point.
- Corroded or damaged waterline: In homes with aging plumbing, corrosion may weaken the waterline, requiring waterline repair and replacement.
- Improper installation or previous repairs: If the hose or valve was installed incorrectly or without proper sealing methods, leaks can develop even quickly.
Tools and Materials You Will Need
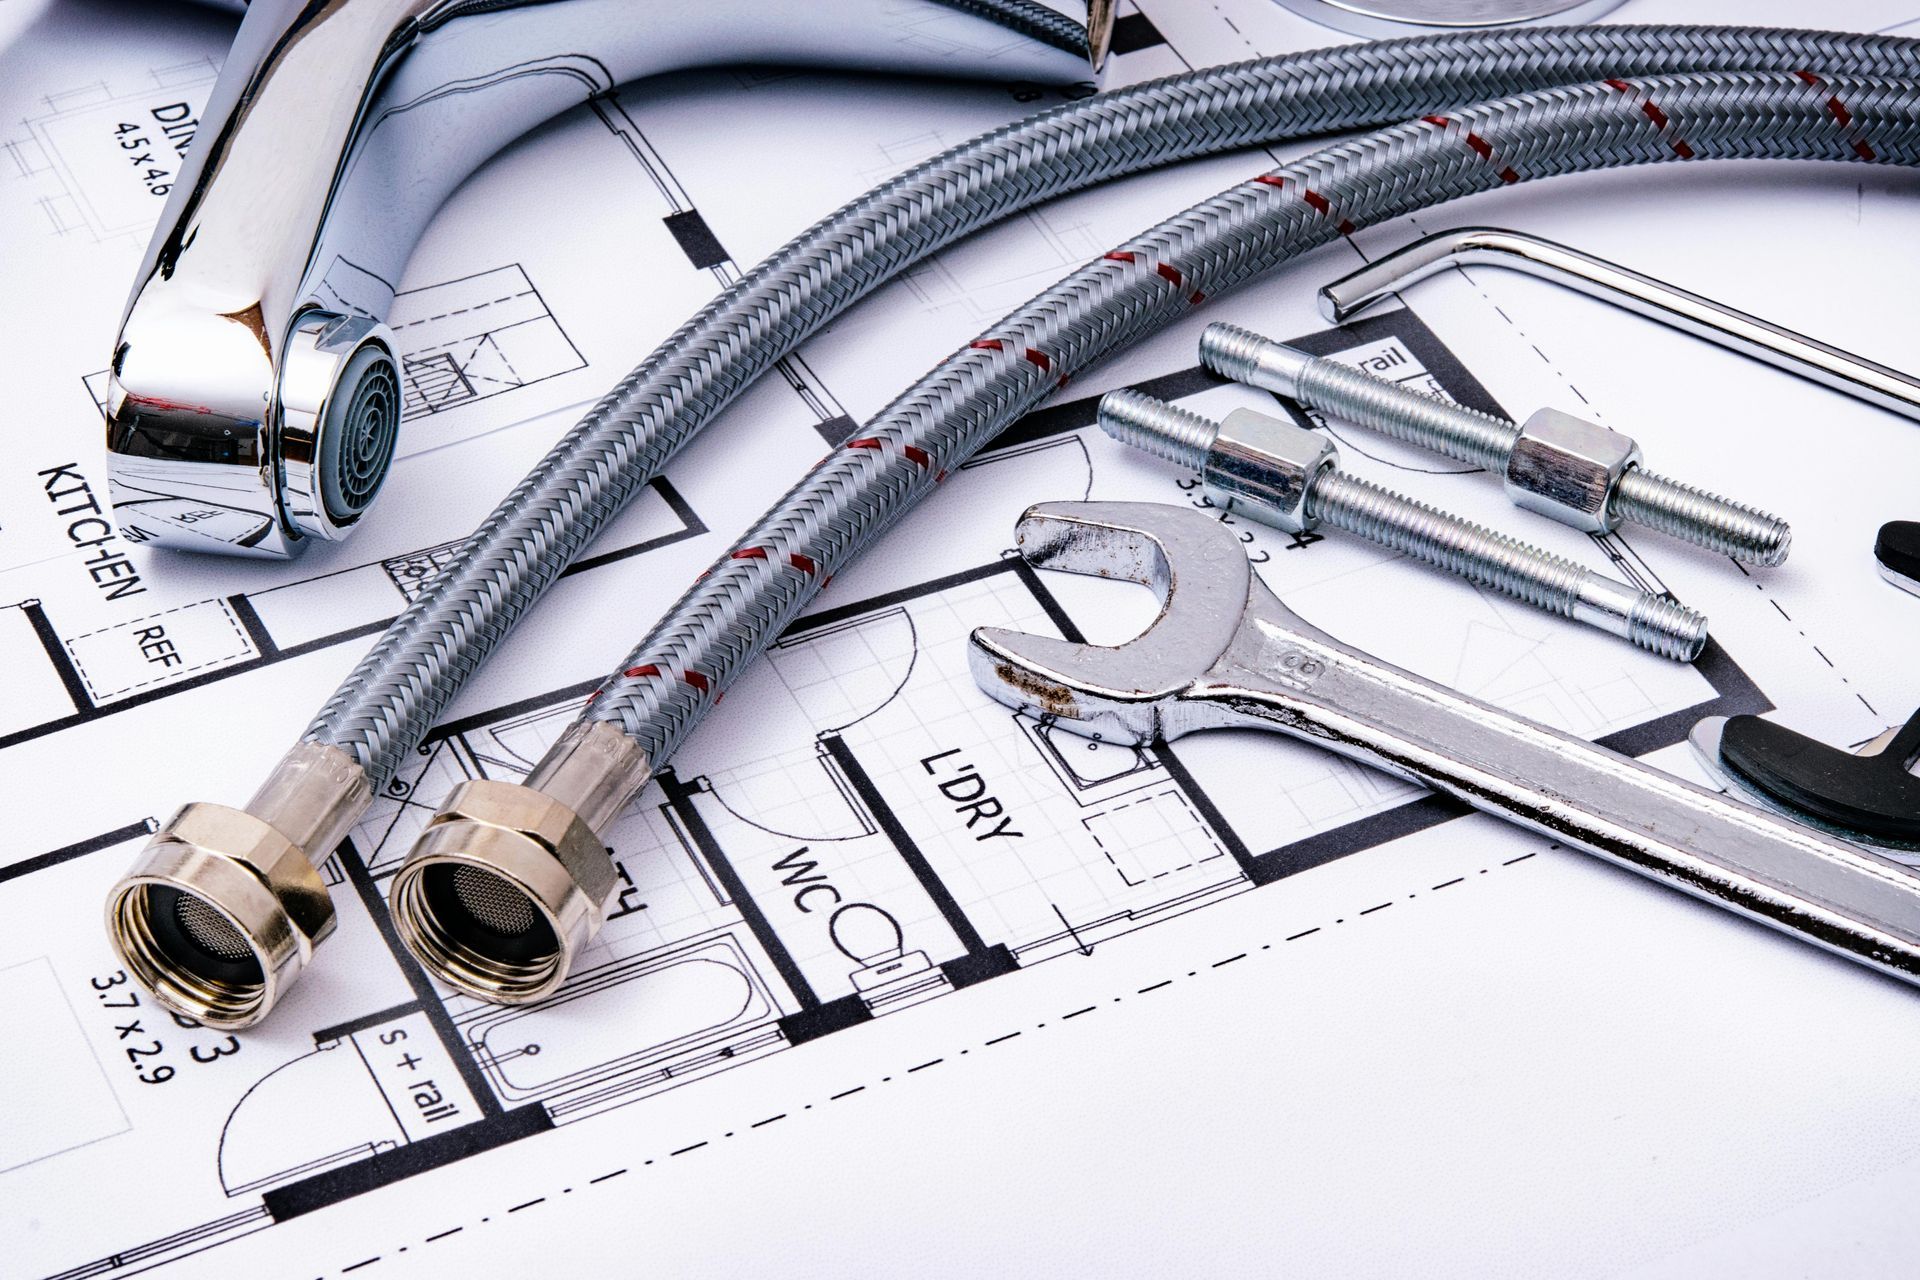
Before beginning repair work, assemble the necessary tools for a smooth and professional job. These include:
- Adjustable wrench and/or channel-lock pliers
- Screwdrivers (flathead and Phillips)
- Replacement dishwasher inlet hose or water inlet valve, if necessary
- Teflon tape or plumber’s putty (depending on fitting type)
- Bucket or towels to catch water drips
- Towels or rags for cleanup
Consult with experts like All City Plumbers if unsure about the exact part you require. Using high-quality replacement parts compatible with your dishwasher model is essential for a reliable fix.
Step-by-Step Guide to Fixing a Leaky Dishwasher Connection
1. Turn Off Water and Power Supply
Safety first: shut off the water supply leading to your dishwasher to prevent flooding. This usually means closing the valve beneath your kitchen sink. Also, disconnect power to the dishwasher by unplugging it or turning off the circuit breaker to avoid any electrical hazards.
2. Access the Dishwasher Connection
Pull out the dishwasher carefully to access the back where the water inlet hose connects. Remove any panels obstructing the connection if necessary. Be mindful not to damage adjacent cabinetry or flooring while maneuvering the appliance.
3. Inspect the Water Inlet Hose and Connections
Check the hose for signs of cracks, bulging, or wear. Inspect the hose clamps to ensure they are secure and not rusted. Examine the inlet valve for water stains or corrosion. Use a flashlight if needed to get a clear view of these components.
4. Tighten Loose Connections
If the leak is at the connection point, try tightening the hose clamp or fitting using your adjustable wrench or pliers. Be careful not to overtighten, as this may damage plastic fittings or strip threads.
5. Replace Damaged Hose or Water Inlet Valve
If tightening doesn’t stop the leak or if the hose is visibly damaged, replace it:
- Removing the old hose: Loosen clamps and carefully detach the hose from both the dishwasher inlet valve and the water supply valve.
- Installing the new hose: Apply plumber’s tape around threaded connections if appropriate, then securely attach the new hose to the inlet valve and water supply. Tighten clamps firmly.
If the inlet valve itself is faulty or leaking, it will need to be removed and replaced. This involves:
- Disconnecting the wire harness and waterline from the valve
- Unscrewing the valve from its bracket
- Installing a replacement valve, reconnecting hose and electrical connections securely
6. Test Your Repairs
Restore the water supply and power, then run a short dishwasher cycle. Observe the repaired connections closely for any signs of leaks. It’s advisable to place a dry towel underneath the area in case of small drips during the initial test.
Preventive Tips and When to Call Professional Plumbers
To protect your dishwasher’s water connections from future leaks:
- Regularly inspect hoses and clamps for early signs of wear.
- Avoid kinked or twisted hoses that reduce water flow or cause strain.
- Schedule routine maintenance for your home plumbing—including waterline repair and replacement—as recommended by professionals.
- Maintain your whole-house water filtration system to reduce sediment and mineral buildup that can deteriorate plumbing parts over time, similar to how you would maintain a water heater or other water appliances.
- If you’re unsure about DIY repairs or experience stubborn leaks, consulting professional plumbers such as All City Plumbers is highly advisable. Expert plumbers have the tools and know-how to safely and effectively handle plumbing issues, preventing costly damage.
Conclusion
Interestingly, skills and precautions used in fixing a leaky dishwasher connection parallel those needed for other plumbing repairs like replacing a broken shower arm. Both require careful shutting off of water supplies, correct use of tools for tight sealing, and a clear understanding of plumbing components and their vulnerabilities.
Moreover, maintaining overall plumbing health, including waterline repair and replacement and upkeep of associated systems like your water heater, ensures that your dishwasher and other appliances function reliably for years.
Fixing a leaky dishwasher connection is a critical maintenance task for protecting your home and ensuring efficient appliance operation. By following the detailed process above and considering ongoing preventative measures, you can address leaks effectively and avoid future plumbing headaches. When in doubt, trust experts such as All City Plumbers to deliver professional service and peace of mind.