How To Properly Replace And Fix A Broken Shower Arm?
A broken shower arm can disrupt your daily routine, reduce the efficiency of your bathroom, and even lead to water leaks that damage your walls or ceiling. Whether due to age, mineral buildup, or accidental force, it’s crucial to resolve this issue quickly and correctly. This step-by-step guide offers a comprehensive approach to replacing a broken shower arm, ensuring your bathroom operates smoothly and efficiently.
Understanding the Shower Arm and Its Importance
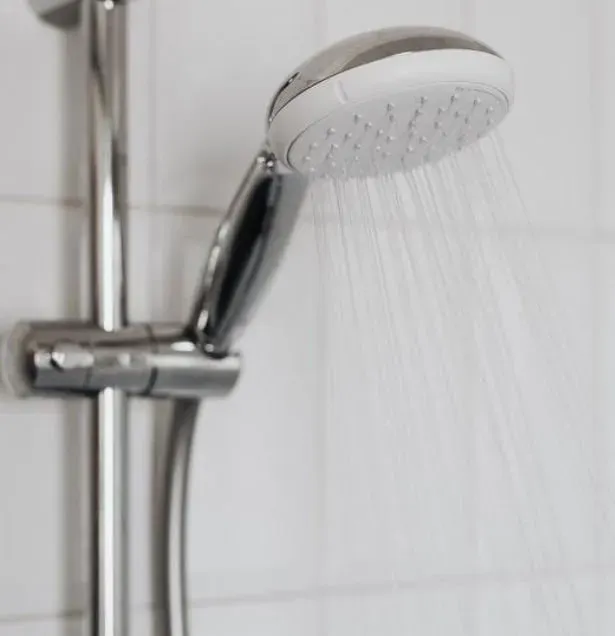
The shower arm is the pipe that connects your showerhead to the water supply inside the wall. Over time, exposure to water, changes in pressure, or poor installation can weaken the arm, causing breaks or leaks. When you address a broken shower arm, you not only restore the functionality of your shower but also prevent potential water damage and mold growth behind your bathroom walls. Ensuring prompt replacement is especially vital if you care about other plumbing systems in your home, such as your water heater, for which uninterrupted water flow is essential.
Safety Precautions and Preparation
Before initiating the replacement process, ensure you take proper safety precautions to avoid any unexpected mishaps. Turn off the water supply to the shower. While you may not need to shut off water to the entire home, it’s wise to know the location of your main shutoff valve. Also, cover the drain using a cloth or drain cover to prevent any tools or debris from falling in. Gathering all necessary tools and materials ahead of time, such as an adjustable wrench, plumber’s tape, and a new shower arm and flange, streamlines the task and reduces interruptions.
Tools and Materials Needed
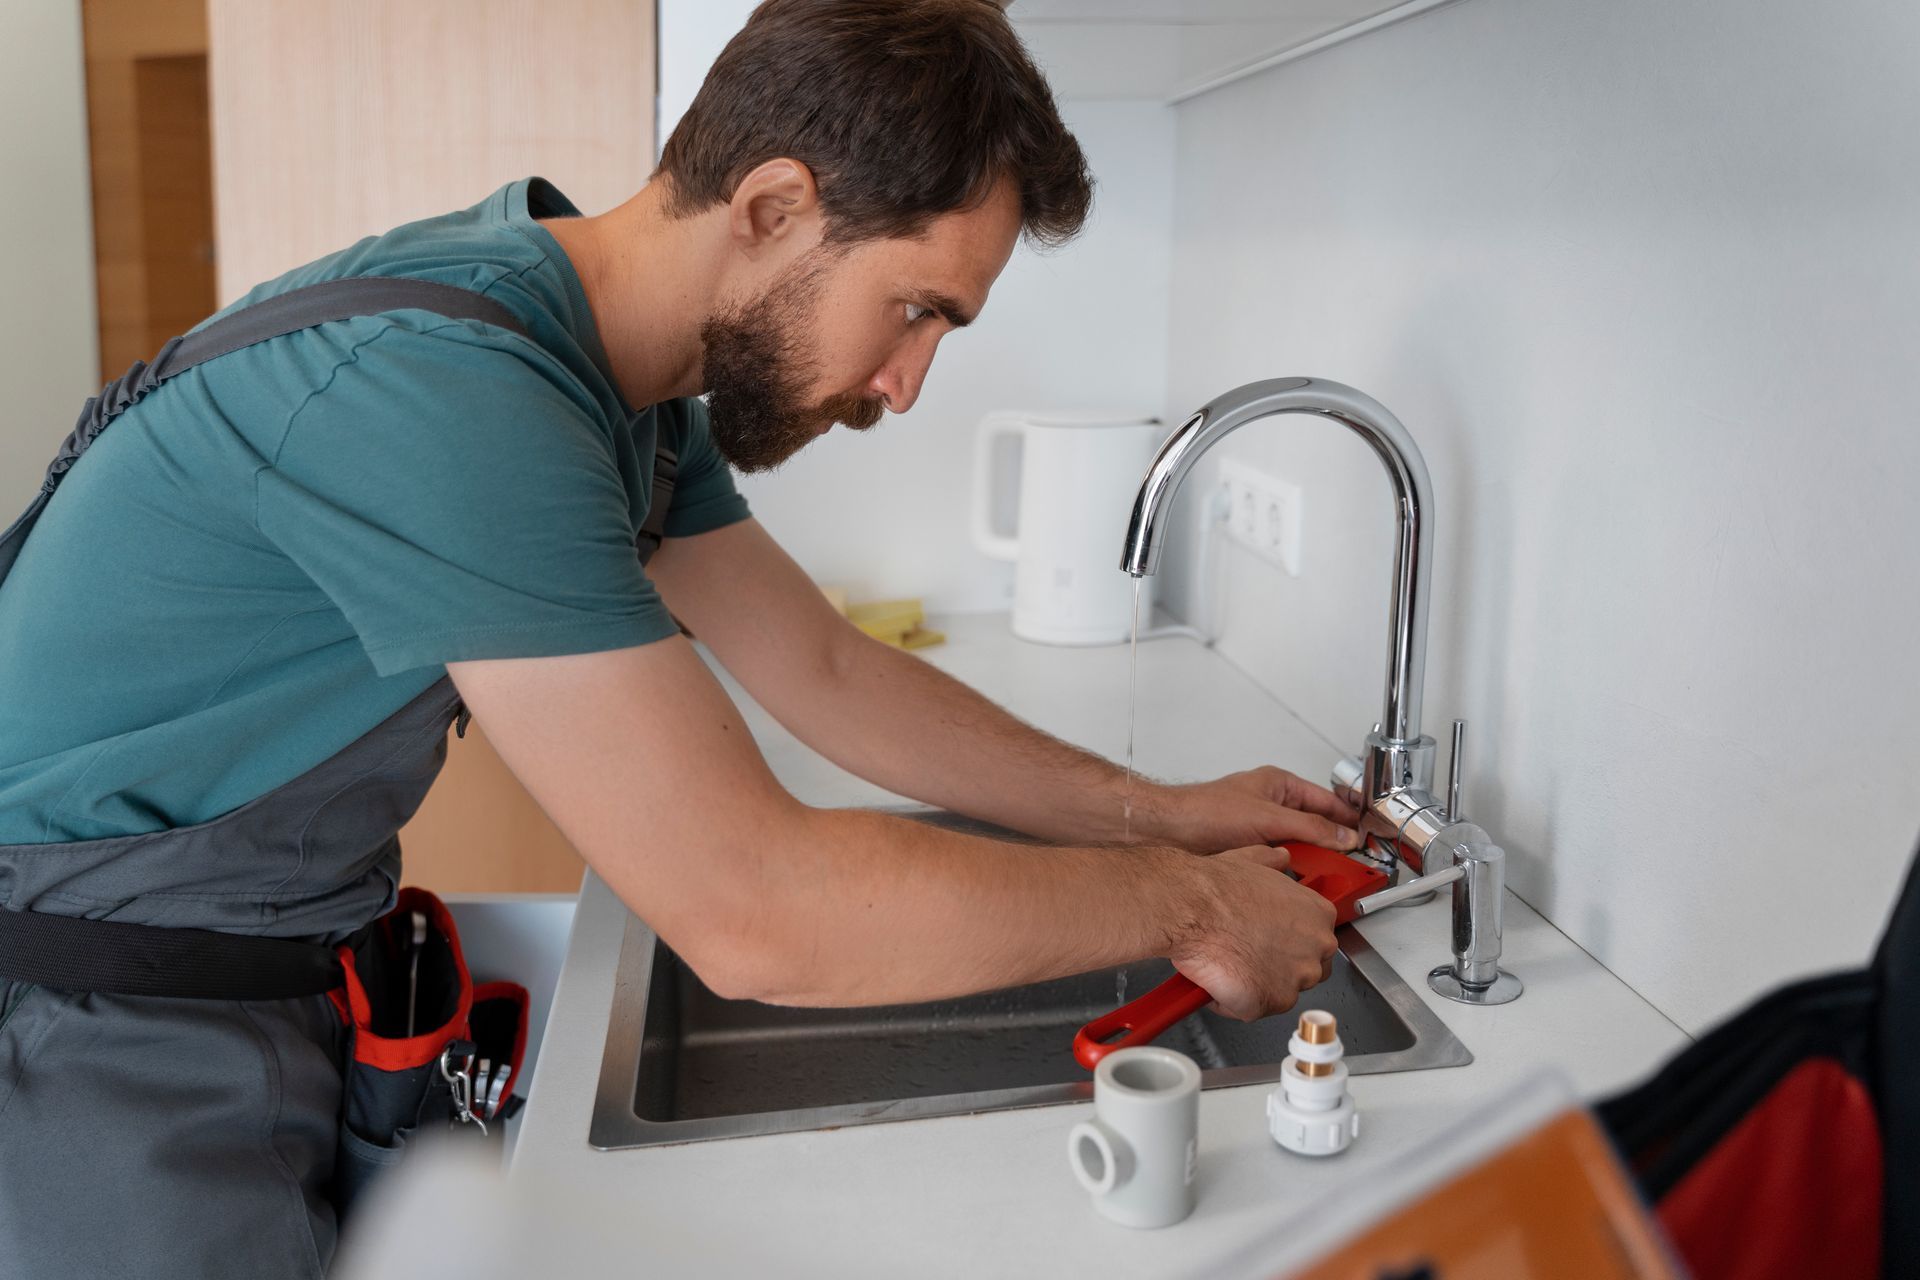
Having the right tools at hand makes the job less stressful and more efficient. For this task, you will need an adjustable wrench, locking pliers, plumber’s tape (Teflon tape), a new shower arm, a matching shower flange, a step stool if needed, and a rag for cleaning. Make sure your new shower arm is compatible in size and style with your showerhead and existing plumbing. While at it, inspect nearby fixtures for leaks or signs of corrosion—a simple preventive step recommended by All City Plumbers for maintaining your plumbing system’s integrity.
Removing the Old Broken Shower Arm
Begin by unscrewing the old showerhead if it hasn’t already come off with the arm. Next, use an adjustable wrench or locking pliers to gently grasp and turn the shower arm counterclockwise. Be careful not to apply excessive force if it resists; this might further damage the wall fitting or break the arm, leaving a stub inside the pipe. In some cases, mineral buildup or corrosion will make removal difficult—applying a penetrating lubricant and letting it sit for several minutes can help. Once free, slowly pull the shower arm out of the fitting, taking care not to let debris fall into your pipes.
After removal, inspect the exposed threads in the wall. Wipe them clean with your rag to ensure a secure, leak-free fit for the new shower arm. If any old plumber’s tape or corrosion is visible, make sure you clean this off thoroughly before proceeding.
Installing the New Shower Arm
Wrap the threaded end of your new shower arm with two to three layers of plumber’s tape in a clockwise direction. This creates a watertight seal that helps prevent leaks. Gently insert the new shower arm into the wall fitting, turning it clockwise by hand until tight. Finish the tightening with your wrench or pliers, being careful not to over-tighten, as this could crack your plumbing or strip the threads. Once secure, slide the new flange over the arm, pushing it against the wall to cover the hole.
Next, attach your showerhead to the new arm, again using plumber’s tape on the threads if recommended by the manufacturer. Tighten the showerhead carefully, ensuring it is positioned correctly for use. At this stage, restore the water supply to the shower.
Testing for Leaks and Ensuring Proper Operation
With the new shower arm and showerhead installed, slowly turn on the water to check for leaks at the connections. Run both hot and cold water in short bursts to ensure the shower operates smoothly at all temperatures—a crucial check as hot water can reveal issues not apparent with cold. Observe the connection points closely. If you see any water seepage, tighten the fittings gently or reapply plumber’s tape to the threads.
If your home has a whole-house water filtration system, maintaining it is important, as sediment buildup from unfiltered water can accelerate corrosion and clog your fixtures, including the new shower arm. This simple step will help prolong the lifespan of your plumbing and shower components.
Maintenance Tips and When to Call a Professional
Regular inspection of your shower arm and nearby fixtures is essential to avoid future issues. Clean your showerhead and arm periodically to prevent mineral deposits, and routinely maintain your whole-house water filtration system to reduce sediment and impurities. Remember that professional plumbers, such as those at All City Plumbers, can assist with complicated or stubborn problems, such as broken arms lodged in inaccessible pipes or damaged in-wall fittings. Don’t hesitate to call for expert help if you encounter resistance, unusual leaks, or signs of larger plumbing issues that might affect your water heater or home’s general water flow.
Conclusion
Replacing a broken shower arm is a straightforward but essential task that preserves the integrity and comfort of your bathroom. By following these detailed instructions carefully and taking basic preventive measures, you can ensure long-lasting results and the continued enjoyment of your shower. For those uncomfortable tackling plumbing repairs on their own, or for jobs that prove more complex than expected, enlisting the assistance of a reputable professional is the smartest solution. Proper plumbing maintenance—paired with regular attention to related systems like your water heater and whole-house water filtration—guarantees the lasting health and efficiency of your household plumbing.

