How To Properly Install A Water Leak Detector?
Installing a water leak detector is a critical step in safeguarding your home from water damage, which can lead to costly repairs and disruptions. By detecting leaks early, these devices help prevent structural damage, mold growth, and unexpected expenses. This comprehensive guide will walk you through the process of selecting, installing, and maintaining a water leak detector, while also addressing related plumbing concerns such as water line repair & replacement and integrating systems to detect a gas leak for holistic home safety.
Understanding Water Leak Detectors
Water leak detectors are specialized devices designed to identify the presence of moisture in areas prone to leaks, such as near water heaters, under sinks, or behind appliances. Modern detectors range from basic battery-operated sensors to advanced smart systems that integrate with home automation platforms. Some models can even trigger automatic water shutoff valves or send alerts to your smartphone, providing real-time protection.
The effectiveness of a detector depends on its placement, sensitivity, and integration with other home systems. For instance, pairing a water leak detector with devices that detect a gas leak ensures comprehensive hazard monitoring, addressing both water and gas-related risks in one cohesive strategy.
Choosing the Right Water Leak Detector
Selecting the appropriate detector requires evaluating your home’s unique needs. Key considerations include:
- Sensor Type: Opt for detectors with probes or moisture-sensitive pads for precise leak detection.
- Connectivity: Smart detectors offer remote alerts via Wi-Fi, while standalone units rely on audible alarms.
- Power Source: Battery-operated models provide flexibility, whereas wired units ensure uninterrupted operation.
- Integration: Choose systems compatible with smart home hubs or automatic shutoff valves for enhanced protection.
For homes with aging plumbing, investing in a robust detector is particularly important to mitigate risks that could eventually necessitate water line repair & replacement.
Preparation Before Installation
Identify High-Risk Areas
Focus on locations where leaks are most likely:
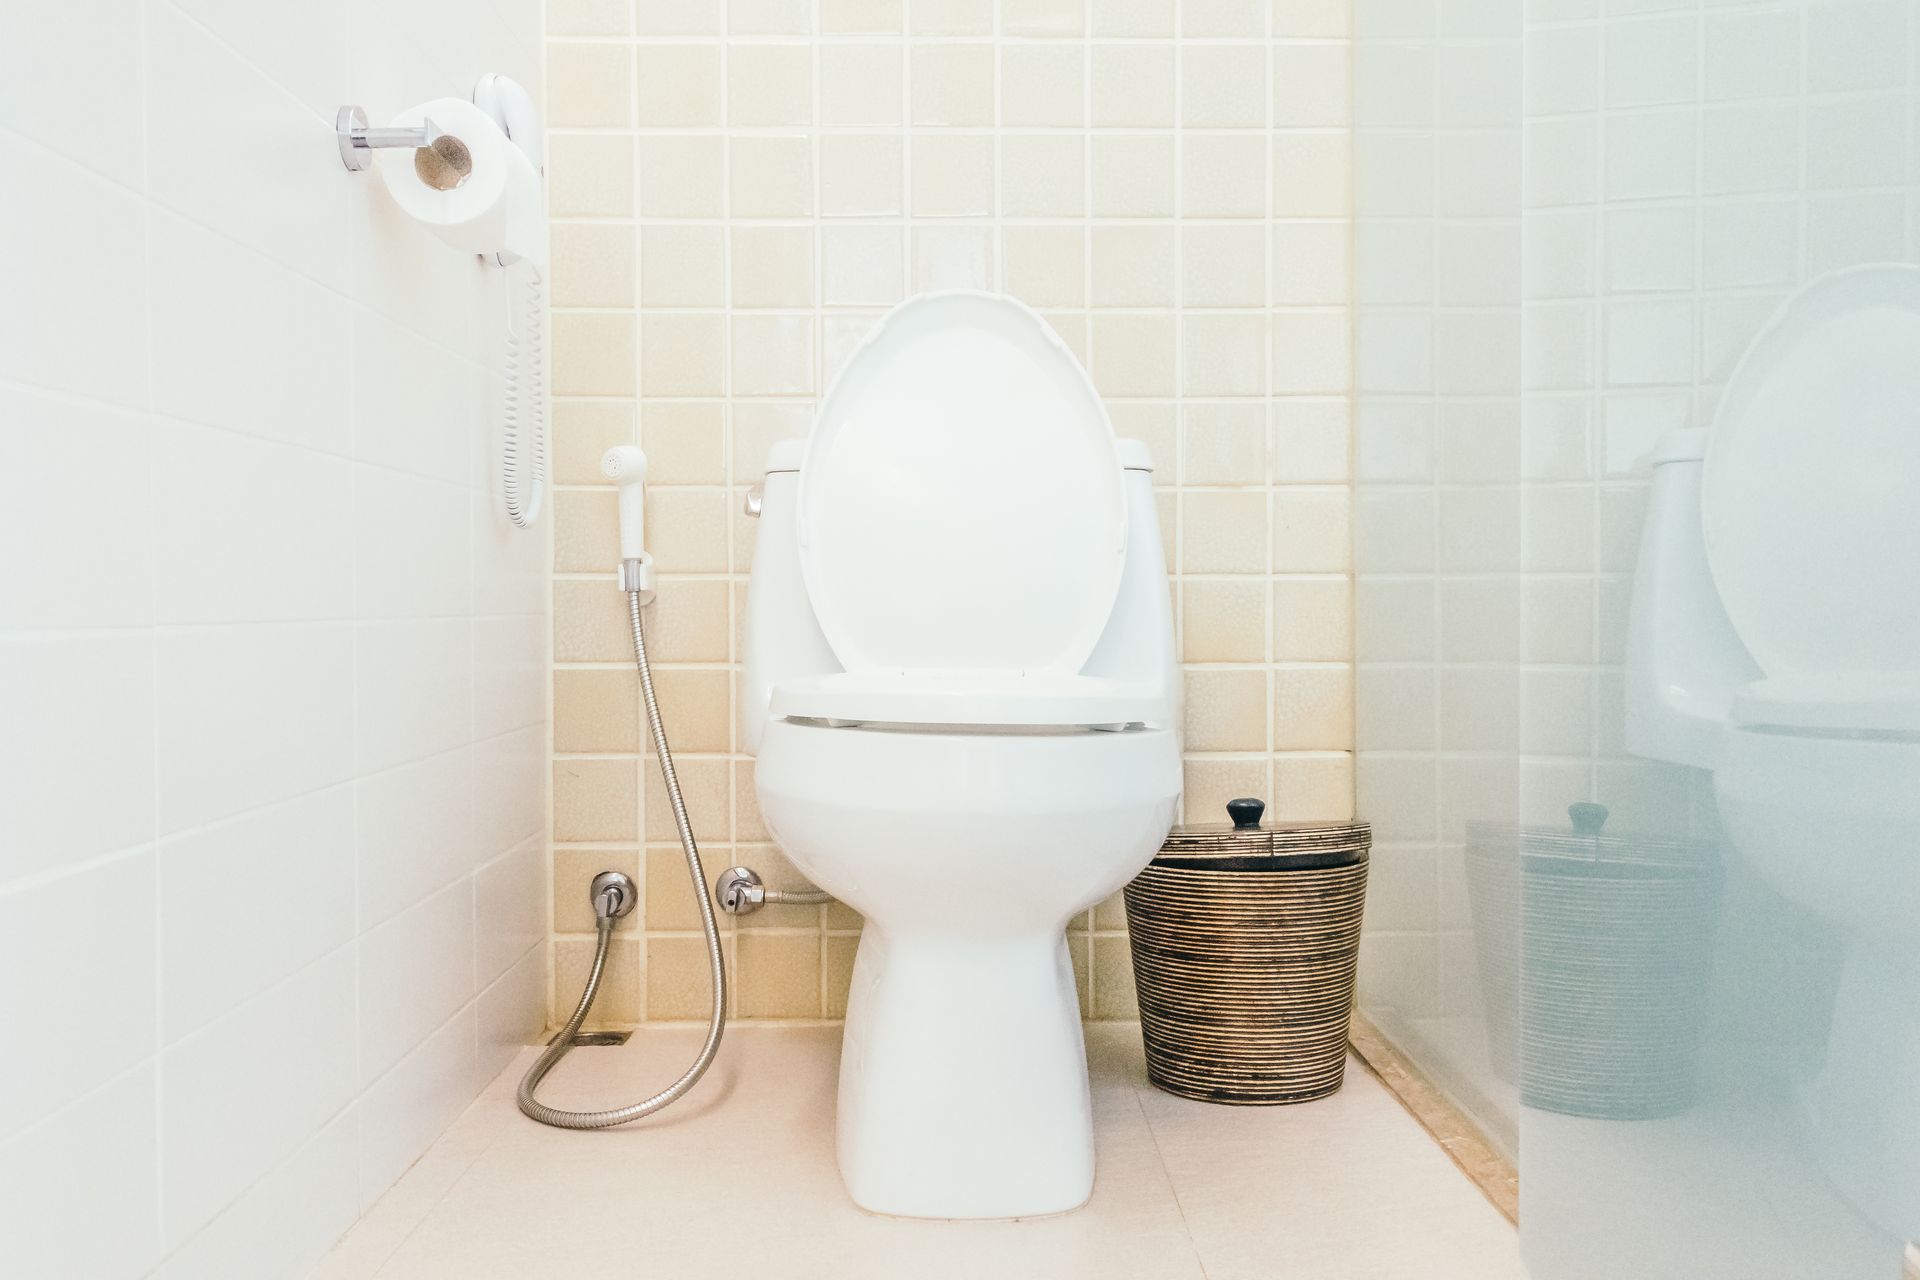
- Under sinks and behind toilets.
- Near water heaters, washing machines, and dishwashers.
- Basements, crawl spaces, and areas with exposed pipes.
Gather Tools and Materials
Ensure you have the detector, mounting hardware (adhesive pads, screws), a level, and cleaning supplies. Review the manufacturer’s instructions thoroughly to avoid installation errors.
Step-by-Step Installation Process
1. Power Source Configuration
If using a battery-operated detector, insert fresh batteries. For wired models, ensure proximity to an electrical outlet or consult an electrician for hardwiring.
2. Sensor Placement
Position the detector on the floor or surface where water is likely to pool. Ensure direct contact with the surface for accurate detection. Avoid placing sensors in areas prone to condensation, such as near uninsulated pipes.
3. Mounting the Device
Secure the detector using adhesive pads or screws. Use a level to ensure it sits flat, as tilted units may fail to detect leaks effectively.
4. Connectivity Setup
For smart detectors, download the companion app and connect the device to your Wi-Fi network. Configure alerts to notify you via email, text, or app notifications.
5. Testing and Calibration
Simulate a leak by placing a damp cloth near the sensor. Verify that the alarm triggers and, if applicable, that alerts are sent to your devices. Adjust sensitivity settings if needed.
Maintenance and Regular Testing
Routine upkeep ensures long-term reliability:
- Monthly Checks: Test alarms and replace batteries.
- Sensor Cleaning: Wipe probes or pads to remove dust or debris.
- Software Updates: For smart detectors, install firmware updates to maintain functionality.
Neglecting maintenance can render even the best detectors ineffective, potentially leading to undetected leaks that require water line repair & replacement.
Additional Safety Measures
Integrate Automatic Shutoff Valves
Pair your detector with an automatic shutoff valve to halt water flow during a leak. This is especially useful for preventing catastrophic damage while you’re away.
Expand Hazard Detection
Consider installing devices that detect a gas leak alongside water sensors. Dual-purpose systems provide layered protection against multiple household hazards.
When to Call Professionals
While DIY installation is feasible for most detectors, complex scenarios may require expert assistance. For example:
- Persistent leaks indicating underlying pipe damage.
- Whole-house systems requiring integration with existing plumbing.
- Projects involving water line repair & replacement to address corroded or burst pipes.
In such cases, licensed professionals like All City Plumbers can ensure safe, code-compliant solutions tailored to your home’s needs.
Conclusion
Proper installation of a water leak detector is a proactive measure that protects your home from water damage and reduces the likelihood of emergency water line repair & replacement. By selecting the right device, following precise installation steps, and integrating complementary systems to detect a gas leak, homeowners can create a resilient safety net. Regular maintenance and professional support from trusted providers like All City Plumbers further enhance reliability, ensuring your detector remains a vigilant guardian against costly disasters.
With careful planning and execution, your water leak detector will serve as a first line of defense, preserving both your property and peace of mind.
