How To Effectively Test Your Home's Water Quality?

Hadi Masood

Ensuring the quality of your home's water supply is essential for health, safety, and the longevity of your plumbing system. Contaminated or poor-quality water can lead to health issues, damage to appliances, and plumbing problems. Testing your water regularly helps identify impurities, contaminants, and other issues that may require treatment or repair. This article provides a detailed, professional guide on how to test your home’s water quality, including various testing methods, interpreting results, and maintenance tips.


Understanding the Importance of Water Quality Testing

Water quality can vary significantly depending on your source-whether municipal, well, spring, or rainwater. Even treated municipal water may contain trace contaminants that affect taste, odor, and safety. Testing helps detect harmful substances such as lead, bacteria, nitrates, chlorine, heavy metals, and mineral content. Beyond health concerns, poor water quality can accelerate plumbing wear, cause mineral buildup, and affect appliances like water heaters and dishwashers.

Regular water testing also helps identify issues that may require professional intervention, such as leaks or corrosion. For example, unnoticed problems like a slow leak can lead to water damage or even necessitate drain clearing to prevent blockages. Additionally, maintaining components like expansion tanks in your plumbing system ensures pressure regulation and prevents pipe bursts, which can be exacerbated by poor water quality.


Visual and Sensory Inspection: The First Step

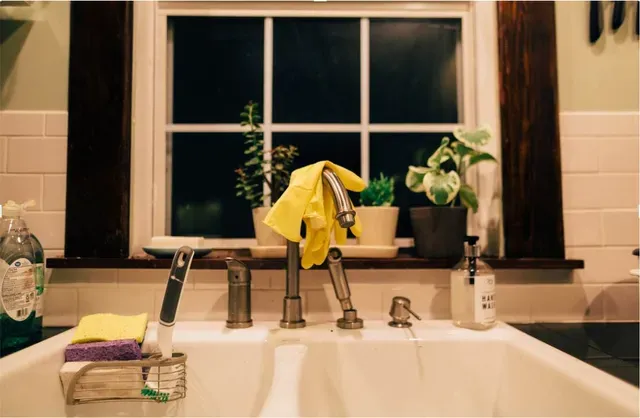
Before using any testing tools, start with a simple sensory evaluation. Fill a clear glass or white container with tap water and observe its color, clarity, and smell. Clean water should be clear and free of discoloration or cloudiness. Any yellow, brown, or green tint may indicate rust, algae, or sediment contamination. Unpleasant odors, such as a strong chlorine or sulfur smell, can signal chemical treatment or bacterial presence.

Taste can also provide clues, but it is less reliable since some contaminants are tasteless or odorless. Comparing your tap water to distilled water can help highlight differences in taste or smell. If your water shows any unusual characteristics, proceed with more detailed testing.


Using Home Water Testing Kits

Home water testing kits are widely available and offer a convenient way to check for common contaminants. These kits come in various forms, including test strips, color disk kits, and digital testers.

Test strips are popular for their ease of use and affordability. They can detect parameters such as pH, hardness, chlorine, lead, iron, copper, nitrates, and bacteria. You simply dip the strip into a water sample and compare the resulting color changes to a chart. While test strips provide a quick baseline, they are less precise and rely on user interpretation.

Color disk kits involve adding reagents to a water sample, causing a color change that corresponds to contaminant levels. These kits tend to be more accurate than strips but require careful handling and sometimes incubation periods for bacterial tests.

Digital water testers measure parameters like total dissolved solids (TDS), pH, and electrical conductivity. These devices offer faster and more quantitative results but are more expensive and may require calibration and user training for accurate readings.


Professional Laboratory Testing for Comprehensive Analysis

For the most accurate and comprehensive water quality assessment, sending a water sample to a certified laboratory is recommended. Labs test for a wide range of contaminants, including heavy metals, pesticides, bacteria, and organic compounds, often at levels below what home kits can detect. This method is especially important if you rely on well water or suspect serious contamination.

Collecting samples properly is crucial for valid results. Use sterile containers provided by the lab, follow instructions carefully, and deliver samples promptly. Laboratory results typically include comparisons to health standards, helping you understand any risks and necessary treatments.


Interpreting Test Results and Taking Action

Once you have your water quality results, it’s important to interpret them correctly. Parameters such as pH should ideally be between 6.5 and 8.5, while TDS levels below 250 ppm generally indicate good water quality. Elevated levels of lead, bacteria, nitrates, or other harmful substances require immediate attention.

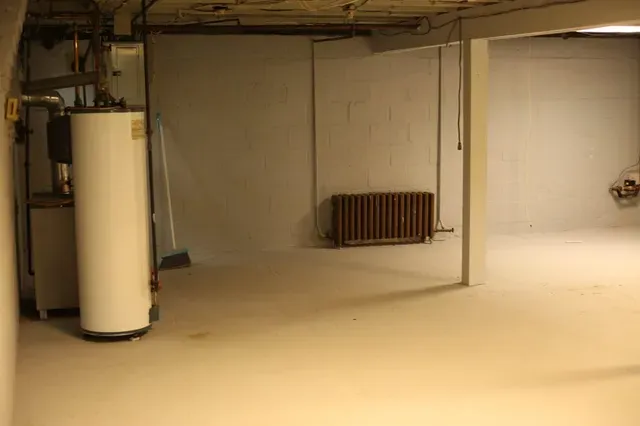
If contaminants are detected, consider installing appropriate filtration or treatment systems. For example, water softeners help reduce hardness and prevent limescale buildup in pipes and appliances. Chlorination or UV treatment can eliminate bacteria. Regular maintenance of plumbing components, including expansion tanks and water heaters, ensures system reliability and water safety.

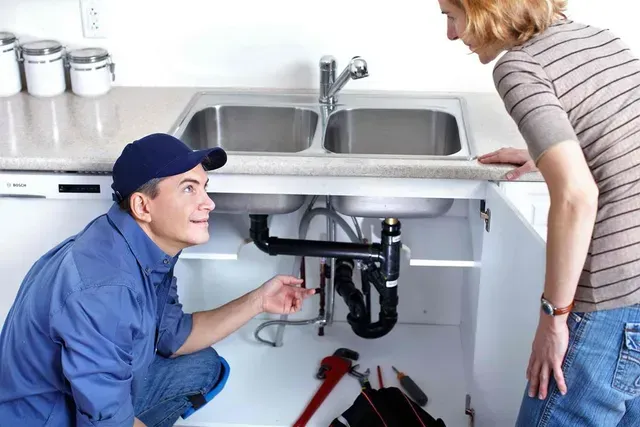
In some cases, water quality issues may be linked to plumbing problems such as leaks or corrosion. For instance, a persistent leak might necessitate a plumber’s intervention to fix a toilet leak at the base or repair damaged pipes. Addressing these issues promptly prevents further contamination and water damage.


Routine Maintenance and Preventive Measures

Testing your water quality is only part of maintaining a healthy water supply. Routine plumbing maintenance plays a vital role. Regularly inspect pipes, fixtures, and appliances for signs of wear or leaks. Keep expansion tanks in good condition to regulate pressure and protect your system from damage.

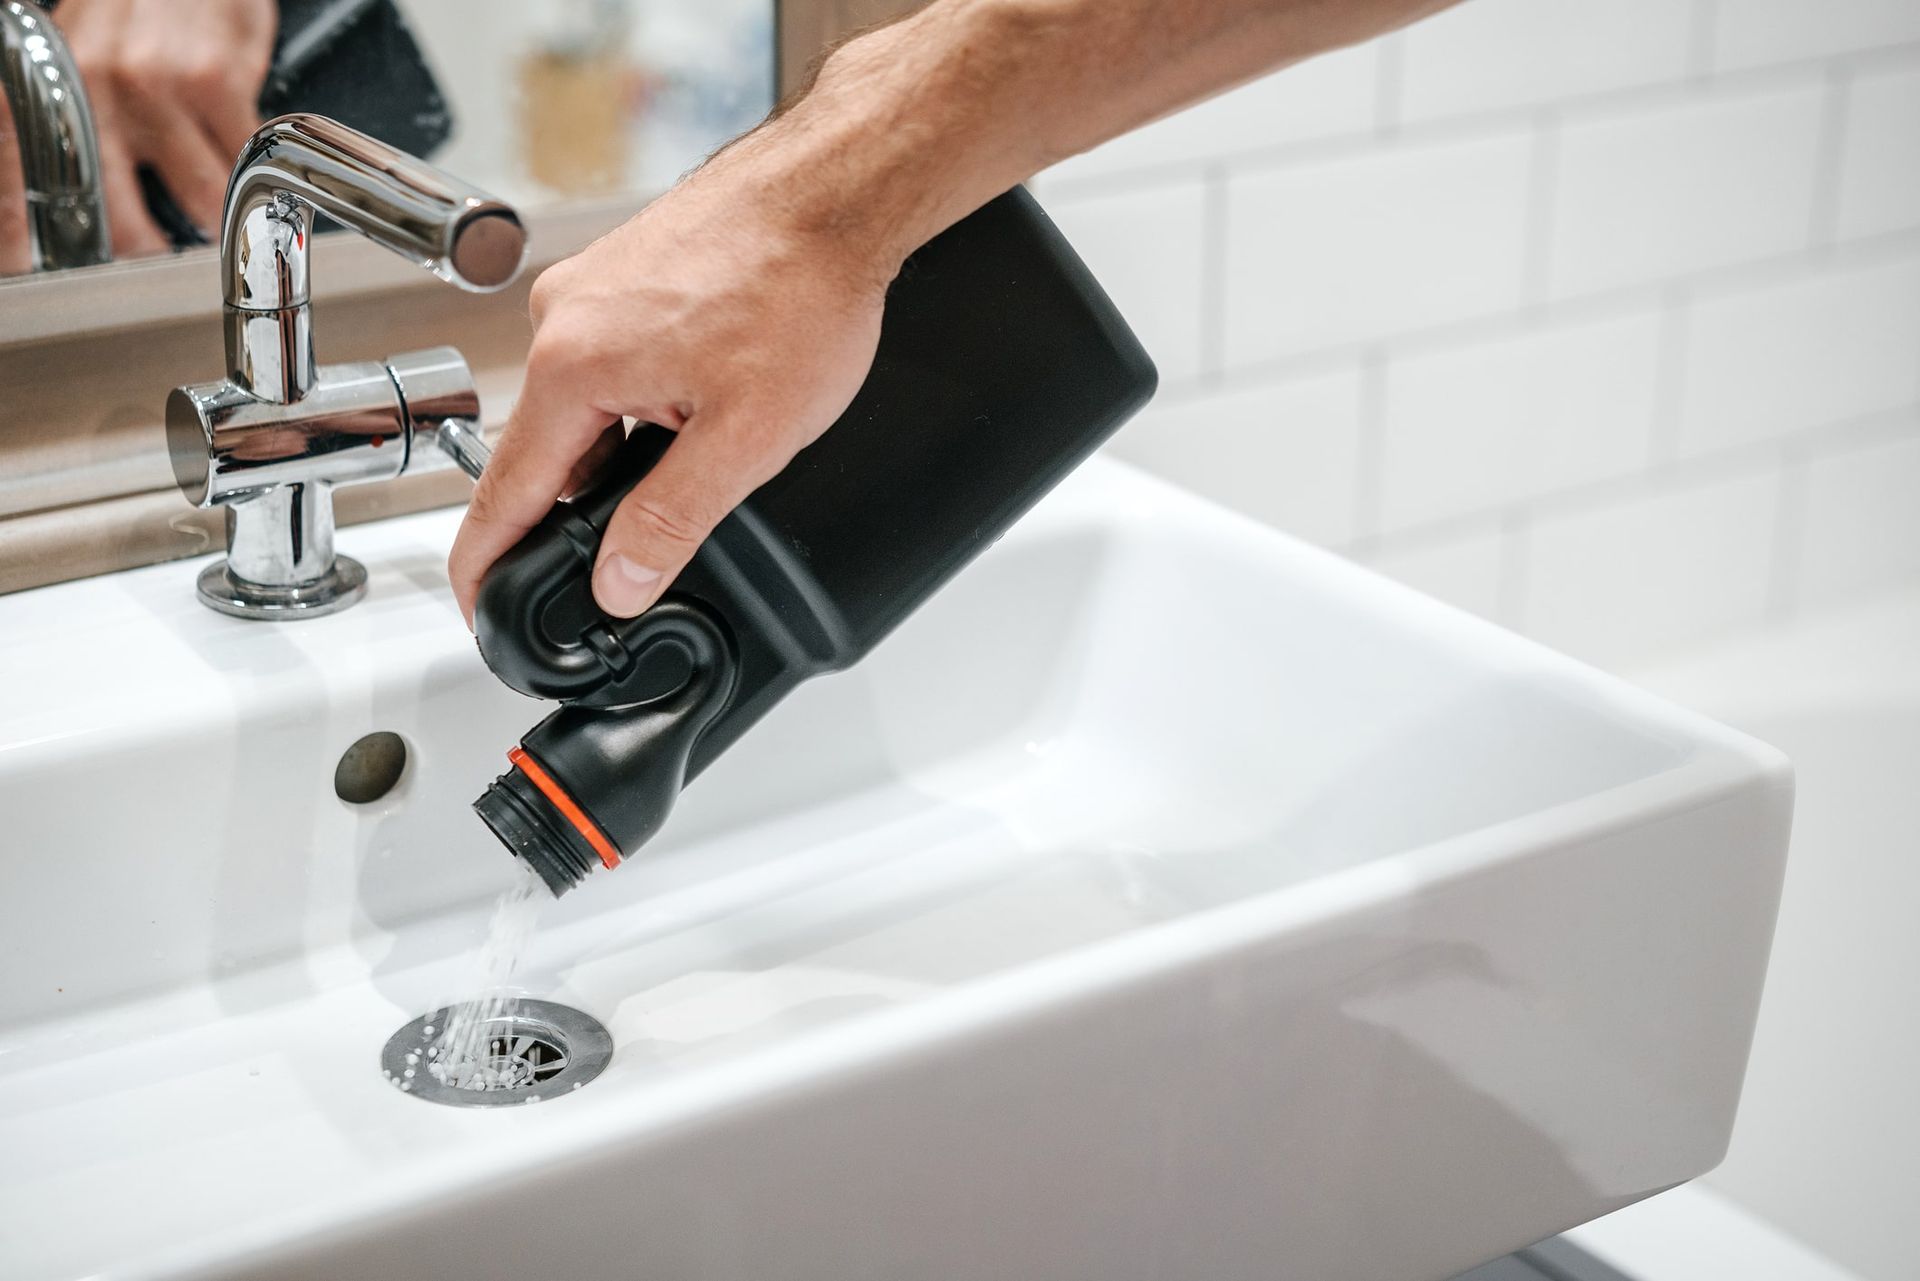
Avoiding mineral buildup through water softening or filtration helps prolong the life of your plumbing and appliances. If you notice slow drainage or blockages, timely drain clearing prevents backups and contamination.

Finally, stay informed about your local water supplier’s quality reports and any advisories. Combining professional water testing with routine home maintenance ensures safe, clean water and a well-functioning plumbing system.


Conclusion

Testing your home’s water quality is a crucial step toward safeguarding your health and protecting your plumbing infrastructure. From simple sensory checks to advanced laboratory analysis, various methods are available to identify contaminants and assess water safety. Using home testing kits provides quick insights, while professional testing offers comprehensive results. Interpreting these results accurately allows you to take effective action, whether installing filtration systems, performing plumbing repairs like fixing a toilet leak at the base, or maintaining critical components such as expansion tanks.

Regular water quality testing combined with preventive maintenance, including measures to prevent limescale buildup and timely drain clearing, ensures your home’s water remains safe, clean, and reliable. By staying proactive and informed, you can enjoy peace of mind knowing your water supports the health and comfort of your household.

Bathroom Water Hammer Explained and How to Stop the Loud Banging?
by Hadi Masood 30 January 2026
Unpack bathroom water hammer—causes like sudden valve closures and high pressure—and learn proven fixes like arrestors and PRVs for silent pipes.
by Hadi Masood 30 January 2026
Nothing disrupts a morning routine like a shower turning icy midstream, leaving you shivering and frustrated. This common issue stems from imbalances in your home's plumbing and heating systems, often triggered by everyday usage patterns or overlooked maintenance. Understanding the root causes empowers homeowners to diagnose problems swiftly and implement lasting fixes. This guide delves into the mechanics behind sudden temperature drops, explores diagnostic techniques, and outlines prevention strategies to keep your showers consistently warm. Common Causes of Sudden Cold Showers Sudden cold water in showers typically arises from water heater malfunctions or plumbing disruptions. Sediment buildup in tank-style heaters insulates the burner or element, causing inconsistent heating—over time, minerals from hard water accumulate at the bottom, reducing efficiency and leading to temperature fluctuations during peak demand. Similarly, a failing dip tube in the heater fails to direct cold incoming water to the top for proper mixing, so hot water depletes faster than it replenishes. High demand elsewhere in the home exacerbates this; simultaneous use of washing machines, dishwashers, or multiple faucets dilutes hot water supply. Pressure imbalances from clogged aerators or faulty mixing valves can also shift temperatures abruptly. In larger households, undersized heaters struggle with back-to-back usage, mimicking a sudden cold blast. Diagnosing Water Heater Problems Start diagnosis by checking the water heater's thermostat setting—most should hover between 120 and 140 degrees Fahrenheit for safety and performance. Listen for unusual noises like popping or rumbling, hallmarks of sediment; if present, a professional flush resolves it. Test the heating element in electric models with a multimeter for continuity, or inspect the gas burner for a weak blue flame indicating dirty components. Expansion tanks play a crucial role here—they mount on the cold water inlet to absorb thermal expansion pressure, preventing relief valve drips that signal overpressure and potential cold surges. Without one, especially in closed-loop systems, heaters cycle inefficiently, dropping output temperatures. Monitor the pressure relief valve; frequent activation points to expansion issues. For tankless units, error codes on the display often pinpoint flow sensors or igniters as culprits. Identifying Plumbing and Pipe Issues Plumbing beyond the heater often hides the problem. Reverse flow from check valves or backflow preventers can introduce cold water into hot lines, especially if sediment clogs them. Undersized pipes struggle with volume, causing pressure drops that chill the stream. Air locks from recent repairs trap bubbles, disrupting flow until purged by running all hot taps sequentially. Leaky fixtures upstream siphon hot water unnoticed, leading to sudden cools. Inspect for hidden corrosion in galvanized pipes, which narrows passages over time. All City Plumbers emphasize tracing lines with a pipe camera for blockages invisible to the eye, revealing scale or debris that starves the showerhead. The Impact of Water Pressure Fluctuations Pressure swings directly affect shower temperature consistency. Municipal supply variations, like nighttime boosts or peak-hour drops, strain home systems. Faulty pressure regulators fail to stabilize incoming force, overwhelming the heater. Clogged showerheads or aerators restrict hot flow while cold rushes in unchecked. In multi-story homes, gravity amplifies upper-floor issues, where thinner pipes can't maintain velocity. Install a whole-house pressure gauge to baseline readings—ideal is 50-80 PSI. Fluctuations beyond this trigger mixing valve failures, designed to blend water but prone to wear. Step-by-Step Fixes for Cold Showers Addressing the issue begins with simple resets. Flush the water heater by attaching a hose to the drain valve and running it until clear, refilling slowly to avoid air pockets. Clean aerators by soaking in vinegar overnight, then reinstall for restored balance. Insulate exposed pipes with foam sleeves to minimize heat loss in unheated spaces. For persistent problems, replace the dip tube or upgrade to a higher-capacity heater. Adding or servicing expansion tanks restores pressure equilibrium. Test post-fix by timing recovery—hot water should resume within 30 seconds of demand spikes. Preventive Maintenance Strategies Prevention hinges on routine care. Annually flush tank heaters and descale tankless ones to banish sediment. Set programmable schedules to avoid simultaneous high-demand usage, staggering laundry and showers. Install low-flow fixtures that ease heater load without sacrificing pressure. Prepare your plumbing before vacations by shutting off the water main, draining lines, and setting the heater to pilot mode—this averts stagnant water growth and pressure builds during absence. Water softeners combat mineral buildup in hard-water areas, extending system life. Upgrading for Long-Term Reliability Consider modern solutions like on-demand tankless heaters, which heat water instantly without standby losses, eliminating cold-start woes. Hybrid heat pump models offer efficiency gains up to 300 percent. Whole-home recirculation pumps deliver instant hot water, minimizing waste and temperature dips. Smart thermostats monitor usage patterns, adjusting preemptively. Pair with pressure-balancing shower valves that auto-compensate for fluctuations, ensuring steady warmth. Conclusion Sudden cold showers disrupt more than comfort—they signal underlying issues that, if ignored, escalate to costly repairs. By pinpointing causes from heater sediment to pressure imbalances and embracing proactive maintenance, you safeguard reliable performance year-round. Implementing these strategies not only restores blissfully warm showers but also boosts energy efficiency and system longevity for peace of mind.
How To Install ADA-Compliant Bathroom Fixtures?
by Hadi Masood 28 January 2026
Learn step-by-step how to install ADA-compliant bathroom fixtures for accessibility, including toilets, sinks, grab bars, and pro tips for compliance and safety.
What Are Some Of The Best Layouts For Dual Sink Bathrooms?
by Hadi Masood 28 January 2026
Explore top dual sink bathroom layouts: linear, island, L-shaped, and more, with plumbing, lighting, storage, and pro design tips.
How to Repair Leaking Vanity Drain Assemblies (Complete Guide)
by Hadi Masood 26 January 2026
Complete guide to fixing leaking vanity drain assemblies: disassembly, washer replacement, reassembly, testing, and pro upgrade tips.
How to Fix Intermittent Toilet Flush Failures (Complete Guide)
by Hadi Masood 26 January 2026
Fix intermittent toilet flush failures: troubleshoot flappers, venting, pressure, and clogs with step-by-step repairs for reliable performance.
How to Prevent Mineral Rings in Toilet Tanks (Simple Solutions)
by Hadi Masood 25 January 2026
Prevent mineral rings in toilet tanks with vinegar soaks, softeners, liners, and maintenance tips for clean, efficient performance.
Why Low-Flow Toilets Still Clog (Causes and Easy Fixes)
by Hadi Masood 25 January 2026
Why low-flow toilets still clog: causes like waste habits, buildup, venting, and fixes for better performance without wasting water.
Bathroom Remodeling Plumbing Mistakes to Avoid For Costly Repairs
by Hadi Masood 23 January 2026
Avoid costly bathroom remodeling plumbing mistakes like undersized lines, poor venting, and waterproofing errors—essential tips for flawless results.
Why Your Toilet Sweats in Summer (And How to Stop It)
by Hadi Masood 23 January 2026
Uncover why toilets sweat in summer due to condensation, plus fixes like insulation, ventilation, and pro tips to prevent mold and slips.