How to Test Your Home’s Water Pressure and Adjust It?
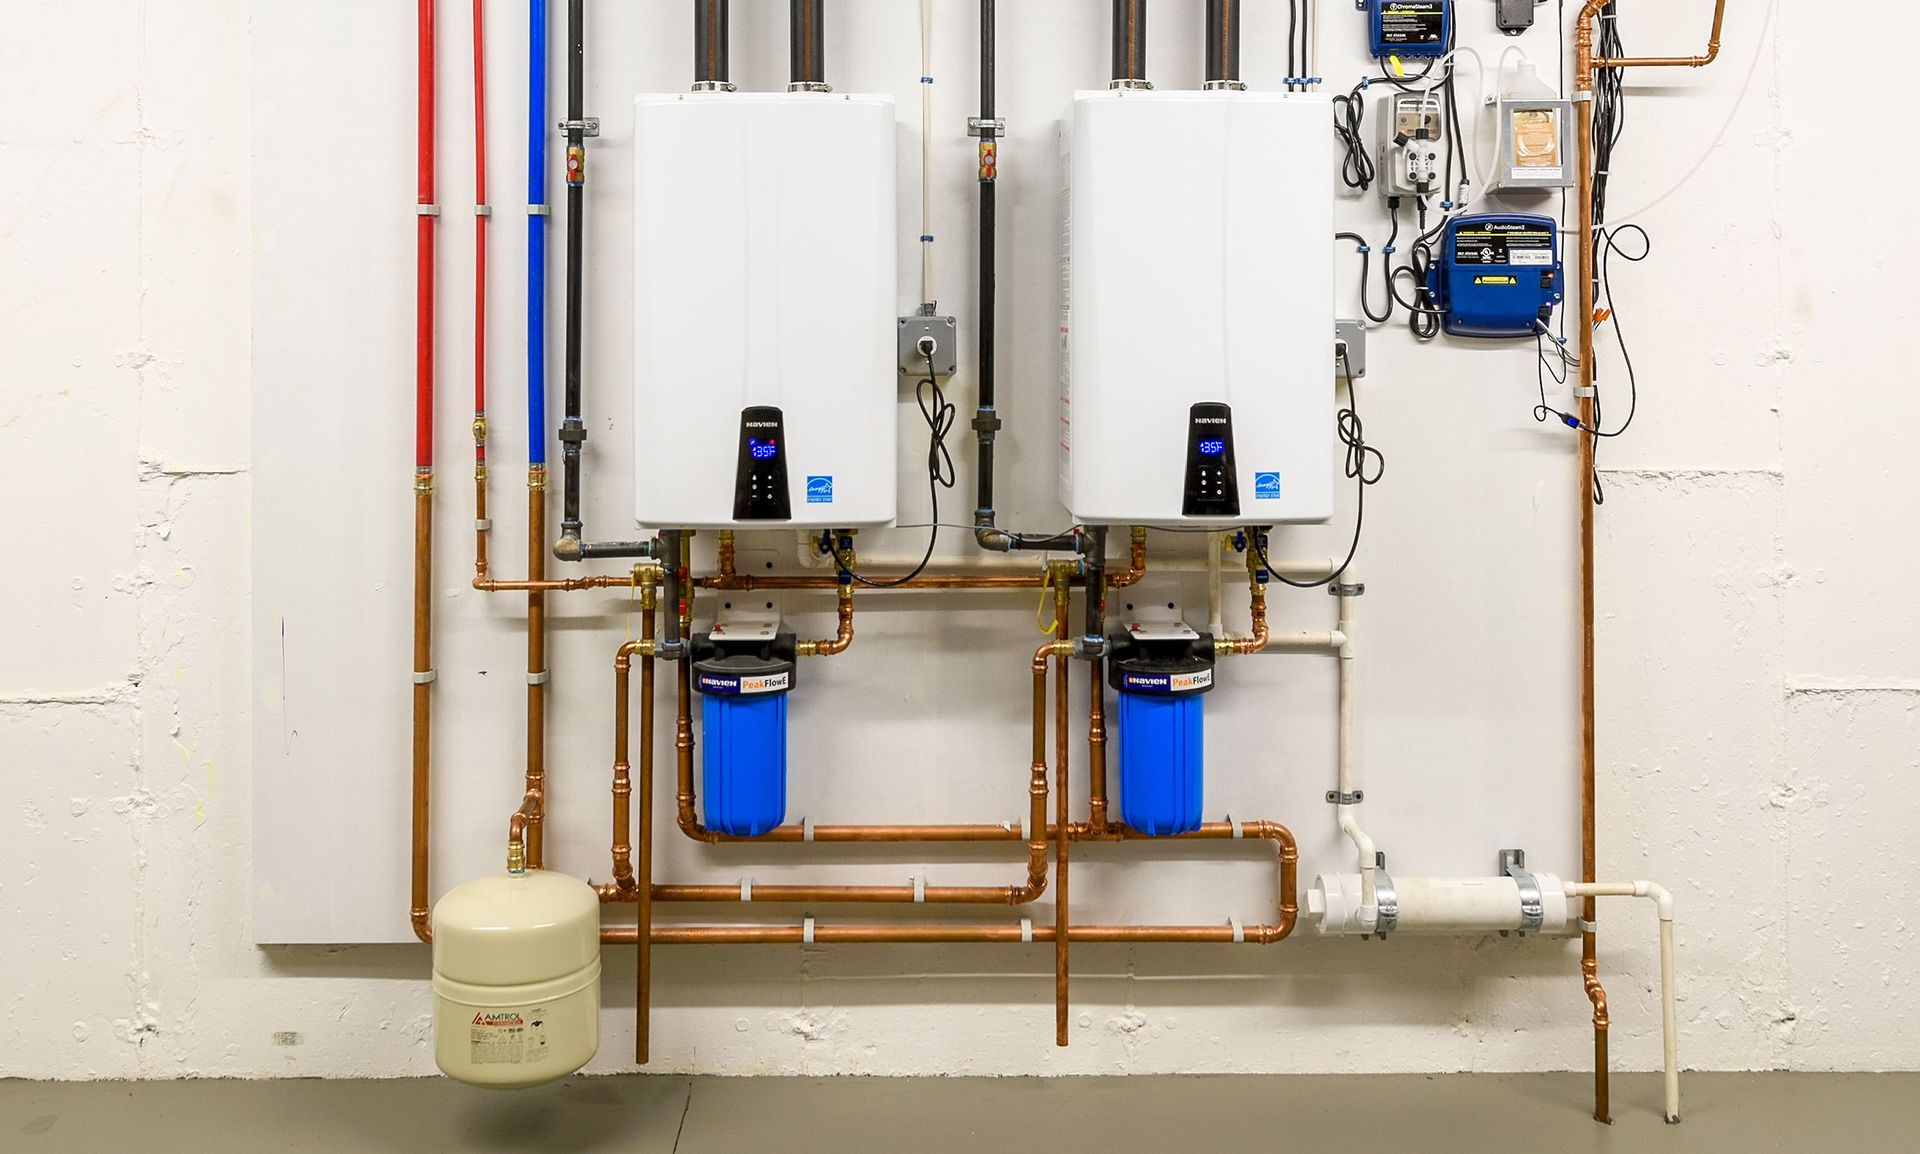
Water pressure is a fundamental aspect of your home’s plumbing system, dictating how efficiently water flows through your pipes to various fixtures. It is measured in pounds per square inch (psi), with the standard range for most households falling between 40 and 60 psi. If your water pressure is too low, you might experience weak showers and slow-filling appliances. Conversely, excessively high pressure can damage pipes, appliances, and even lead to water waste, potentially resulting in costly repairs, such as sump pump repairs, if left unchecked.
Why Testing Water Pressure Matters
Testing your home’s water pressure is essential for several reasons. First, it helps identify if the pressure is within a safe and efficient range. Consistently low or highwater pressure can be symptomatic of underlying plumbing issues, such as clogged pipes, malfunctioning pressure regulators, or leaks. Addressing these issues promptly can prevent further complications and maintain the longevity of your plumbing system. Moreover, knowing your water pressure is particularly useful if you plan to upgrade fixtures—such as learning how to install a new showerhead—since many modern fixtures are designed to operate optimally within specific pressure ranges.
Tools and Preparation for Testing Water Pressure
To accurately test your home's water pressure, you’ll need a few essential tools. The most critical is a water pressure gauge, which typically features female hose threads to connect directly to an outdoor faucet (hose bib). Choose a gauge that measures up to at least 100 psi, though many models go up to 300 psi for added versatility. Analog gauges are easy to read at a glance, while digital models offer precise numerical readings.
Before beginning, ensure that all water-using appliances and fixtures in your home are turned off. This includes faucets, showers, dishwashers, and washing machines. Turning everything off ensures you get an accurate baseline reading of your static water pressure, free from fluctuations caused by simultaneous water use.
Step-by-Step Guide: How to Test Your Home’s Water Pressure
Begin by locating your main water supply valve, typically found near your water meter or where the main water line enters your home. Once located, attach your water pressure gauge securely to an outdoor hose bib. Make sure the connection is tight and that the rubber gasket inside the gauge is in good condition to prevent leaks.
With the gauge in place, turn the main water supply back on fully. Observe the reading on your gauge. A normal reading should fall between 40 and 60 psi. If the reading is below 40 psi, your home may experience inadequate water flow. Readings above 60 psi indicate excessive pressure, which can strain your plumbing system.
For the most accurate results, repeat this process at different times of day and at various locations around your home. Record each reading to track any fluctuations or trends in your water pressure over time.
How to Adjust Water Pressure
If your water pressure is outside the recommended range, you may need to adjust it. Most modern homes are equipped with a water pressure regulator, usually located near the main water shut-off valve. The regulator is a bell-shaped device with a screw and locknut on top.
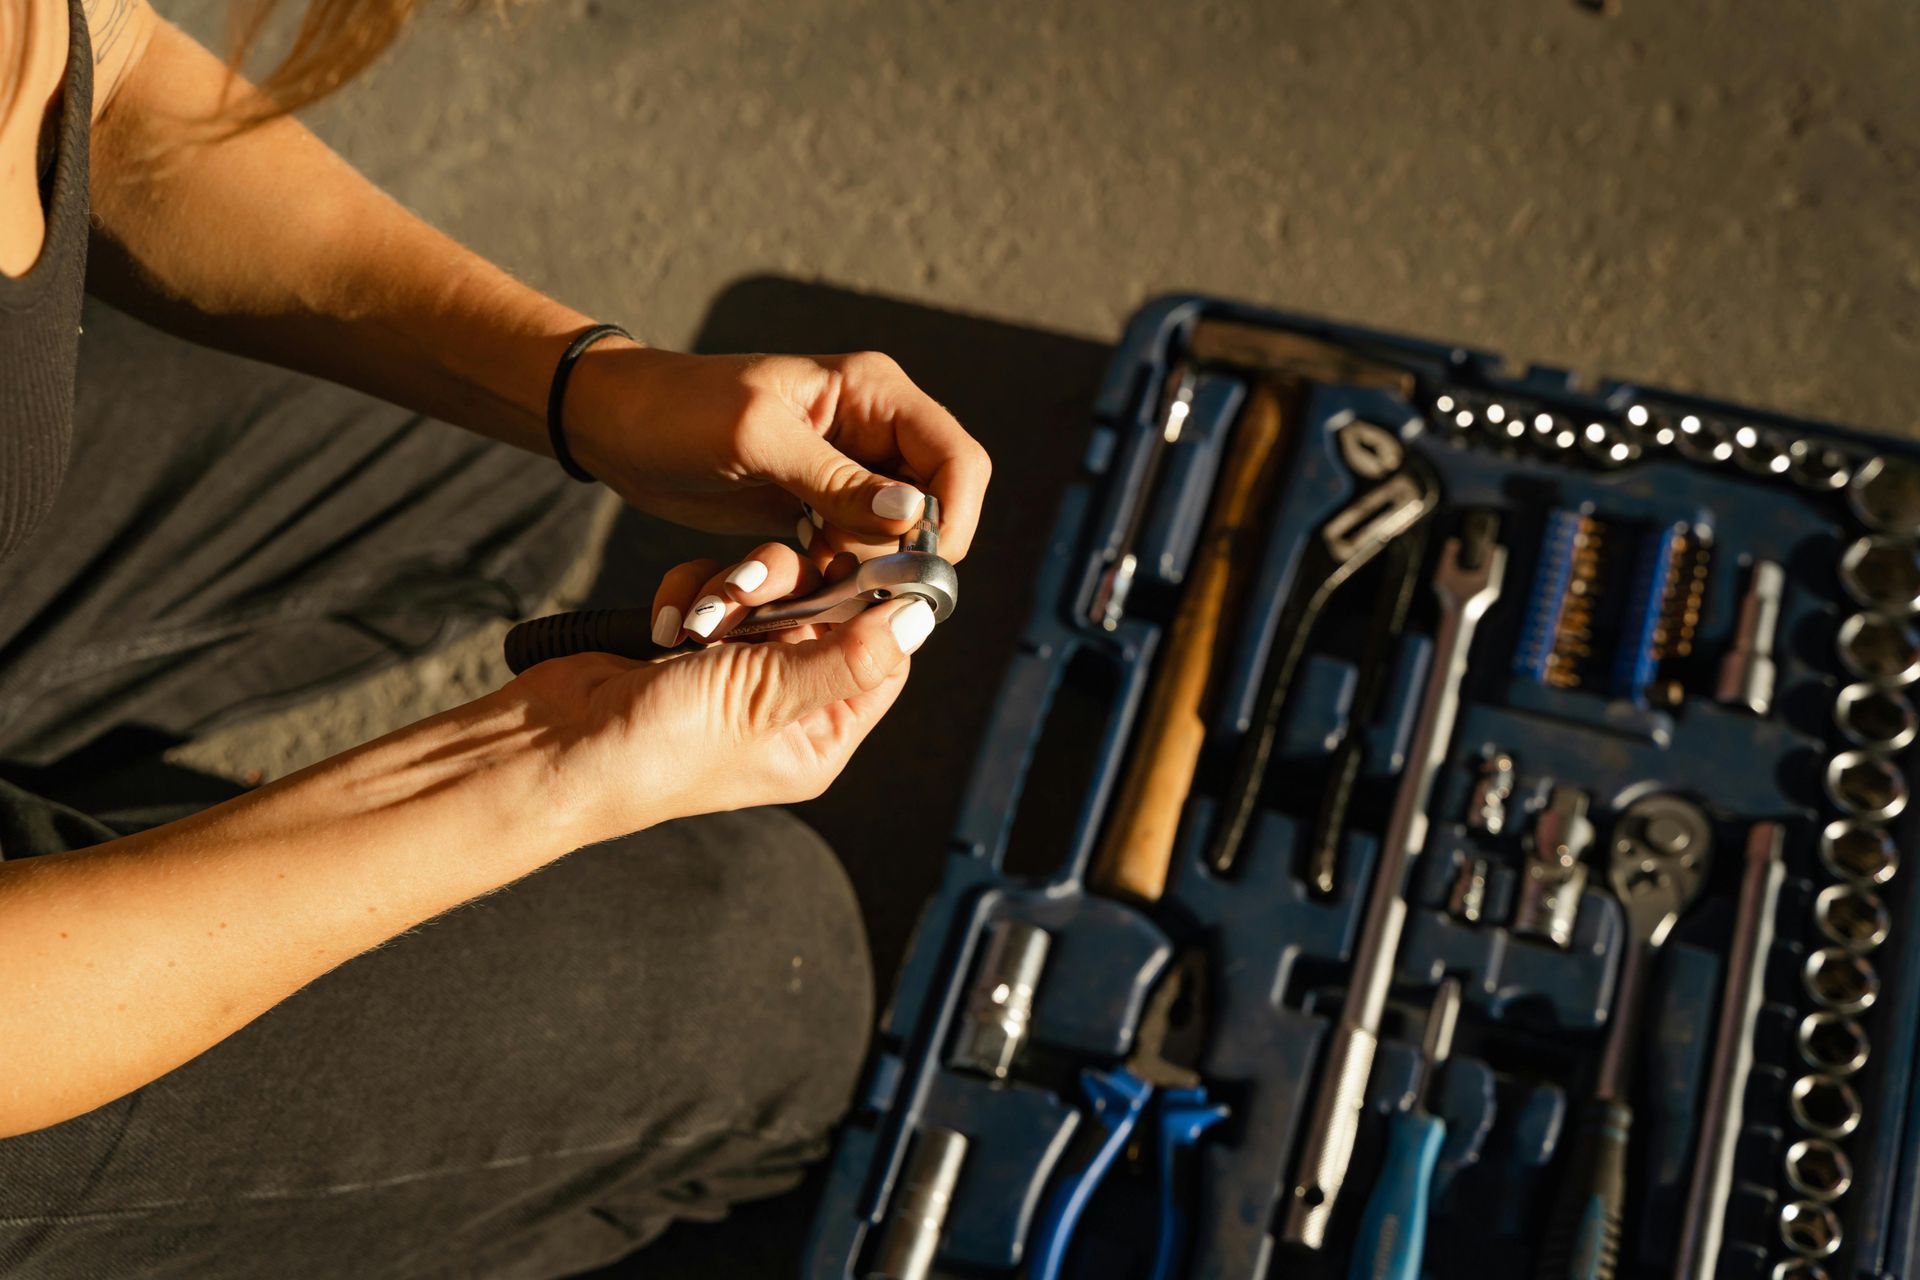
To adjust the pressure, first loosen the locknut with a wrench or pliers. Using a screwdriver, turn the adjustment screw slowly: clockwise to increase pressure, counterclockwise to decrease it. Make small adjustments and check your gauge after each change to ensure you do not overshoot your target pressure. Once you achieve the desired pressure—ideally between 50 and 70 psi—retighten the locknut to secure the setting.
Troubleshooting Common Water Pressure Issues
If adjusting the regulator does not resolve your water pressure issues, further investigation may be necessary. Common causes of persistently low pressure include clogged pipes due to mineral buildup, corroded or malfunctioning valves, and leaks within the system. In some cases, replacing old plumbing fixtures or installing a water pressure booster may be required to restore optimal pressure.
On the other hand, if your pressure remains too high despite adjustments, the regulator itself may be faulty and require replacement. Regular maintenance and timely repairs are crucial to prevent more extensive issues, such as leaks or the need for sump pump repairs, which can arise from prolonged exposure to high water pressure.
Maintaining and Monitoring Water Pressure
Regularly testing your home’s water pressure is a proactive way to maintain the health of your plumbing system. Keep your water pressure gauge in good condition by draining it after each use and storing it in a dry environment. Periodically check the rubber gasket and replace it if worn to ensure accurate readings.
Monitoring your water pressure also helps you identify gradual changes that may signal developing problems, allowing you to address them before they escalate into costly repairs or water damage.
Conclusion
Testing and adjusting your home’s water pressure is a straightforward yet vital task for any homeowner. By using a reliable water pressure gauge and following the outlined steps, you can ensure your plumbing operates within safe parameters, protecting your pipes, appliances, and fixtures. Whether you’re troubleshooting low pressure before learning how to install a new showerhead or preventing future issues like sump pump repairs, maintaining proper water pressure is essential for a well-functioning home. Regular checks and timely adjustments will keep your water flowing smoothly and efficiently for years to come.
