How to Properly Fix a Dripping Outdoor Faucet?
A dripping outdoor faucet, often known as a hose bib or spigot, is a common yet frequently overlooked household problem. While a slow drip may seem insignificant, over time it can waste substantial amounts of water, increase your utility bills, and even lead to structural damage to your home’s foundation or exterior. Addressing this issue promptly not only conserves water but also prevents the need for more extensive repairs or emergency services down the line. This comprehensive guide will walk you through the causes, step-by-step repair process, and preventative measures for fixing a dripping outdoor faucet.
Understanding the Causes of a Dripping Outdoor Faucet
Outdoor faucets can begin to drip for several reasons. The most common culprits are worn-out washers, damaged O-rings, or a loose packing nut. Over time, these small components degrade due to constant exposure to water and the elements, compromising the seal that keeps water from leaking out. In some cases, corrosion inside the faucet or a faulty valve seat can also contribute to persistent leaks. It’s important to identify the root cause before attempting repairs to ensure a lasting solution.
The Importance of Timely Repairs
Ignoring a dripping outdoor faucet can have broader implications than just a higher water bill. Persistent leaks can saturate the ground near your home, potentially causing foundation issues or fostering mold and mildew growth in nearby structures. In severe cases, water can seep into basements or crawl spaces, leading to costly water damage and even affecting indoor plumbing, such as causing a low toilet bowl water level due to pressure fluctuations. Therefore, timely repairs are essential to maintain both the efficiency and safety of your home’s plumbing system.
Tools and Materials Needed
Before starting the repair, gather the necessary tools and materials to ensure a smooth process. You will need an adjustable wrench, pliers, a screwdriver, and a replacement washer or O-ring of the appropriate size. It’s also wise to have some plumber’s silicone grease on hand for lubricating new washers, which can help extend their lifespan and improve the seal. Having all tools ready minimizes interruptions and helps you address the leak efficiently.
Step-by-Step Guide to Fixing a Dripping Outdoor Faucet
Step 1: Turn Off the Water Supply
Begin by shutting off the water supply to the outdoor faucet. The shut-off valve is typically located near your water meter, either inside your basement or crawl space, or outside near the property line. Turn the valve clockwise until it is fully closed. Open the outdoor faucet to drain any remaining water from the line, ensuring a dry and safe working environment.
Step 2: Remove the Faucet Handle
Once the water supply is off, use a screwdriver or wrench to remove the screw securing the handle, then gently pull the handle off the faucet. This will expose the packing nut and allow access to the internal components that are likely causing the leak.
Step 3: Inspect and Tighten the Packing Nut
Behind the handle, you’ll find the packing nut. Use an adjustable wrench to tighten the nut by 1/8 to 1/4 turn. Sometimes, a loose packing nut is the sole cause of a leak, and tightening it is all that’s needed to stop the drip. If the leak persists, proceed to the next step.
Step 4: Access and Replace the Washer or O-Ring
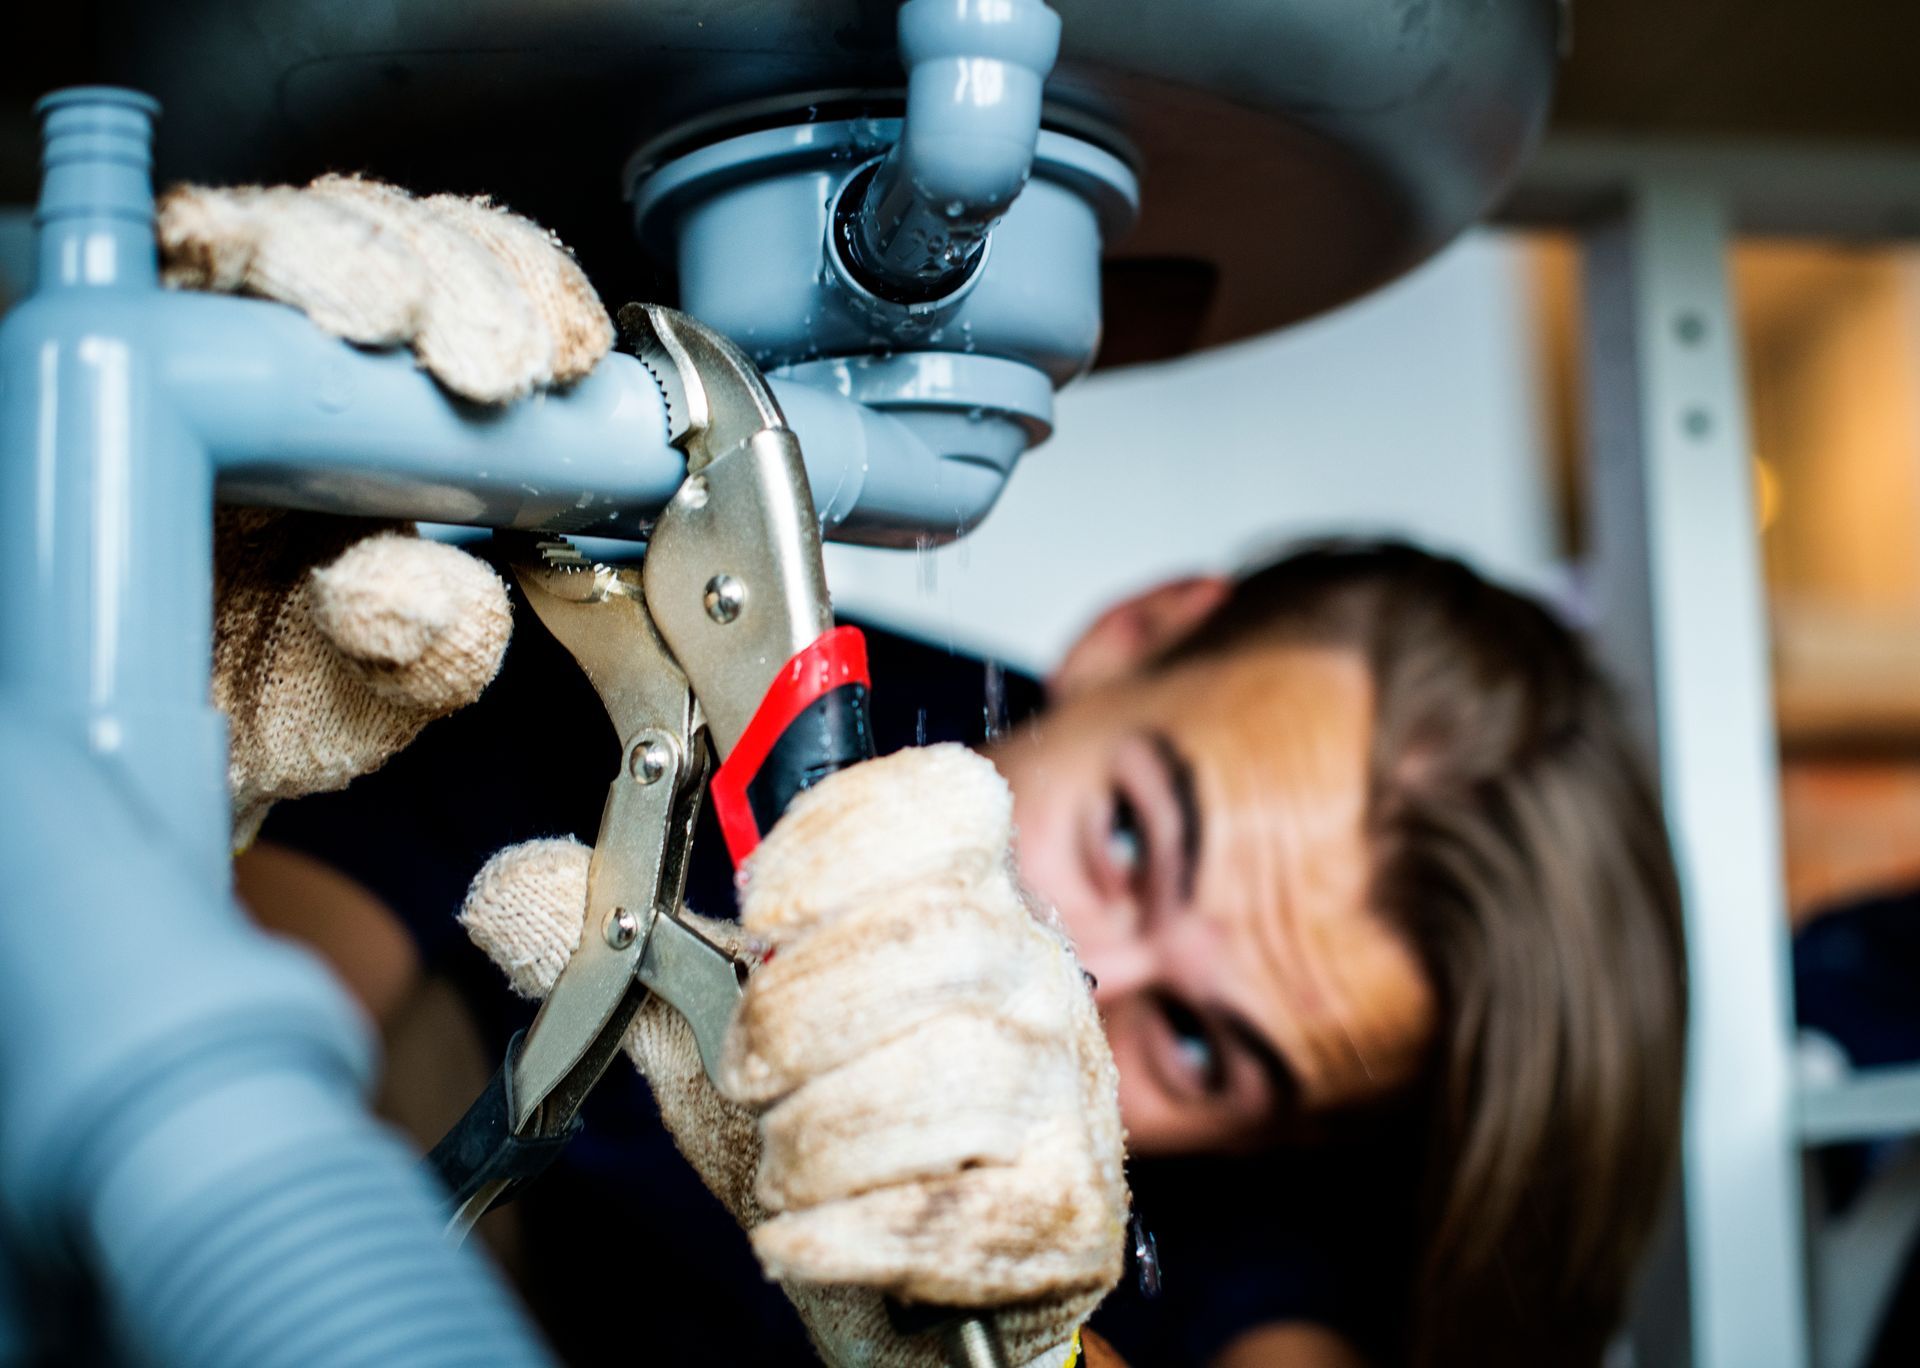
With the packing nut removed, pull out the valve stem assembly. Examine the washer and O-ring for signs of wear or damage. A cracked or flattened washer is a common reason for leaks and should be replaced with a new one of the same size and thickness. Use a screwdriver to remove the old washer and secure the new one in place. Lubricate the washer with silicone grease for a better seal.
Step 5: Reassemble the Faucet
Carefully reinsert the valve stem assembly into the faucet body and tighten the packing nut securely, but avoid overtightening, which can damage the threads or components. Replace the handle and secure it with the screw.
Step 6: Restore Water Supply and Test
Turn the water supply back on slowly and check the faucet for leaks. Open and close the faucet several times to ensure the repair is successful and that water flows smoothly without drips. If the leak persists despite replacing the washer and tightening the packing nut, the problem may be due to a damaged valve seat or corrosion, in which case professional assistance may be required.
When to Seek Professional Help
While most outdoor faucet leaks can be resolved with basic DIY skills, there are situations where calling for emergency services is prudent. If you notice significant corrosion, visible cracks in the faucet body, or water pooling near your home’s foundation, professional intervention is necessary to prevent further damage. Additionally, if you are unable to locate the shut-off valve or if the leak continues after replacing washers and O-rings, a licensed plumber can diagnose and resolve more complex issues.
Preventative Maintenance Tips
Regular inspection and maintenance are key to preventing future leaks. Check your outdoor faucets at the start and end of each season, looking for signs of dripping, corrosion, or loose hardware. Replace washers and O-rings at the first sign of wear, and consider installing frost-proof faucets in colder climates to prevent freeze damage. Insulating outdoor pipes and faucets during winter can also help minimize the risk of leaks.
Conclusion
Fixing a dripping outdoor faucet is a straightforward yet essential home maintenance task that can save water, protect your property, and prevent the need for costly emergency services. By understanding the causes, following a systematic repair process, and practicing regular maintenance, you can ensure your outdoor plumbing remains in excellent condition. Addressing leaks promptly not only conserves resources but also helps maintain consistent water pressure throughout your home, preventing issues like a low toilet bowl water level and safeguarding your property for years to come.


