Replace Your Water Heater Yourself in 10 Easy Steps
Replacing a water heater may seem like a daunting task, but with the right guidance, you can do it yourself in just 10 easy steps. This in-depth guide will walk you through the process, ensuring that you have a safe and efficient installation. Whether you're dealing with a leaking tank or simply upgrading to a more energy-efficient model, this step-by-step guide is designed to help you complete the job like a pro.
1. Assessing Your Current Water Heater
Before you begin, it's essential to understand the type of water heater you currently have. Is it gas or electric? What's the capacity? Understanding these details will help you choose the right replacement model and avoid any compatibility issues.
Key Considerations:
- Energy Source: Identify whether your current water heater runs on gas or electricity.
- Size and Capacity: Determine the tank's size to ensure your new water heater meets your household needs.
- Location: Consider the location of your water heater for accessibility and ventilation.
2. Gather the Necessary Tools and Materials
Replacing a water heater requires specific tools and materials. Here's a list of what you'll need:
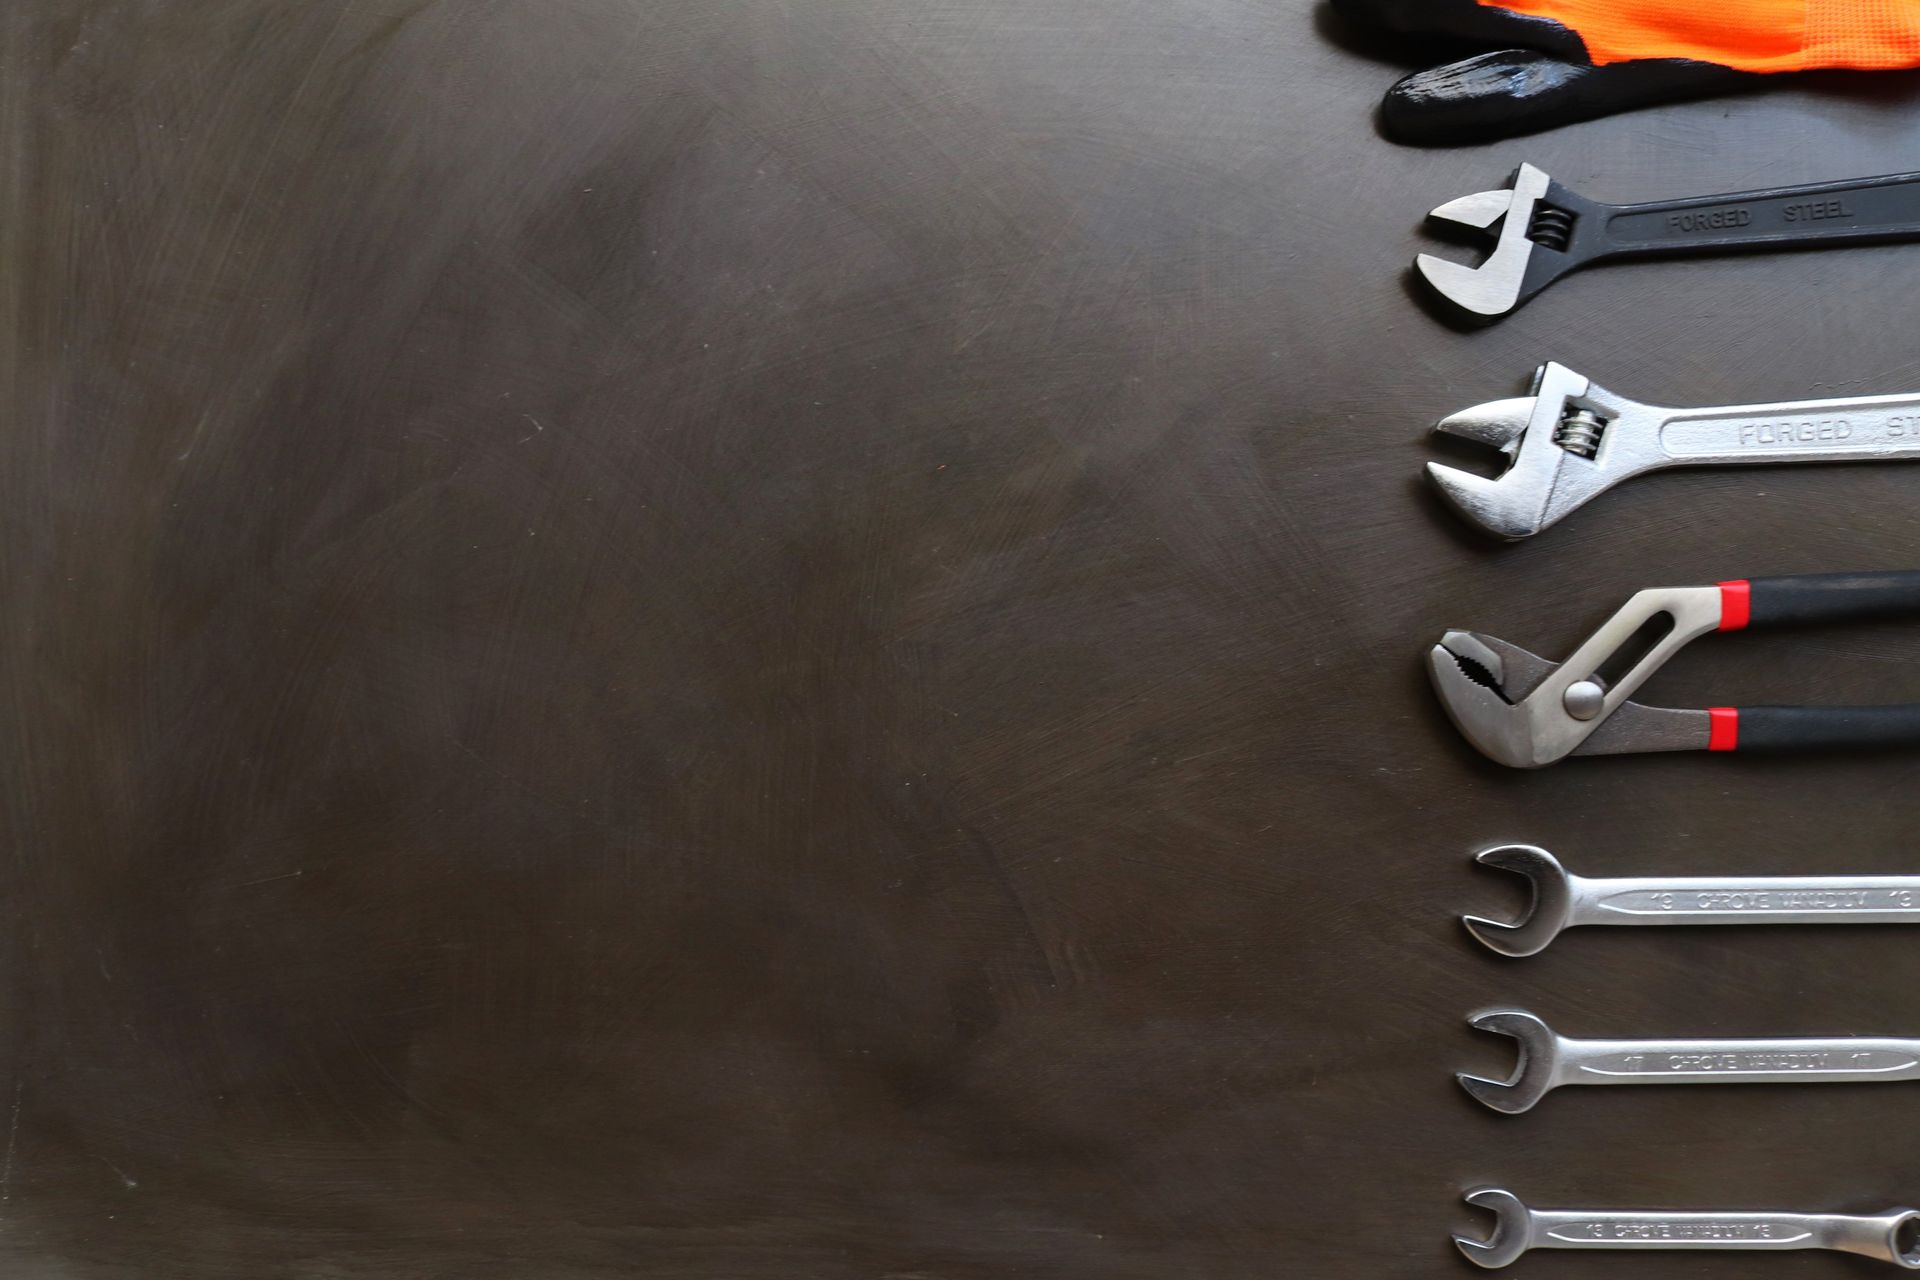
Tools:
- Pipe wrench
- Screwdriver
- Adjustable wrench
- Tape measure
- Tubing cutter
- Teflon tape
- Pipe fittings
Materials:
- New water heater
- Discharge pipe
- Pressure relief valve
- Venting pipes (for gas heaters)
- Pipe insulation
Having everything on hand before you start will save time and ensure a smooth installation process.
3. Turn Off the Power or Gas Supply
Safety first! Before you do anything, turn off the power to your water heater. If it's electric, switch off the breaker in your home's electrical panel. For gas heaters, turn off the gas supply valve.
Steps:
- Electric Heater: Locate your home's circuit breaker panel and switch off the breaker connected to the water heater.
- Gas Heater: Turn off the gas valve located near the water heater and close the gas line.
4. Drain the Old Water Heater
Draining the tank is crucial to avoid any water spillage during removal. Here's how to do it:
Steps:
- Turn Off the Water Supply: Shut off the cold water supply to the water heater.
- Attach a Hose to the Drain Valve: Connect a garden hose to the drain valve at the bottom of the tank and run the hose outside or to a floor drain.
- Open the Valve: Open the drain valve and allow the tank to empty completely. You may need to open a hot water faucet to help the water flow more easily.
5. Disconnect the Water Heater
Once the tank is drained, you'll need to disconnect it from the plumbing and, if applicable, the gas line.
Steps:
- Water Lines: Use a pipe wrench to disconnect the cold and hot water lines from the tank.
- Gas Line (for Gas Heaters): Use an adjustable wrench to disconnect the gas line from the water heater. Be sure to cap the gas line for safety.
- Electrical Wiring (for Electric Heaters): Remove the access panel on the heater and disconnect the electrical wiring.
6. Remove the Old Water Heater
Carefully remove the old water heater from its location. This may require assistance, as water heaters can be heavy.
Tips:
- Safety First: Always lift with your legs, not your back, to avoid injury.
- Dispose Properly: Check with your local waste management service for proper disposal guidelines.
7. Position the New Water Heater
Now it's time to bring in the new water heater. Position it in the same location as the old one, ensuring that it's level and stable.
Steps:
- Use a Level: Make sure the new water heater is level to prevent operational issues.
- Clearance: Ensure there's enough clearance around the heater for ventilation and maintenance.
8. Reconnect the Water Lines and Gas or Electrical Connections
Reconnecting the new water heater involves several critical steps. Follow these carefully to ensure everything is properly connected.
Steps for Water Lines:
- Apply Teflon Tape: Wrap Teflon tape around the threads of the new water heater's inlet and outlet connections.
- Attach Water Lines: Reconnect the cold and hot water lines to the appropriate inlets and outlets.
Steps for Gas Heaters:
- Reconnect the Gas Line: Use an adjustable wrench to reconnect the gas line to the new water heater.
- Check for Leaks: Apply a soapy water solution to the connection and turn on the gas. If you see bubbles, there’s a leak.
Steps for Electric Heaters:
- Reconnect Electrical Wiring: Follow the wiring diagram on the new water heater to connect the electrical wires. Use wire nuts to secure the connections.
- Replace the Access Panel: Once wiring is complete, replace the access panel on the heater.
9. Fill the Tank and Restore Power or Gas
Before you can use your new water heater, you'll need to fill the tank and restore the power or gas supply.
Steps:
- Open the Cold Water Supply: Turn on the cold water supply to the water heater and open a hot water faucet in your home. This will help the tank fill and remove any air pockets.
- Check for Leaks: Inspect all connections for leaks as the tank fills.
- Restore Power or Gas: For electric heaters, turn on the breaker. For gas heaters, turn on the gas supply and light the pilot according to the manufacturer’s instructions.
10. Test Your New Water Heater
Finally, it’s time to test your new water heater to ensure it’s working correctly.
Steps:
- Set the Temperature: Adjust the thermostat to your desired temperature, typically around 120°F.
- Check for Hot Water: Run hot water from a faucet to ensure the heater is functioning properly.
- Monitor for Leaks: Keep an eye on all connections for the first few hours of operation to ensure there are no leaks.
FAQs
Q: How long does it take to replace a water heater?
A: Replacing a water heater typically takes about 2 to 3 hours, depending on your experience level and whether any complications arise.
Q: Do I need a permit to replace my water heater?
A: Depending on your location, you may need a permit to replace a water heater. Check with your local building authority before starting the project.
Q: What should I do with my old water heater?
A: Many cities offer recycling programs for old water heaters. You can also check with your waste management service for disposal options.
Conclusion
Replacing your water heater yourself is entirely possible with the right tools and guidance. By following these 10 easy steps, you can save money on installation costs and ensure your home has a reliable supply of hot water. Always remember to follow safety precautions and consult a professional if you're unsure about any part of the process.
Title: Replace Your Water Heater Yourself in 10 Easy Steps: A Comprehensive Guide
Meta Description: Learn how to replace your water heater in 10 easy steps with our comprehensive DIY guide. Save money and ensure a safe installation with this detailed, step-by-step process.
Benefits of Regular Water Heater Maintenance!