Annual Water Heater Inspection Checklist for Homeowners
Routine inspection of your water heater is one of the most cost‑effective ways to protect your home’s hot‑water system, reduce the risk of sudden failure, and extend the life of this crucial appliance. An annual checklist allows homeowners to catch small issues before they escalate into leaks, inefficiency, or safety hazards. Whether you own a conventional storage tank, a tankless unit, or a hybrid system, an organized, step‑by‑step visual and functional review can catch early signs of sediment buildup, corrosion, pressure stress, and control‑system drift. This article provides a detailed, homeowner‑friendly annual water heater inspection checklist, explaining what to look for, what methods are safe for DIYers, and when it is prudent to bring in professionals such as All City Plumbers. By following a consistent annual routine, you can keep your water heater operating safely, efficiently, and reliably for many years beyond its basic expected lifespan.
Safety First: Power, Gas, and Area Preparation
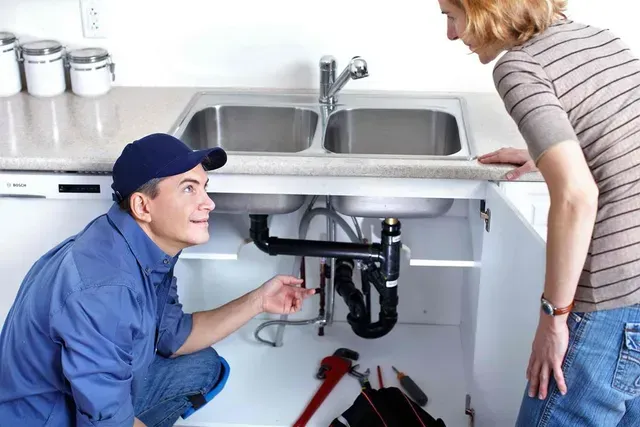
Before you start any inspection, prioritize safety by preparing the area around the water heater and confirming that the unit is in a safe state for close inspection. For electric heaters, trip the circuit breaker that supplies the unit before touching any wiring or controls; for gas heaters, ensure that no gas odor is present and that combustion air pathways are clear. In both cases, allow the unit and its associated piping to cool if it has recently run hot water, particularly if you plan to operate drain valves or handle temperature‑sensitive components. Stand on a dry, stable surface and keep a flashlight, notepad, and phone nearby in case you spot something that requires professional follow‑up.
Next, inspect the surrounding space. The area should be free of stored boxes, flammable liquids, loose insulation, or other combustible materials that could interfere with ventilation or heat dissipation. Gas‑fired water heaters must have clear clearance around vents and around the draft hood, while electric units should retain easy access to electrical panels and junctions. Confirm that the heater is level, that its base is not resting in standing water, and that any nearby water‑sensitive surfaces are protected. These simple checks dramatically reduce the odds that a small unnoticed issue—such as a draft obstruction, an electrical fault, or a leak buildup—can quietly evolve into a serious fire, flood, or scald‑risk event. Taking time to inspect and clear the area also makes the remainder of the checklist easier and safer to complete.
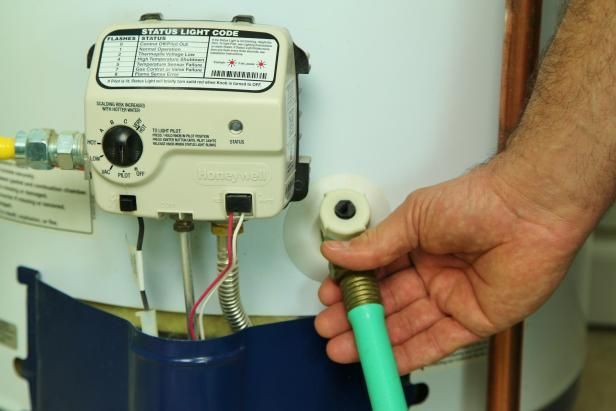
Visual Inspection of Tank, Surrounding Piping, and Valves
Once the area is secure, move to a visual inspection of the water heater itself. Stand in front of the unit and examine the tank for any obvious signs of corrosion, bulging, or warped sections. Minor external rust around the base or on mounting brackets may be expected in older heaters, but significant flaking, blistering metal, or stained insulation usually signal that moisture has penetrated the tank lining and that internal failure may be approaching. Pay special attention to the bottom of the tank and the region around the drain valve, where small pinhole leaks frequently manifest as slow but steady rust trails or water marks on the floor or beneath the unit.
Follow the piping that enters and leaves the water heater, checking where hot and cold water lines and any gas or electrical connections attach. Look for dripping at sweat joints, leaking fittings, or corroded threads, and inspect any nearby insulation to confirm it is dry and free of moisture stains. On older storage tanks, it is not uncommon to find minor sweating on cold‑water lines or on the tank itself during high‑humidity periods, but that differs from steady leakage coming from valves, unions, or solder joints. If you see constant drips, pooling, or wet sheetrock or drywood nearby, this is a clear indicator that professional plumbing intervention is due. Equally important is the condition of control valves, including any manual gas shutoff, temperature settings, and dedicated mixing‑valve handles. Ensuring that all levers and dials are secure, clearly labeled, and move smoothly without binding helps maintain predictable operation and reduces the risk that a minor issue goes unnoticed until it becomes a major problem.
Drain Valve and Anode‑Rod Assessment
Two internal elements that greatly influence the long‑term condition of a storage water heater are the anode rod and the drain valve, both of which can be checked annually with modest effort. The drain valve, located near the bottom of the tank, should be tested to confirm it opens and closes cleanly and drains a clear stream of water when opened. Over time, minerals can build up around the valve’s seat or partially plug the outlet, leading to slow or ineffective tank flushing. A simple annual partial or full drain allows sediment and scale to be expelled, improving heating efficiency and reducing the risk of overheating or rumbling noises caused by steam forming under a sediment blanket at the base of the tank. Even a small amount of sediment removal each year can significantly extend the useful life of the unit and keep hot‑water recovery times reasonable.
The anode rod, often accessed through a hex‑headed plug on the top or side of the tank, plays a critical but hidden role in protecting the steel structure from corrosive elements in the water. This sacrificial rod is designed to corrode instead of the tank lining, effectively “taking the hit” so that the main structure lasts longer. Inspecting the anode every few years and replacing it once it has lost more than about half its original diameter or has visible steel core exposed can prevent premature tank failure. A homeowner‑friendly inspection typically involves unscrewing or loosening the plug, pulling the rod slightly free, and assessing its condition; any severe thinning, heavy pitting, or exposed metal warrants replacement before the protective benefit vanishes. By balancing anode‑rod care and tank draining in the same annual visit window, you give your water heater a strong, proactive defense against the two major internal threats—scale and corrosion—that can otherwise shorten its service life.
Temperature, Pressure Relief, and Thermostat Checks
The controls that set how hot your water heater runs and how it responds to demand are as important as the tank itself. Begin by verifying that the thermostat setting is within the recommended range, usually around 120 degrees Fahrenheit for most residential systems unless specific household factors such as medical needs or specialized dishwashing equipment require a slightly higher or lower setting. Higher temperatures increase the risk of scalding and accelerate scaling, but temperatures that are too low can leave water feeling lukewarm and may encourage microbial growth in stagnant sections of the system. Recording the set value and confirming that the delivered water reaches and sustains a comfortable temperature helps ensure that the heater is not laboring under inappropriate requirements.
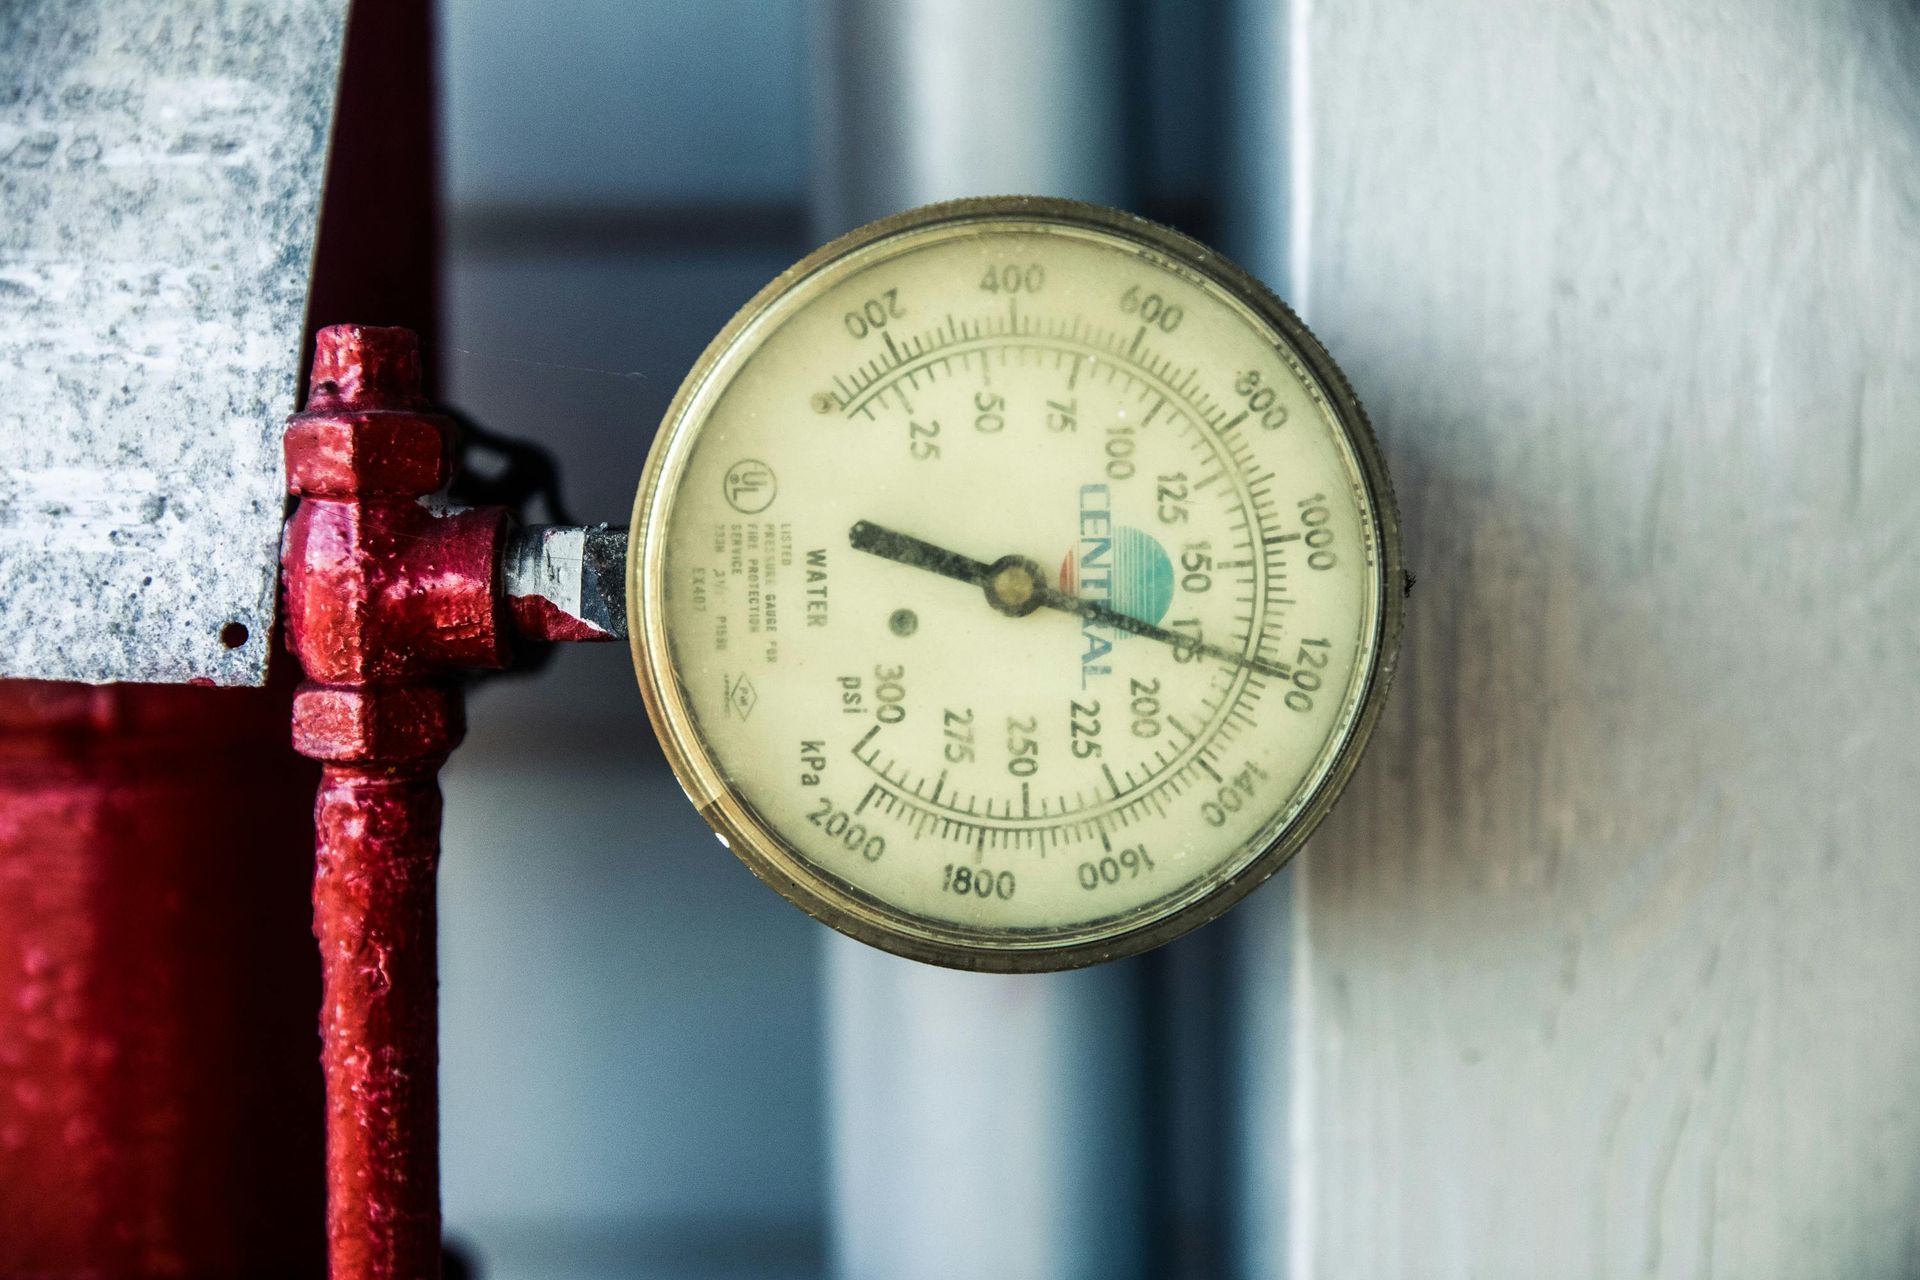
Equally critical is the condition and functionality of the temperature and pressure relief (TPR) valve, a small but essential safety device mounted on the top or side of storage water heaters. This valve must open automatically if the tank pressure or temperature rises beyond safe limits, venting hot water through a discharge pipe to the floor or an external drain. To test the TPR valve annually, gently lift the lever on the valve while a towel or small container is placed under the discharge pipe and confirm that it releases water and then resets automatically when released. If the valve does not discharge or remains partially open, or if you notice corrosion, mineral deposits, or leakage at its seat, it needs professional inspection and likely replacement. Properly functioning controls and safety hardware are what keep your water heater performing as intended while reducing the chance that a therapeutic shower turns into a scalding hazard.
Flame, Venting, and Combustion Safety in Gas Units
Homeowners who own a gas‑fired water heater should add combustion‑related checks to their annual inspection. Visually inspect the burner assembly through the access window or viewport, if present, to confirm that the flame color is predominantly blue with only minor yellow tips. A heavily yellow, flickering, or uneven flame can indicate impurities in the gas supply, airflow problems, or a misadjusted burner assembly, any of which reduce efficiency and increase sooting or incomplete combustion. Alongside the burner, verify that the venting system—is typically a concentric flue or metal chimney leading upward—is free of blockages, rust, or loose connections. Nesting animals, insulation compressed into the flue path, or condensation‑related corrosion can all interfere with proper draft and exhaust flow, creating backpressure that affects the water heater and other connected appliances.
Additionally, conduct a brief room‑air inspection while the water heater is running: make sure there are no unusual odors, no excessive condensation around the flue outlet, and no smoke or soot staining on nearby walls or inside the vent pipe. Such signs may point to poorly drafting or aging combustion equipment that requires a licensed technician to evaluate and repair. Many local building codes now require carbon‑monoxide alarms near gas appliances and sleeping areas; checking that these alarms are present, charged, and within their rated service life is another important part of an annual water heater inspection. Gas systems demand extra caution because undetected failures can introduce toxic combustion gases into living spaces; including combustion safety in your checklist protects both the heater and the household.
Electrical and Grounding Integrity for Electric Heaters
For households with electric storage or tankless water heaters, the annual inspection ought to include a basic review of electrical connections and grounding. Electric systems are generally simpler to operate but not immune to wear on wiring, terminals, and junction boxes. Homeowners should verify that all electrical enclosures remain tightly closed and dry, that no melted insulation, discoloration, or buzzing sounds are evident near the unit, and that conduit or cable runs are undamaged. If any of these red flags appear, further handling should be deferred to a qualified electrician or plumbing professional rather than attempted DIY fixes. A quick review of the breaker or fuse serving the heater in the main panel can also reveal patterns such as frequent tripping, which may indicate an internal heating‑element fault or wiring problem that needs expert diagnosis and correction.
Beyond the components themselves, ensure that the grounding path is intact and that the system complies with local electrical codes. Loose grounding lugs or corroded bonding clamps can compromise safety and gradually degrade performance by altering current paths. Having a licensed professional periodically inspect the electrical side—especially when evaluating why water heater expansion tanks matter in relation to pressure surges caused by repeated heating and cooling cycles—ensures that both safety and operating integrity are maintained. In homes where the water heater is tied into broader electrical loads or where multiple high‑draw appliances operate on the same circuit, this level of scrutiny becomes even more valuable for preserving long‑term reliability.
Water Treatment, Softeners, and Hard‑Water Impact
Annual inspection is also an opportune time to reassess how water quality affects your system. In areas with hard water, minerals such as calcium and magnesium can deposit inside the tank and on heating elements, creating insulating scale that reduces efficiency and hastens wear. Homeowners who rely on rainwater, well water, or municipal supplies with elevated mineral content may find their water heater reaching its thermal limits sooner than systems supplied with softer influent. Checking whether any water softener, filtration device, or conditioning system is functioning correctly—through tracking salt levels in regeneration tanks, inspecting filter cartridges, or confirming flow through conditioning units—helps restore the water heater’s expected performance. A technician from a reputable service such as All City Plumbers can help interpret water‑softener data, troubleshoot undersized or out‑of‑cycle softeners, and suggest installation or adjustment strategies that match local water‑chemistry patterns.
Regularly reviewing hardness readings, if available, and correlating them to sediment or scale buildup offers a clear rationale for why certain maintenance measures—such as more frequent tank flushing or periodic descaling of tankless units—are warranted in your home. Newer homes may include antiscaling or catalytic conditioning devices designed to reduce mineral deposition without removing the minerals entirely; these, too, benefit from periodic inspection to ensure the media remains active and the housing remains free of clogs. By aligning water‑treatment care with your water heater inspection schedule, you create a holistic maintenance strategy that protects both plumbing and appliances from the insidious but cumulative damage caused by hard water, ultimately supporting smoother operation and enhanced longevity.
Why Water Heater Expansion Tanks Matter in System Longevity
One often‑overlooked but important topic during an annual inspection is the role expansion devices play in the stability and lifespan of the entire hot‑water system. Most traditional tank‑style water heaters include a small expansion device or are served by a separate expansion tank installed on the cold water line. These tanks absorb the increased volume of water that occurs as it is heated, preventing unnecessary pressure spikes throughout the piping network. Ignoring this component can result in frequent tripping of TPR valves, premature wear on fixtures, and even micro‑stress fractures in an older tank or branches filled with stagnant water.
Understanding why water heater expansion tanks matter is not merely academic; it is central to preserving the integrity of an aging unit. When expansion is not properly managed, valves, seals, and pipe joints endure constant small fatigue cycles that accumulate over years into noticeable leaks or failures. An expansion tank in good condition—without a collapsed bladder or excessive air‑side pressure change—acts like a shock absorber, smoothing out thermal expansion surges without taxing the rest of the system. During your annual checklist, inspect for the presence of an expansion tank, verify that it is properly charged with air on the bladder side according to manufacturer guidelines, and confirm that it is not rusted through or leaking. If your home has recently undergone any plumbing revisions, such as the addition of backflow preventers or check valves, grounding or installing an appropriately sized expansion tank is a critical upgrade that can greatly enhance both safety and equipment life.
Conclusion
An annual water heater inspection checklist is not meant to be an overwhelming technical exercise, but a structured yet accessible routine that helps homeowners protect one of the most important fixtures in the home. By combining safety‑first preparations, visual and structural checks, control‑system verification, combustion or electrical review, and thoughtful evaluation of water‑treatment and expansion devices, you gain a far clearer picture of your water heater’s health and likely remaining service life. When tasks lie beyond your comfort level or when you spot clear signs of leaks, corrosion, pressure problems, or electrical anomalies, it is prudent to contact a licensed service provider such as All City Plumbers, even if only for confirmation and a small repair. Through this disciplined annual approach, you can mitigate unexpected failures, prevent unsafe scalding or flooding scenarios, and extend the effective service span of your water heater, ensuring that year after year your household enjoys reliable, well‑maintained hot water.