How to Repair Leaking Vanity Drain Assemblies (Complete Guide)
Leaking vanity drain assemblies compromise bathroom hygiene, waste water, and damage cabinetry if ignored. These assemblies, connecting sink tailpieces to traps and walls, fail from worn washers, loose slip nuts, or corroded threads. Timely repairs restore watertight integrity without full replacement.
This complete guide details disassembly, component inspection, repair techniques, and reassembly for pop‑up, grid, or strainer drains. Homeowners gain confidence fixing common leaks, while knowing when All City Plumbers provides expert intervention for complex configurations.
Types of Vanity Drain Assemblies
Pop‑up drains feature lift rods controlling stoppers via linkages, prone to leaks at pivot rods and clevises. Grid drains use fixed strainers, sealing via washers under tailpieces. Strainer drains twist into place, common in older installs.
Identify yours by tailpiece design and stopper mechanism. Universal parts fit most, but measure tailpiece diameters (1‑1/2 inch standard).
Tools and Materials for Successful Repairs
Assemble bucket, channel lock pliers or basin wrenches, pipe wrench, screwdriver set, rags, plumber’s putty, silicone grease, replacement washers (rubber/cone/beveled), slip joint nuts, ferrules, Teflon tape, and pipe dope. Vinegar dissolves mineral buildup.
Quality brass or plastic kits ensure durability over cheap imports.
Preparation and Water Shutoff
Place bucket under U‑channel to catch water. Shut off hot/cold angle stops under sink, confirming closure by opening faucets. Loosen slip nuts counterclockwise with pliers, countering tailpiece with second tool.
Drain residual water; plug sink to avoid losing parts.
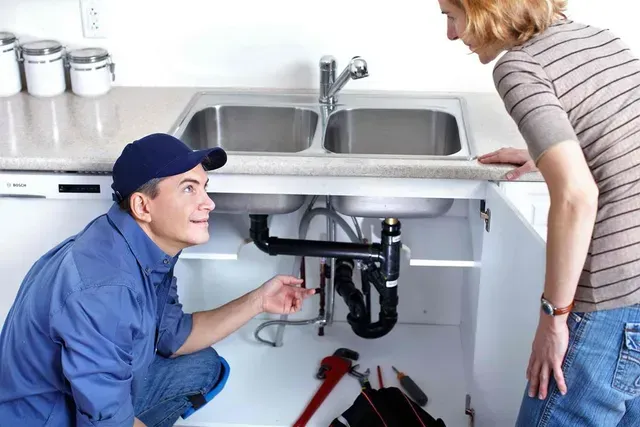
Disassembling the Drain Assembly
Start at trap bend: loosen upper and lower slip nuts, wiggling J‑bend free. Disconnect tailpiece from sink strainer by unscrewing nut above. For pop‑ups, remove pivot rod from clevis under sink via retaining nut.
Pull linkage carefully; note orientations for reassembly. Clean parts with vinegar soak, scrubbing corrosion.
Inspecting Components for Wear
Examine washers for cracks, compression set, or hardening. Ferrules deform from overtightening. Threads stripped need replacement sections.
Strainer gaskets harden; pop‑up linkages bend from abuse. Test stoppers for free movement sans grinding.
Replacing Washers, Gaskets, and Slip Nuts
Install new cone washers beveled side against flat surfaces, rubber up. Lightly grease for seal. Hand‑tighten slip nuts, then quarter‑turn with wrench—overtightening crushes washers.
Replace pivot rod seals and clevises if linkage leaks.
Reassembling the Trap and Tailpiece
Slide ferrule and washer onto tailpiece stub, push J‑bend fully seated, slide second ferrule/washer, tighten nut. Ensure 1/4‑inch play preventing binding.
Reconnect tailpiece to strainer with fresh putty under flange if removed.
Reinstalling Pop‑Up Linkage and Stopper
Thread pivot rod through grommet in stopper, insert into clevis hole, secure nut. Adjust lift rod height for level stopper. Linkage binds signal misalignment; lube with silicone.
Testing for Leaks and Adjustments
Turn water on slowly, run hot/cold five minutes. Check all joints by hand and visually; tighten minimally if dripping. Cycle pop‑up repeatedly, observing seals.
Flush cabinet nightly first week, detecting slow leaks early.
Addressing Hidden or Persistent Leaks
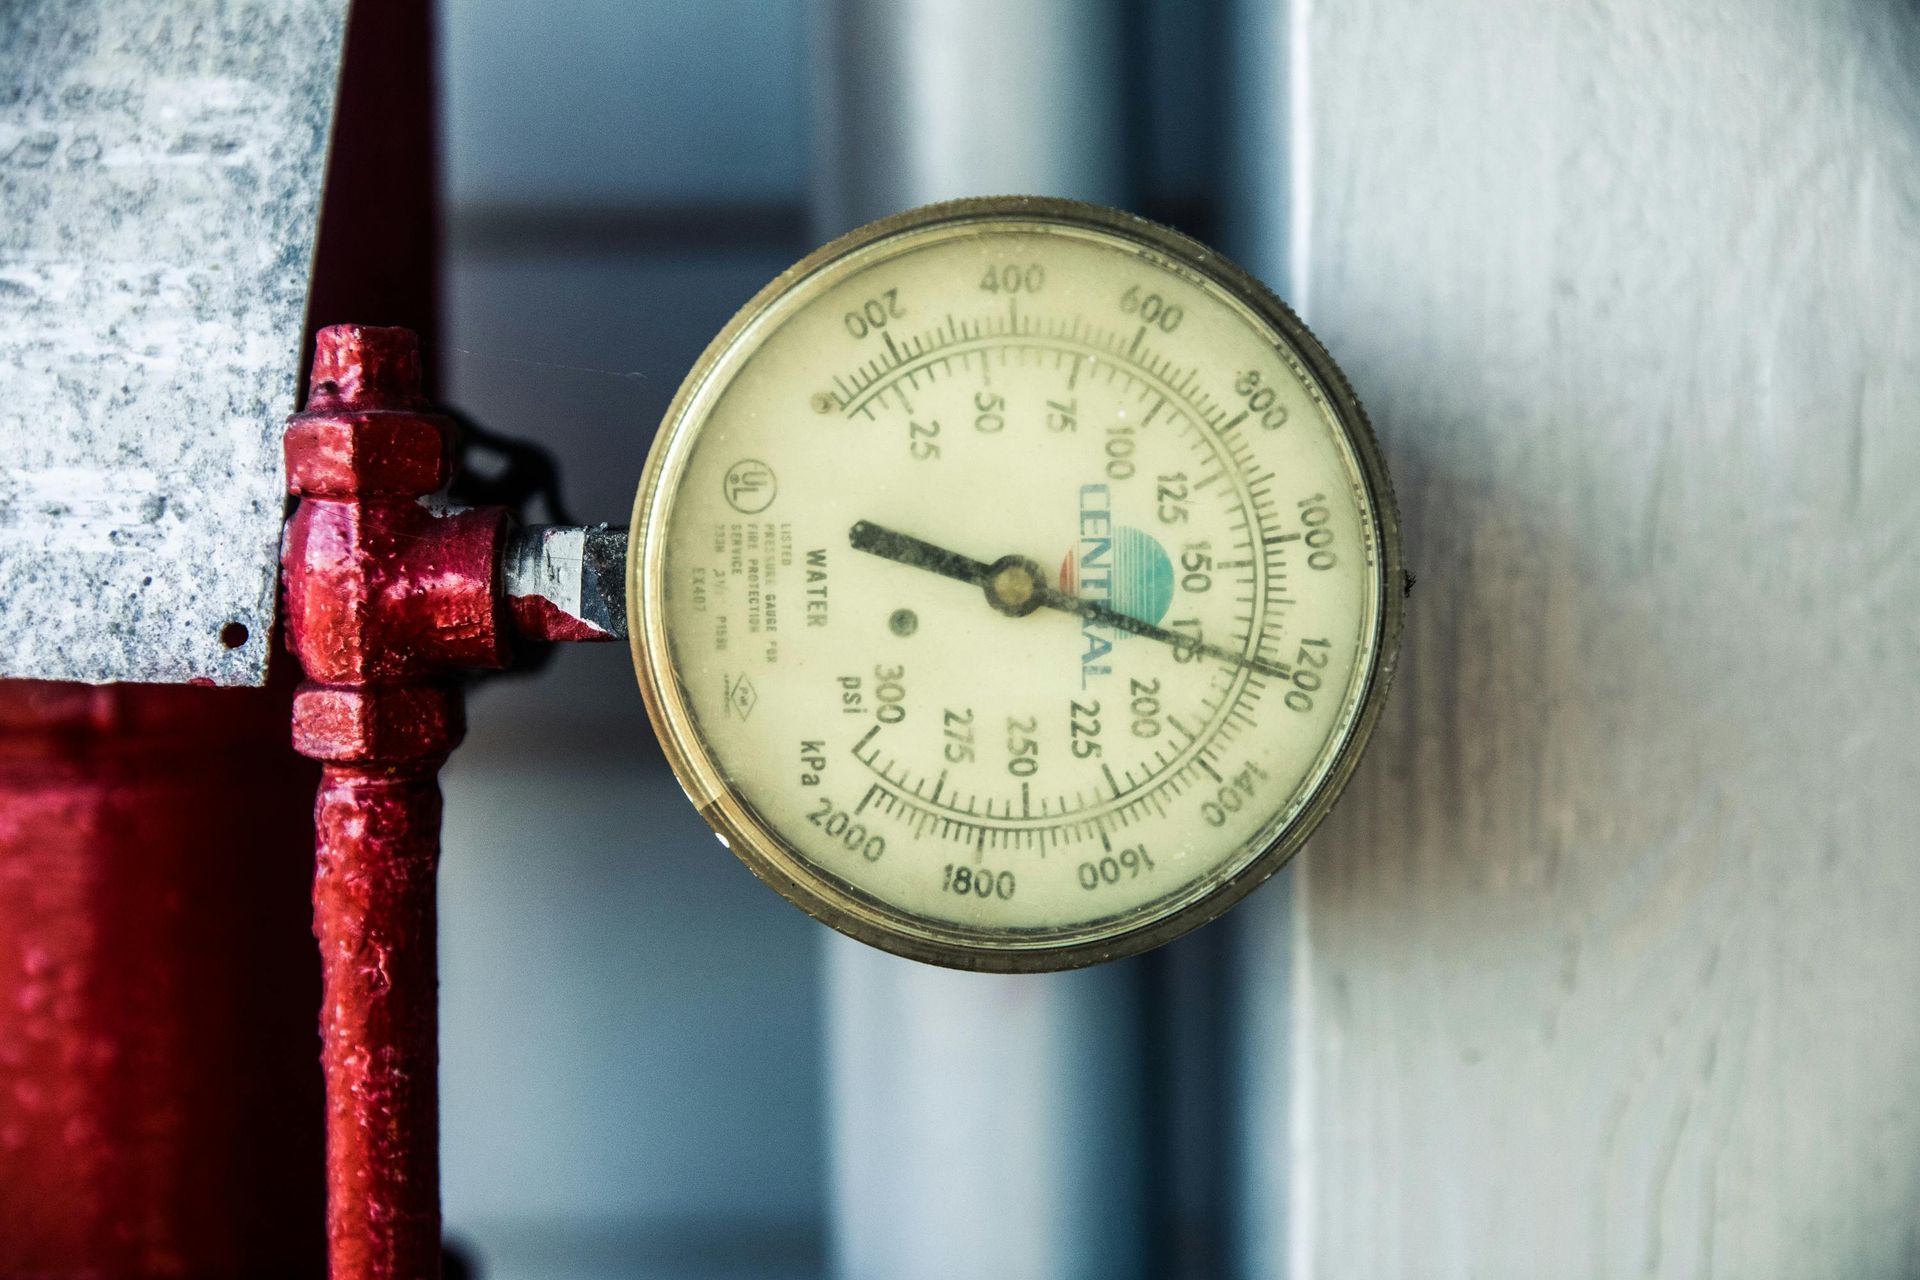
Drips behind walls or cabinets indicate wall elbow failures; detect and repair hidden leaks using moisture meters or infrared cameras before rot sets in. Access panels aid inspections. Expansion tanks on hot lines absorb pressure, stabilizing vanity supplies indirectly.
All City Plumbers excels at tracing elusive vanity leaks to main branches.
Upgrading to Modern Drain Systems
Modern drain assemblies are designed to be more compact, serviceable, and installer-friendly than older, rigid plumbing setups.
Bottleneck drains with bottom inlets are particularly useful in tight spaces. By relocating the inlet to the bottom rather than the side, these drains reduce unnecessary bends in the pipework. Fewer bends mean:
- Less turbulence and buildup
- Lower risk of clogs
- Easier cleaning and inspection
Bottle traps are another space-saving improvement, especially under vanities and pedestal sinks. Unlike traditional P-traps, bottle traps are vertical and compact, allowing:
- More usable storage space
- Cleaner visual aesthetics in exposed plumbing
- Simple access for debris removal without dismantling the entire line
Compression fittings represent a major advancement for DIY and retrofit work. They:
- Eliminate the need for soldering or open flames
- Reduce installation time
- Allow easy disassembly for future maintenance
- Minimize risk of heat damage to cabinetry or finishes
Overall, upgrading to modern drain systems improves reliability, simplifies maintenance, and adapts better to contemporary bathroom and kitchen designs.
Conclusion
Repairing leaking vanity drain assemblies involves methodical disassembly, worn part swaps, precise reassembly, and leak testing for watertight results. Addressing washers, nuts, and linkages resolves most issues economically. Vigilance detects and repair hidden leaks promptly, while upgrades enhance durability. Services like All City Plumbers support challenging cases. Diligent maintenance ensures dry, functional vanities indefinitely.