What Causes Mold Behind Tile Walls And How To Fix It?
Mold growth behind tile walls poses a hidden threat to both structural integrity and health, thriving in the moist, dark environment created by chronic leaks or poor ventilation. Black mold and mildew not only discolor grout but also penetrate drywall, insulation, and wooden studs, leading to costly repairs and potential respiratory issues for occupants. Early detection and targeted remediation are essential to prevent widespread damage.
This professional guide explores the primary causes of mold behind tile walls, diagnostic methods, safe removal techniques, and preventive strategies. Homeowners can address many instances effectively, while understanding when to engage specialists like All City Plumbers ensures comprehensive resolution.
Primary Moisture Sources Leading to Mold
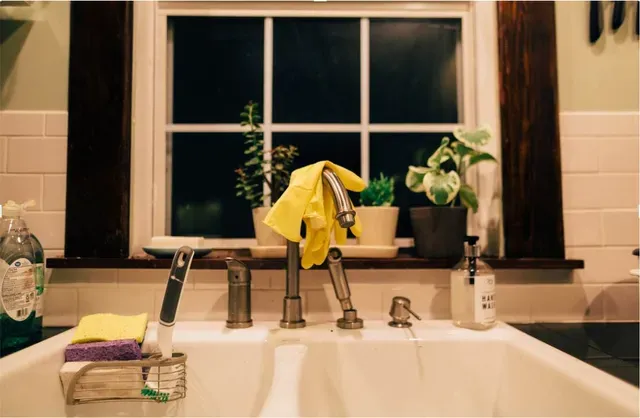
Tile walls in bathrooms, showers, and kitchens become mold hotspots when water penetrates repeatedly without drying. Leaking shower pans or tub surrounds allow water to seep behind tiles into the substrate. Cracked grout or caulk around edges fails to seal joints, channeling moisture into wall cavities.
Supply line leaks behind access panels or within walls create constant dampness. Defective shower valves or worn washers drip intermittently, saturating backer board or drywall over time. Routine home maintenance, such as annual caulk inspections and seal reapplications, interrupts this cycle before mold establishes.
Ventilation Deficiencies and Humidity Buildup
Inadequate exhaust fans fail to remove steam from showers and baths, raising humidity levels that condense behind cooler tile surfaces. Building codes mandate 50–80 CFM fans for bathrooms, yet undersized or clogged units recirculate moist air. Vapor barriers behind tiles, if missing or damaged, let humidity migrate into framing.
High indoor humidity from cooking, laundry, or poor whole‑house ventilation compounds the issue. Dehumidifiers and properly vented fans maintain below 50% relative humidity, starving mold of its essential moisture.
Substrate and Construction Material Vulnerabilities
Cement backer board resists moisture better than greenboard or regular drywall, yet improper installation allows water intrusion. Paper‑faced drywall behind tiles wicks moisture like a sponge, fostering mold colonies within days. Organic insulation like fiberglass harbors spores once wet.
Thinset mortar and grout must be hydrophobic types; standard Portland cement versions crack and absorb water. Proper slope in shower floors directs water to drains, preventing ponding that seeps backward.
Identifying Hidden Mold Growth
Visual clues include darkening grout lines, efflorescence (white mineral deposits), or bubbling paint at tile edges. Musty odors signal active colonies, even without surface visible mold. Hygrometers detect elevated moisture behind walls; exceed 16% relative humidity warrants investigation.
Infrared thermography reveals cooler, damp areas behind tiles. For confirmation, licensed inspectors cut small test holes or use borescopes through grout joints. Air sampling quantifies spore counts, guiding remediation scope.
Temporary Containment and Safety Precautions
Before remediation, isolate the area with plastic sheeting and negative air machines to contain spores. Wear N95 respirators, gloves, and protective suits; HEPA vacuums capture airborne particles. Turn off HVAC to prevent spore spread through ducts.
Kill surface mold with diluted bleach or hydrogen peroxide solutions, but recognize this does not penetrate walls. Wet scraping removes loose growth without aerosolizing spores.
Removing Affected Tiles and Substrate
Score tiles along clean lines with a grinder or oscillating tool fitted with diamond blades. Pry tiles carefully to minimize dust, bagging debris immediately. Remove backer board or drywall to at least 12–18 inches beyond visible mold, down to studs.
Discard porous materials like insulation; treat studs with borate solutions or kiln drying if salvageable. HEPA vacuum all surfaces thoroughly before reconstruction.
Structural Repairs and Drying Processes
Allow full drying with commercial fans and dehumidifiers for 48–72 hours, monitoring with moisture meters until under 12%. Apply anti‑microbial primers to studs and replace with mold‑resistant drywall or cement board.
Regrout and reseal with silicone caulk, ensuring 1/8‑inch joints filled completely. Slope shower floors 1/4 inch per foot to drains.
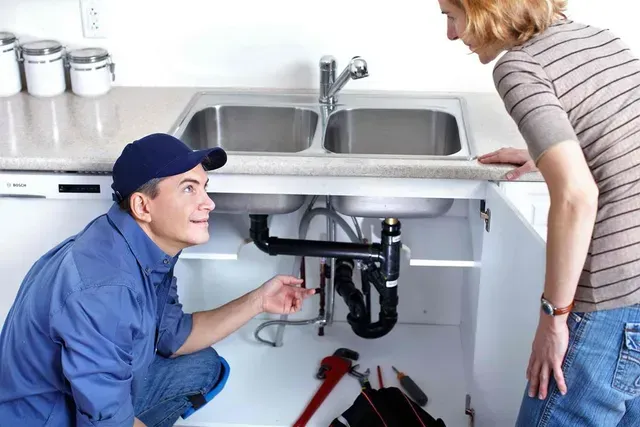
Addressing Root Plumbing Causes
Persistent moisture often traces to leaks. Inspect shower valves, pans, and drains for failures. Companies like All City Plumbers diagnose hidden leaks using acoustic detectors or cameras, preventing recurrence through valve rebuilds or pan relining.
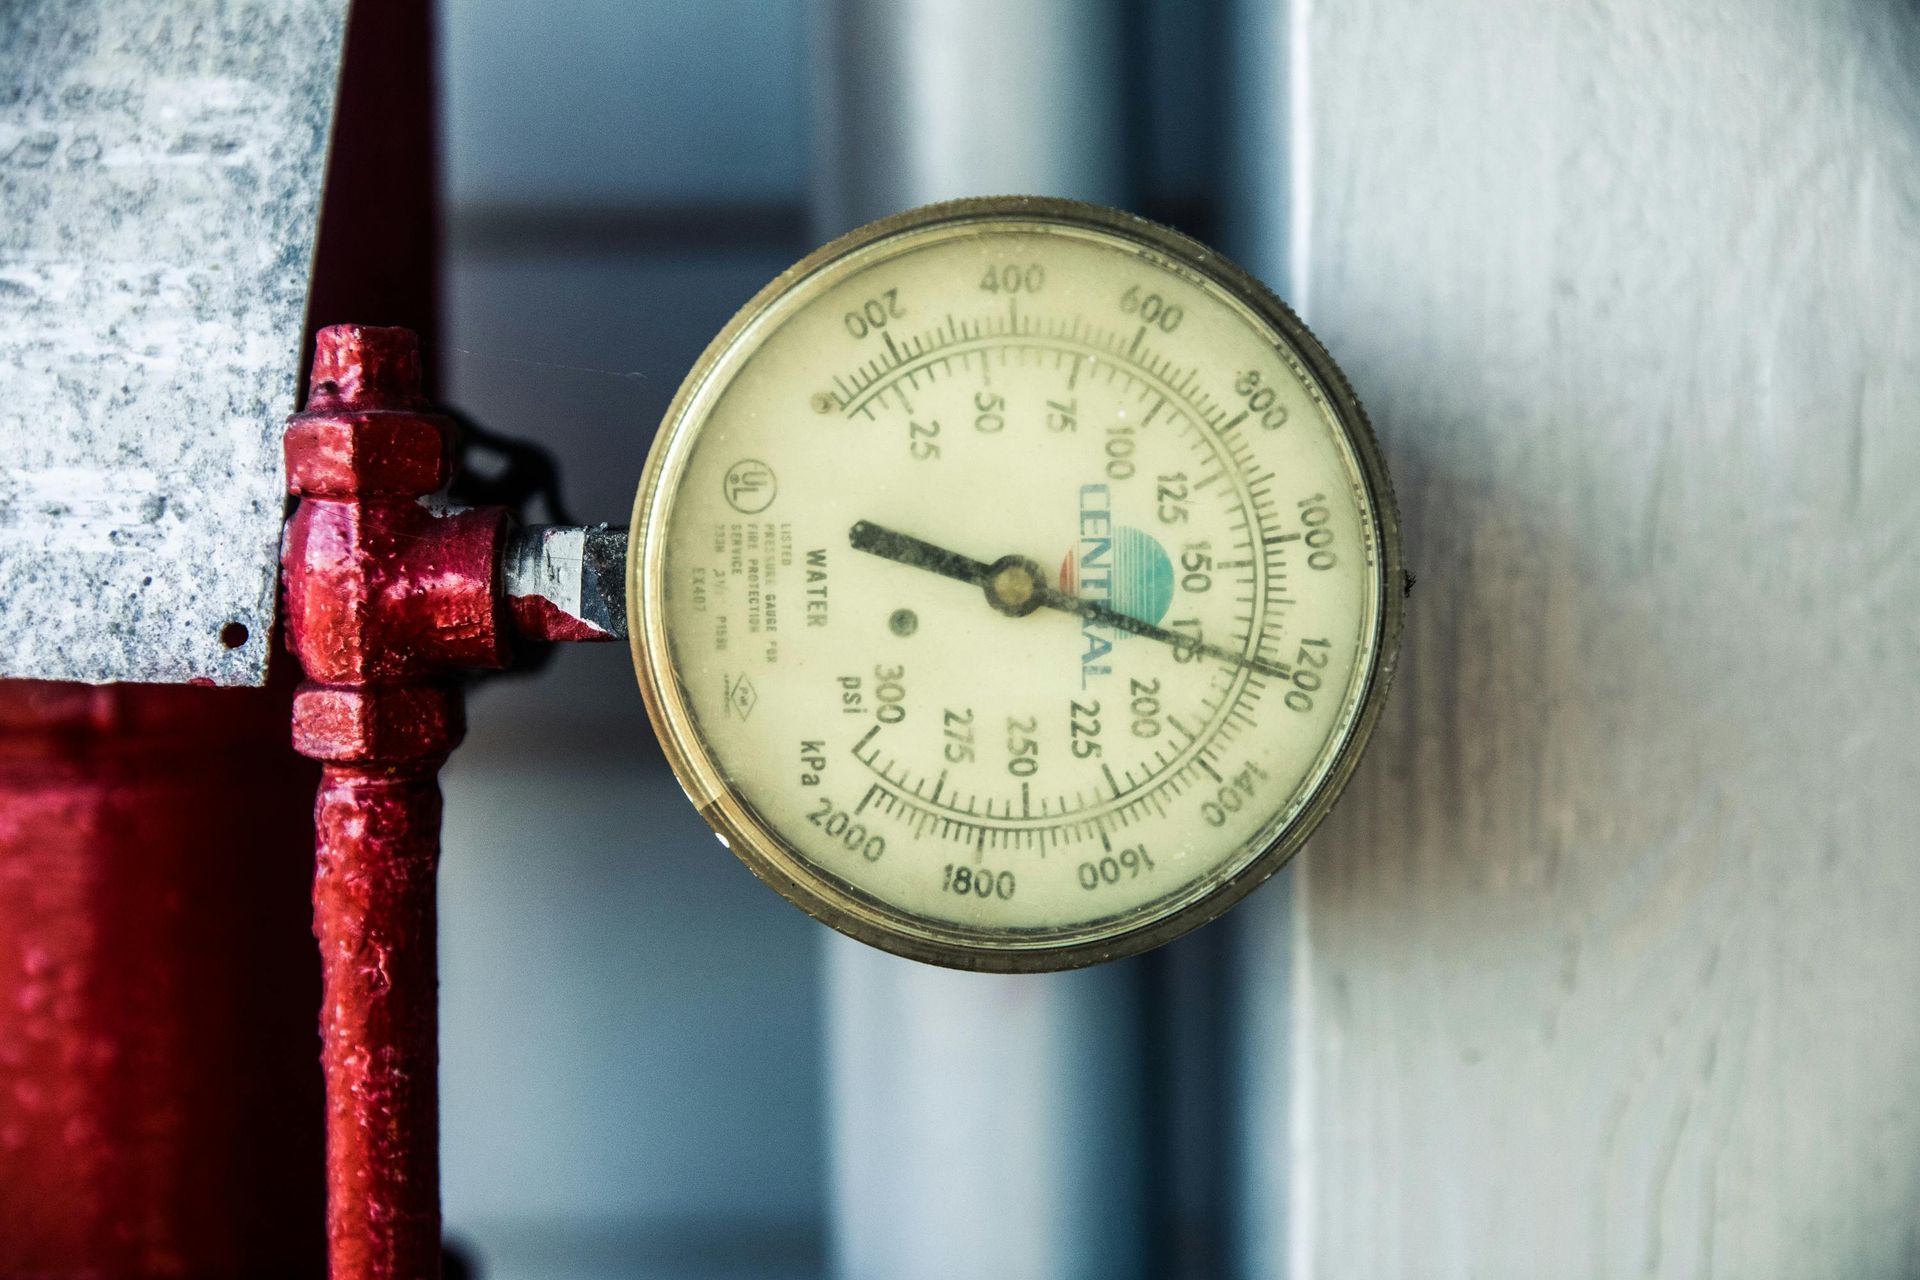
Backflow preventers in supply lines safeguard against contamination that could worsen moisture issues—knowing how backflow preventers protect your water supply underscores their role in maintaining clean, pressure‑stable plumbing.
Installing Improved Ventilation and Barriers
Upgrade to timer or humidity‑sensing exhaust fans venting outdoors. Vapor barriers like 6‑mil polyethylene behind backer board block steam migration. Whole‑house dehumidifiers control ambient moisture.
Preventative Measures Through Routine Inspections
Monthly visual checks of grout, caulk, and fixtures catch issues early. Annual professional moisture scans in high‑risk areas integrate with broader home maintenance. Waterproof membranes under tiles and in shower curbs provide redundant protection.
Health and Long‑Term Monitoring
Mold exposure risks allergies, asthma, and mycotoxin effects; sensitive individuals should vacate during remediation. Post‑fix air quality tests confirm spore reduction below 500 per cubic meter.
When to Engage Professional Remediation
Extensive growth, structural involvement, or HVAC contamination demands certified mold remediators. Plumbers handle leak sources, coordinating with restorers for complete fixes.
Conclusion
Mold behind tile walls thrives on unchecked moisture from leaks, poor ventilation, and vulnerable substrates, but systematic removal, drying, repair, and prevention restore safe environments. Combining DIY vigilance with professional diagnostics from experts like All City Plumbers eliminates root causes effectively. Proactive home maintenance sustains dry, healthy spaces, safeguarding health and property value long term.