How to Properly Replace a Bathroom Shut-Off Valve?
Replacing a bathroom shut‑off valve restores reliable water control under sinks, preventing leaks and enabling fixture maintenance. These valves, often quarter‑turn ball types or older compression models, wear out from corrosion, sediment, or constant use, leading to drips, stiffness, or complete failure. Timely replacement avoids water damage and more extensive repairs.
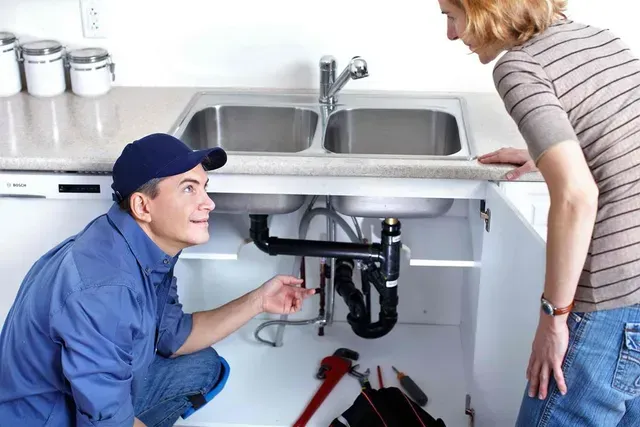
This comprehensive guide covers preparation, tool selection, removal of the old valve, installation of the new one, and testing procedures. Homeowners with basic plumbing skills can complete the job in under an hour, while knowing when to call professionals like All City Plumbers ensures safety for stubborn or corroded fittings.
Understanding Shut‑Off Valve Types and Functions
Shut‑off valves control water flow to individual fixtures, allowing isolation without disrupting the whole house. Quarter‑turn ball valves, with a lever handle, offer quick operation and durability, using a rotating ball to seal flow. Multi‑turn compression or packing valves, common in older homes, require several turns of a knob to compress a washer against the seat.
Identify your valve type by handle design and operation. Ball valves dominate modern installs for reliability; replace older compression types with ball valves for easier future access. Essential plumbing tools like pipe wrenches, adjustable pliers, and seat wrenches facilitate the job.
Preparation and Safety Measures
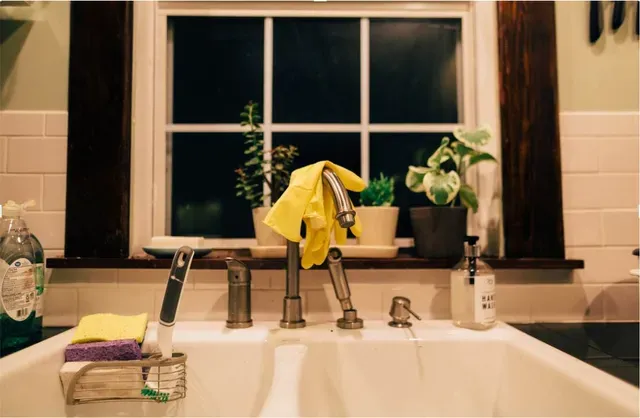
Preparation minimizes mess and risks. Locate both hot and cold shut‑offs under the sink, typically on 3/8‑ or 1/2‑inch supply lines. Turn off the main house water supply as backup, though local valves should suffice. Open the faucet above to drain residual pressure and water.
Spread towels or a bucket under the valves to catch drips. Have replacement valves, Teflon tape, pipe dope, and fittings ready, matching inlet/outlet sizes (usually 1/2‑inch compression to 3/8‑inch flare or push‑fit). Wear gloves and eye protection; shut‑offs rarely fail catastrophically but can spray if seized.
Gathering the Right Tools and Materials
Success depends on quality tools. Two adjustable wrenches or open‑end wrenches (sizes matching fittings), a pipe cutter or hacksaw for stubborn lines, bucket, rags, and plumber’s putty or thread sealant. For compression fittings, a cone wrench prevents nut spinning.
Replacement valves should be lead‑free brass ball types rated for potable water. Multi‑packs save money for whole‑house upgrades. Having penetrating oil like WD‑40 aids rusted components without weakening seals.
Shutting Down Water Supply and Draining Lines
With main water off, open all faucets in the house briefly to depressurize. Under the sink, slowly close both shut‑offs fully, noting resistance. Open the faucet handles fully to drain lines; water may continue trickling for minutes from the tank.
Disconnect the supply tube from the valve outlet using two wrenches to counter torque, preventing sink swivel. Plug lines with rags to limit drips during work. Patience here prevents slips and floods.
Removing the Old Shut‑Off Valve
Grip the valve body with one wrench and the inlet compression nut with another, turning counterclockwise to loosen. If seized, apply penetrating oil and tap gently with a hammer to break corrosion. For soldered valves, drain fully, heat with MAPP torch, and use solder wick—avoid if inexperienced.
Once free, inspect the pipe stub for damage or threads. Clean with wire brush or emery cloth for new seal. Discard old valve; note any unusual wear indicating broader pipe issues.
Preparing the Pipe Stub for New Valve
Smooth burrs from cut pipes with a deburring tool or file. For compression fittings, ensure 1/2‑inch beyond nut insertion depth. Threaded stubs require cleaning and Teflon tape application clockwise. Measure for push‑fit valves, cutting square with tubing cutter.
If corrosion appears, consider sweat‑on adapters or PEX transition fittings for modern upgrades. This step ensures leak‑free connections.
Installing the New Quarter‑Turn Ball Valve
Slide compression nut and ferrule (ring) onto pipe stub. Push valve fully onto pipe, then slide ferrule and nut forward, hand‑tightening before wrenching 1/4 to 1/2 turn past hand‑tight. Avoid overtightening, which deforms ferrules.
For threaded, apply Teflon tape three wraps, screw on valve, and snug with wrench. Push‑fit valves insert with audible click; tug to confirm hold. Reconnect supply tube, hand‑tightening then quarter‑turn with wrenches.
Reconnecting Supply Lines and Testing for Leaks
Reattach flexible hoses or copper lines to valve outlets, ensuring compression olives seat properly. Turn main water on slowly, checking connections visually and by hand for drips. Gradually open new valves, inspecting stems.
Run faucet hot and cold for five minutes, feeling joints. Tighten if seeping, but avoid excessive force. Successful installs show smooth operation without leaks.
Troubleshooting Common Installation Issues
Leaking compression nuts indicate improper ferrule seating; disassemble, check pipe straightness, and reassemble. Stiff handles suggest overtightening; back off slightly. No flow points to closed main or kinked lines.
For persistent issues like low pressure post‑install, inspect for debris or backflow preventers upstream—understanding how backflow preventers protect your water supply clarifies their role in preventing contamination during maintenance.
Integrating with Routine Plumbing Maintenance
Replacing shut‑offs aligns with broader care like drain clearing to remove sediment affecting valves. Stock basic plumbing tools for future jobs. Annual inspections catch wear early.
Professionals like All City Plumbers handle complex retrofits or emergency services for seized valves causing floods.
When to Call a Professional Plumber
If pipes break during removal, gas lines nearby, or multi‑floor systems involved, stop and call experts. Pros manage permits, pressure tests, and upgrades seamlessly.
Conclusion
Replacing a bathroom shut‑off valve combines straightforward mechanical steps with careful preparation, yielding reliable fixture control and leak prevention. From draining lines and removing old fittings to installing durable ball valves and thorough testing, methodical execution ensures success. Integrating this with maintenance like drain clearing and tool readiness sustains plumbing health, while pros like All City Plumbers provide support for challenges. Mastering this skill empowers homeowners with essential water management.