How to Create a Detailed Post-Disaster Plumbing Checklist?
Disasters strike without warning, whether from floods, earthquakes, hurricanes, or severe storms, often leaving plumbing systems in chaos. Water pipes burst, sewage backs up, and contamination spreads, turning a home into a health hazard. A detailed post-disaster plumbing checklist serves as your roadmap to assess damage, prioritize fixes, and restore safety quickly. This isn't just a list of tasks; it's a systematic approach that minimizes further damage, protects your health, and speeds up recovery. By preparing such a checklist in advance, you empower yourself to act decisively when chaos hits, avoiding costly mistakes like ignoring hidden leaks that could weaken structures over time. Developing this tool involves understanding common plumbing vulnerabilities exposed by disasters, from pressurized lines snapping under seismic stress to sump pumps overwhelmed by floodwaters. The key is customization—tailor it to your home's layout, local risks, and available resources. Start by gathering essential documents like your home's plumbing blueprints, emergency contacts for local utilities, and a basic toolkit. This preparation phase sets the foundation, ensuring you're not scrambling amid the rubble but methodically reclaiming control.
Assessing Immediate Safety Risks
The first moments after a disaster demand a focus on safety before any repairs begin. Walk through your property with caution, wearing protective gear like rubber boots, gloves, and a mask to shield against contaminants. Look for obvious dangers such as exposed wires near wet areas, unstable flooring softened by water, or gas leaks that could ignite near plumbing fixtures. Shut off electricity to affected areas if water is pooling, as electrocution risks skyrocket in damp environments. Next, evaluate structural integrity around plumbing—cracked walls might hide severed pipes ready to flood further. Document everything with photos and notes on a waterproof notepad or phone app, creating a visual record for insurance claims later. Pay special attention to low-lying areas where water accumulates, as these often reveal the worst damage first. This assessment isn't rushed; take time to ventilate spaces by opening windows and doors, reducing mold spore buildup that thrives in post-disaster humidity. If you notice widespread issues, know when to shut off water to your entire block by locating the main municipal valve, typically marked near street access points—contact your utility provider immediately for guidance. This step prevents neighborhood-wide flooding from a compromised system. By methodically scanning from exterior to interior, you build a clear picture of risks, transitioning smoothly into detailed inspections.
Inspecting Key Plumbing Components
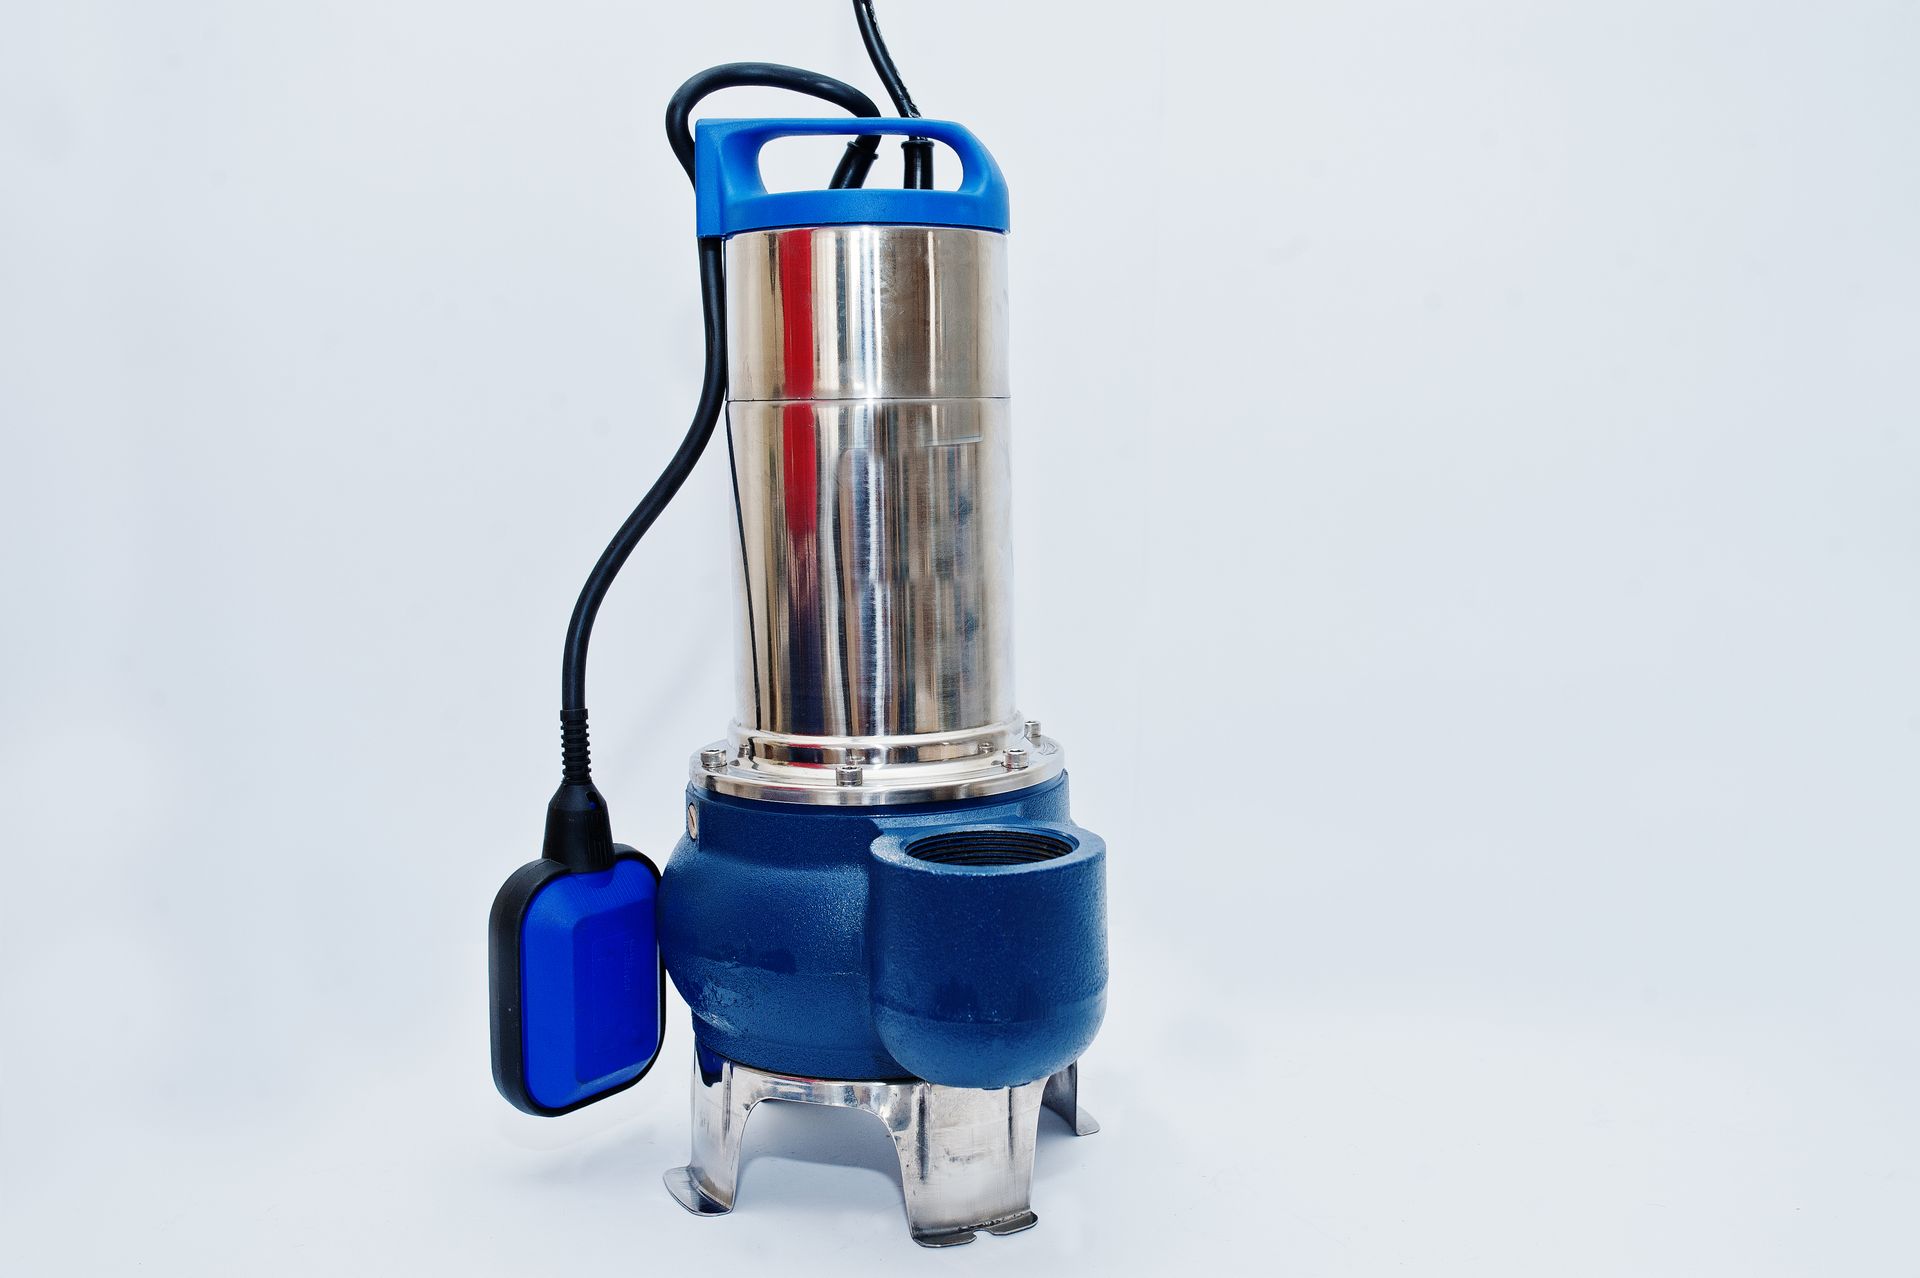
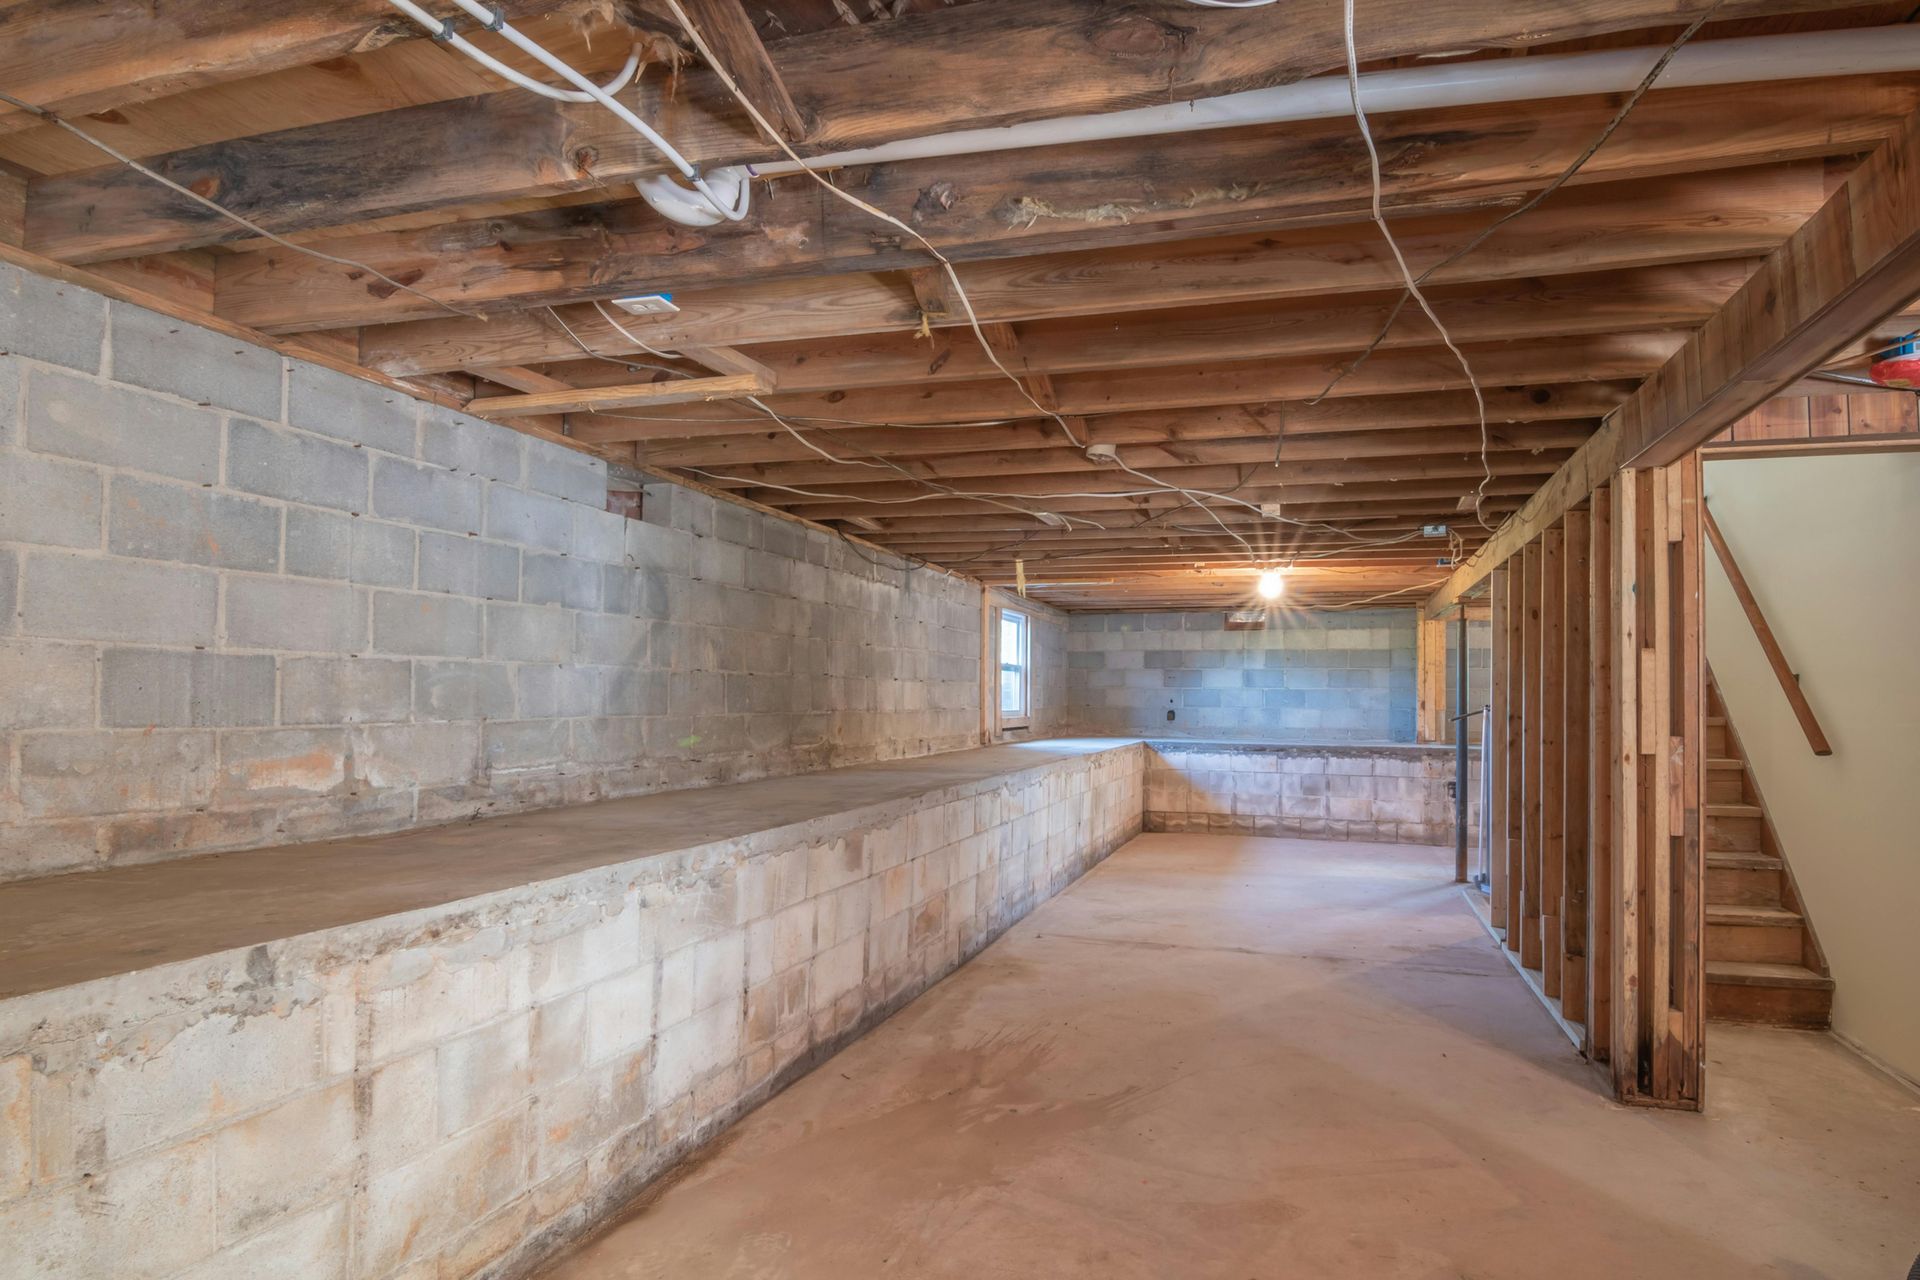
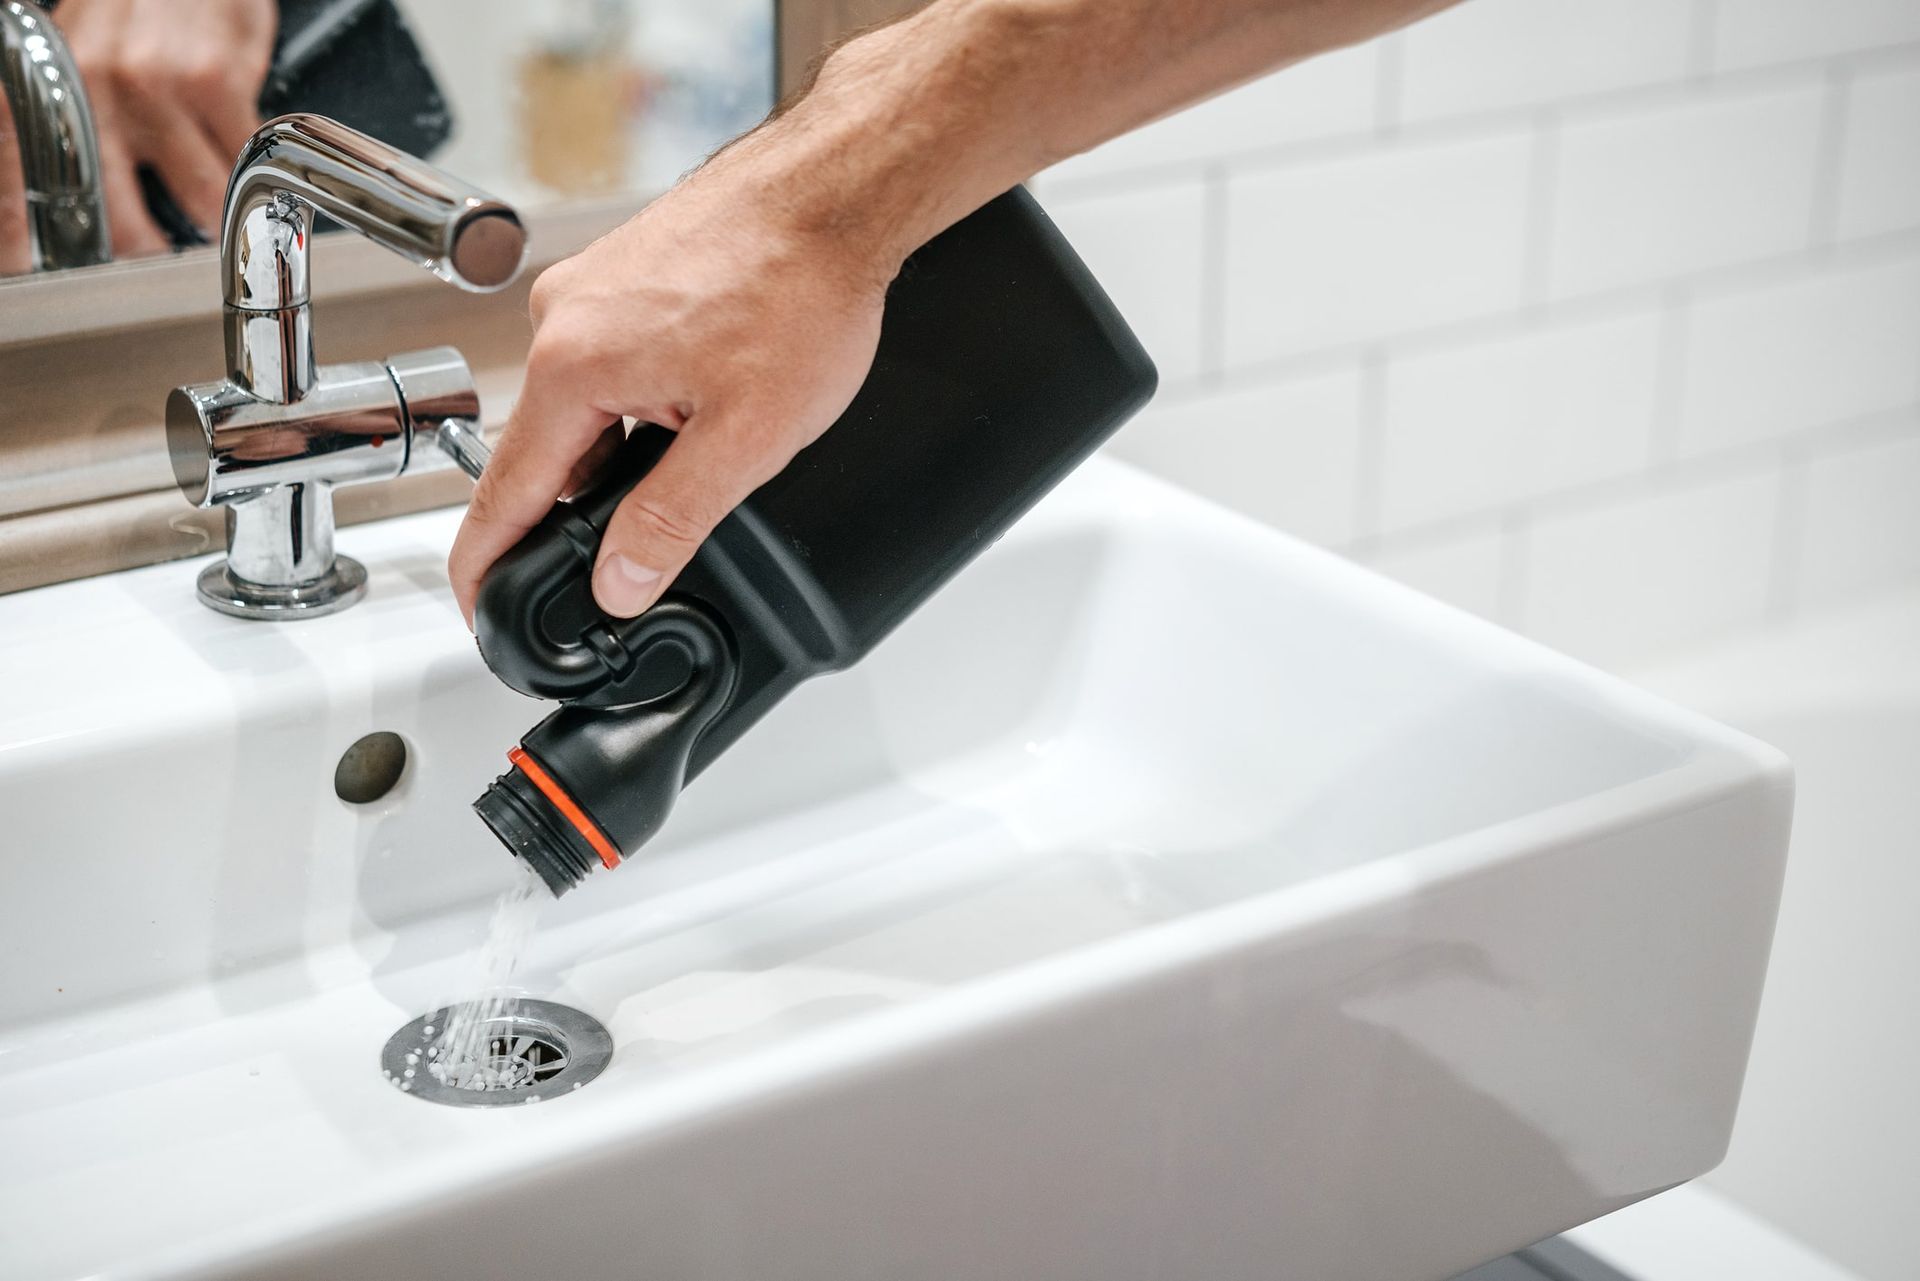
Once safety is confirmed, dive into a component-by-component inspection, starting with visible fixtures and working toward hidden lines. Begin in the kitchen and bathrooms, flushing toilets sparingly to check if water drains or backs up, signaling sewer line blockages from debris. Test faucets for pressure and color—brownish water might indicate sediment stirred from main lines. Examine water heaters for leaks or pilot light failures, as these units often rupture under thermal stress from power surges. Move to drains, pouring small amounts of water to detect slow flow, which could stem from collapsed pipes underground. Basements warrant extra scrutiny, where sump pump repair becomes critical if the unit failed to eject floodwater, leaving pumps clogged with silt or burned out from overuse. Inspect hoses, valves, and connections for corrosion accelerated by saltwater intrusion in coastal storms. Use a flashlight and mirror to peer into cabinets under sinks, spotting pinhole leaks that drip silently. For outdoor systems, check hose bibs and irrigation lines, which expand and crack from freezing during winter disasters. This inspection phase uncovers 80% of issues early, preventing escalation. Record findings with timestamps, noting severity levels from minor (dripping faucet) to critical (gushing main break), which informs your repair priorities.
Prioritizing Repairs and Temporary Fixes
With inspection data in hand, prioritize repairs based on urgency: life-threatening issues first, then property protection, followed by functionality restoration. Address any active leaks immediately using plumber's tape on threads or buckets for containment, buying time for professional help. For sewer backups, avoid flushing and use enzyme cleaners to break down organic clogs without harsh chemicals that damage pipes. Reinstate water supply gradually, starting with cold lines to test pressure before hot water, avoiding scalding bursts. If your sump pump requires repair, clear debris from the pit, test the float switch, and bypass with a manual pump if needed—All City Plumbers specializes in such urgent sump pump repair services for rapid deployment. Secure loose pipes with straps to prevent vibration damage during aftershocks. For larger breaches, apply epoxy putty as a temporary seal, strong enough to hold for days. Inventory your supplies now: duct tape, pipe clamps, replacement washers, and a multi-tool. Coordinate with neighbors for shared resources like generators to power pumps. This prioritization keeps costs down—fixing a small leak today averts a major flood tomorrow. Track progress on your checklist, crossing off tasks to maintain momentum and morale.
Tools and Supplies for Effective Recovery
A well-stocked kit turns your checklist from theory to practice, so assemble one tailored for post-disaster plumbing. Essentials include a pipe wrench set for tightening fittings, adjustable pliers for stubborn valves, and a hacksaw for cutting damaged sections. Add a water shut-off key for curb valves, flashlight with extra batteries, and a moisture meter to quantify dampness levels. Protective items like Tyvek suits prevent cross-contamination, while disinfectants such as bleach solutions (one part bleach to ten parts water) sanitize fixtures. Don't overlook detection tools: a sewer camera snake for internal pipe views or an acoustic leak detector for hidden flows. For documentation, a rugged tablet or laminated checklist sheets withstand water exposure. Stockpile fittings like PVC couplings, compression nuts, and ferrules in common sizes matching your home's plumbing. Include a portable water tester for contamination checks, crucial after floods carrying sewage or chemicals. Customize based on disaster type—hurricane kits need corrosion inhibitors, while earthquake prep favors flexible connectors. Store this kit in a waterproof bin near your main shut-off valve, reviewing annually. This arsenal ensures self-sufficiency, reducing reliance on delayed services.
Calling in Professional Help
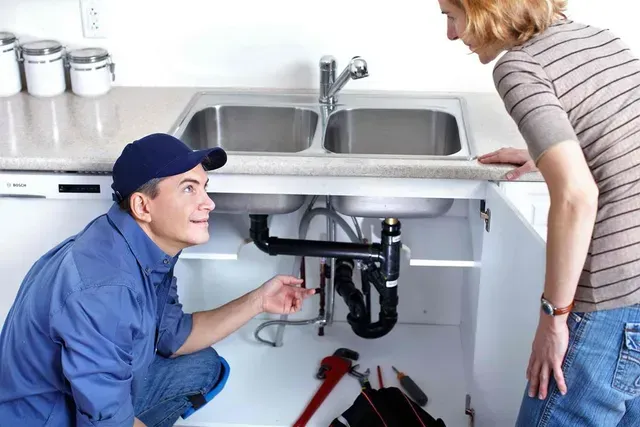
While DIY fixes handle many issues, recognize limits and call professionals for complex problems like main line breaks or electrical-plumbing crossovers. Signs include persistent low pressure across multiple fixtures, sewage odors from cleanouts, or visible foundation cracks near pipes. Contact licensed plumbers experienced in disaster recovery, providing your inspection photos for quick quotes. Verify credentials through local licensing boards and seek those bonded for insurance compatibility. Prepare by knowing your system's age and materials—older galvanized pipes demand specialized handling versus modern PEX. Professionals bring diagnostic tools like pressure gauges and hydro-jets, clearing blockages you can't reach. Budget for this: post-disaster rates spike, so get multiple estimates. Coordinate with insurers upfront, as many cover emergency plumbing under comprehensive policies. If serving a community, organize group calls to All City Plumbers for bulk sump pump repair and block-wide assessments. Follow up with maintenance contracts to prevent recurrence. Pros not only fix but certify systems safe, giving peace of mind.
Long-Term Prevention and Maintenance
Transform your post-disaster experience into future-proofing by integrating prevention into your checklist's final phase. Schedule annual inspections focusing on vulnerable joints, replacing rubber washers prone to dry-rot. Install backflow preventers on outdoor spigots and elevate sump pumps above flood plains. Upgrade to earthquake-strapped water heaters and flexible supply lines that absorb shocks. Monitor for subtle signs like rising water bills indicating stealth leaks, using smart meters for alerts. Educate household members on shut-off locations with labeled diagrams. Build redundancy with secondary sump pits or battery backups for power outages. Review insurance for plumbing endorsements covering disaster specifics. This ongoing strategy reduces vulnerability, turning one-time survival into resilient living.
Conclusion
In conclusion, crafting a detailed post-disaster plumbing checklist equips you with a structured decision-making framework during what is often a chaotic and high-pressure recovery period. Rather than reacting impulsively, you are able to follow a validated sequence of actions—beginning with hazard identification and system isolation, progressing through controlled inspection, and culminating in restoration or escalation to licensed professionals. This systematic approach reduces the likelihood of secondary damage such as mold growth, electrical hazards, or hidden pipe failures, all while protecting potable water quality. In practical terms, it translates to faster recovery timelines, lower remediation costs, and a significantly reduced risk profile for your household.
Equally important is the ongoing refinement and operational readiness of that checklist. Treat it as a living document: update it after every incident, align it with changes in your plumbing infrastructure, and incorporate lessons learned from real-world scenarios. Conduct periodic drills so every household member understands critical actions like locating shutoff valves or identifying contamination risks. When shared and practiced collectively, this preparedness evolves from a simple checklist into a resilient response system. Ultimately, it is not about expecting the worst, but about engineering confidence and control—ensuring that when disruption occurs, you respond decisively, recover efficiently, and protect both your property and peace of mind.