How to Effectively Repair a Leaky Bathtub Spout?
A leaky bathtub spout is more than just an annoyance—it can waste a significant amount of water, increase your utility bills, and potentially cause water damage over time. Whether the leak is a slow drip or a steady stream, addressing it promptly is essential to maintain the functionality and integrity of your bathroom plumbing. This article provides a detailed, professional guide on how to repair a leaky bathtub spout effectively, covering everything from identifying the cause to completing the repair with the right tools. For homeowners looking to handle the task themselves, knowing the best plumbing tools for homeowners is crucial. However, if the problem is complex, trusted experts like All City Plumbers are always ready to assist.
Understanding the Causes of a Leaky Bathtub Spout
Before diving into repairs, it’s important to understand why bathtub spouts leak. The most common reasons include worn-out washers or O-rings inside the spout, loose or corroded connections between the spout and the pipe, or damage caused by mineral buildup from hard water. Over time, these components degrade, causing water to seep or drip even when the faucet is turned off.
In some cases, the leak may originate from the diverter—a mechanism that switches water flow between the tub spout and the showerhead. A faulty diverter can cause water to leak from the spout even when the shower is in use. Additionally, improper installation or damage to the pipe nipple that connects the spout to the plumbing can also cause leaks.
Essential Tools and Preparation
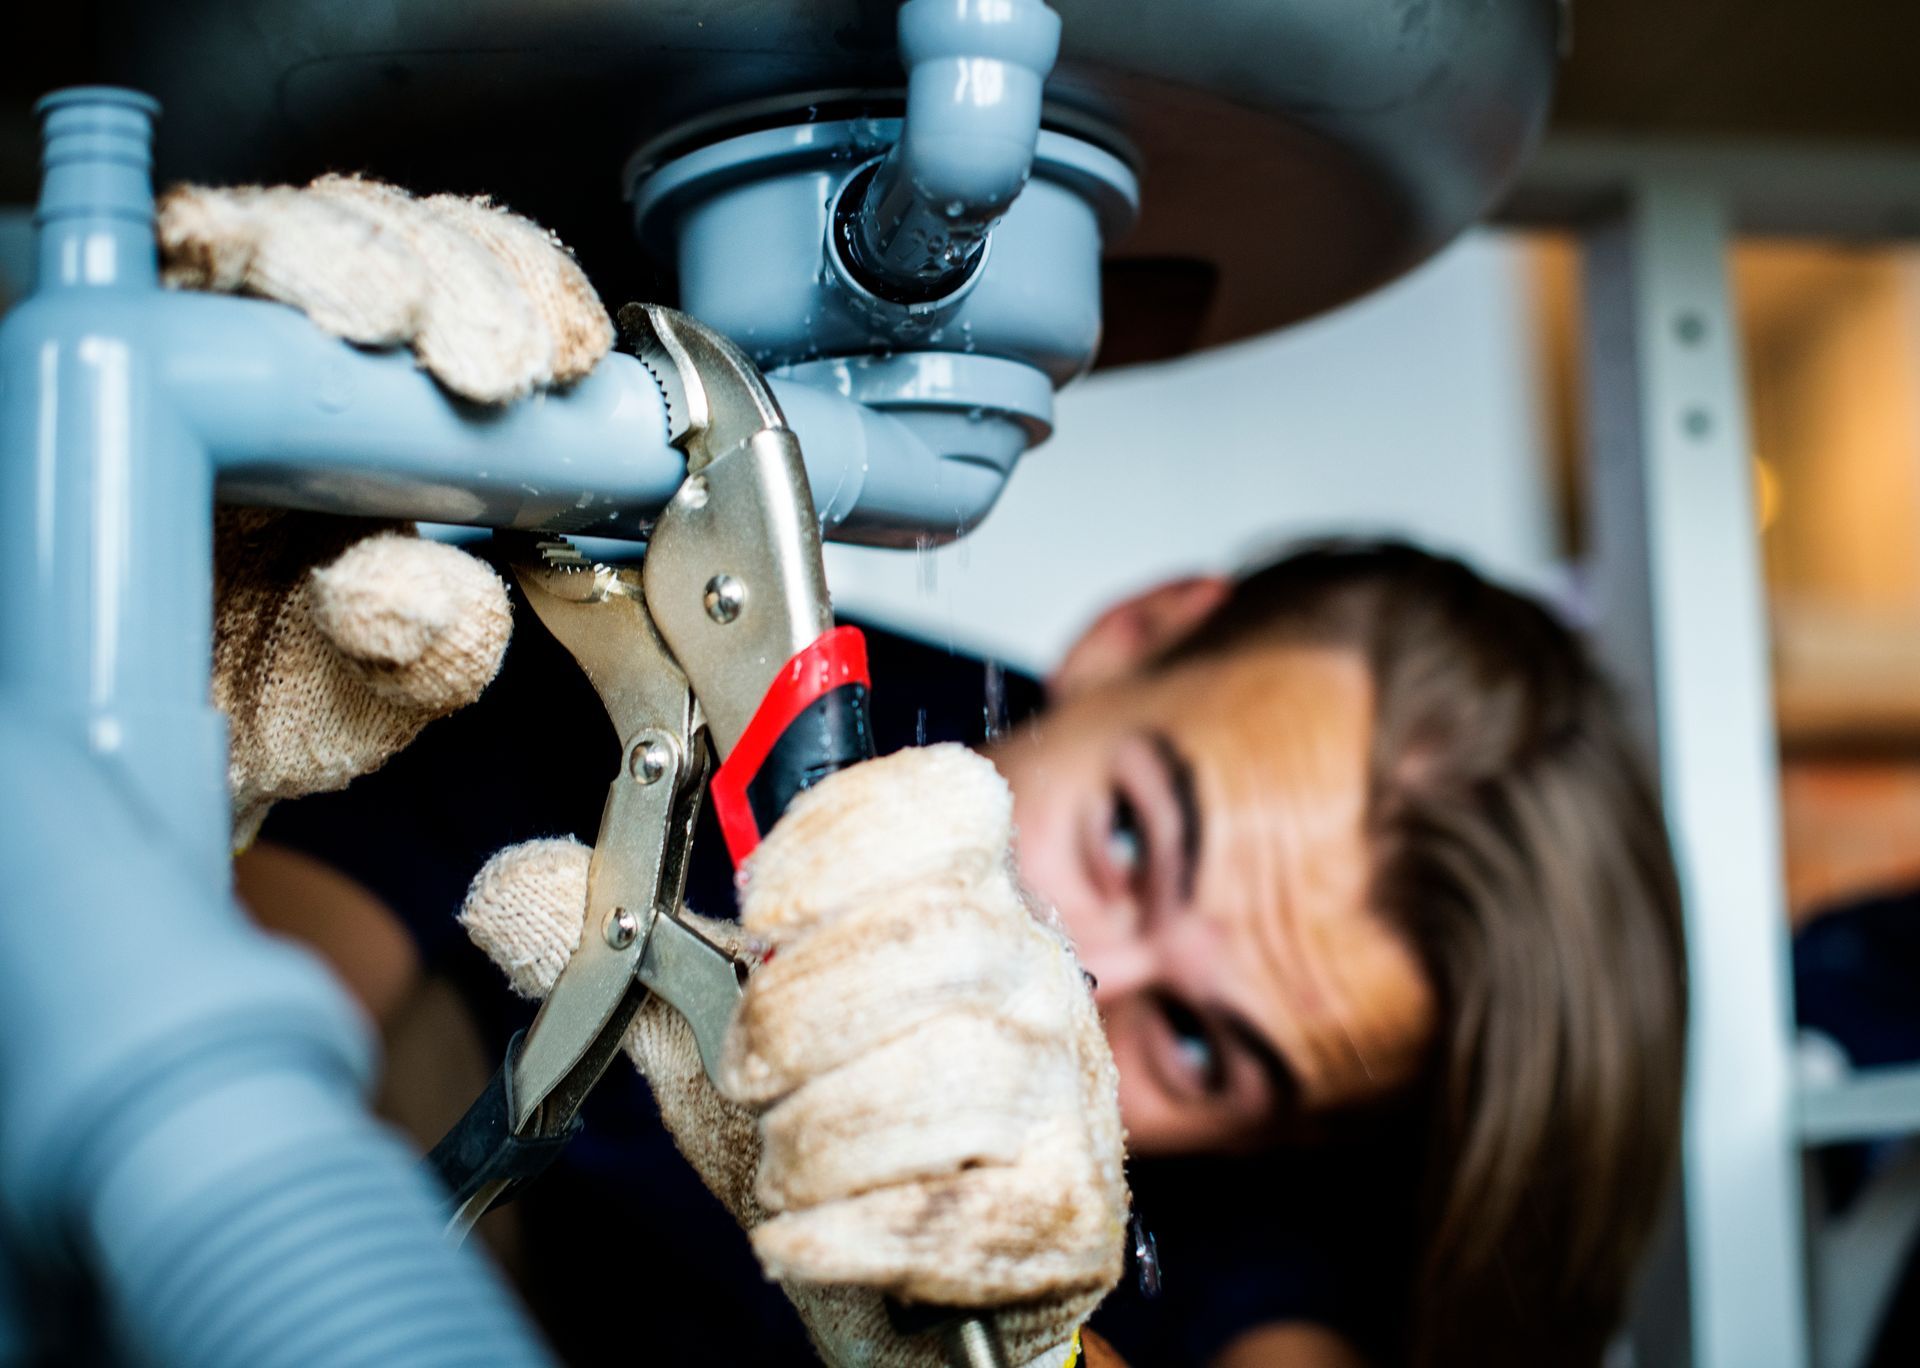
To repair a leaky bathtub spout effectively, having the right tools is vital. Commonly required tools include an adjustable wrench, a screwdriver, pliers, pipe thread seal tape (Teflon tape), plumber’s putty or silicone caulk, and a clean cloth. These tools help ensure a secure and leak-proof connection.
Understanding and using the best plumbing tools for homeowners can make the repair process smoother and more professional. For instance, an adjustable wrench allows you to loosen or tighten fittings without damaging them, while plumber’s tape helps create a watertight seal on threaded connections.
Before starting the repair, shut off the water supply to the bathtub to avoid water spraying during disassembly. Lay a towel or cloth in the tub to protect its surface and catch any drips.
Step-by-Step Guide to Repairing the Leak
Step 1: Remove the Old Bathtub Spout
Begin by inspecting the type of spout you have. Most bathtub spouts are either threaded (screw-on) or slip-on types. Threaded spouts unscrew counterclockwise, while slip-on spouts usually have a set screw underneath that must be loosened with a screwdriver or Allen wrench.
Use a utility knife to carefully cut through any caulk sealing the spout to the wall. Then, either unscrew the spout or loosen the set screw to slide it off the pipe. Take care not to damage the pipe or surrounding wall during removal.
Step 2: Inspect and Clean the Pipe
Once the spout is removed, inspect the pipe nipple protruding from the wall. Clean off any old plumber’s tape, corrosion, or mineral deposits using a cloth or fine sandpaper. This step ensures a smooth surface for the new spout to fit securely.
If the pipe nipple is damaged or too short, it may need replacement. This is a more involved repair that might require professional help from All City Plumbers.
Step 3: Apply Plumber’s Tape and Install the New Spout
Wrap the threaded end of the pipe nipple with plumber’s tape in a clockwise direction, overlapping the tape three to four times. This tape creates a watertight seal and prevents leaks.
For slip-on spouts, ensure the O-ring inside the spout is in good condition or replace it if worn. Slide the new spout onto the pipe, aligning it straight, and tighten the set screw just enough to hold it firmly without over-tightening.
For threaded spouts, screw the new spout onto the pipe by hand until snug, then tighten slightly with an adjustable wrench. Avoid overtightening, which can crack the spout or damage the pipe.
Step 4: Seal and Test
Apply a thin bead of silicone caulk or plumber’s putty around the base of the spout where it meets the wall to prevent water from seeping behind it. Smooth the sealant with a wet finger or tool for a clean finish.
Turn the water supply back on and test the spout by running both hot and cold water. Check carefully for leaks around the connection and ensure the diverter (if present) functions properly.
Additional Considerations and Maintenance Tips
Leaky bathtub spouts sometimes signal broader plumbing issues. For example, problems with water heaters can affect water pressure and temperature, indirectly impacting faucet performance. Regular inspection and maintenance of your home’s plumbing system, including water heaters and expansion tanks, help prevent leaks and prolong fixture life.
If you live in colder climates, taking steps to prevent frozen pipes in winter is also essential. Frozen pipes can burst, causing leaks and water damage that may affect faucets and spouts.
When to Call a Professional
While many homeowners can handle a leaky bathtub spout repair, certain situations warrant professional assistance. If water has been leaking behind the wall, causing damage, or if you need to replace a diverter or pipe nipple, it’s best to contact licensed plumbers. Trusted companies like All City Plumbers have the expertise and tools to handle complex repairs efficiently and safely.
Conclusion
Repairing a leaky bathtub spout is a manageable task that can save water, reduce utility bills, and prevent damage to your bathroom. By understanding the causes, preparing with the right tools, and following a careful repair process, you can restore your bathtub’s functionality and appearance. Remember to maintain your plumbing system regularly and consult professionals like All City Plumbers when faced with complicated issues. With the right approach, you’ll enjoy a leak-free bathtub spout and a more comfortable home for years to come.


