Step-by-Step Garbage Disposal Installation Guide: Mistakes & Tips
Installing a garbage disposal transforms kitchen cleanup into a streamlined process, grinding food scraps directly into the drain and minimizing waste. For homeowners tackling this upgrade themselves, success hinges on meticulous preparation, precise execution, and awareness of common pitfalls that lead to leaks, electrical hazards, or premature failures. This comprehensive guide walks through every phase of the installation, highlighting mistakes to sidestep and pro tips for flawless results, ensuring your new unit operates efficiently for years while integrating seamlessly with existing plumbing.
Preparing for a Successful Garbage Disposal Installation
Before touching a wrench or screwdriver, thorough preparation lays the foundation for a trouble-free installation. Begin by selecting a unit that matches your household needs—higher horsepower models suit frequent cooks, while batch-feed versions enhance safety in homes with children by requiring a lid activation. Verify compatibility with your sink's dimensions and electrical setup, opting for 3/4-horsepower disposals for standard single sinks or continuous-feed types for versatility.
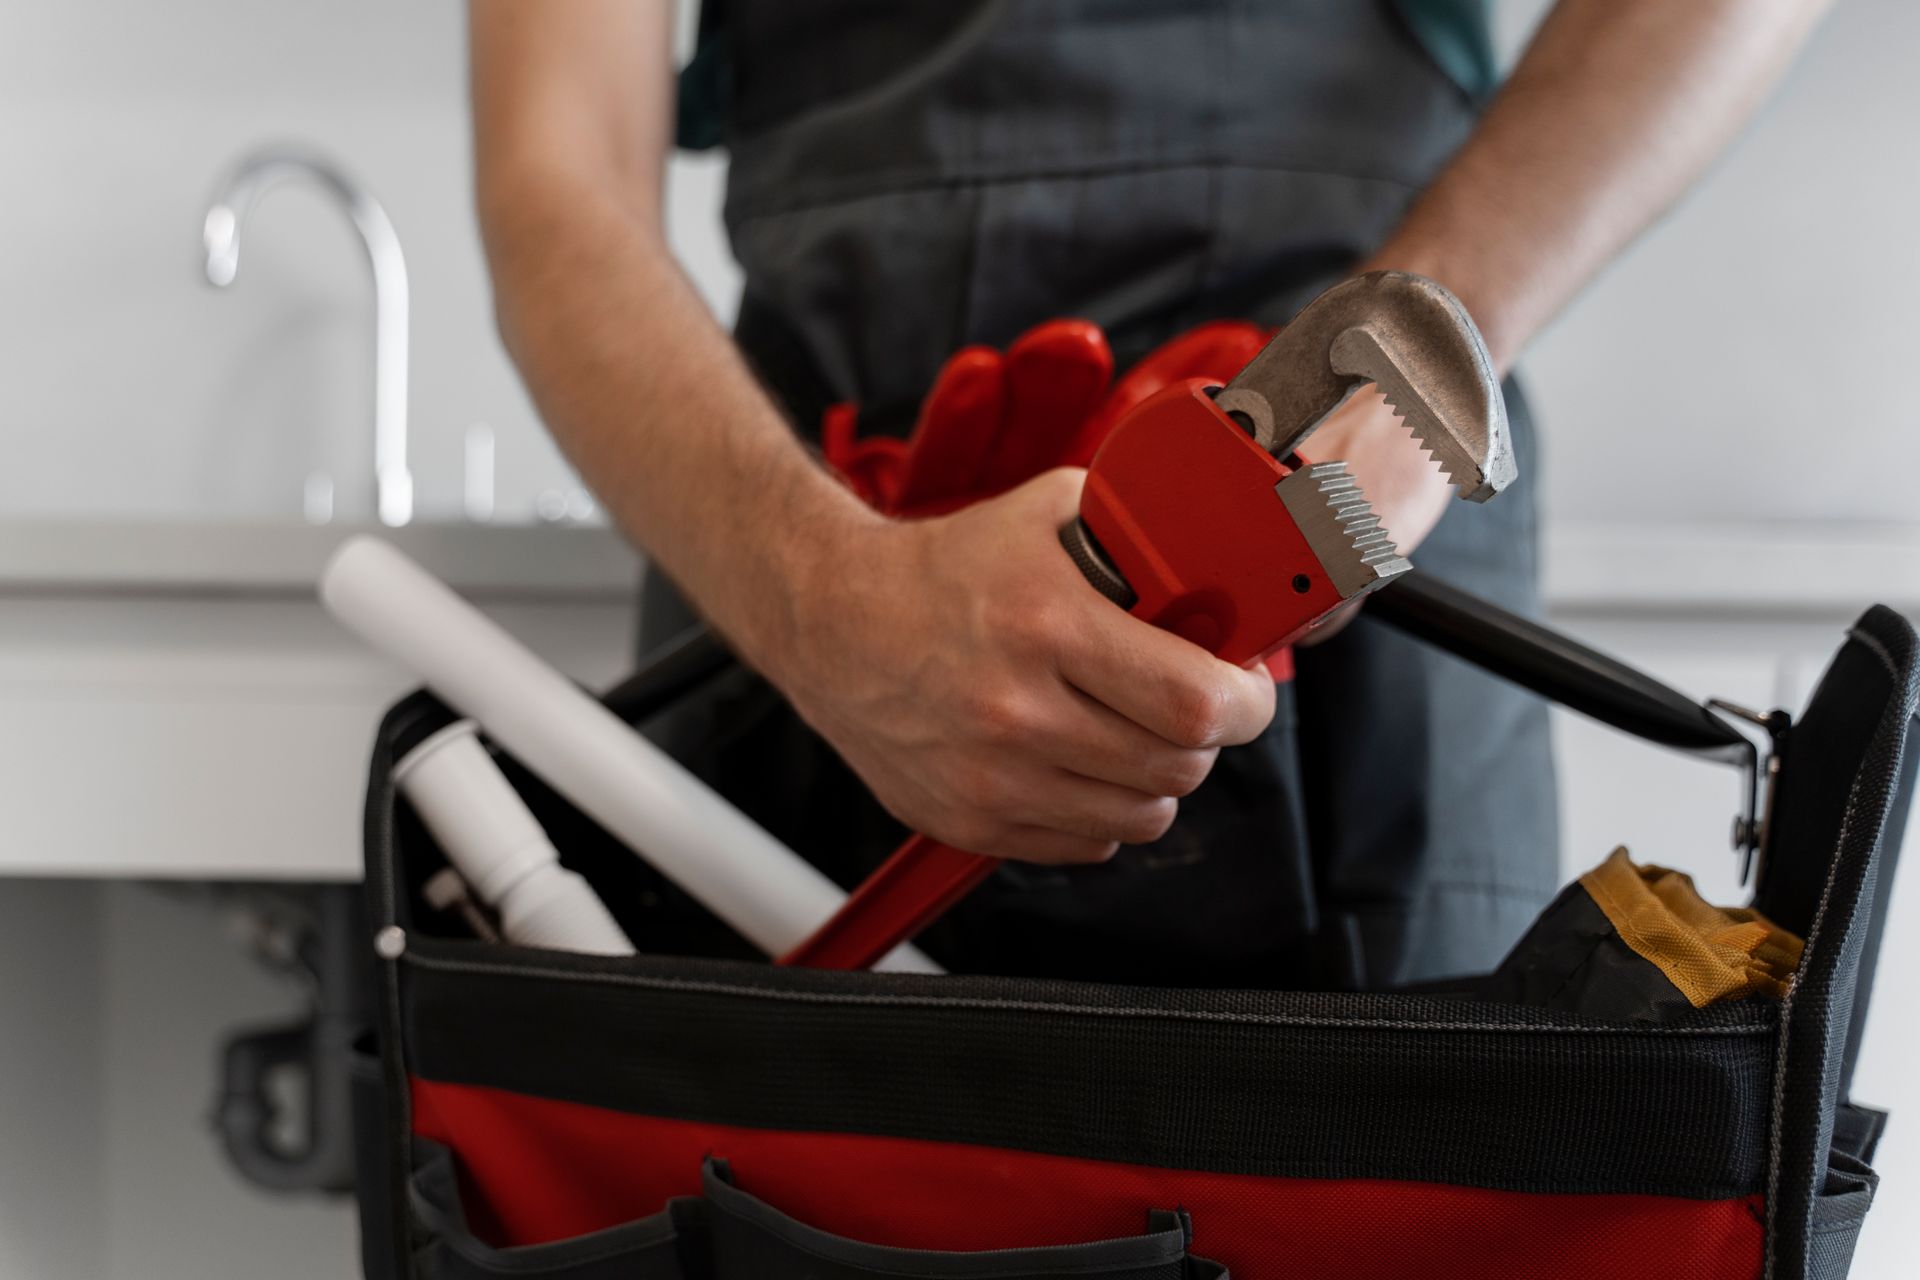
Gather essential tools including pliers, adjustable wrenches, a wire stripper, screwdriver set, and plumber's putty, alongside safety gear like gloves and safety glasses. Shut off power at the circuit breaker and water supply, then clear the cabinet under the sink for ample workspace. A critical first step involves disconnecting the old unit if present: position a bucket beneath to catch wastewater, unscrew the mounting ring from above, and detach the dishwasher hose if connected. Mistake number one that plagues novices is rushing this disconnection without draining lines fully, leading to spills that complicate the entire process. Professionals recommend labeling wires and hoses beforehand to streamline reassembly.
Removing the Old Garbage Disposal Safely
Extracting an existing garbage disposal demands caution to avoid injury or damage to surrounding components. With power and water secured off, disconnect the unit's electrical cord or hardwired connection by loosening terminal screws and separating black and white wires from ground. Insert the included hex wrench into the base hex socket and rotate both directions to free the flywheel from jams, facilitating easier detachment.
From underneath, support the unit's weight while unscrewing the three mounting bolts or twist-lock ring that secures it to the sink flange. Tip the disposal sideways to drain residual water, then lower it free, inspecting the sink baffle and splash guard for wear. A prevalent error here is forcing the unit loose without releasing tension on the flywheel, which can snap impellers or strip bolts. Tip: Wrap the disposal in a towel during removal to contain drips and simplify transport to recycling. Once removed, scrape away old plumber's putty from the sink flange using a putty knife, cleaning the area meticulously for a watertight new seal.
Installing the Sink Flange and Mounting Assembly
The sink flange forms the critical interface between disposal and sink, so precision in this phase prevents leaks that undermine the entire system. Roll fresh plumber's putty into a 1/2-inch rope, press it evenly around the underside of the new flange, and seat it firmly into the sink drain opening, wiping away excess putty squeezed upward. Secure the backup ring, fiber gasket, and mounting ring in sequence from below, tightening the three screws progressively to draw the flange down snugly without overtorquing, which warps metal.
Common pitfalls include using silicone sealant instead of putty, which fails to compress properly under vibration, or neglecting to align the flange perfectly level. Pro tip: Insert a flashlight from above to confirm uniform putty extrusion around the flange edge, signaling a solid seal. For sinks with dishwasher connections, attach the knockout plug removal tool now, tapping gently to avoid cracking porcelain. This preparatory mounting ensures the disposal locks in stably, ready for the motor housing attachment.
Attaching and Wiring the New Garbage Disposal
With the mounting assembly set, hoisting the new garbage disposal into position requires steady hands and alignment savvy. Rotate the unit's locking collar onto the mounting ring until it clicks securely, then verify it spins freely without wobbling. Connect the dishwasher hose to the unit's inlet using a hose clamp, positioning it high enough to prevent backflow during cycles.
Electrical connection poses the highest risk, so double-check local codes for hardwiring versus plug-in options. For pre-wired models, strip 1/2-inch insulation from leads, matching black to black, white to white, and green to ground, securing with wire nuts and electrical tape. Plug-in units simply route the cord through the access hole. Mistake alert: Reversing polarity creates shock hazards, while loose connections spark arcing over time. Test continuity with a multimeter before restoring power, and consider installing a dedicated GFCI outlet nearby for enhanced safety.
Sealing Connections and Testing for Leaks
Final assembly focuses on plumbing hookups and rigorous testing to banish leaks from the outset. Attach the drain elbow to the disposal outlet with pipe clamps, angling it to join the sink's tailpiece or P-trap smoothly, using PVC cement on slip joints for durability. Restore water supply gradually, running cold water to check for drips at every seal—flange, elbow, and trap.
A frequent oversight is skimping on support brackets for heavier units, allowing vibration to loosen fittings over weeks. Tip: Apply pipe joint compound sparingly to threaded connections, avoiding excess that clogs internals. Run the disposal empty with water flowing for 30 seconds, listening for smooth grinding sans rattles. Hidden dangers of temporary plumbing fixes loom here, as hasty tape wraps or mismatched parts invite corrosion and failures down the line. If leaks persist, disassemble and reseat components methodically.
Common Installation Mistakes and How to Avoid Them
Even seasoned DIYers falter without vigilance, with misalignment topping the list—off-center flanges cause uneven wear and leaks within months. Over-tightening fasteners strips threads, while under-tightening invites slippage under torque. Electrical errors, from inadequate grounding to overloaded circuits, trigger tripped breakers or fires.
Garbage disposal repair and replacement often stem from these oversights, underscoring the value of measured steps. Another blunder: Ignoring dishwasher integration, leading to sudsy backups. Counter it by elevating the hose 18 inches minimum and testing cycles post-install. Always consult the manufacturer's manual for model-specific nuances, and photograph each stage for troubleshooting reference.
Advanced Tips from Professional Installers
Elevate your installation with plumber-endorsed enhancements for longevity and performance. Incorporate a sound-deadening baffle if not pre-installed, reducing operational noise significantly. Build redundancy into your plumbing system by adding an inline shut-off valve downstream, isolating the disposal for isolated maintenance without main water disruption.
All City Plumbers, renowned for precision installations, advocates pre-flushing lines with enzyme cleaners to clear legacy buildup, optimizing new unit flow. Opt for stainless-steel grind components over coated alloys for corrosion resistance in humid climates. Remote-mount switches prevent countertop clutter, and annual resets with ice cubes maintain blade sharpness. These refinements minimize vibrations, extend warranties, and preempt service calls.
Conclusion
In conclusion, mastering garbage disposal installation through deliberate steps, pitfall awareness, and professional insights equips homeowners for enduring success. From meticulous prep to leak-proof testing, each phase reinforces reliability, averting the frustrations of rework or replacement. Embrace these guidelines, and your kitchen gains a robust ally, blending convenience with resilience for seamless daily use. For complex setups, consulting experts ensures perfection from the start.