How to Install a Water Filter Under Your Sink?
Installing a water filter under your sink is an excellent way to improve the quality of your household water supply, providing cleaner, better-tasting water directly from your tap. This installation not only enhances your health by reducing contaminants but also saves money compared to buying bottled water. While the process may seem daunting, with the right tools, materials, and step-by-step guidance, you can successfully install an under-sink water filter yourself. This article will guide you through the entire process, from preparation to final testing, while also touching on related plumbing tasks such as drain clearing and how to replace a toilet flapper, which homeowners often encounter alongside water filtration upgrades. For more complex plumbing needs, trusted professionals like All City Plumbers can provide expert assistance.
Understanding the Benefits of an Under-Sink Water Filter
Before diving into installation, it’s important to understand why an under-sink water filter is a valuable addition to your home. Unlike countertop filters or pitcher filters, under-sink systems connect directly to your cold water line, providing filtered water on demand without taking up counter space. These systems typically use multi-stage filtration to remove chlorine, sediment, heavy metals, and other impurities, ensuring your drinking water is safe and refreshing. Additionally, installing a filter under the sink can protect your appliances and plumbing fixtures from buildup caused by hard water or contaminants, potentially reducing the frequency of repairs such as drain clearing or replacing worn parts.
Tools and Materials Required for Installation
To install an under-sink water filter, you will need several basic plumbing tools and materials. Essential tools include an adjustable wrench, a drill with appropriate bits, a screwdriver, and plumber’s tape. You will also need the water filter kit, which usually comes with the filter cartridge, mounting bracket, tubing, and fittings. A bucket and towels are helpful for catching any water spills during the installation. Having these tools ready before you start will make the process smoother and more efficient.
Step 1: Preparing the Installation Area
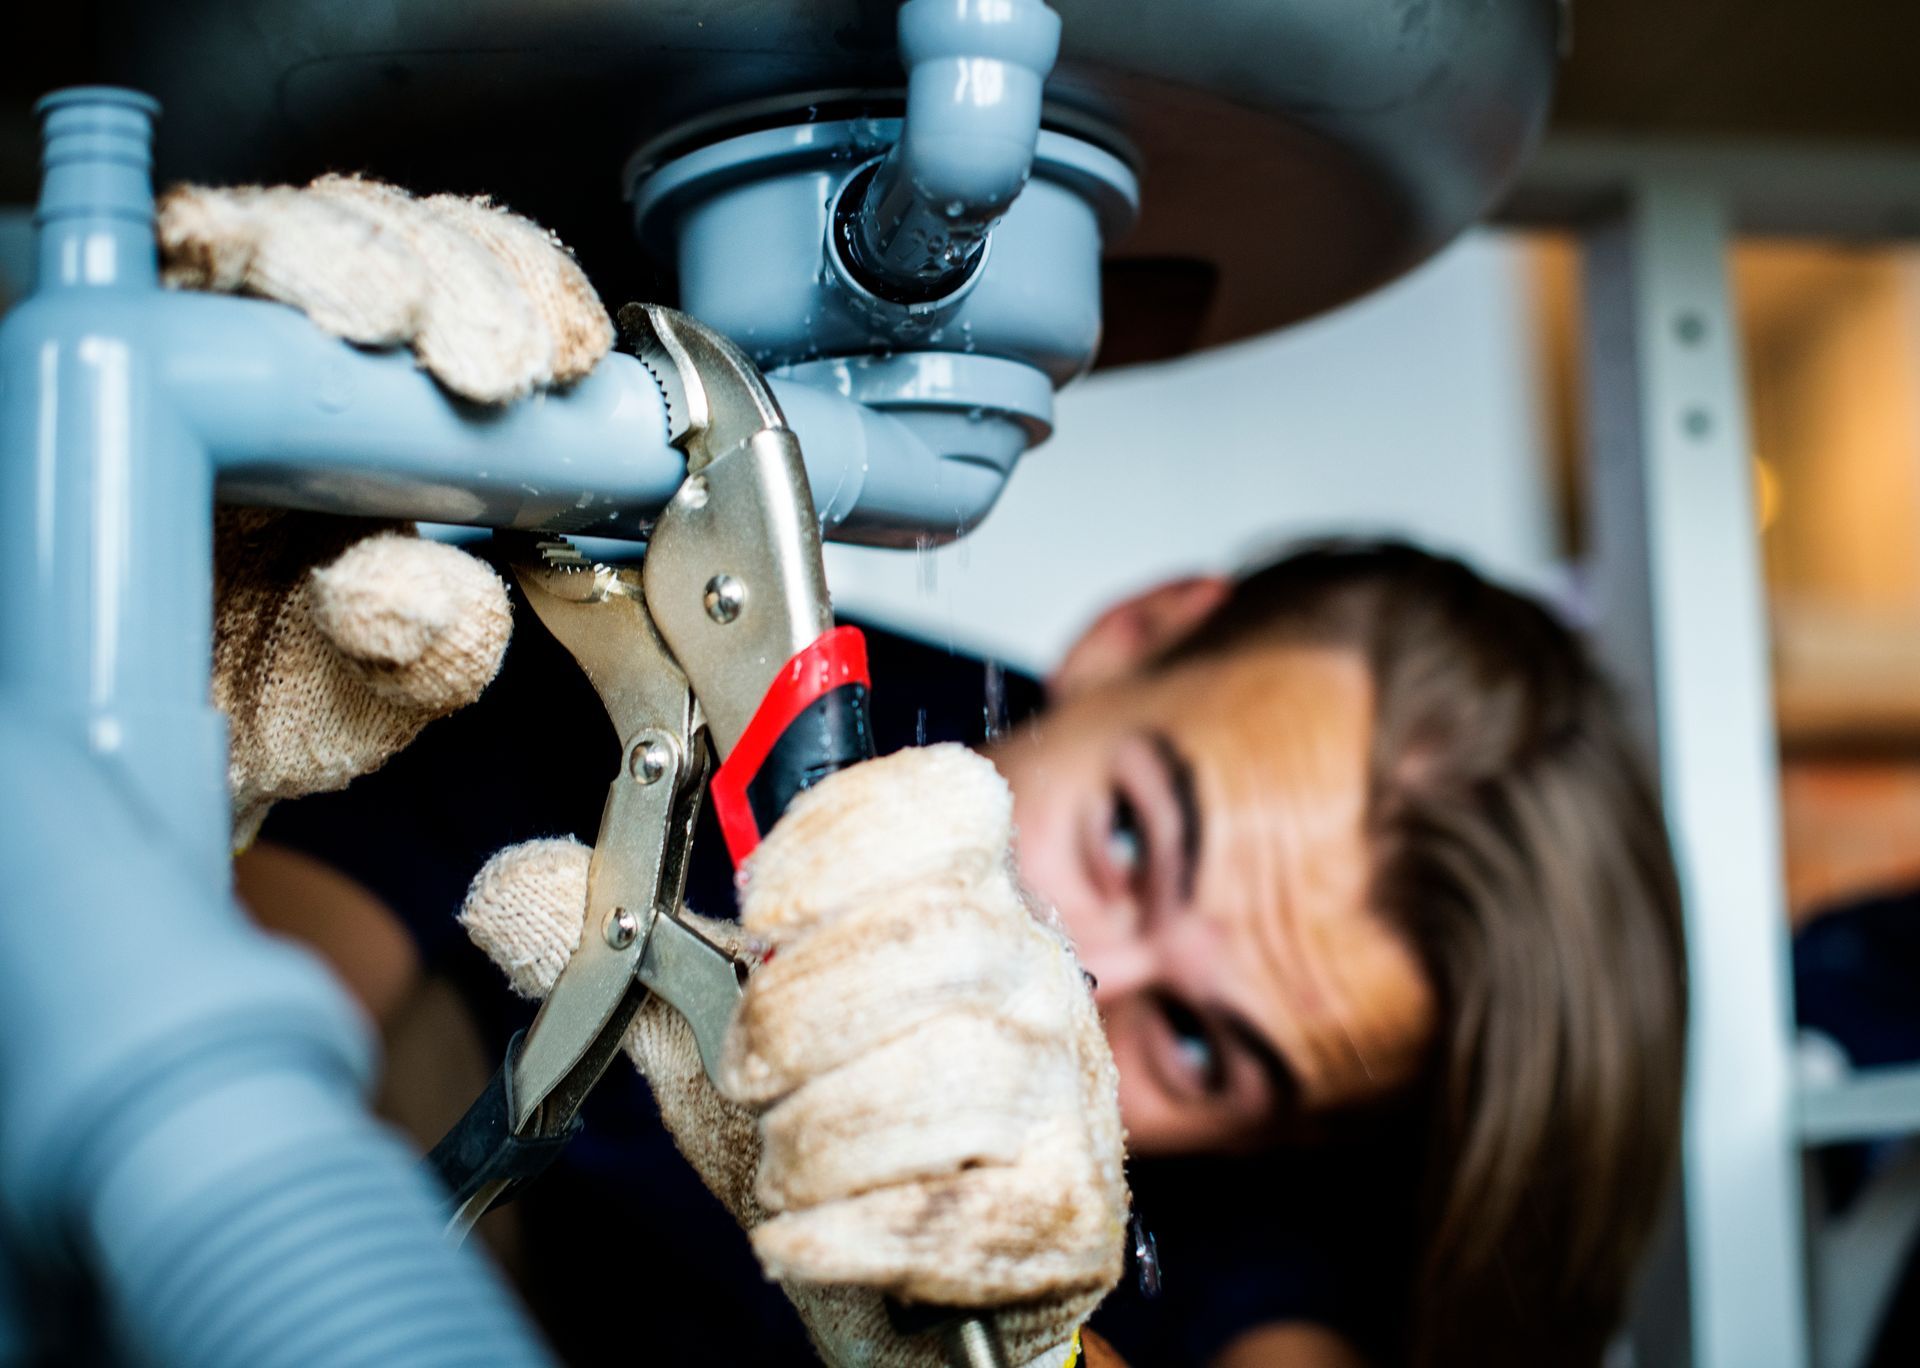
Begin by clearing out the cabinet space under your sink to provide easy access to the plumbing. Turn off the cold water supply valve located beneath the sink to prevent leaks during installation. Open the faucet to relieve any pressure and drain remaining water from the lines. It’s advisable to place a bucket under the pipes to catch any residual water that may spill when disconnecting fittings. This preparation phase ensures a clean and safe working environment and prevents water damage to your cabinetry.
Step 2: Mounting the Filter System
Most under-sink water filters come with a mounting bracket that needs to be attached to the cabinet wall or side panel. Choose a location that allows easy access to the filter cartridge for future replacements. Use a drill to secure the bracket with screws, ensuring it is firmly attached to support the weight of the filter system. Proper mounting is crucial to prevent vibrations or movement that could loosen connections over time.
Step 3: Connecting the Water Supply Line
Next, disconnect the cold water supply line from the shutoff valve using an adjustable wrench. Attach the provided adapter valve or saddle valve from the filter kit to the shutoff valve. This adapter will divert water from the main cold water line to the filter system. Connect the tubing from the adapter valve to the inlet port on the filter unit, making sure all connections are tight and sealed with plumber’s tape if necessary to prevent leaks. This step requires careful attention to avoid cross-threading or loose fittings.
Step 4: Installing the Filtered Water Faucet
Many under-sink water filter systems include a dedicated faucet for dispensing filtered water. If your sink does not have a pre-drilled hole for this faucet, you may need to drill one in the sink or countertop, taking care to measure and mark the location accurately. Install the faucet according to the manufacturer’s instructions, connecting the outlet tubing from the filter to the faucet’s inlet. Secure the faucet firmly to prevent wobbling or leaks.
Step 5: Final Connections and Testing
Once all tubing and fittings are connected, turn the cold water supply back on slowly. Check for leaks at every connection point, tightening fittings as needed. Open the filtered water faucet and allow water to run for several minutes to flush the system and remove any air or carbon fines from the new filter cartridge. This flushing process is essential to ensure clean, clear water and optimal filter performance.
Maintenance and Troubleshooting Tips
Regular maintenance is key to keeping your under-sink water filter functioning properly. Replace filter cartridges as recommended by the manufacturer, typically every six months to a year, depending on water quality and usage. If you notice a decrease in water flow or a change in taste, it may be time for a replacement. Additionally, if you encounter persistent leaks or drainage issues, it may be necessary to perform drain clearing or inspect other plumbing components. For example, problems with water flow or leaks can sometimes be related to worn parts like a toilet flapper, which also requires timely replacement to maintain overall plumbing health.
When to Call Professionals
While many homeowners can successfully install an under-sink water filter, some situations call for professional intervention. If you encounter complicated plumbing configurations, persistent leaks, or if you’re unsure about drilling into your sink or countertop, contacting experienced plumbers such as All City Plumbers is advisable. Professionals can ensure the installation is done correctly and safely, preventing potential water damage and ensuring your system operates efficiently.
Conclusion
Installing a water filter under your sink is a practical and rewarding home improvement project that enhances your water quality and overall health. By following the detailed steps outlined above and using the right tools, you can complete the installation with confidence. Remember to perform regular maintenance and be mindful of related plumbing tasks such as drain clearing or replacing a toilet flapper to keep your home’s plumbing system in top shape. When in doubt, trusted professionals like All City Plumbers are available to provide expert support and ensure your water filtration system functions flawlessly for years to come.


