How To Properly Install A New Sink P-Trap Without Any Issues?
Installing a new sink P-trap is a fundamental plumbing task that ensures proper drainage, prevents sewer gases from entering your home, and maintains the health of your household plumbing system. Whether you’re replacing a worn-out P-trap or installing one for the first time, performing the installation correctly is crucial to avoid leaks, clogs, or foul odors. This detailed guide walks you through the essential steps and considerations for installing a sink P-trap properly, drawing on industry insights from trusted experts like All City Plumbers. In addition, this guide will touch upon related plumbing tasks such as how to install a new bathtub drain and the importance of regular drain clearing to maintain a smoothly functioning plumbing system.
Understanding the Sink P-Trap and Its Vital Role
The sink P-trap is a curved section of pipe located beneath your bathroom or kitchen sink. Its primary function is to create a water seal that prevents sewer gases from traveling back into your living space while allowing wastewater to flow freely into the drainage system. Constructed typically from PVC, ABS, or metal, the P-trap also captures small debris to help prevent clogs further down the drain line.
Without a properly installed P-trap, unpleasant odors, plumbing backups, and health hazards can arise. The P-trap also acts as a convenient access point for plumbing maintenance and drain clearing procedures, making proper installation a foundational skill for any homeowner or plumbing professional.
Preparation: Tools, Materials, and Safety Considerations
Before starting the installation, gather all necessary materials and tools to ensure a seamless process. You will need the new P-trap assembly that matches your pipe size and material (commonly 1 1/4 inch or 1 1/2 inch diameter), slip joint nuts and washers, pipe wrench or adjustable pliers, plumber’s tape (Teflon tape), a bucket to catch water, and a cloth for cleanup.
Safety is paramount: although this task generally involves working with drainpipes rather than pressurized water lines, always be cautious when working under sinks. Clear the area to avoid accidents, and wear gloves to protect your hands from sharp edges and residue.
Consulting professional plumbers like All City Plumbers is advisable if you are unfamiliar with plumbing codes or encounter complex piping configurations during the process.
Step-By-Step Guide to Installing a Sink P-Trap
1. Remove the Old P-Trap (If Replacing)
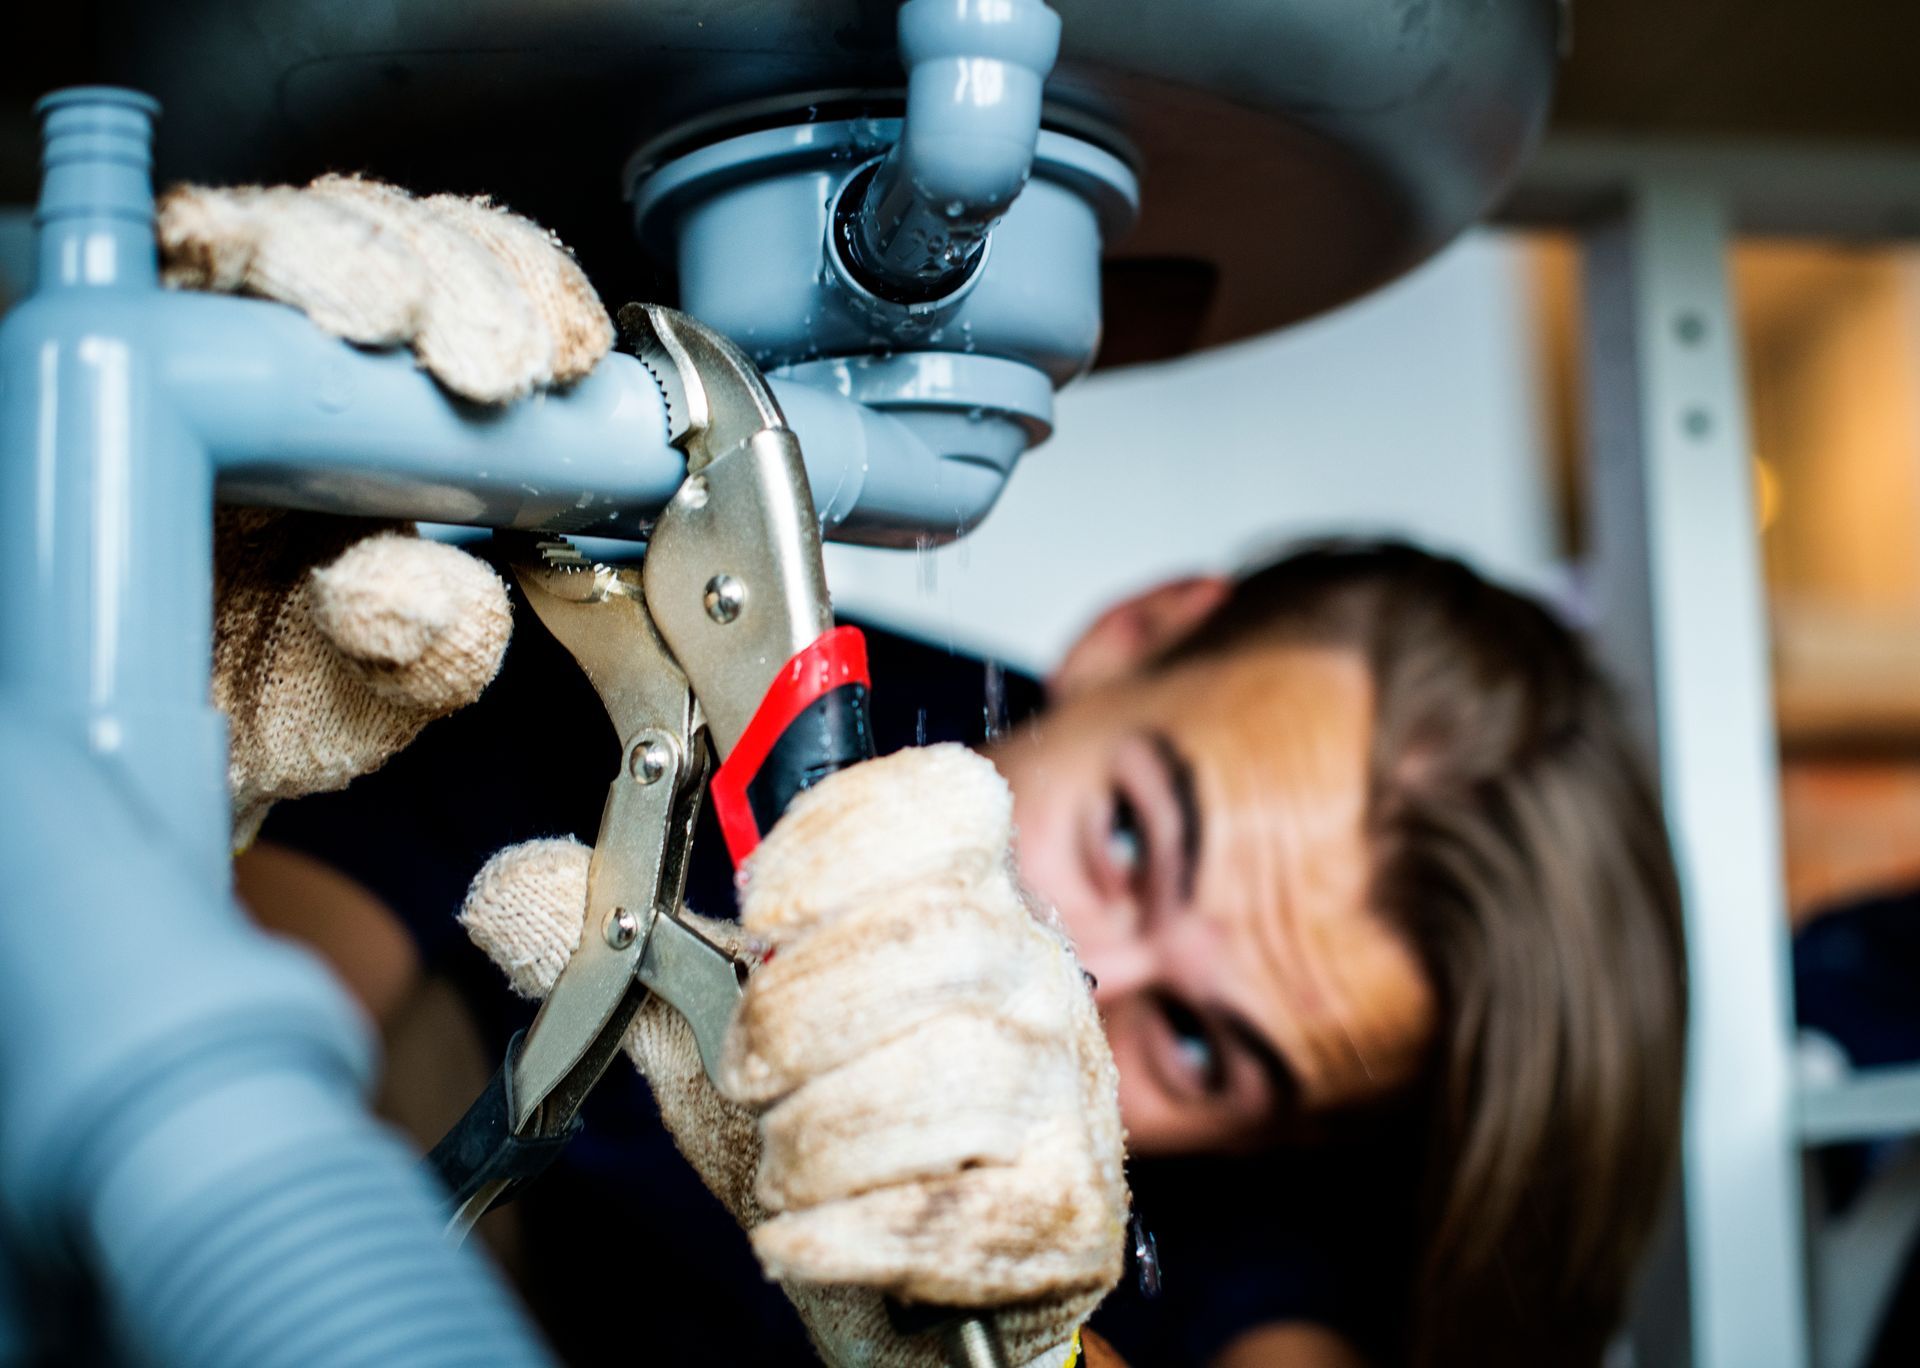
Start by placing a bucket under the sink drain to catch any standing water. Loosen and remove the slip nuts connecting the existing P-trap to the sink drain tailpiece and the waste pipe. Carefully detach the old trap and dispose of it. Clean the connecting pipe ends and drain tailpiece to remove grime and residue, ensuring a clean surface for the new installation.
2. Inspect the Drain Tailpiece and Waste Pipe
Before installing the new P-trap, examine the drain tailpiece from the sink and the waste pipe protruding from the wall or floor. Make sure the pipes are intact, straight, and free of cracks or corrosion. Replace damaged pipe sections if needed. To avoid future plumbing issues, you may also consider inspecting nearby plumbing components such as when you install a new bathtub drain or prepare for drain clearing maintenance.
3. Assemble the New P-Trap Components
The P-trap assembly generally consists of a curved “trap” pipe section, a J-shaped pipe section, and various slip joint nuts and washers. First, slide the slip joint nuts and washers onto the pipes — the washer is placed between the nut and the pipe end to create a watertight seal.
4. Attach the P-Trap to the Sink Tailpiece
Connect the upper end of the P-trap assembly to the sink’s drain tailpiece. Insert the slip joint nut over the tailpiece and hand-tighten it over the washer against the trap inlet. Ensure the connection is snug but avoid overtightening, which can damage plastic threads or crush washers.
5. Connect the Trap to the Waste Pipe
Next, align the other end of the P-trap with the waste pipe stub in the wall or floor. Slide the slip joint nut and washer onto the waste pipe, and insert the trap arm into the pipe connection. Hand-tighten the slip joint nut to form a secure seal. Proper alignment is essential to prevent stress on the pipes that can cause leaks or cracks.
6. Confirm Correct P-Trap Orientation and Positioning
The alignment of the P-trap must ensure a downward slope toward the waste pipe to allow gravity-assisted drainage. The water seal formed in the trap should be visible and not compromised by loose fittings or improper angles. The trap arm length may be adjusted by cutting with a pipe cutter if necessary, but leave enough room for proper connection without forcing parts.
7. Tighten Connections and Apply Plumber’s Tape
Once all parts are properly aligned, use your adjustable wrench to tighten the slip nuts slightly beyond hand-tight. Plumber’s tape can be wrapped around threaded connections (if applicable) to enhance the seal. Note that most slip joint nuts with washers do not require plumber’s tape since the washer provides the seal, but thread sealing tape can aid in securing threaded connections on metal pipes.
8. Test for Leaks and Proper Drainage
With the P-trap securely installed, run water through the sink at full flow. Inspect all connections for any signs of dripping or moisture pooling. Tighten fittings gently if leaks appear, and wipe away excess water to monitor ongoing performance. Provide several flush cycles to ensure smooth and odor-free drainage.
Important Considerations and Common Pitfalls
A few critical notes will help ensure a durable and reliable P-trap installation:
- Avoid mixing pipe materials that may have incompatible fittings (e.g., PVC to metal without appropriate adapters).
- Ensure slip joint washers are correctly oriented; reversed washers often cause leaks.
- Do not overtighten plastic nuts or crush washers which can cause cracking and leaks.
- Maintain adequate clearance for easy future access during drain clearing or plumbing repairs.
- Pay attention to local plumbing codes and standards for drainage venting and trap installation.
When to Call Professionals Like All City Plumbers
While installing a sink P-trap can be a manageable DIY task, certain situations necessitate expert intervention. Complicated plumbing layouts, persistent leaks, corroded pipes, or challenges related to venting require professional skills to diagnose and solve efficiently.
Experts such as All City Plumbers often integrate P-trap replacement into broader bathroom or kitchen plumbing upgrades, including tasks like installing a new bathtub drain or comprehensive drain clearing services. Their expertise helps ensure all components work harmoniously to prevent costly plumbing emergencies.
Maintaining Your Drainage System for Long-Term Performance
Routine maintenance of the sink P-trap and connected drainage system is crucial. Regularly check under sinks for leaks or odors and schedule periodic drain clearing to prevent clogs. Proper care also protects related appliances like dishwashers, whose drainage quality may depend on properly functioning P-traps.
Professional plumbing services can inspect and maintain your drainage system, thereby extending its lifespan and efficiency.
Conclusion
Properly installing a sink P-trap is essential for ensuring effective drainage, preventing sewer gas intrusion, and avoiding common plumbing problems. By following a methodical approach—from removal of the old trap, inspection of pipes, careful assembly, to leak testing—you can achieve a secure and long-lasting installation.
Taking guidance from professional plumbers like All City Plumbers and understanding how this task relates to others, such as when you install a new bathtub drain or perform drain clearing, integrates this repair into broader plumbing system health. Proper installation and maintenance ultimately deliver comfort, safety, and longevity to your home’s plumbing infrastructure.

