How to Properly Replace a Broken Toilet Fill Valve?
A broken toilet fill valve is a common cause of many toilet problems, especially issues like a running toilet, incomplete tank refills, or noisy water flow. Replacing the fill valve correctly is crucial not only to restore your toilet’s functionality but also to prevent water waste and potential damage to your bathroom. This detailed article provides an elaborate, step-by-step guide to replacing a broken toilet fill valve, incorporating insights from trusted professionals such as All City Plumbers. It also references related plumbing topics like how to fix a running toilet and sump pump repair, emphasizing a holistic approach to home plumbing maintenance.
Understanding the Toilet Fill Valve and Its Importance
The toilet fill valve (sometimes called a ballcock) is the mechanism inside the toilet tank responsible for refilling it with water after a flush. When functioning properly, it regulates the water entering the tank and stops the flow once the water reaches the designated fill line. A faulty fill valve can cause continuous water flow (running toilet), slow refill times, or noisy tank fills.
Because the fill valve controls the water flow directly from your household supply, any leakage or malfunction leads to water wastage and increased water bills. Effective replacement restores efficiency and helps avoid further issues like leaks or damage to other plumbing components.
Signs Your Toilet Fill Valve Needs Replacement
Common indicators that your toilet fill valve has failed and needs replacement include:
- Constant running water, even when the tank is full
- Hissing or whistling noises as the tank refills
- Tank refilling too slowly or not filling fully
- Water continually dripping into the toilet bowl
- Visible leaks or water pooling around the base of the tank or floor
Experiencing these symptoms should prompt immediate inspection and, often, replacement to avoid emergencies or costly water waste.
Preparation: Tools, Parts, and Safety Measures
Before starting the replacement, ensure you have all the necessary materials and tools:
- Replacement toilet fill valve (universal models fit most toilets)
- Adjustable wrench or channel lock pliers
- Sponge or towel (to soak residual water in the tank)
- Bucket or container (to catch any spilled water)
- Safety gloves (optional for comfort and protection)
Turning off the water supply to the toilet is the first critical safety step—usually via the shut-off valve behind the toilet. Also, flush the toilet to drain as much water as possible from the tank before handling the valve.
Step-By-Step Guide to Replacing a Broken Toilet Fill Valve
Step 1: Shut Off Water and Drain the Tank
Locate the water shut-off valve behind the toilet and turn it clockwise to close. Flush the toilet to empty the tank. Hold the flush handle down to expedite draining, and use a sponge or towel to soak up any remaining water inside the tank to avoid spills during the repair.
Step 2: Disconnect the Water Supply Line
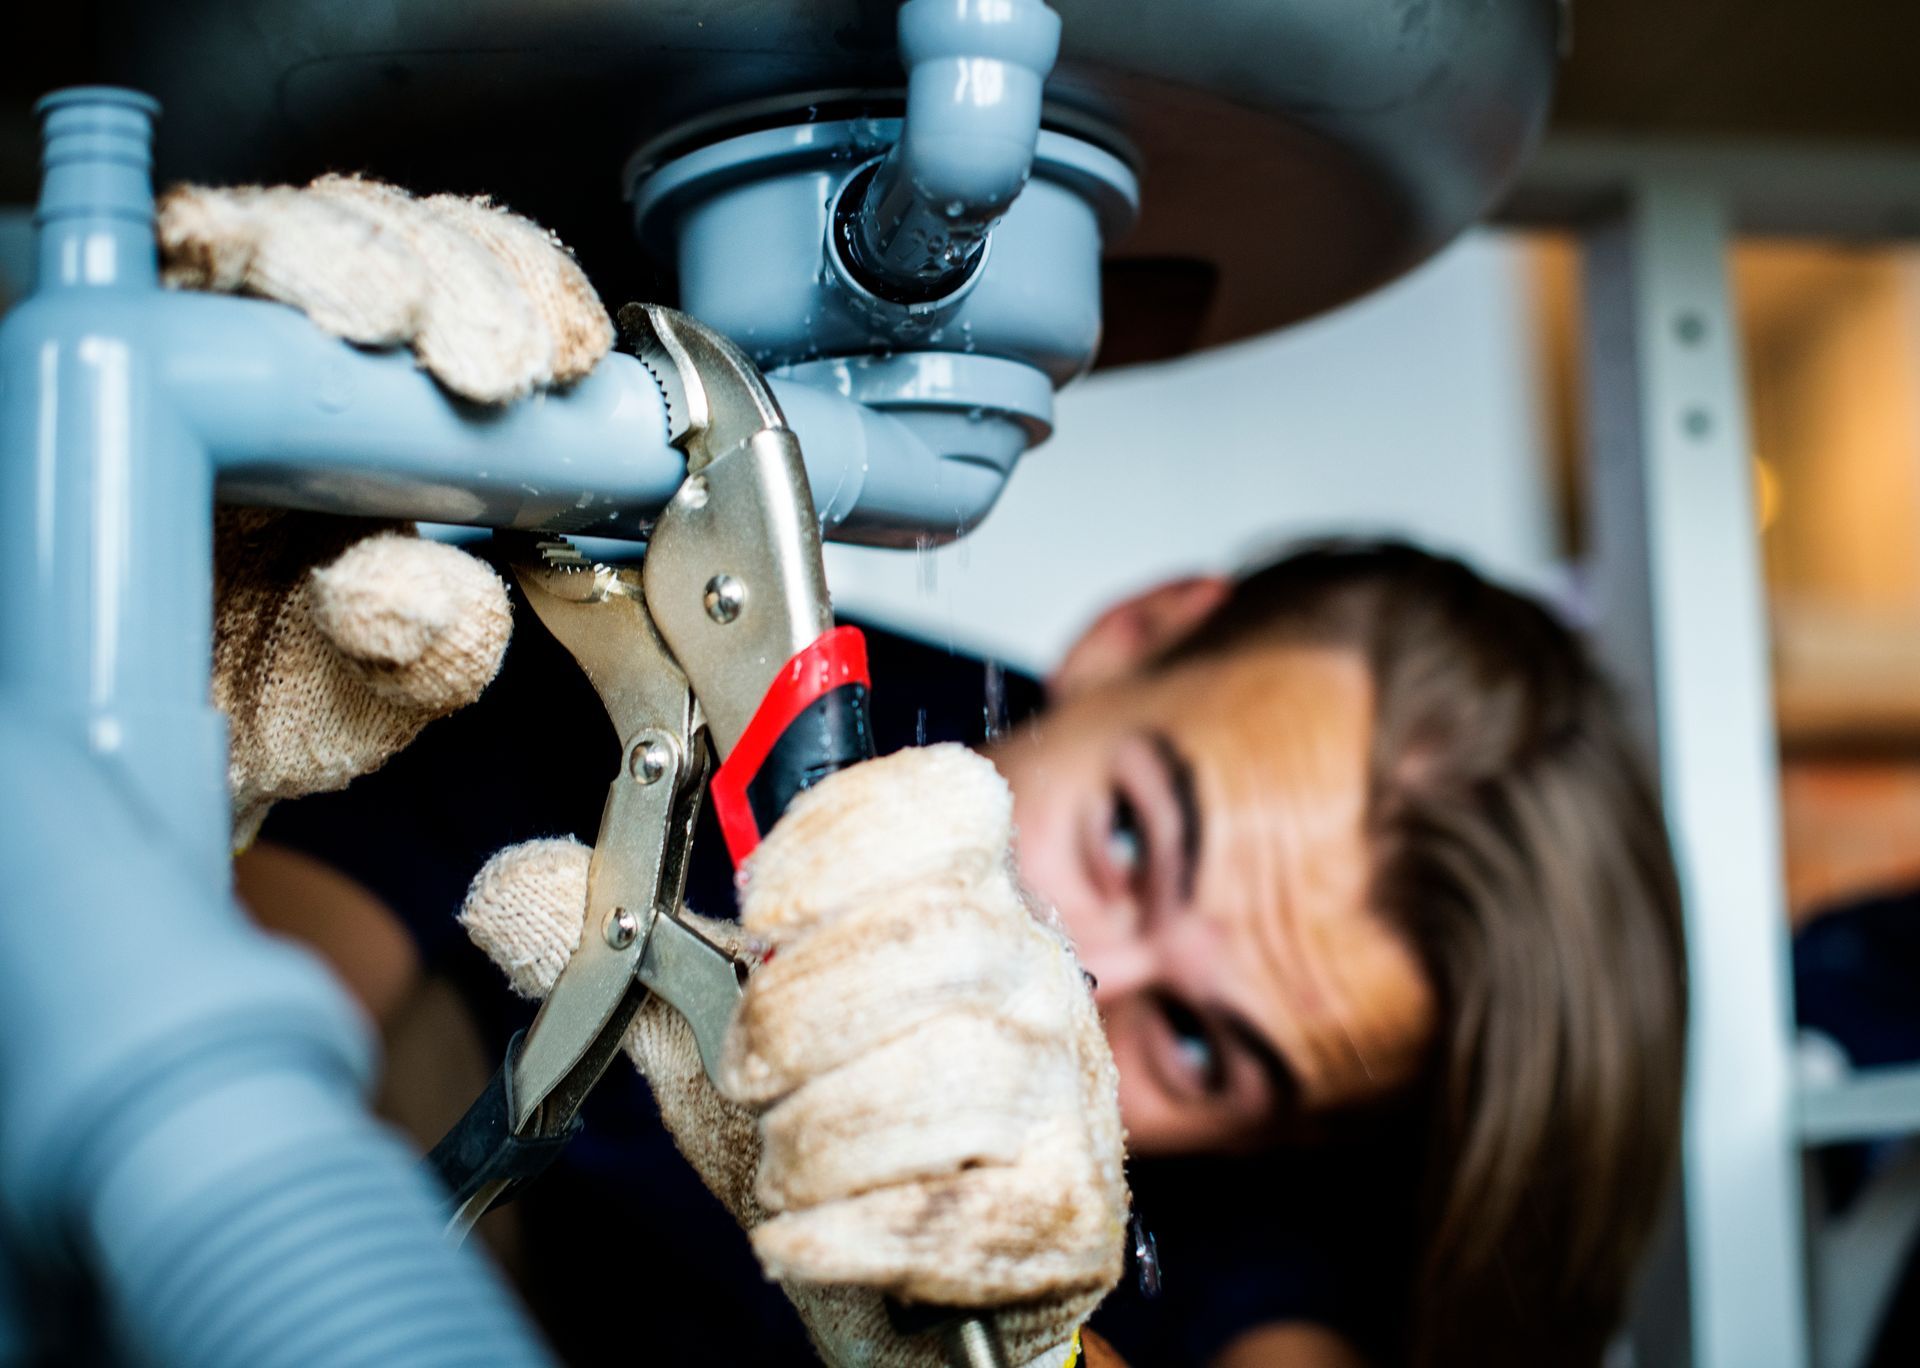
Underneath the toilet tank, use an adjustable wrench or pliers to loosen the nut securing the water supply line to the base of the existing fill valve. Have your bucket or towel ready as some water will drip out. Unscrew the nut completely and detach the water supply line.
Step 3: Remove the Old Fill Valve
Inside the toilet tank, find the locknut that secures the fill valve to the bottom of the tank. It is usually a large plastic nut. Use your hands or pliers to turn it counter-clockwise until the old fill valve assembly is free. Lift the valve out of the tank carefully.
Dispose of the old fill valve appropriately and inspect the tank opening for any residue, mineral buildup, or damage. Cleaning the seating area ensures a good seal with the new valve.
Step 4: Prepare and Adjust the New Fill Valve
Most replacement fill valves come with adjustable heights to fit a variety of toilet tanks. Adjust the valve height so that the top of the valve sits at least one inch above the overflow tube inside the tank. This positioning is essential for correct water levels and to prevent overflows.
Check the gasket on the valve base for proper orientation—it typically faces downward and forms the seal against the tank bottom.
Step 5: Install the New Fill Valve
Insert the new fill valve into the tank opening. From underneath, screw on the locknut by hand and then tighten it firmly with pliers or a wrench. Avoid excessive tightening to prevent cracking the toilet tank or damaging the gasket.
Inside the tank, connect the refill tube from the fill valve to the overflow pipe using the provided clip. This tube controls the water refill trickle into the bowl after flushing.
Step 6: Reattach the Water Supply Line
Reconnect the water supply line to the base of the new fill valve. Hand-tighten the connection, then use pliers for a snug fit. Avoid overtightening, which can damage the fittings or cause leaks.
Step 7: Turn On Water and Test for Proper Operation
Slowly open the shut-off valve by turning it counterclockwise. Allow the tank to fill and carefully check for leaks under the tank and at the supply line connection.
The fill valve float will rise with the water level and should stop the water flow once it reaches the set fill height (about 1 inch below the overflow tube). Adjust the float if necessary to achieve the correct water level.
Flush the toilet once or twice to confirm the fill valve operates correctly, the tank refills efficiently, and the toilet does not run continuously.
Maintaining Your Toilet Fill Valve and Related Plumbing Components
Proper maintenance helps your toilet function smoothly and prolongs fill valve life. Periodically inspect your fill valve and tank components for signs of wear or leaks. Cleaning the tank interior and valve components can reduce mineral buildup in hard water areas.
Keep in mind that toilet repairs often go hand in hand with other plumbing tasks, such as when you need to fix a running toilet or perform sump pump repair in your home’s drainage system. Addressing plumbing issues holistically enhances system reliability and prevents emergencies.
When to Seek Professional Assistance
While replacing a toilet fill valve is achievable for most DIYers, some situations warrant professional help from plumbers like All City Plumbers:
- Persistent leaks or running toilets despite valve replacement
- Water supply shutoff valves that do not work properly
- Difficult-to-reach toilet installations or unusual plumbing configurations
- If you require simultaneous repairs, such as sump pump repair or related drain clearing
Skilled professionals can save time and ensure safe, code-compliant repairs, preventing further damage or costly water bills.
Conclusion
Replacing a broken toilet fill valve is a vital repair that restores your toilet’s efficiency, stops water wastage, and prevents frustrating issues like a running toilet. By following this detailed guide carefully—turning off water, removing the old valve, installing the new one at the correct height, and testing for leaks—you can confidently complete the job with professional results.
Incorporating advice from experts like All City Plumbers and understanding how toilet repairs fit into overall household plumbing maintenance enhances the longevity and reliability of your plumbing systems. Should complex problems arise, calling in professionals ensures prompt resolution and peace of mind.

