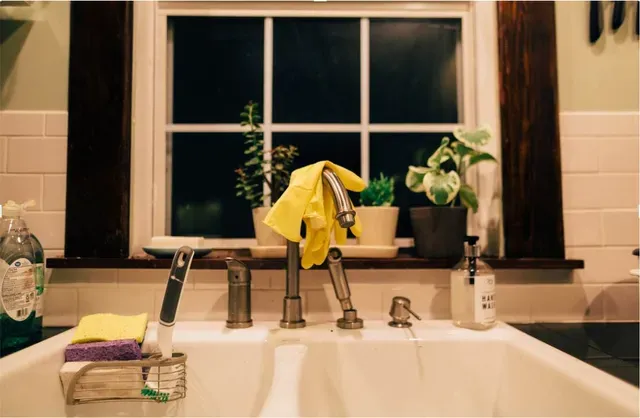
How to Reduce Energy Loss From Aging Water Heater Tanks?
Aging water heater tanks often lose efficiency gradually, which raises energy bills and reduces hot water reliability. Heat loss occurs through corroded tank walls, failing insulation, faulty thermostats, sediment build-up, and leaks. Addressing these problems promptly will restore performance, extend the unit’s life, and improve safety. This article walks through diagnosing efficiency losses, practical repair steps, leak isolation and patching methods, and long-term maintenance strategies that integrate well with broader household care routines, including monthly home maintenance for garbage disposal and water heater.
Identifying the Signs of Energy Loss
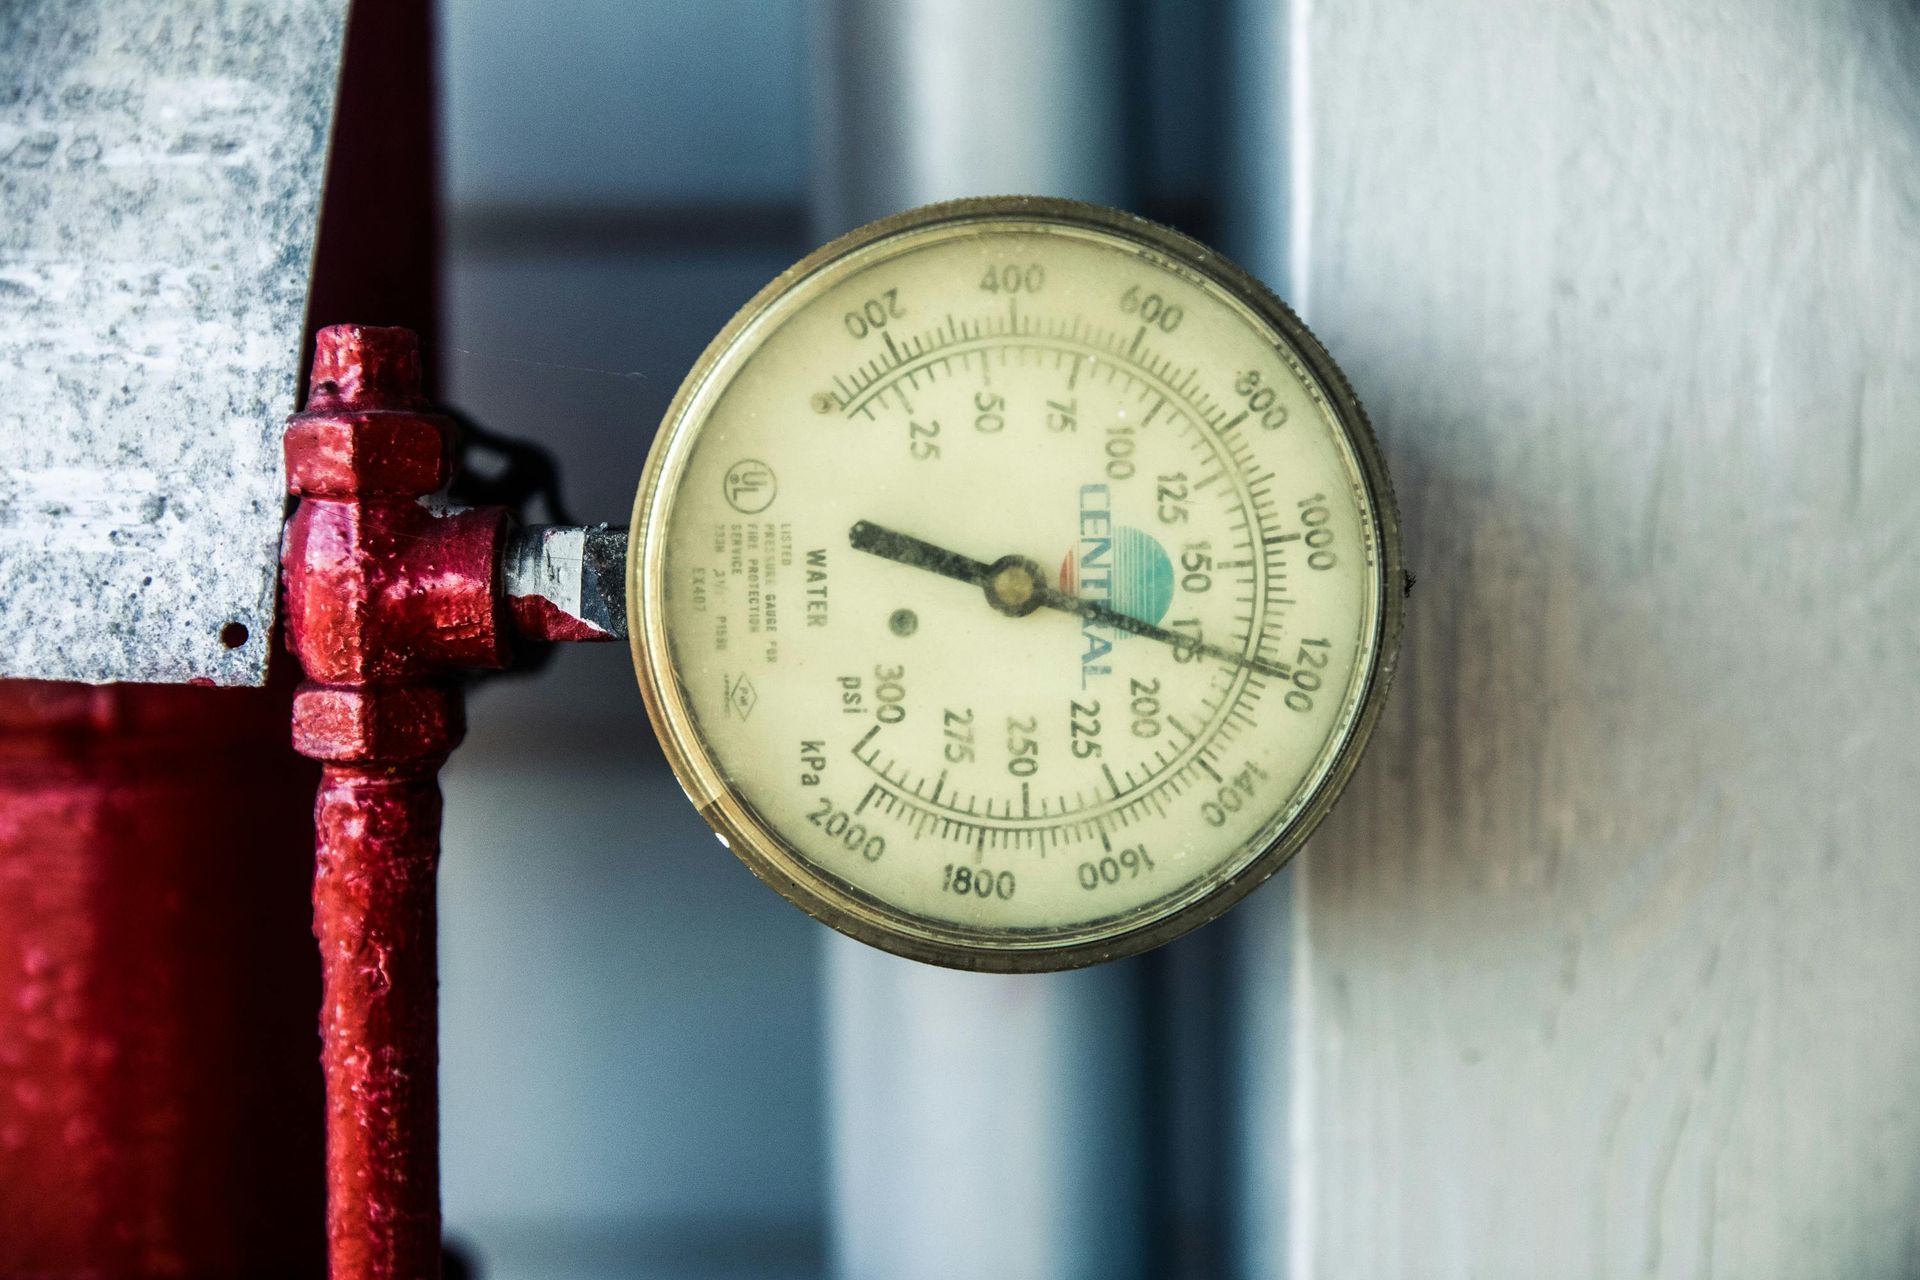
Before beginning repairs, confirm that the water heater is the source of energy loss. Typical signs include longer recovery times, fluctuating hot water temperature, higher gas or electric usage, visible corrosion on the tank, puddles or dampness beneath the unit, and unusual noises such as rumbling caused by sediment. An older unit with a damaged or missing insulation jacket will emit more heat than a properly insulated one. Monitoring water temperature at the tap and comparing it with the thermostat setpoint provides a quick sense of whether the thermostat or heating elements are functioning. If the unit is electric, check the resistance of the heating elements; if gas, inspect the burner for clean, steady flames.
Repairing Faulty Components
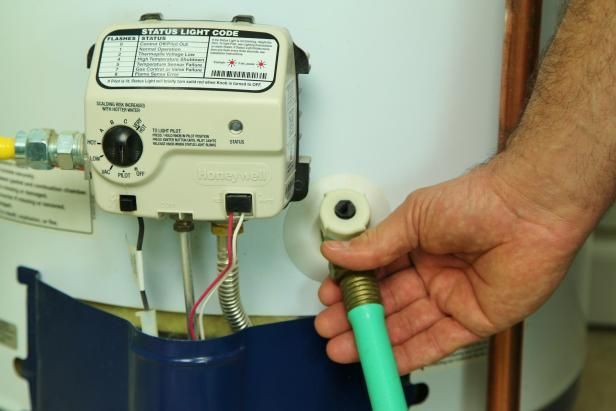
Start repairs by isolating power and water to the unit. Turn off the gas supply and pilot light for gas heaters, or switch off the breaker for electric models. Close the cold-water supply valve and open a nearby hot water faucet to relieve pressure. If heating elements are the issue in an electric heater, replace them after draining the tank and following manufacturer instructions. For gas heaters, clean the burner assembly and pilot assembly; replace thermocouples or gas valves if they fail to ignite or maintain a stable flame. Thermostats that misread water temperature can be recalibrated or replaced; accurate temperature sensing is essential for energy-efficient operation and to avoid overheating.
Sediment Removal and Tank Flushing
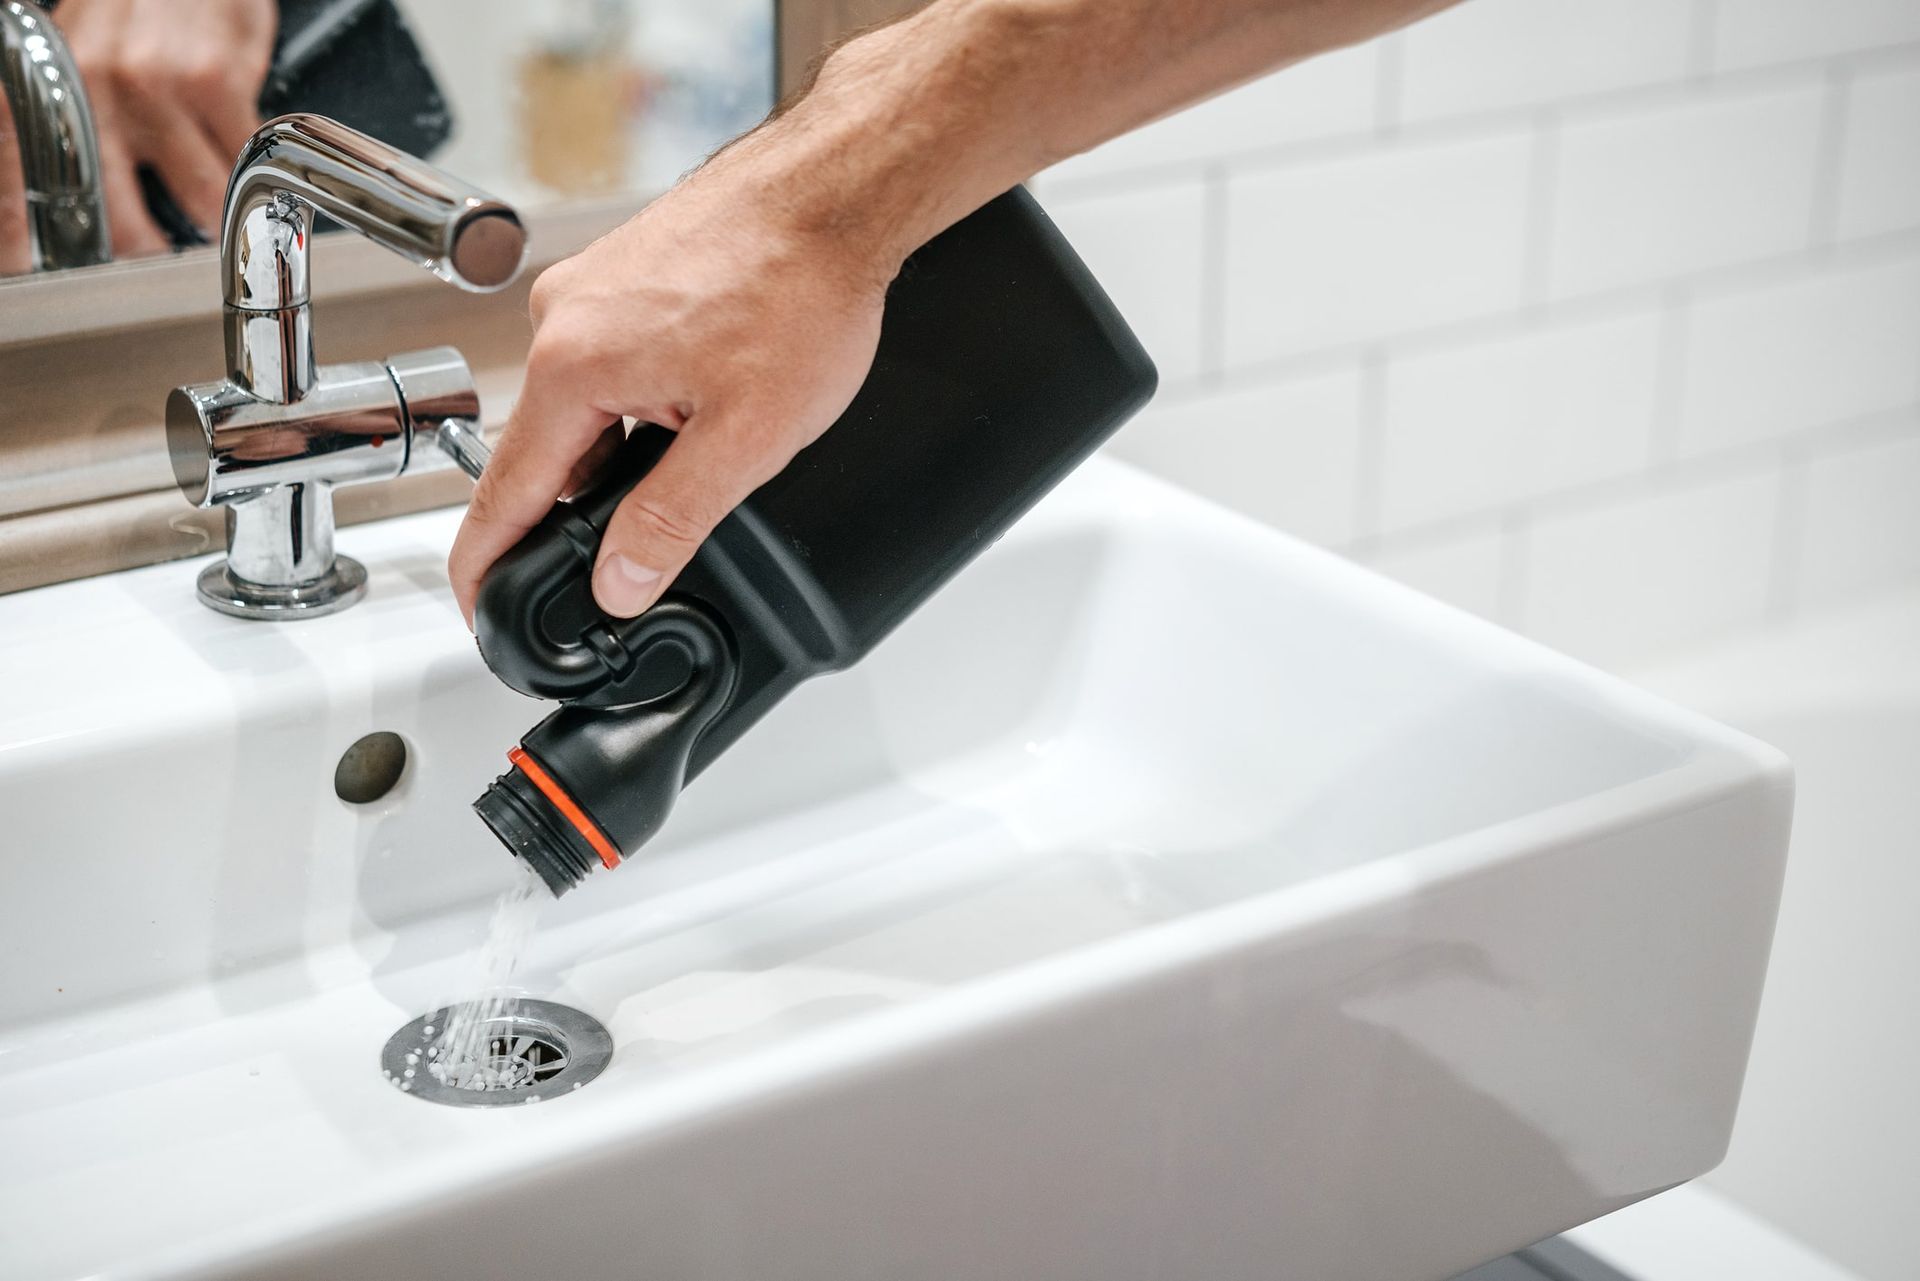
Sediment accumulation at the bottom of the tank insulates heating surfaces from water, causing longer run times and greater energy use. To flush, attach a hose to the tank’s drain valve and route it to an appropriate drain or outdoors. With power and water isolated, open the drain valve and flush until the discharge runs clear. If the valve is clogged, gentle back-flushing or removal may be necessary. For heavily scaled tanks, a chemical descaling treatment can dissolve deposits, but follow safety guidelines and manufacturer warnings. Regular flushing can reduce energy consumption and prevent premature failure of the heating element or bottom of the tank due to the extra strain sediment imposes.
Insulation and Heat Loss Reduction
External tank insulation and insulating the first few feet of hot water pipes significantly reduce standby heat loss. Foam pipe insulation sleeves and an insulating blanket made for water heaters can lower energy loss substantially, especially for older tanks with thin walls. When using an insulation blanket, maintain clearance around the thermostat and controls so airflow and safety devices operate normally. For electric heaters, insulating the access panels helps retain heat but leave them removable for maintenance. Improving the home’s overall distribution by insulating exposed piping and insulating tank fittings reduces losses between the heater and fixtures.
Leak Isolation and Assessment
Leaks accelerate energy loss and signal potential tank failure. Isolate leaks early to prevent water damage and restore efficiency. Identify whether a leak is from plumbing attachments, valves, or the tank shell itself. Drain valves and inlet/outlet connections often drip due to loose fittings or worn packing; tightening or replacing valves and applying new thread sealant can fix these. Observe the anode rod, temperature and pressure relief (T&P) valve, and fittings, as these are common sources of leakage. If the leak originates from the tank shell, it is usually due to corrosion and indicates the tank is nearing the end of its useful life. In these cases, temporary patching may be possible, but replacement is the recommended long-term solution.
Patching Methods for Minor Leaks
For small, non-structural leaks in plumbing connections or seams, several patching techniques can be effective as temporary repairs. For threaded fittings, isolate the water supply, remove the fitting if necessary, and apply fresh thread tape or compound before reinstalling. For minor holes or pinhole leaks in non-pressurized or low-pressure sections, epoxy putties formulated for potable water repairs can seal the area once it is clean and dry. Clamping repairs using rubber and hose clamps or purpose-built leak repair clamps can stop leaks around fittings until a more permanent repair or replacement is scheduled. When applying any patch, ensure materials are rated for potable water and the temperatures present in hot water systems. If the leak is on the tank shell itself, patches are only short-term; corrosion beneath the surface often spreads and undermines the repair.
When to Replace Rather Than Repair
Deciding between repair and replacement depends on age, extent of corrosion, and cost. Tanks older than 10–15 years showing shell leaks, extensive rust, frequent heating element failure, or a failing T&P valve usually merit replacement. Energy-efficient modern tanks or tankless alternatives offer lower operating costs and improved reliability. Factor in the cost of repeated repairs, the potential for water damage, and energy savings from a new, well-insulated unit. For homes where coordinated maintenance occurs, such as combining garbage disposal repair and replacement during service visits, scheduling a water heater replacement at the same time can reduce downtime and labor costs for tradespeople.
Electrical and Gas Safety Considerations
Maintain strict safety procedures when working on water heaters. For electric units, confirm the breaker is off and verify no voltage is present before touching elements or wiring. For gas units, ensure the gas line is shut and confirm no leaks before restoring service; a soapy water test on connections or a gas detector can help. If you are not fully comfortable with gas lines or major electrical work, hire a licensed professional. Proper venting for gas heaters must be preserved after any repair to prevent carbon monoxide hazards. Document the work and keep records of replaced components and inspection results for future reference and warranty claims.
Long-Term Maintenance Schedule
A regular maintenance schedule preserves efficiency and prevents sudden failures. Annual inspections should include checking the anode rod and replacing it if heavily corroded, testing the T&P valve, and flushing the tank to remove sediment. Every few months, inspect for small drips, check insulation condition, and ensure pipe insulation remains intact. Incorporate these tasks into a broader home upkeep routine so that systems are checked together; for example, scheduling monthly home maintenance for garbage disposal and water heater checks creates routine awareness and prevents neglected repairs. Keeping a log of service dates and actions helps maintenance professionals diagnose trends and recommend timely replacements.
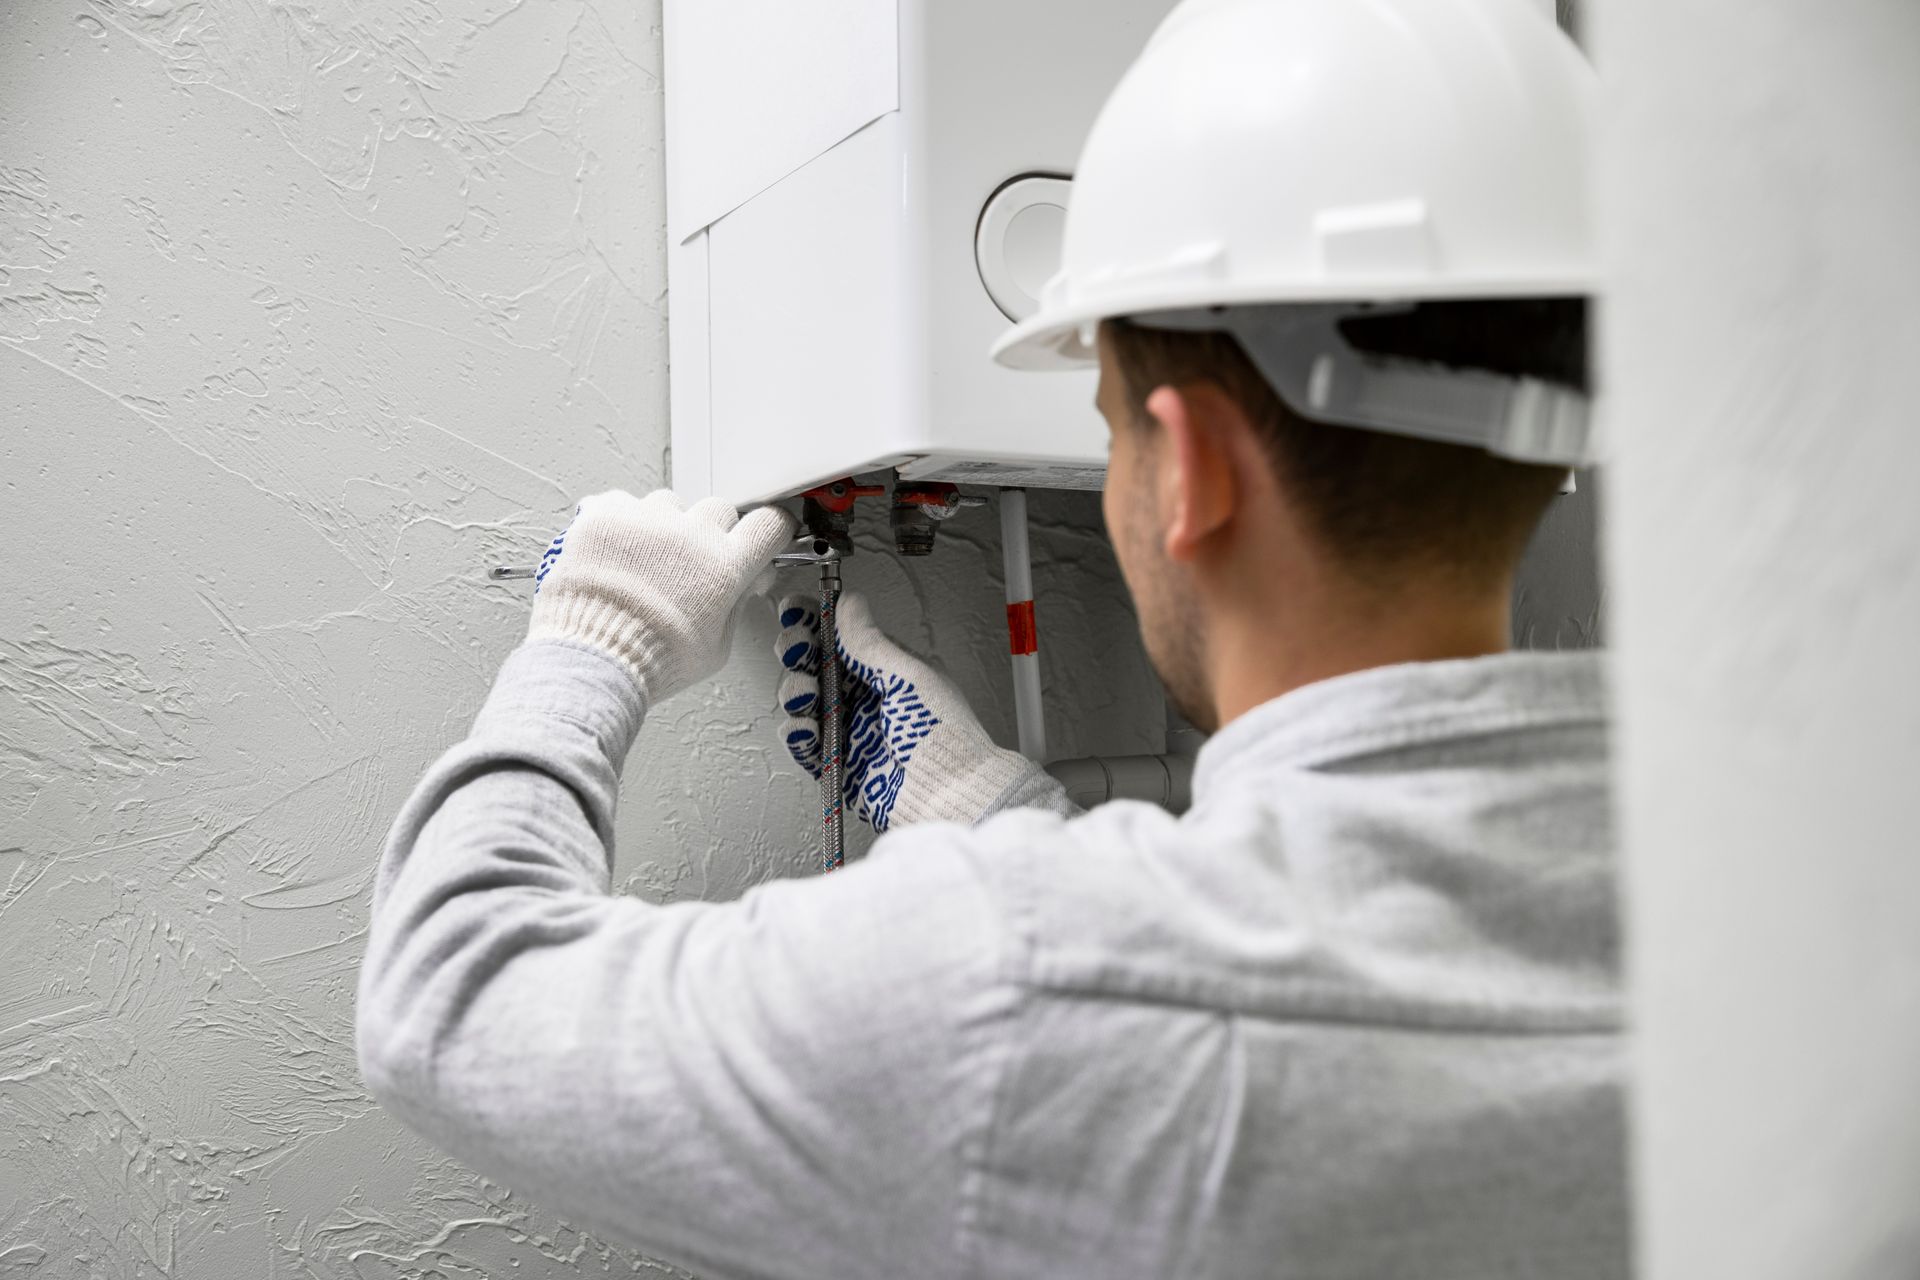
Professional Repair, Replacement, and Permits
Complex repairs, gas-line work, and complete unit replacements typically require a licensed plumber or HVAC technician. Professionals will evaluate venting, combustion air requirements, and local code compliance for gas water heaters, and they will size and install electric heaters per electrical codes. Obtain permits where required and ensure the installer provides a safety inspection and verifies no leaks after startup. Many plumbing services offer comprehensive options that include garbage disposal repair and replacement along with water heater work, allowing homeowners to coordinate related plumbing tasks in a single visit and reduce service interruptions.
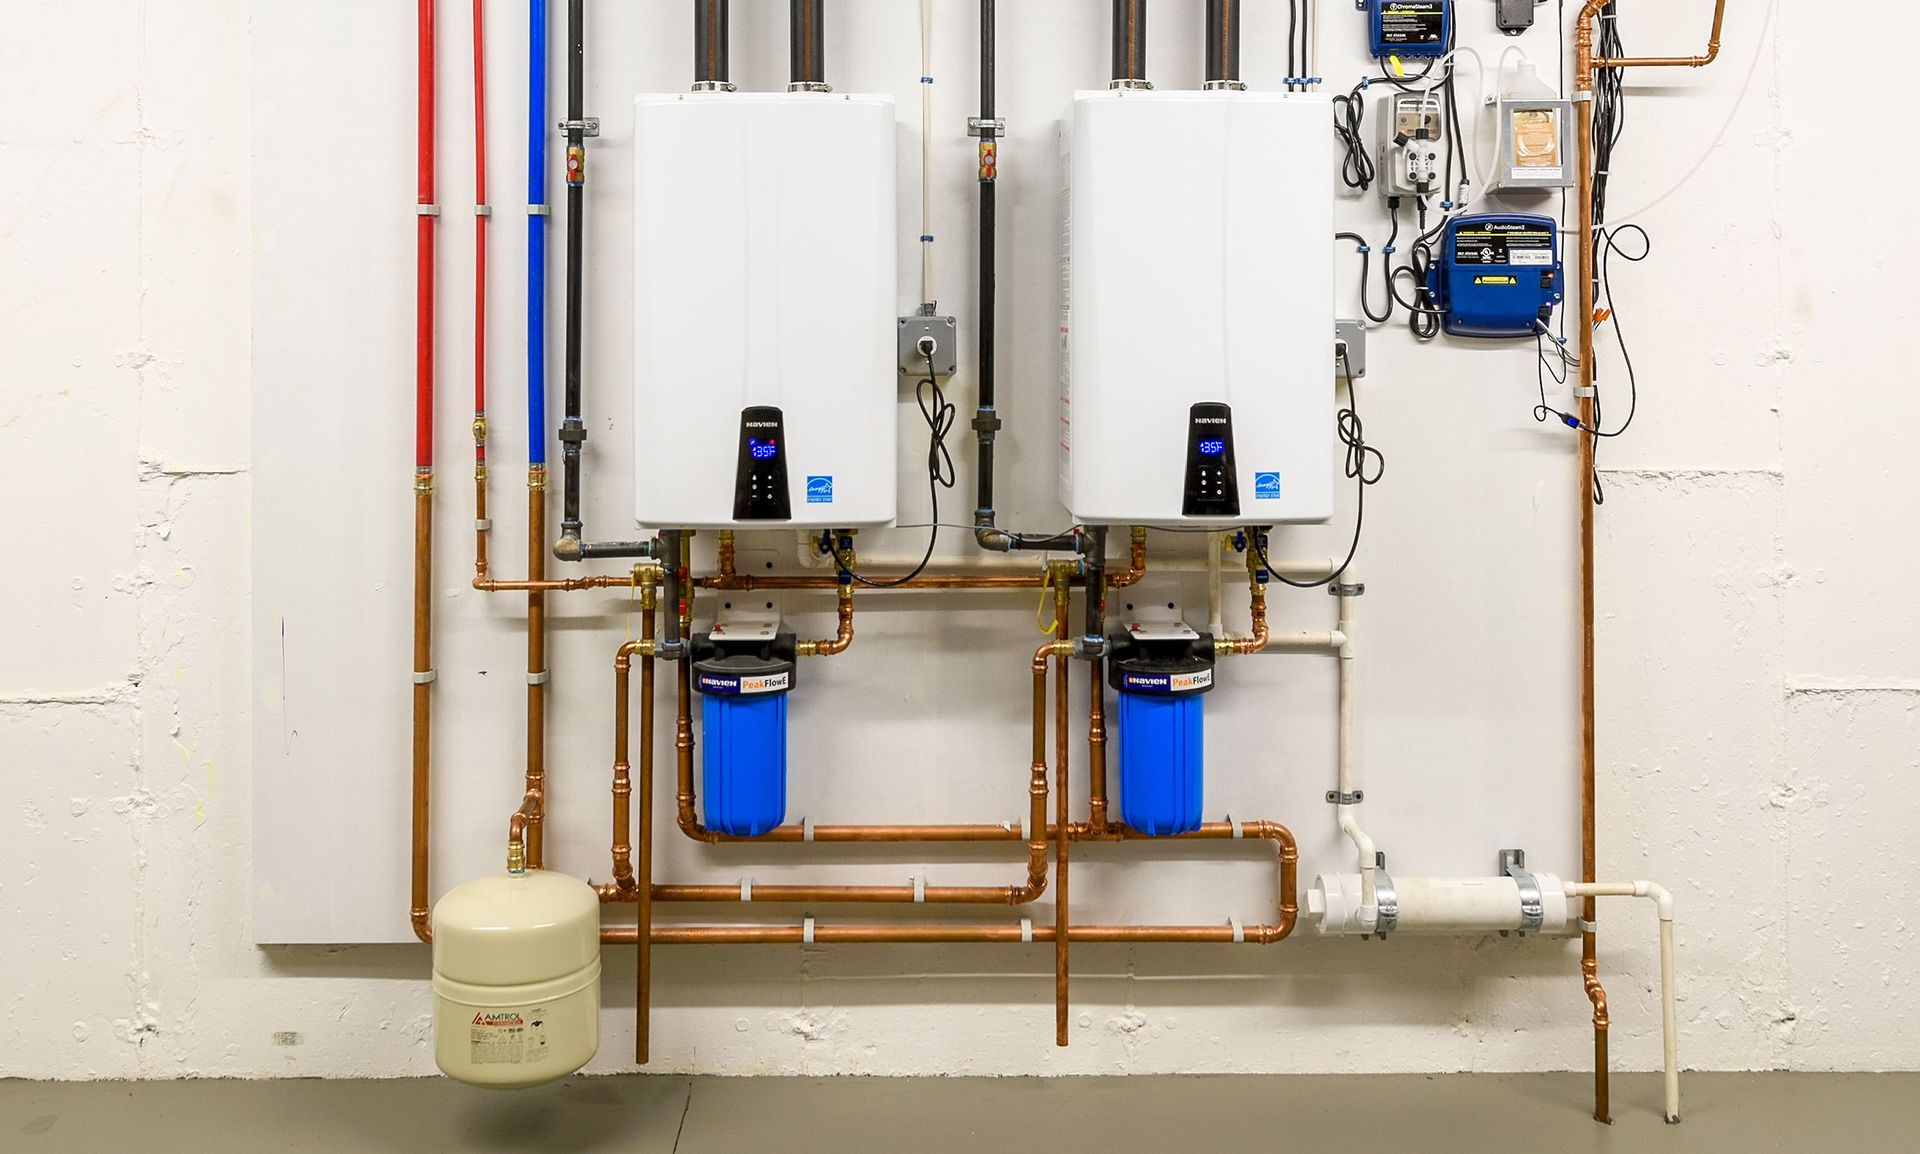
Efficiency Upgrades and Replacement Options
When replacement is necessary or desirable, consider options that improve long-term energy performance. High-efficiency storage tanks with better insulation and lower standby losses can be direct replacements. Tankless water heaters provide on-demand hot water and eliminate standby losses, though they may require electrical or gas upgrades. Heat pump water heaters (hybrid) offer substantial energy savings in the right climate and installation context. Regardless of technology, select correctly sized units, and ensure proper insulation of the unit and piping. Rebates, incentives, and energy-efficiency programs may offset initial costs and accelerate payback.
Recordkeeping and Monitoring
Track energy usage before and after repairs to quantify improvement. Simple temperature checks at fixtures and noting run times offer useful qualitative data. Smart devices and energy monitors can provide precise measurements of electricity or gas consumption tied to the heater’s operation. Documenting maintenance, repairs, and component replacements supports warranty claims and helps technicians make informed recommendations in the future.
Conclusion
Reducing energy loss from aging water heater tanks requires a combination of accurate diagnosis, timely repairs, and consistent maintenance. Address thermostat and element problems, flush sediment regularly, add appropriate insulation, and isolate and repair leaks promptly. For tank shell corrosion or recurrent failures, prioritize replacement with a more efficient unit, and coordinate service with other plumbing needs to reduce overall disruption.
Long-term efficiency depends on an organized maintenance routine and professional intervention when necessary. Integrate periodic checks into a broader home maintenance plan—such as monthly home maintenance for garbage disposal and water heater—to catch issues early, preserve system safety, and extend the life of your water heating system. If recurring problems persist, consult qualified technicians who can evaluate replacement options and ensure work meets safety codes and performance expectations. Would you like a checklist or step-by-step walk-through for a specific heater model or fuel type?