The Ultimate Guide to Properly Inspect a Water Heater
Ever been hit with an ice-cold shower when you least expected it? Yeah, we've all been there. It's not just frustrating—it’s a clear sign that your water heater might be begging for some attention. Regular inspections are more than just a nice-to-have; they’re crucial for keeping your home running smoothly, ensuring that nice warm flow keeps coming, and avoiding expensive surprises like flooding or complete breakdowns. In fact, research shows that regular water heater maintenance can extend its lifespan by up to 5 years, helping you save money and stress in the long run.
Think of it this way: a little prevention today means fewer repair bills and a reliable hot water supply tomorrow. Ready to dive in and give your water heater the TLC it deserves? Let’s get started!
Why Regular Water Heater Inspections Are Essential
Routine water heater inspections are essential to ensure you’re never caught off guard by a lack of hot water or a costly repair. Over time, components of the heater can wear out or become less efficient, leading to higher energy bills, inconsistent water temperature, or even leaks. By inspecting your water heater regularly, you can catch these issues early, prevent significant breakdowns, and extend the lifespan of your unit by several years. In fact, Energy.gov suggests that simple maintenance tasks can reduce water heating costs by up to 10%.
What Is Sediment Buildup & Why Does It Matter?
Sediment buildup occurs when minerals like calcium and magnesium found in hard water settle at the bottom of your water heater. Over time, this accumulation can reduce your heater’s efficiency by acting as a barrier between the heating element and the water, forcing the system to work harder. This not only shortens the lifespan of the heater but also increases your energy bills and can cause the heater to overheat or break down entirely.
Signs of Sediment Buildup
Noisy Operation (Rumbling or Popping Sounds): This is often a result of water being trapped under the sediment, causing pressure as the heater struggles to heat through the buildup.
Reduced Water Temperature: Sediment can block the heat transfer, making it harder for the water to reach your desired temperature.
Higher Energy Bills: As the heater works overtime to compensate for sediment buildup, energy consumption rises, and so does your bill.
Cloudy or Rusty Water: The sediment can break off into the water supply, leading to discolored water or metallic-tasting hot water.
Benefits of Regular Water Heater Inspections
- Catch minor issues before they become costly repairs.
- Routine checks can help your heater last longer.
- A well-maintained heater uses less energy.
- Reduced energy usage leads to lower monthly costs.
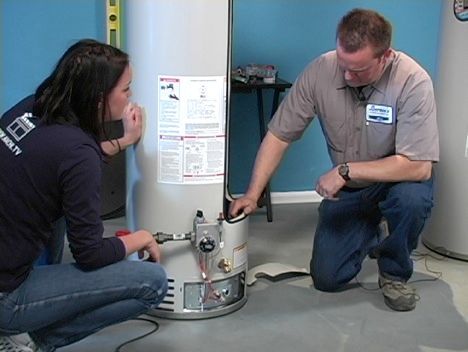
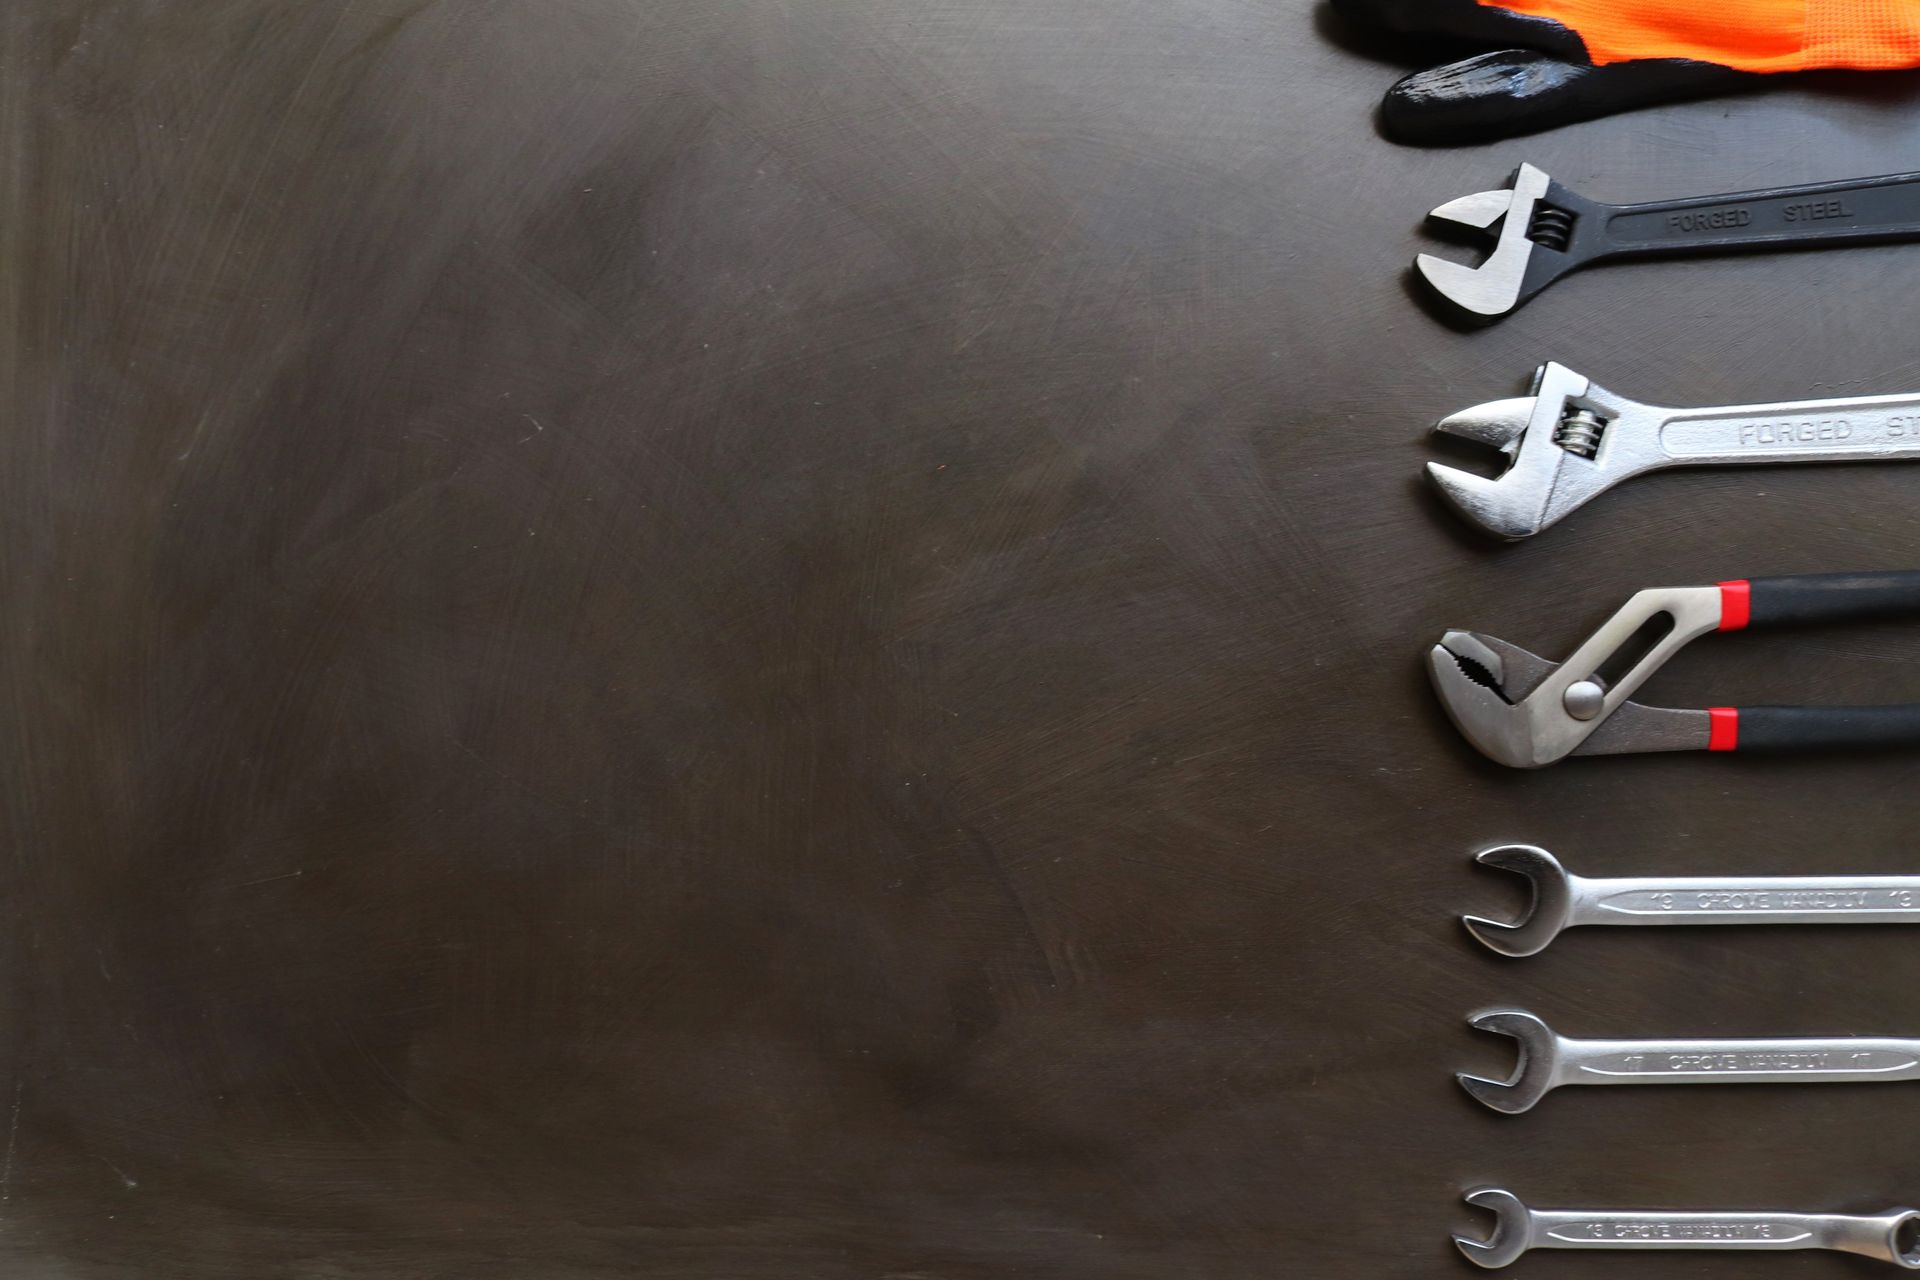
How to Inspect Your Water Heater – Step-by-Step Checklist
Check the Age of Your Water Heater: Most heaters last 10-15 years. Look for the label or serial number to find the year of installation. If your heater is approaching this age, consider more frequent inspections or replacement.
Inspect for Leaks:
Use a flashlight to check for water pooling around the base or dried mineral deposits.
Examine all connections, including pipes, valves, and joints, for any small leaks.
Listen for Noises:
Rumbling or gurgling sounds often indicate sediment buildup in the tank.
High-pitched noises could suggest a malfunctioning component.
Test the Temperature Settings:
Ensure the temperature is set between 120-140°F to prevent burns and avoid high energy bills.
Adjust the thermostat for electric heaters or use the dial near the bottom for gas heaters.
Check the Pressure Relief Valve (TPR Valve):
This valve is crucial for preventing dangerous pressure buildup.
Lift the lever slightly and listen for a pressure release. If there’s no sound, the valve may need replacement.
Inspect the Anode Rod:
The anode rod helps prevent rusting by attracting corrosive elements.
Replace the rod if it’s less than ½ inch thick or shows heavy corrosion.
Check for Rust-Colored or Cloudy Water:
Rust-colored water can indicate internal corrosion and may signal the need for a replacement heater.
Regularly observe the water quality during normal use to catch early signs of trouble.
Common Water Heater Problems You Can Identify During Inspection
| Problem | Potential Cause | Recommended Solution |
|---|---|---|
| Water Taking Too Long to Heat | Sediment buildup or a failing heating element | - Flush the tank to remove sediment. |
| - If the problem persists, inspect or replace the heating element. | ||
| Low Water Pressure | Sediment buildup in the tank or corroded pipes | - Flush the tank to clear sediment. |
| - Check and clean pipes or call a plumber if necessary. | ||
| Water Smells Like Sulfur (Rotten Eggs) | Bacteria in the tank or a deteriorating anode rod | - Flush the tank thoroughly. |
| - Replace the anode rod with a new one designed to combat bacteria. |
Additional Maintenance Tips for Prolonging Water Heater Life
Replace the anode rod every 3-5 years.
Flush the tank annually to remove sediment.
Monitor energy bills for unexpected increases.
Insulate the tank to prevent heat loss.
Regularly check the pressure relief valve.
When to Call a Professional Plumber
If your water heater shows persistent leaks, strange noises even after maintenance, or inconsistent water temperatures, it’s best to call in a professional. For expert services, All City Plumbers is available for comprehensive inspections, repairs, and replacements, ensuring your water heater functions safely and efficiently. Don’t wait for a breakdown—schedule regular checks with a reliable plumber to avoid costly damages.
Conclusion
Regular water heater inspections are crucial for preventing costly breakdowns and ensuring your heater runs efficiently. By following this guide and conducting routine checks, you’ll not only extend the lifespan of your unit but also save on energy costs and avoid unexpected repairs. A little proactive maintenance goes a long way in keeping your home’s hot water flowing smoothly!
What to Do If Your Water Heater Stops Working
Frequently Asked Questions (FAQs) About Water Heater Inspection
How Do You Inspect the Inside of a Water Heater?
To inspect the inside, first, turn off the power or gas supply. Then, drain the tank and use a flashlight to check for sediment buildup, rust, or corrosion. For a thorough inspection, you may need to remove the anode rod or consult a professional plumber.
How Do You Check the Safety of Your Water Heater?
Regularly test the pressure relief valve (TPR valve) by lifting the lever to ensure it releases pressure properly. Also, check for leaks, monitor the temperature settings (keeping them between 120-140°F), and inspect the tank for any signs of corrosion.
What’s the Best Way to Check for Water Heater Leaks?
Inspect around the base of the water heater for pooling water or mineral deposits. Use a flashlight to check valves, joints, and connections for small leaks. Address any signs of leakage promptly to avoid bigger issues.
How Can I Tell If My Water Heater Needs to Be Replaced?
If your heater is more than 10-15 years old, produces rust-colored water, or makes unusual noises (like rumbling or high-pitched sounds), it may be time for a replacement. Regular inspections help catch these signs early.
What Temperature Should I Set My Water Heater To?
For optimal performance and safety, set your water heater temperature between 120-140°F. This range prevents scalding while ensuring energy efficiency.