A DIY Guide To Fixing Leaky Faucets & Saving Water
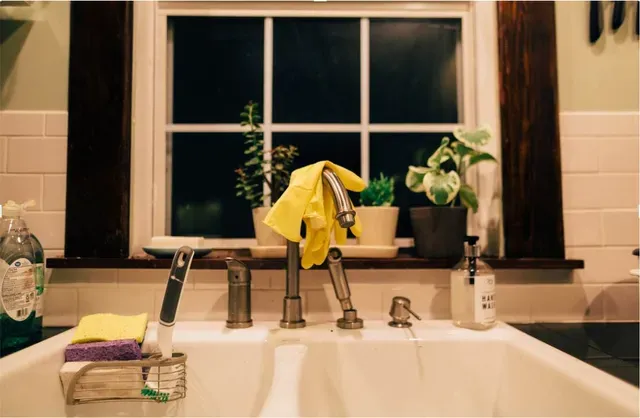
Leaky faucets are a common household issue that not only cause annoying dripping sounds but also result in significant water wastage over time. Fixing them yourself can be both economical and environmentally responsible. This detailed guide walks you through the steps of identifying faucet leaks, diagnosing the causes, and performing effective repairs—all while emphasizing how proper maintenance can save water and money.
Understanding Why Faucets Leak and the Importance of Repair
Faucet leaks typically occur due to worn-out washers, O-rings, or valve seals inside the faucet assembly. Over time, constant use, mineral accumulation, and corrosion degrade these small components, breaking their seal and allowing water to escape. Even slow drips add up to gallons wasted daily, which increases water bills and places unnecessary stress on water treatment systems.
Addressing leaks quickly not only conserves water but prevents damage to fixtures and cabinetry. Some issues may require replacing entire cartridges or stems, while others can be fixed by swapping out washers and seals. Before proceeding, it helps to familiarize yourself with how to choose the right faucet to replace or upgrade if your current faucet is too old or damaged beyond repair.
Tools and Materials Required for DIY Repair
To successfully fix a leaky faucet, gather essential tools such as an adjustable wrench, screwdrivers, replacement washers and O-rings, plumber’s grease, and cleaning materials. You might also need penetrating oil to loosen corroded parts. Investing time to acquire quality replacement parts ensures durability and reduces the chances of recurring leaks.
Preparation and Early Steps
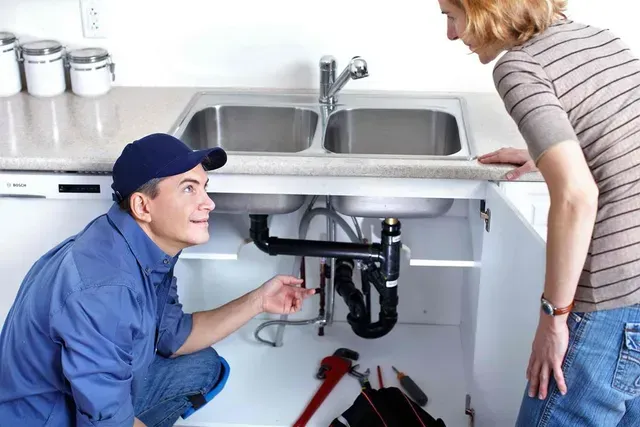
Start by turning off the water supply valves beneath the sink to avoid flooding during repair. Opening the faucet handles after shutting off the water will help drain remaining water from the lines. Carefully remove decorative covers and screws to access the faucet’s internal parts. Keep track of each part’s position to ensure accurate reassembly.
Cleaning the valve seat and inspecting the components for scale or damage is crucial. Accumulation of minerals can prevent washers and seals from fitting properly. Using gentle cleaning agents like vinegar can dissolve these deposits effectively.
Step-by-Step Repair Process
The most common fix involves replacing washers and O-rings, which may be worn or misshapen. These small rubber components create a tight seal that stops water from dripping when the faucet is off. Remove the old parts, lubricate the replacements with plumber’s grease, and fit them precisely back in place.
If dealing with cartridge or ball faucets, more comprehensive disassembly may be needed to replace internal seals and springs. Some faucets also require replacement of the valve stem for thorough repair. Throughout this process, patience and careful handling are essential to avoid damaging delicate parts.
Testing and Final Touches
Once reassembled, gradually turn the water supply back on and observe the faucet for any further leaks. Operate the faucet through its range of motions to ensure smooth function. If leaks persist, double-check the seating of washers and O-rings, as improper placement is a frequent reason for failure.
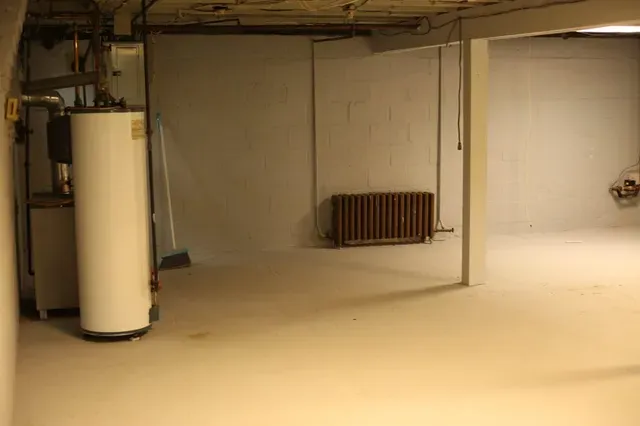
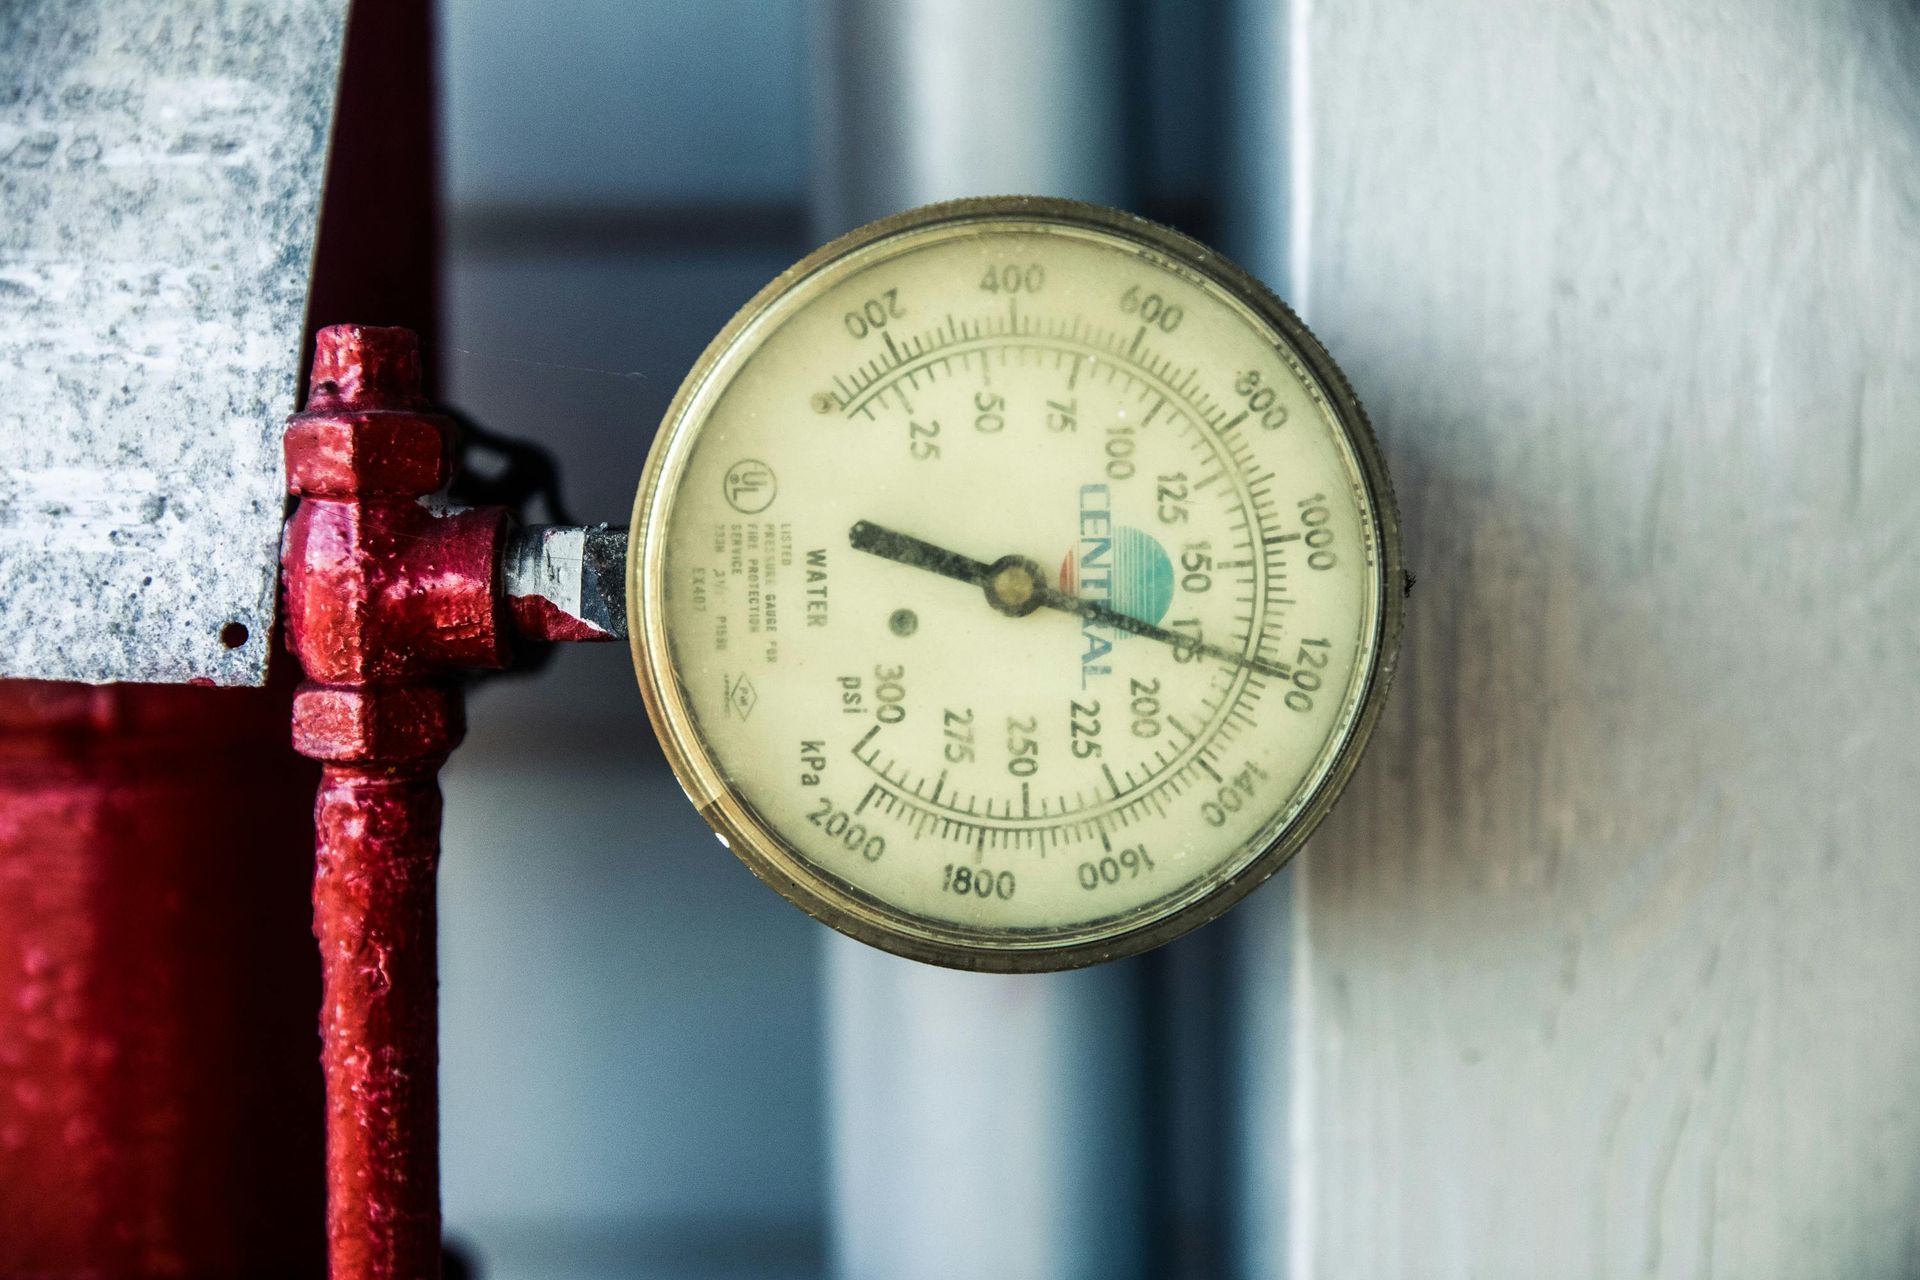
The Role of Expansion Tanks and Preventive Measures
Leaks are sometimes caused or exacerbated by water pressure fluctuations in home plumbing systems. Installing expansion tanks can help regulate pressure and reduce stress on faucets and pipes. Regular maintenance such as checking for drips, cleaning aerators, and knowing how to choose the right faucet when upgrades are needed will extend the lifespan of your plumbing fixtures.
Professional Assistance and Resources
While DIY repairs are feasible for many minor leaks, consulting experts like All City Plumbers offers peace of mind for complex or persistent problems. Professional plumbers can assess your system comprehensively, advise on water-saving devices, sewer line replacement, and ensure compliance with plumbing codes. This collaboration maximizes water efficiency and sustainable home maintenance.
Conclusion
Fixing a leaky faucet yourself is a practical step toward water conservation and cost savings. With proper tools, careful diagnosis, and understanding of your faucet’s mechanics, most leaks can be resolved efficiently. Combining DIY efforts with professional guidance from experienced plumbers such as All City Plumbers strengthens your plumbing system’s reliability. Incorporating preventative tools like expansion tanks and selecting faucets wisely will help you enjoy drip-free, sustainable water use in your home for years to come.