How to Locate and Repair a Hidden Pipe Leak in Your Wall?
A hidden pipe leak inside your wall may be one of the most challenging and potentially damaging plumbing problems in your home. Undetected leaks can cause water damage, mold growth, increased utility bills, and structural harm over time. Locating and repairing such leaks promptly is essential for safeguarding your property and maintaining your plumbing system’s integrity. This comprehensive guide explains how to methodically detect and fix hidden pipe leaks inside walls, incorporating expert advice from professionals like All City Plumbers. It also discusses related plumbing work such as replacing a leaky shower cartridge and waterline repair and replacement, emphasizing a professional and thorough approach.
Understanding Hidden Pipe Leaks: Why Are They So Problematic?
Hidden pipe leaks occur when water escapes from plumbing lines concealed behind drywall, plaster, or other building materials. Since the leak is not immediately visible, water can slowly accumulate inside structural cavities, causing:
- Damp spots or discoloration on walls
- Musty odors or mold infestations
- Structural weakening of studs, drywall, and insulation
- High water bills due to unnoticed water loss
- Potential electrical hazards if moisture reaches wiring
Addressing these leaks requires not only technical skill but also careful diagnostic methods to minimize unnecessary wall damage and make repairs efficient and permanent.
Common Signs Indicating a Hidden Wall Leak
Detecting a hidden leak often hinges on recognizing subtle early warning signs such as:
- Unexpectedly high water bills, without increased usage
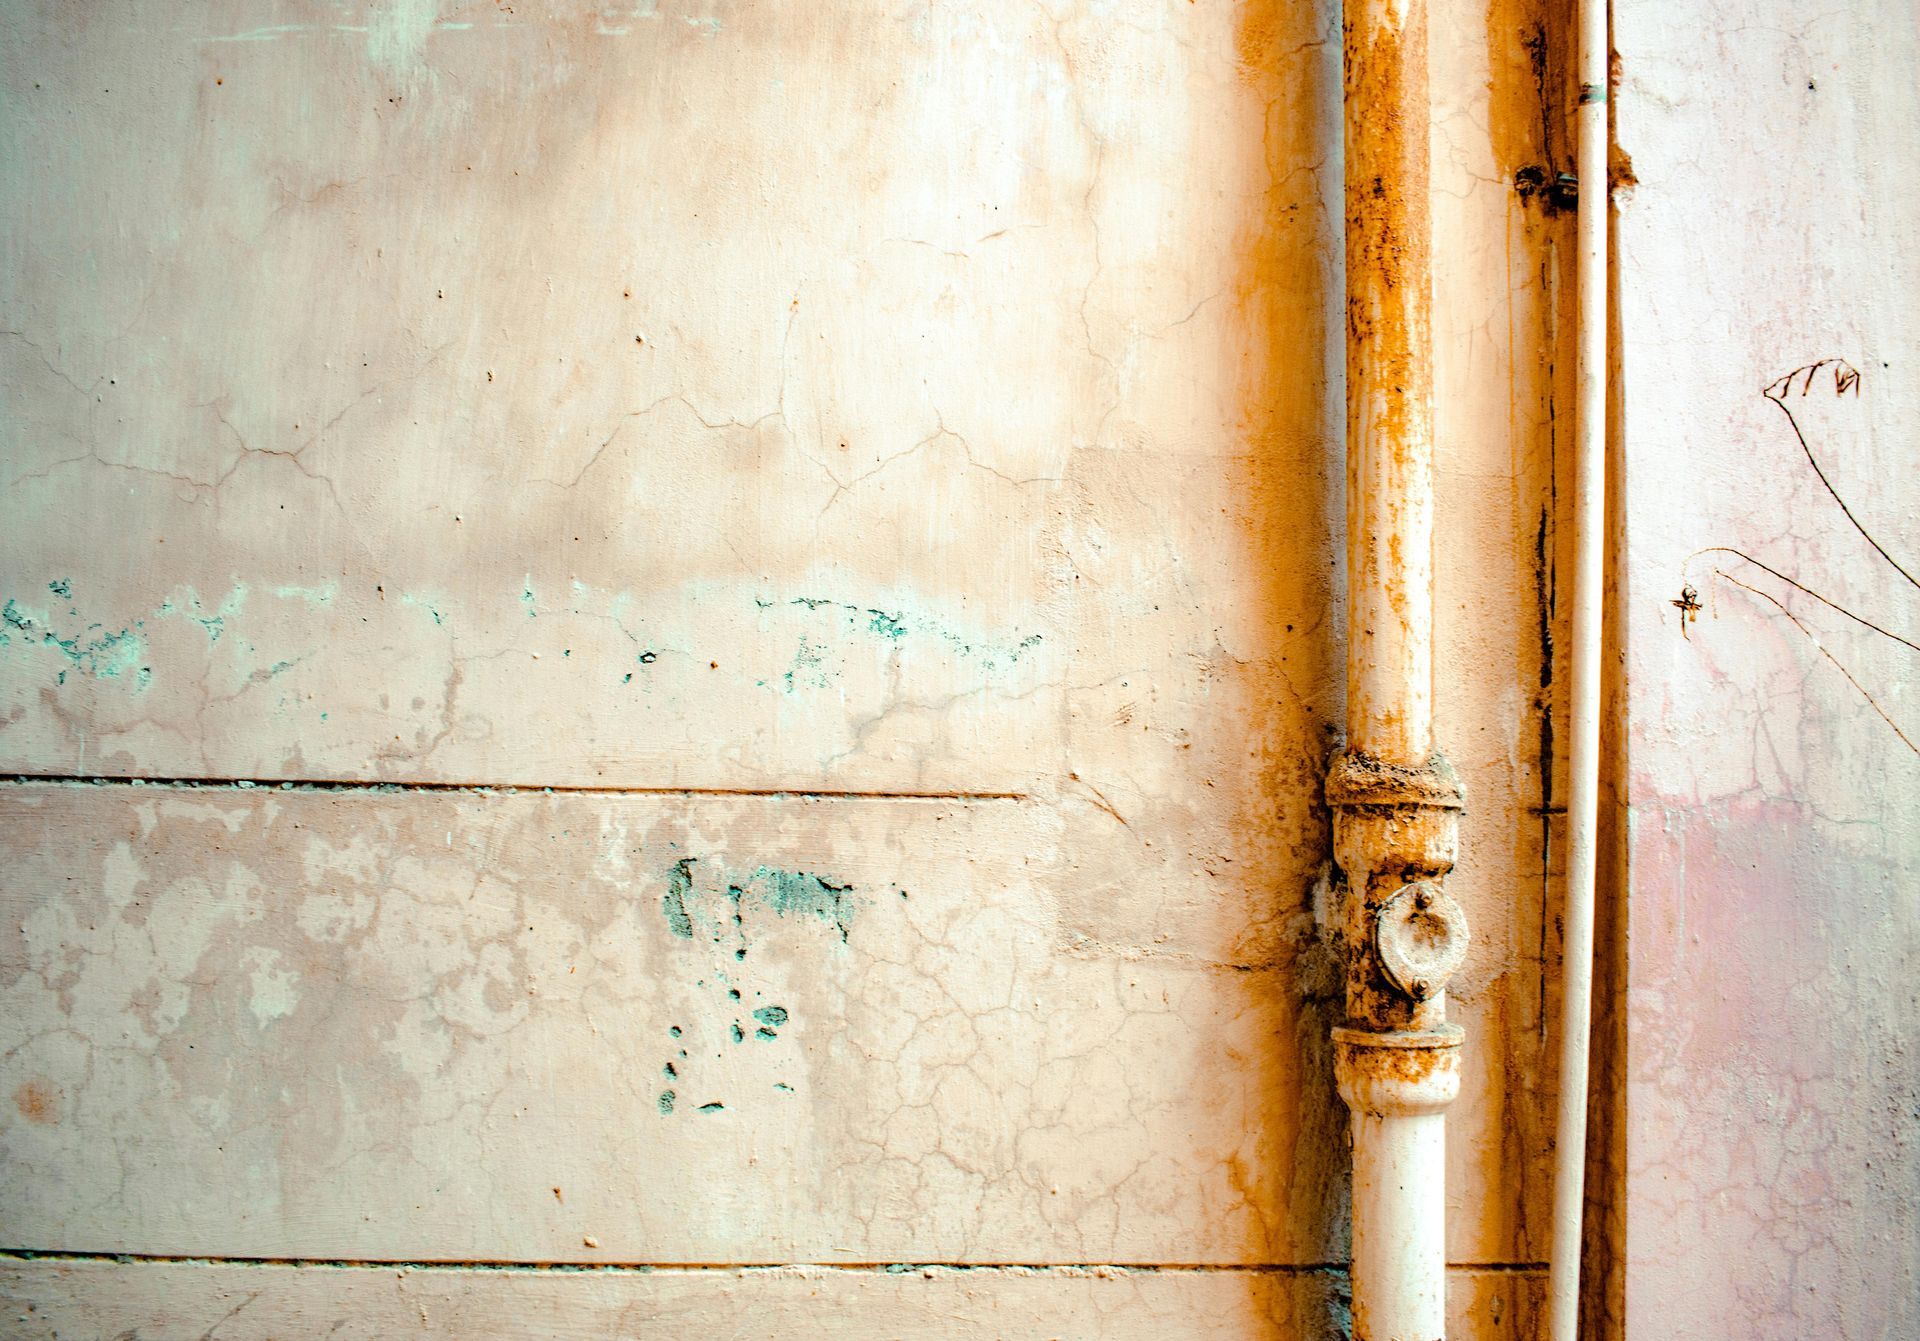
- Consistent dampness, bubbling paint, or discoloration on walls near plumbing fixtures
- Musty or mildew odors in certain rooms
- Sound of running or dripping water when no taps are running
- Reduced water pressure or inconsistent water flow in fixtures
- Visible mold growth or water stains on ceilings or baseboards
Recognizing these symptoms early can save substantial repair costs and prevent health hazards.
Step 1: Initial Inspection and Non-Invasive Leak Detection Techniques
Professionals like All City Plumbers often begin leak detection with a non-invasive inspection to limit damage.
Visual and Sensory Inspection
Examine walls thoroughly for discolorations, bulging paint, or moisture patches. Use your nose to identify damp, musty odors. Sometimes, simply pressing gently around suspect areas can reveal soft or spongy drywall.
Water Meter Monitoring
Turn off all water sources and appliances, then check your water meter. Wait for a few hours without using water and monitor if the meter reading changes—this uptick usually indicates a leak inside your plumbing system or walls.
Sound Detection (Acoustic Testing)
Using specialized listening devices or stethoscopes placed against walls, a plumber can detect the hissing or dripping sound water makes when leaking from pipes. Acoustic leak detection is highly effective for locating leaks with precision without wall destruction.
Thermal Imaging (Infrared Cameras)
Thermal imaging can identify temperature differences on wall surfaces caused by escaping water, which tends to cool or warm the area relative to surrounding dry spots. This method visually highlights wet regions and helps pinpoint leaks non-destructively.
Step 2: Confirming Leak Location and Wall Access
Once a suspect area is identified by non-invasive means, the next step involves confirming the source of the leak.
Moisture Meters and Borescopes
Moisture meters quantify dampness levels in walls, and borescopes—small cameras inserted through tiny holes—allow internal visual confirmation of pipe damage or moisture without large wall openings.
Wall Access and Controlled Opening
After confirming the leak zone, professionals carefully cut a small inspection hole through drywall to directly assess and address the plumbing behind. Minimizing hole size reduces repair scope.
Step 3: Repairing the Hidden Pipe Leak
Shutting Off Water and Preparing for Repair
Turn off the main water supply before performing any repairs. Drain pipes in the affected area to avoid water spillage inside the wall.
Types of Repairs Depending on Pipe Material and Leak Nature
- Pinpoint Holes or Cracks: For small punctures or pinhole leaks, plumbers may patch the leak using waterproof epoxy or specialized clamps. These can sometimes be applied without pipe replacement.
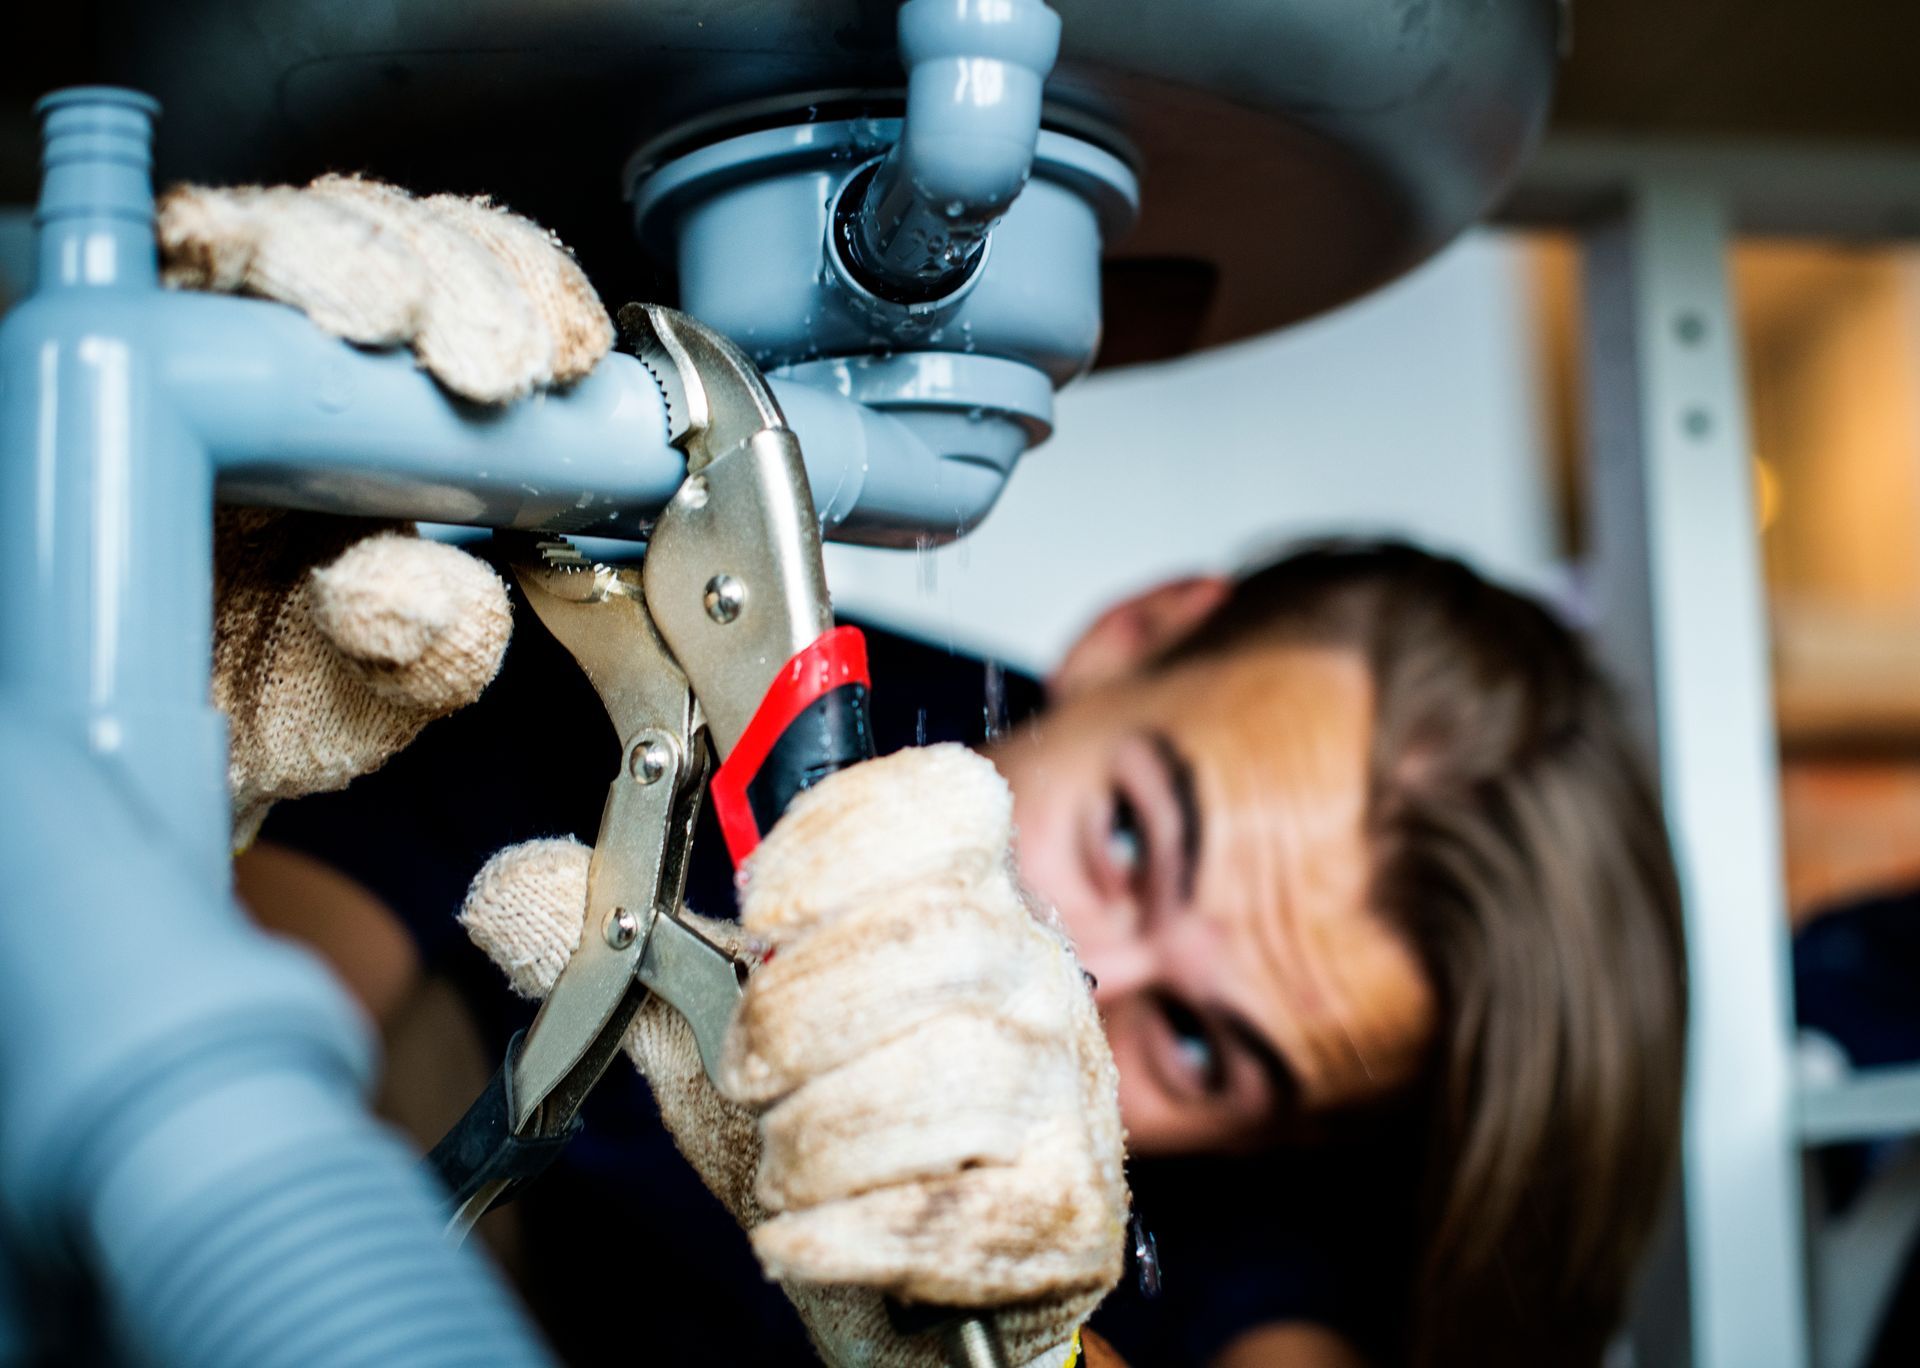
- Replacing Damaged Sections: Severely corroded or cracked pipe sections require cutting out the damaged pipe and installing new pipe segments using proper fittings and sealants.
- For plastic pipes like PEX or PVC, fittings and couplings are used to replace or bypass the leaking section. Copper pipes may require soldering or push-fit connectors for repair.
Example: Replacing a Leaky Shower Cartridge Nearby
If the leak occurs near fixtures like a shower valve, it may be prudent to also inspect and replace a leaky shower cartridge simultaneously to prevent future leaks and ensure overall fixture integrity.
Waterline Repair and Replacement
Leaks in main waterlines concealed in walls often necessitate more extensive waterline repair and replacement. This might involve rerouting pipes or upgrading to more durable materials as part of a comprehensive solution.
Step 4: Wall Restoration and Cleanup
After completing the plumbing repair, the inspection hole is patched using drywall repair techniques, followed by sanding, priming, and repainting to restore your wall seamlessly.
Inspect the area for residual moisture and run dehumidifiers if necessary to speed up drying and prevent mold growth.
Importance of Professional Help and Preventative Maintenance
While minor leaks and inspections can sometimes be a DIY job, many hidden pipe leaks demand expert tools and training. All City Plumbers offer advanced leak detection equipment, repair expertise, and efficient restoration services to minimize home disruption.
Furthermore, incorporating routine plumbing maintenance—such as regular inspection for leaks, timely waterline repair and replacement, and maintaining fixtures including sump pump systems and shower cartridges—can significantly reduce the risk of catastrophic leaks.
Conclusion
Locating and repairing a hidden pipe leak in your wall requires a multi-step, professional approach:
- Recognize warning signs like moisture stains, odors, and meter anomalies
- Use non-destructive methods like acoustic listening and thermal imaging to detect and confirm leak location
- Carefully access and repair damaged pipes with appropriate materials and methods
- Restore the wall and mitigate any moisture damage to avoid mold
- Employ plumbing experts such as All City Plumbers for effective and lasting solutions
Beyond repairs, proactive maintenance—addressing issues such as replacing a leaky shower cartridge or performing timely waterline repair and replacement—is vital for the long-term health of your home’s plumbing.
Early detection and professional repairs will save money, protect your home’s structure, and ensure reliable water service for years to come.

