How To Diagnose & Repair Common Toilet Flange Leaks?
Toilet leaks around the base are one of the most common and frustrating plumbing problems in any home. In many cases, the root cause is a failing toilet flange or the wax ring that seals the toilet to the flange. If these components are damaged, misaligned, or improperly installed, water can escape every time you flush, leading to stained floors, foul odors, and even hidden structural damage over time.
This guide explains how to diagnose and repair common toilet flange leaks in a clear, methodical way. You will learn how the flange works, how to spot early warning signs, what tools and materials you need, and how to remove, inspect, and reset your toilet like a professional. Whether you are a confident do‑it‑yourself homeowner or plan to work alongside licensed plumbers such as All City Plumbers, these steps will help you approach the job safely and effectively.
Understanding the Toilet Flange and Seal
The toilet flange is a circular fitting that connects the base of your toilet to the drain pipe in the floor. It anchors the toilet in place with closet bolts and provides a surface for the wax ring or seal to compress against. When installed correctly, the flange and wax ring create a watertight and airtight connection that prevents both water and sewer gases from escaping.
The flange must sit at the correct height relative to the finished floor, usually just about level with or slightly above the floor surface. If it is too low, the wax ring may not compress properly and can fail prematurely. If it is damaged, cracked, or loose, the toilet can rock and break the seal. Understanding this component’s role makes it easier to see why many base leaks trace back to flange issues rather than the toilet tank or bowl.
Common Causes of Toilet Flange Leaks
Flange leaks have several typical causes, and recognizing them helps you narrow down the best repair approach. One frequent issue is a degraded or improperly installed wax ring. Over time, wax can harden, crack, or become distorted if the toilet has been moved, rocked, or not tightened evenly. Any gap along the ring allows water to escape during a flush.
Another common cause is a flange that is not solidly attached to the subfloor. Water exposure, aging materials, or prior damage can weaken the screws or the surrounding flooring. When the base becomes spongy or the flange cracks, the toilet loses its stable support. This often shows up as a toilet that wobbles when you sit or shift your weight, gradually breaking the seal with every movement.
Improper flange height and incompatible flooring changes also lead to leaks. For example, adding new tile or vinyl flooring without adjusting the flange can leave it effectively too low. Conversely, earlier repairs may have used makeshift spacers or multiple wax rings instead of addressing the core problem. While such shortcuts may work temporarily, they often fail over time and allow water to seep into the floor.
Early Warning Signs of a Flange Leak
Catching a flange leak early can save you from warped floors, mold, and costly repairs. One of the first signs is water appearing around the base of the toilet after a flush. It may start as a small puddle that dries between uses, making it easy to ignore. Over time, the water can discolor the flooring, loosen tiles, or cause vinyl to bubble.
Another indicator is a musty or sewer‑like odor near the toilet. If the wax ring’s airtight seal fails, small amounts of sewer gas can escape into the bathroom. Even if you do not see visible water, persisting odors are a red flag that the flange or wax seal may no longer be doing its job.
Movement is also a key sign. A toilet should feel solid when you sit or shift your weight. If it rocks, creaks, or feels unstable, the flange might be broken, the bolts loose, or the subfloor damaged. Ignoring movement will nearly always worsen the leak over time because the rocking action continuously stresses the seal and underlying connections.
Preparing for Diagnosis and Repair
Before you begin diagnosing and repairing a suspected flange leak, prepare your workspace and assemble the necessary tools and materials. You will typically need an adjustable wrench, a putty knife or scraper, a sponge or small wet‑dry vacuum, rags or towels, a new wax ring or wax‑free seal, replacement closet bolts, and possibly a flange repair ring or extender. Protective gloves and safety glasses are also recommended, as you will be dealing with wastewater and potentially sharp, corroded metal.
Turn off the water supply to the toilet by closing the shutoff valve located near the base. Flush the toilet to empty the tank and bowl as much as possible. Use a sponge or wet‑dry vacuum to remove any remaining water from the tank and bowl to prevent spills when you move the fixture. This preparation step reduces mess and makes it easier to work carefully once the toilet is lifted.
Finally, clear enough space around the toilet to move and temporarily store it. Placing an old towel or cardboard on the floor nearby gives you a clean, protected surface where you can set the toilet down without scratching your flooring or the base of the fixture.
Removing the Toilet Safely
With the water shut off and most water drained from the toilet, you are ready to remove the fixture. Start by disconnecting the water supply line from the bottom of the tank using an adjustable wrench. Be prepared for a small amount of water to escape from the hose and keep a towel or small container handy.
Next, remove the caps covering the closet bolts at the base of the toilet. Loosen and remove the nuts securing the toilet to the flange. If the nuts are corroded or stuck, you may need to carefully cut them with a small hacksaw or use penetrating oil and patience to avoid damaging the bolts or flange.
Once the bolts are free, grip the bowl near the base and gently rock the toilet back and forth to break the wax seal. Lift the toilet straight up, keeping it as level as possible, and move it to your prepared resting surface. To prevent sewer gases from entering the room while you work, temporarily stuff an old rag or towel into the open drain pipe, making sure it is secure but can be easily removed later.
Inspecting the Flange, Wax Ring, and Subfloor
With the toilet removed, you can now see the old wax ring and the flange. Use a putty knife or scraper to remove all remnants of the wax ring from both the flange and the base of the toilet. Take your time with this step, as leaving old wax in place can interfere with the new seal. Dispose of the used wax ring material in a trash bag and clean up any residue.
Carefully inspect the flange for cracks, chips, or missing sections. Check whether it is solidly attached to the floor by gently trying to move it. A properly secured flange should feel firm and not shift when you apply moderate pressure. Look closely at the screw holes and surrounding area for signs of rot, rust, or deterioration. If the flange is metal, check for corrosion that might weaken its structure.
Examine the subfloor around the flange. If you see dark stains, soft spots, or crumbling wood, water may have been leaking for some time. In serious cases, the subfloor may need repair or replacement before you can safely reinstall the toilet. This is often the point where homeowners decide to bring in professional help, since properly repairing structural damage and tying into existing plumbing can require advanced skills and tools.
Repairing or Replacing a Damaged Flange
If the flange is intact but sits slightly too low compared to the finished floor, a flange extender or spacer ring can often solve the problem. These products raise the effective height of the flange so the wax ring can compress properly when the toilet is reinstalled. Follow the manufacturer’s instructions to secure the extender in place, making sure it is level and well‑sealed.
When the flange is cracked, broken, or no longer securely attached, a flange repair kit or replacement flange may be necessary. Repair rings are designed to sit over the existing flange and are screwed into solid subflooring, providing fresh, sturdy mounting points for the toilet bolts. For severely damaged flanges or rotted subfloors, the old flange may need to be removed entirely and the flooring repaired before installing a new flange.
In some homes, plumbing systems include additional components such as expansion tanks or water treatment units that may be located near the toilet’s supply line. When working around these, be mindful of added pipework and supports. If you are unsure how all the components interact, it is wise to consult a licensed plumber who can ensure that repairs to the flange do not compromise other parts of the system or building code requirements.
Installing a New Wax Ring or Alternative Seal
Once the flange is sound, at the correct height, and firmly secured, you can install a new wax ring or a modern wax‑free seal. Traditional wax rings are widely used, affordable, and effective when installed correctly. They are available in different thicknesses and with or without a plastic horn insert. Choosing the right thickness depends on the flange height, so consider this carefully when purchasing your replacement.
Some homeowners prefer wax‑free seals made from rubber or foam materials. These products are less messy than wax and can be more forgiving if the toilet needs to be repositioned during installation. Regardless of the type, placement is crucial. Many professionals recommend setting the new ring directly on the flange, centering it carefully so it will align with the outlet on the bottom of the toilet.
Double‑stacking wax rings is generally not recommended unless the manufacturer specifies it, as poorly supported stacks can shift and fail. If the flange is too low, address the height issue with a proper extender rather than trying to compensate with extra wax. A correctly chosen and placed seal will provide a reliable barrier when the toilet is reset and tightened down.
Resetting the Toilet and Securing the Seal
Before lifting the toilet back into place, install new closet bolts in the flange or repair ring if they were damaged or corroded. Position the bolts so they align with the holes on the base of the toilet, and use any included hardware to keep them upright while you work. Remove the temporary rag from the drain pipe so the outlet is clear.
With help, if necessary, lift the toilet and carefully lower it over the flange, guiding the bolt ends through the holes in the base. Aim to set it straight down in one smooth motion to avoid disturbing the new wax or rubber seal. Once in position, gently press down on the bowl to compress the seal evenly, rocking slightly only if needed and avoiding excessive force.
Install washers and nuts on the closet bolts and begin tightening them gradually, alternating from one side to the other to keep the pressure even. The goal is to draw the toilet down snugly without cracking the porcelain. Tighten until the toilet feels solid and does not rock, but stop if you feel significant resistance or hear any creaking from the base. Trim any excess bolt length if needed and reinstall the decorative caps.
Reconnecting the Water Supply and Testing for Leaks
Reconnect the water supply line to the tank, making sure the fitting is snug but not over‑tightened. Turn the shutoff valve back on slowly and allow the tank to fill. As it fills, watch the connection point for any drips and tighten gently if needed. Once the tank is full, flush the toilet several times while observing the base.
Look carefully for any water seeping out around the toilet where it meets the floor. Run your hand around the base and feel for moisture, taking note of even small damp spots. If no water appears after several test flushes, the new seal and flange repair are likely successful. Check again after an hour or two and later that day to make sure no slow leaks develop.
If you see continued leaking despite your repair efforts, recheck that the toilet is not rocking and that the closet bolts are properly tightened. Persistent leaks may indicate a more complex issue, such as a cracked toilet base, misaligned drain pipe, or deeper structural damage that needs professional investigation.
When to Call a Professional Plumber
Many toilet flange leaks can be handled by careful homeowners, but there are clear situations where calling a professional is the better choice. If you discover significant subfloor damage, a badly corroded drain pipe, or a flange that cannot be securely attached because of structural issues, specialized repair methods may be required. Professional plumbers have the tools and experience to open up flooring, replace damaged sections, and rebuild the flange connection properly.
A licensed plumber can also evaluate related plumbing components during the repair. They can inspect shutoff valves, supply lines, and nearby fixtures for signs of wear or impending failure. When necessary, a professional can safely replace worn‑out valves and connectors, reducing the risk of future leaks and saving you from multiple repair visits.
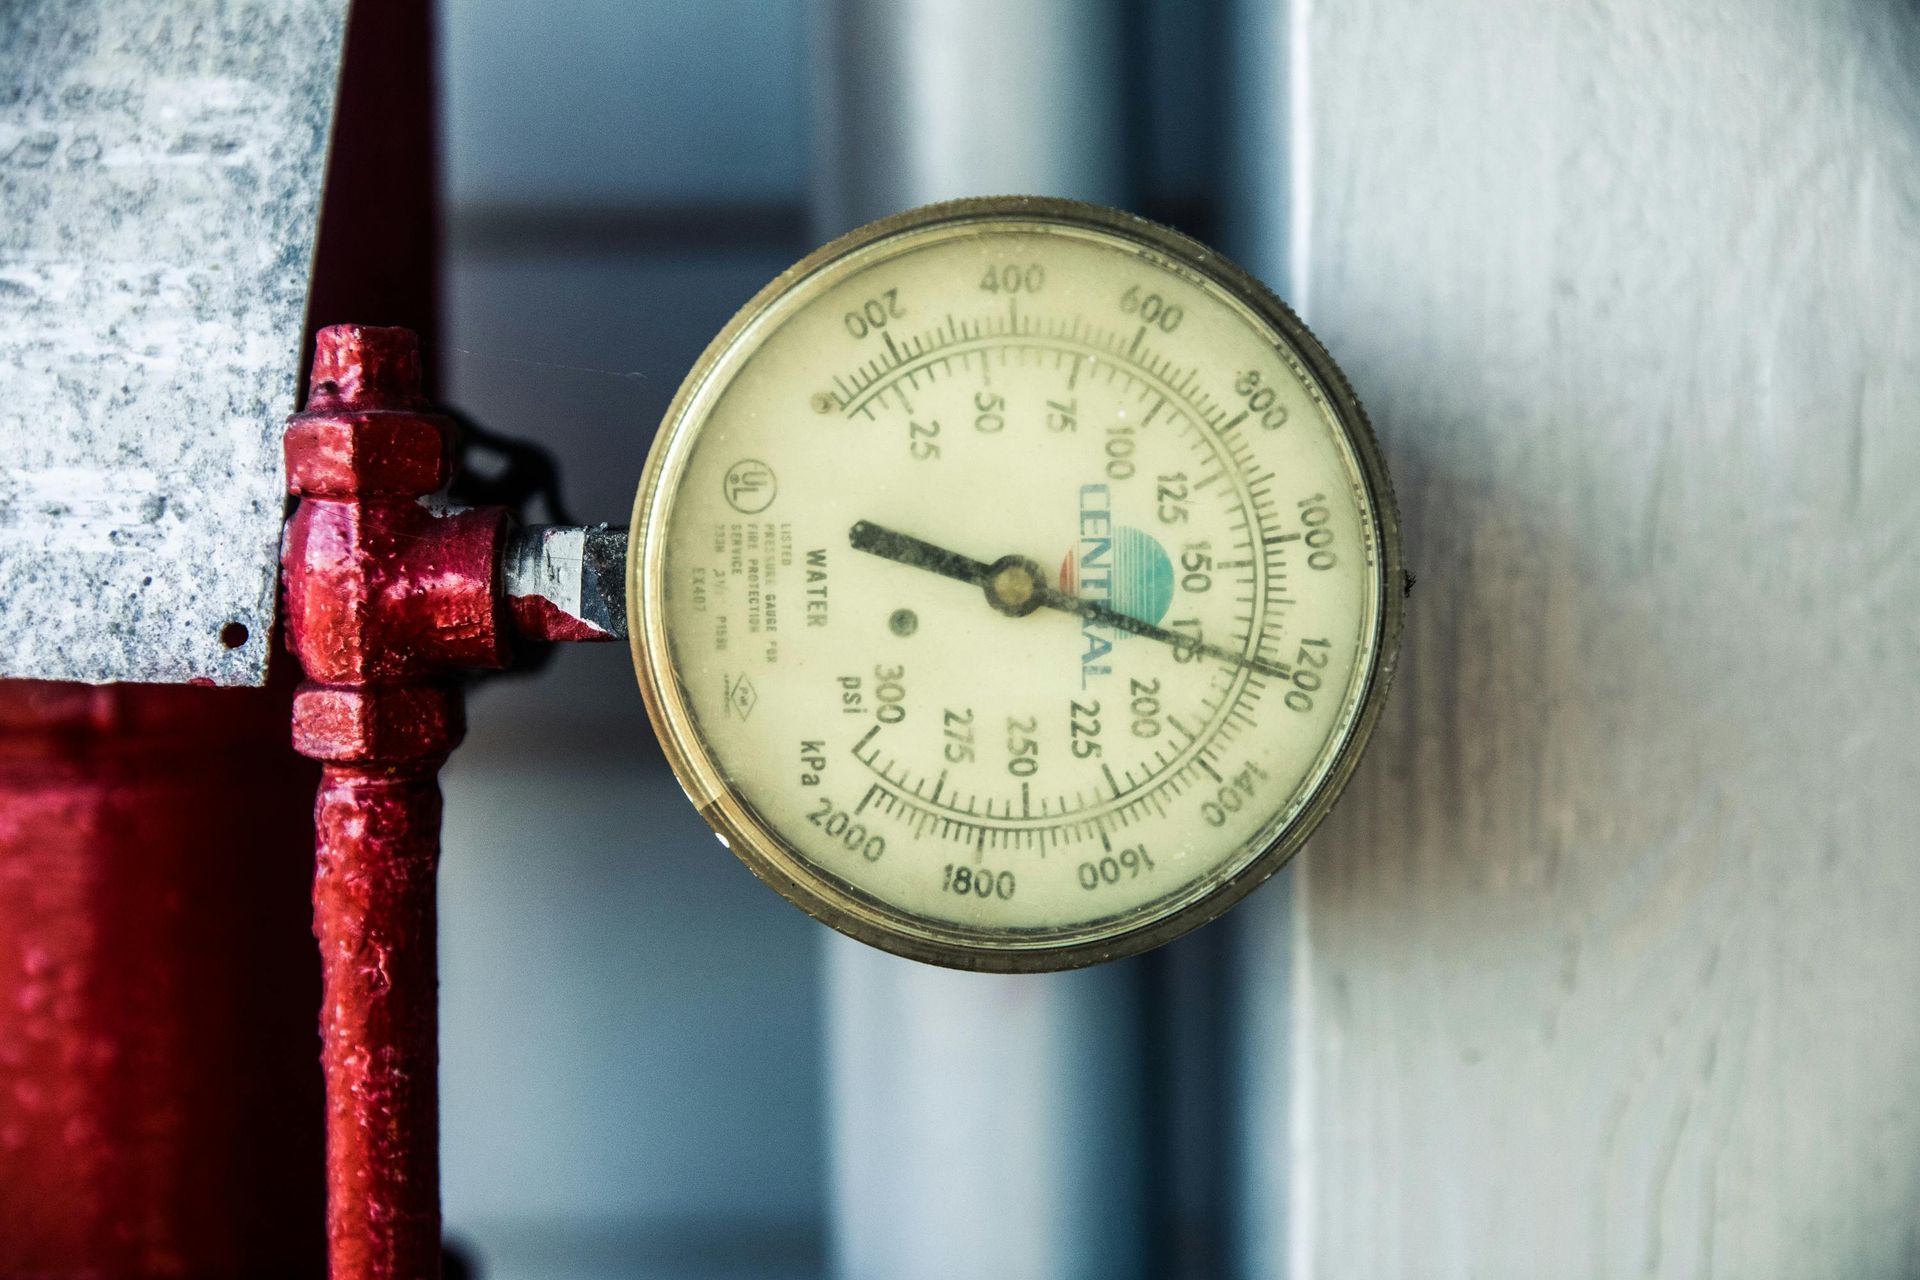
Reputable service providers such as All City Plumbers can also advise whether recurring toilet leaks hint at broader plumbing system issues, such as venting problems, excessive water pressure, or outdated materials. Addressing these underlying concerns at the same time as a flange repair can improve the overall reliability and safety of your home’s plumbing system.
Conclusion
Toilet flange leaks may start as small, annoying puddles around the base of the toilet, but they can quickly lead to damaged flooring, unpleasant odors, and costly structural repairs if left unaddressed. By understanding the role of the flange and wax seal, recognizing early warning signs, and following a careful step‑by‑step process to remove, inspect, and reset the toilet, you can often resolve these leaks effectively on your own.
Proper diagnosis, thoughtful preparation, and attention to detail are the keys to a successful repair. When the situation reveals deeper problems with the flange, subfloor, or connected plumbing, bringing in a professional plumber ensures the job is handled safely and correctly. With the right combination of do‑it‑yourself knowledge and expert support when needed, you can restore a watertight seal, protect your home from moisture damage, and enjoy a stable, reliable toilet for years to come.