How Much Does It Cost to Replace a Garbage Disposal?

Youmna Rehman

If your garbage disposal has kicked the bucket, don’t panic just yet—there are a few steps you can take to troubleshoot and repair the unit. But if quick fixes don’t do the trick, replacing it might be your only option. The cost of replacing a garbage disposal typically falls between $150 and $950, with the average hovering around $450. That said, several factors can bump that price up or down. Let’s break it all down so you know exactly what to expect.


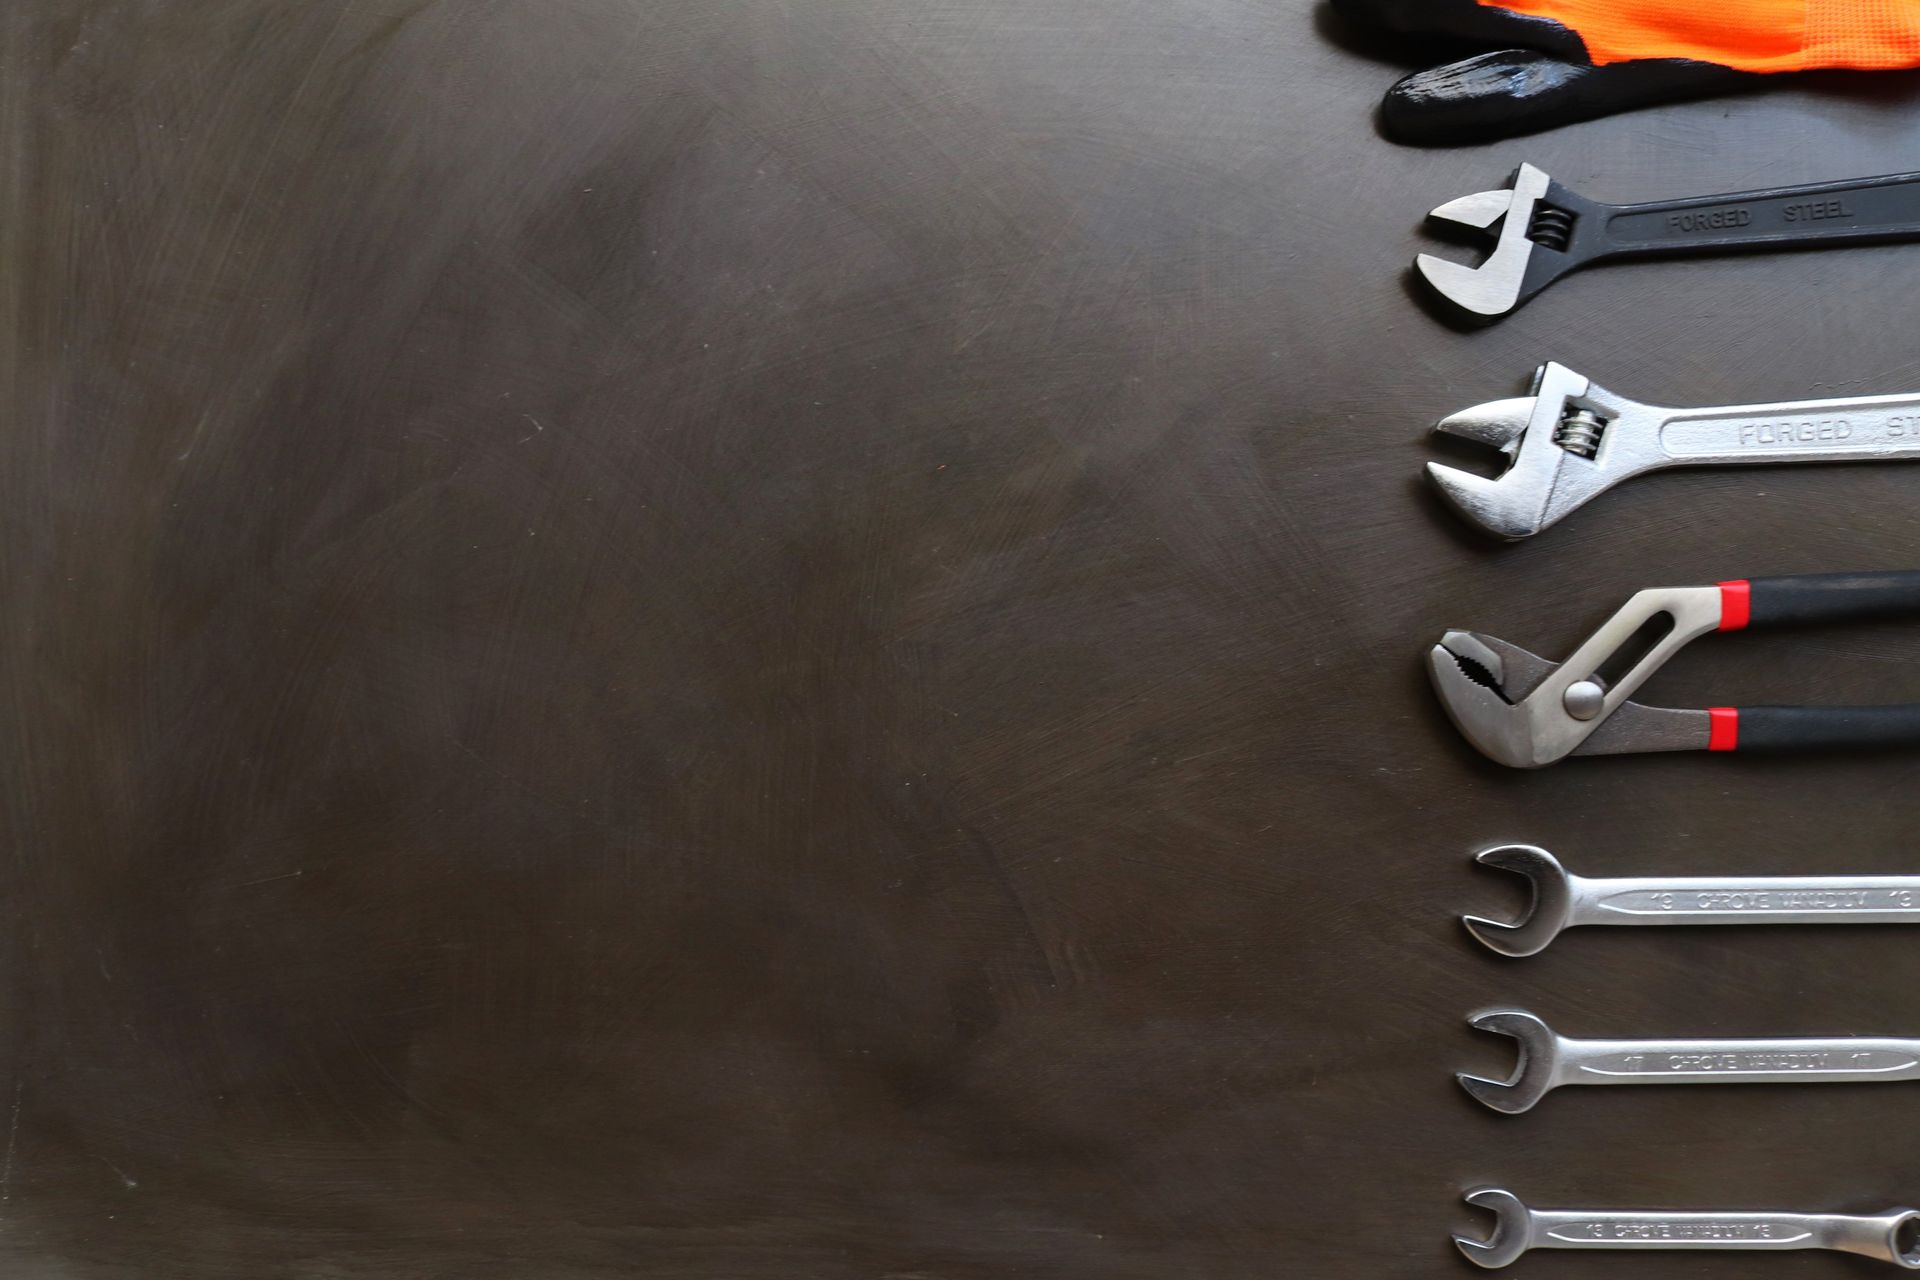
"How to Fix a Jammed Garbage Disposal"


When Should You Replace Your Garbage Disposal?

If your garbage disposal frequently clogs, emits unusual grinding noises, leaks from the base, or has persistent odors that won’t go away with cleaning, it’s likely time for a replacement. Additionally, if the unit is over 8–10 years old and has reduced efficiency or recurring issues, it may be more cost-effective to replace it than to continue repairing it.


Sometimes, repairs just won’t cut it. Here are a few signs it’s time to say goodbye to your old disposal and swap it out for a new one:


  • Frequent Clogs: Even with proper use, your unit keeps clogging.
  • Unusual Noises: Grinding, rattling, or humming that just won’t stop.
  • Persistent Odors: Cleaning doesn’t remove the smell—it’s embedded.
  • Leaks: From the body or flange, pointing to internal damage.
  • Age: If it’s been a solid 8–10 years, the unit might just be tired.


Professional Garbage Disposal Replacement Costs

Professional garbage disposal replacement typically costs between $150 and $950, with labor charges ranging from $75 to $200 depending on your location and the complexity of the job. The price of the disposal itself varies widely, from $70 for a basic model to over $400 for advanced units with premium features like noise reduction and better durability.

Hiring a pro to replace your garbage disposal ensures the job gets done quickly and correctly. Here’s what the breakdown looks like:


  • Labor Costs: Expect to pay between $75 and $200 for a plumber to handle the installation.
  • Unit Costs: New disposals range from $70 for basic models to over $400 for high-end units with features like quieter operation or more robust grinding.
  • Additional Expenses: If your sink or plumbing requires adjustments, it could tack on another $50–$150.


Extra Costs to Watch Out For

Additional costs can arise if electrical work or plumbing adjustments are necessary, especially if your old setup isn’t compatible with modern units. Similarly, high-end features such as stainless steel construction or advanced grinding capabilities can significantly increase the price, making it essential to budget for these potential expenses.


Beyond the basics, here are a few things that could increase the price:


  1. Electrical Work: If your old unit isn’t compatible with the wiring, you might need to call an electrician.
  2. Plumbing Upgrades: Corroded pipes or outdated connections may need replacing.
  3. Custom Features: Opting for high-end models with features like noise reduction or extra durability can double the cost.


Things to Try Before Replacing Your Garbage Disposal

Before replacing your garbage disposal, try pressing the reset button, manually rotating the flywheel with an Allen wrench to free up jams, or checking for obstructions that might be blocking the blades. Also, ensure that the unit is properly plugged in and that the circuit breaker hasn’t tripped.

Before you shell out for a new disposal, see if these quick fixes solve the problem:


  • Reset the Unit: Press the reset button underneath the disposal.
  • Check for Obstructions: Shine a flashlight into the unit to see if anything’s stuck.
  • Rotate the Flywheel: Use an Allen wrench to manually free up a jam.
  • Inspect Power Connections: Ensure the unit is plugged in and the circuit breaker hasn’t tripped.


Tips for Keeping Your Garbage Disposal in Good Shape

Want to avoid replacing your garbage disposal anytime soon? Follow these tips to keep it running smoothly:


  • Feed It Right: Only grind small amounts of soft food at a time.
  • Run Water: Always use cold water while the disposal is on.
  • Clean Regularly: Use a mixture of ice and salt to clean the blades.
  • Avoid Certain Foods: Keep grease, fibrous foods, and hard items out of the disposal.


DIY vs. Hiring a Professional: What’s the Best Move?

Replacing a garbage disposal can be a DIY project if you’re handy and have the right tools. However, improper installation can lead to leaks, electrical issues, or damaged plumbing. If you’re not confident, calling a pro is worth the peace of mind.


How to Choose the Right Garbage Disposal

Not all disposals are created equal. Here’s what to consider when buying a new one:


  • Horsepower: 1/3 HP for light use, 1 HP for heavy-duty grinding.
  • Material: Stainless steel lasts longer than cheaper materials.
  • Noise Level: Look for models with sound insulation.
  • Warranty: A longer warranty is a good sign of durability.


Conclusion

Replacing a garbage disposal doesn’t have to drain your wallet or your patience. By understanding the costs involved, knowing when it’s time to replace your unit, and taking steps to maintain your disposal, you can keep your kitchen running smoothly. Whether you DIY or hire a professional, make sure the replacement is done right to avoid future headaches.


FAQs

How much does it cost to replace a garbage disposal?
Replacing a garbage disposal typically costs between $150 and $950, depending on the unit and installation.


Can I replace a garbage disposal myself?
Yes, if you’re familiar with basic plumbing and electrical work. Otherwise, it’s best to call a professional.


How do I know if my garbage disposal needs to be replaced?
Frequent clogs, leaks, strange noises, or a unit over 10 years old are good indicators.


What’s the lifespan of a garbage disposal?
With proper maintenance, a disposal typically lasts 8–10 years.


Is a high-end garbage disposal worth it?
If you want quieter operation, better grinding, or enhanced durability, investing in a higher-end model can be worthwhile.

Bathroom Water Hammer Explained and How to Stop the Loud Banging?
by Hadi Masood 30 January 2026
Unpack bathroom water hammer—causes like sudden valve closures and high pressure—and learn proven fixes like arrestors and PRVs for silent pipes.
by Hadi Masood 30 January 2026
Nothing disrupts a morning routine like a shower turning icy midstream, leaving you shivering and frustrated. This common issue stems from imbalances in your home's plumbing and heating systems, often triggered by everyday usage patterns or overlooked maintenance. Understanding the root causes empowers homeowners to diagnose problems swiftly and implement lasting fixes. This guide delves into the mechanics behind sudden temperature drops, explores diagnostic techniques, and outlines prevention strategies to keep your showers consistently warm. Common Causes of Sudden Cold Showers Sudden cold water in showers typically arises from water heater malfunctions or plumbing disruptions. Sediment buildup in tank-style heaters insulates the burner or element, causing inconsistent heating—over time, minerals from hard water accumulate at the bottom, reducing efficiency and leading to temperature fluctuations during peak demand. Similarly, a failing dip tube in the heater fails to direct cold incoming water to the top for proper mixing, so hot water depletes faster than it replenishes. High demand elsewhere in the home exacerbates this; simultaneous use of washing machines, dishwashers, or multiple faucets dilutes hot water supply. Pressure imbalances from clogged aerators or faulty mixing valves can also shift temperatures abruptly. In larger households, undersized heaters struggle with back-to-back usage, mimicking a sudden cold blast. Diagnosing Water Heater Problems Start diagnosis by checking the water heater's thermostat setting—most should hover between 120 and 140 degrees Fahrenheit for safety and performance. Listen for unusual noises like popping or rumbling, hallmarks of sediment; if present, a professional flush resolves it. Test the heating element in electric models with a multimeter for continuity, or inspect the gas burner for a weak blue flame indicating dirty components. Expansion tanks play a crucial role here—they mount on the cold water inlet to absorb thermal expansion pressure, preventing relief valve drips that signal overpressure and potential cold surges. Without one, especially in closed-loop systems, heaters cycle inefficiently, dropping output temperatures. Monitor the pressure relief valve; frequent activation points to expansion issues. For tankless units, error codes on the display often pinpoint flow sensors or igniters as culprits. Identifying Plumbing and Pipe Issues Plumbing beyond the heater often hides the problem. Reverse flow from check valves or backflow preventers can introduce cold water into hot lines, especially if sediment clogs them. Undersized pipes struggle with volume, causing pressure drops that chill the stream. Air locks from recent repairs trap bubbles, disrupting flow until purged by running all hot taps sequentially. Leaky fixtures upstream siphon hot water unnoticed, leading to sudden cools. Inspect for hidden corrosion in galvanized pipes, which narrows passages over time. All City Plumbers emphasize tracing lines with a pipe camera for blockages invisible to the eye, revealing scale or debris that starves the showerhead. The Impact of Water Pressure Fluctuations Pressure swings directly affect shower temperature consistency. Municipal supply variations, like nighttime boosts or peak-hour drops, strain home systems. Faulty pressure regulators fail to stabilize incoming force, overwhelming the heater. Clogged showerheads or aerators restrict hot flow while cold rushes in unchecked. In multi-story homes, gravity amplifies upper-floor issues, where thinner pipes can't maintain velocity. Install a whole-house pressure gauge to baseline readings—ideal is 50-80 PSI. Fluctuations beyond this trigger mixing valve failures, designed to blend water but prone to wear. Step-by-Step Fixes for Cold Showers Addressing the issue begins with simple resets. Flush the water heater by attaching a hose to the drain valve and running it until clear, refilling slowly to avoid air pockets. Clean aerators by soaking in vinegar overnight, then reinstall for restored balance. Insulate exposed pipes with foam sleeves to minimize heat loss in unheated spaces. For persistent problems, replace the dip tube or upgrade to a higher-capacity heater. Adding or servicing expansion tanks restores pressure equilibrium. Test post-fix by timing recovery—hot water should resume within 30 seconds of demand spikes. Preventive Maintenance Strategies Prevention hinges on routine care. Annually flush tank heaters and descale tankless ones to banish sediment. Set programmable schedules to avoid simultaneous high-demand usage, staggering laundry and showers. Install low-flow fixtures that ease heater load without sacrificing pressure. Prepare your plumbing before vacations by shutting off the water main, draining lines, and setting the heater to pilot mode—this averts stagnant water growth and pressure builds during absence. Water softeners combat mineral buildup in hard-water areas, extending system life. Upgrading for Long-Term Reliability Consider modern solutions like on-demand tankless heaters, which heat water instantly without standby losses, eliminating cold-start woes. Hybrid heat pump models offer efficiency gains up to 300 percent. Whole-home recirculation pumps deliver instant hot water, minimizing waste and temperature dips. Smart thermostats monitor usage patterns, adjusting preemptively. Pair with pressure-balancing shower valves that auto-compensate for fluctuations, ensuring steady warmth. Conclusion Sudden cold showers disrupt more than comfort—they signal underlying issues that, if ignored, escalate to costly repairs. By pinpointing causes from heater sediment to pressure imbalances and embracing proactive maintenance, you safeguard reliable performance year-round. Implementing these strategies not only restores blissfully warm showers but also boosts energy efficiency and system longevity for peace of mind.
How To Install ADA-Compliant Bathroom Fixtures?
by Hadi Masood 28 January 2026
Learn step-by-step how to install ADA-compliant bathroom fixtures for accessibility, including toilets, sinks, grab bars, and pro tips for compliance and safety.
What Are Some Of The Best Layouts For Dual Sink Bathrooms?
by Hadi Masood 28 January 2026
Explore top dual sink bathroom layouts: linear, island, L-shaped, and more, with plumbing, lighting, storage, and pro design tips.
How to Repair Leaking Vanity Drain Assemblies (Complete Guide)
by Hadi Masood 26 January 2026
Complete guide to fixing leaking vanity drain assemblies: disassembly, washer replacement, reassembly, testing, and pro upgrade tips.
How to Fix Intermittent Toilet Flush Failures (Complete Guide)
by Hadi Masood 26 January 2026
Fix intermittent toilet flush failures: troubleshoot flappers, venting, pressure, and clogs with step-by-step repairs for reliable performance.
How to Prevent Mineral Rings in Toilet Tanks (Simple Solutions)
by Hadi Masood 25 January 2026
Prevent mineral rings in toilet tanks with vinegar soaks, softeners, liners, and maintenance tips for clean, efficient performance.
Why Low-Flow Toilets Still Clog (Causes and Easy Fixes)
by Hadi Masood 25 January 2026
Why low-flow toilets still clog: causes like waste habits, buildup, venting, and fixes for better performance without wasting water.
Bathroom Remodeling Plumbing Mistakes to Avoid For Costly Repairs
by Hadi Masood 23 January 2026
Avoid costly bathroom remodeling plumbing mistakes like undersized lines, poor venting, and waterproofing errors—essential tips for flawless results.
Why Your Toilet Sweats in Summer (And How to Stop It)
by Hadi Masood 23 January 2026
Uncover why toilets sweat in summer due to condensation, plus fixes like insulation, ventilation, and pro tips to prevent mold and slips.