How to Detect and Prevent Pipe Corrosion in Older Homes?
Pipe corrosion sneaks up quietly in older homes, eating away at metal pipes over time and leading to leaks, low water pressure, or even bursts that flood basements and damage floors. Homes built before the 1970s often have galvanized steel or early copper pipes that rust or pit from years of hard water, minerals, or soil contact, turning reliable plumbing into a ticking time bomb. Spotting it early saves thousands in repairs, while simple prevention steps keep water flowing clean and strong. This straightforward guide walks you through easy detection methods and practical fixes anyone can do, helping protect your home without needing fancy tools or expert skills right away.
Spotting the Early Warning Signs at Home
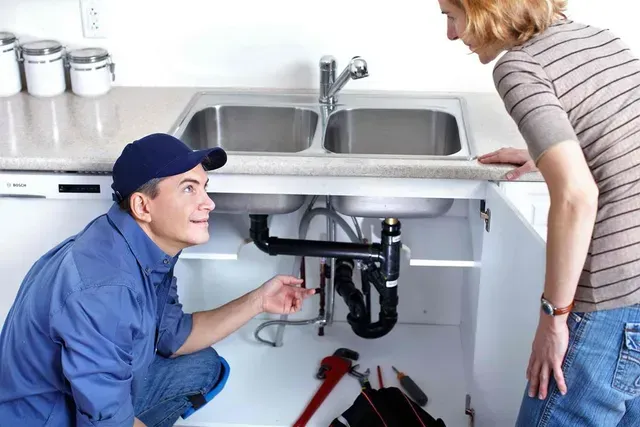
Start with your eyes and ears during routine checks around sinks, toilets, and basement pipes. Look for rusty brown stains on fixtures or walls, especially under cabinets where drips hide— these come from iron oxide flaking off corroded galvanized pipes. Discolored water, like murky yellow or red when you first turn on the tap, means rust inside the lines; let it run for a minute and see if it clears up. Listen for gurgling or sputtering in drains, a sign of buildup narrowing pipes, or feel for warm spots on cold lines indicating pinhole leaks.
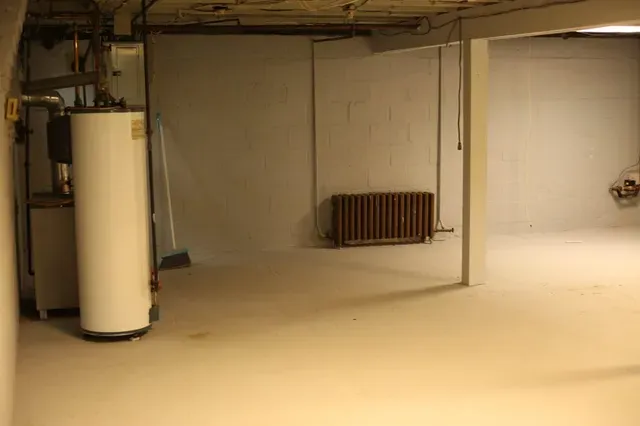
Wet spots on floors or ceilings often point to hidden corrosion overhead. In the basement, check exposed pipes for bulging, green crust on copper (called verdigris), or white scale rings inside. Tap pipes gently with a rubber mallet—a hollow ring means thinning walls, while a solid thunk shows healthy thickness. Do these walkthroughs monthly, especially after heavy rain when soil moisture speeds up rust. Catching signs like these early stops small problems from becoming floods.
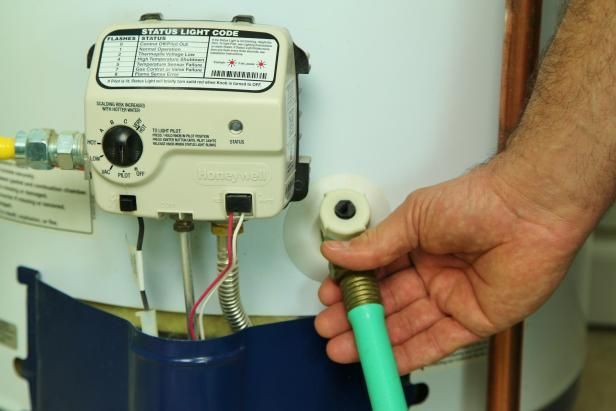
Simple Tests You Can Do Without Tools
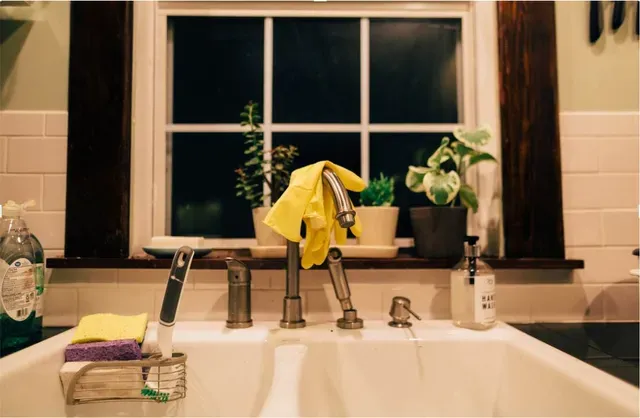
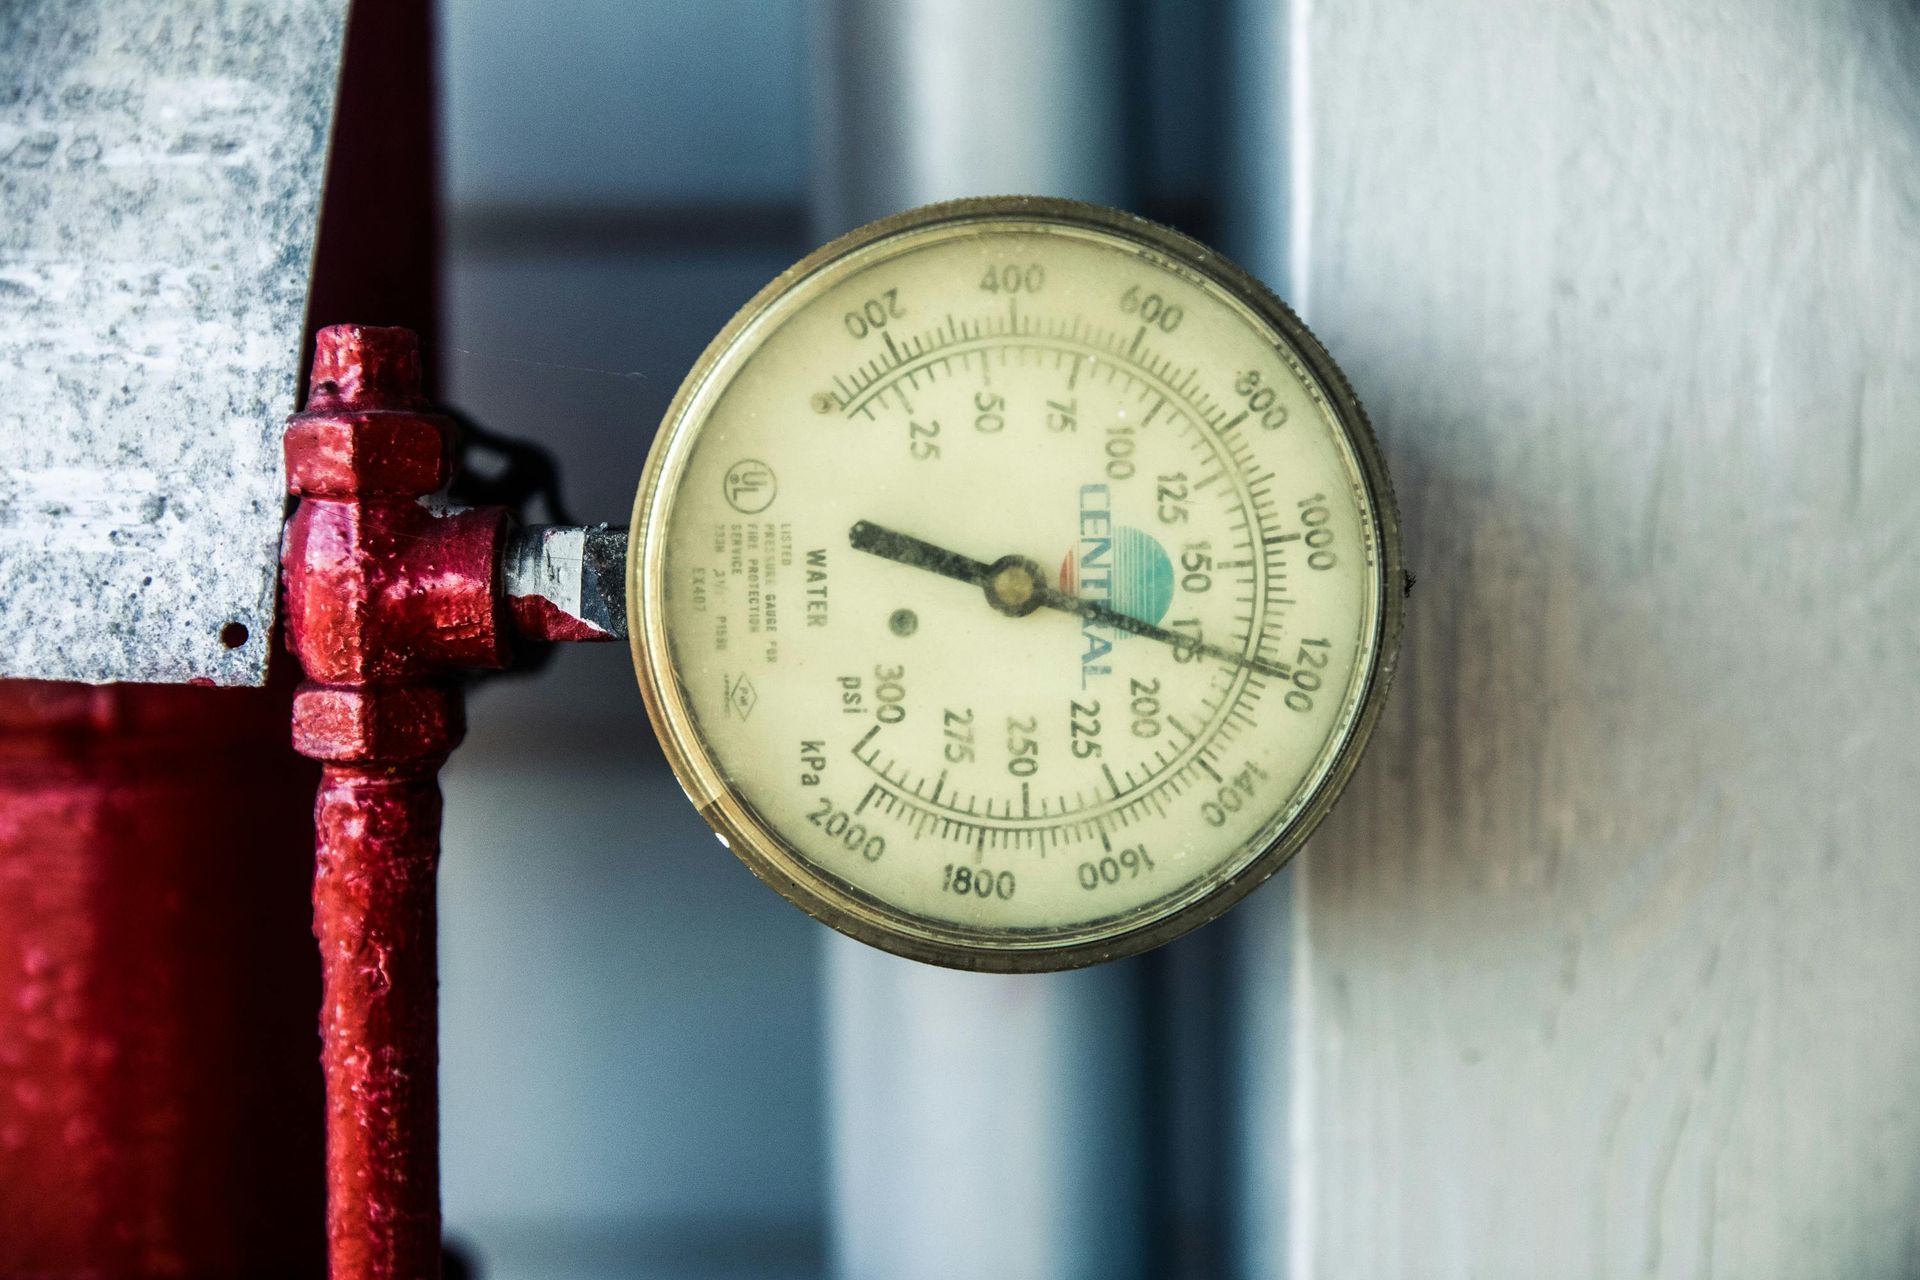
No need for expensive gear to test further at home. Flush every faucet for two minutes and catch water in a clear glass—cloudy sediment or metallic taste screams corrosion. Check your water pressure with a $10 gauge from the hardware store; drops below 40 PSI suggest buildup inside pipes. For galvanized lines, unscrew an aerator screen at the faucet; heavy rust flakes confirm internal decay.
Shine a flashlight into drains or toilet tanks for scale or pitting, and sniff for a metallic odor in standing water. In cold climates, look for frost on pipes signaling poor insulation that lets condensation eat metal. These quick checks take 15 minutes and reveal 70% of issues, giving you facts before calling help. Keep a notebook of dates and findings to track changes over time.
All City Plumbers notes that homeowners spotting these clues often avoid emergency sump pump repair calls, as corroded pipes overload drainage systems during storms.
Digging Deeper with Affordable Diagnostic Steps
Step up with basic tools like a moisture meter ($20 online) to scan walls near pipes—readings over 20% hint at hidden leaks from pits. Borrow a pipe camera from a rental shop for $50 a day to snake into drains, spotting rust or scale 50 feet in without tearing open walls. Test water chemistry with strips from the store: pH under 7 or hardness over 200 ppm fuels corrosion; adjust later if needed.
Pressure test by shutting off the main valve, draining fixtures, then reopening—listen for hissing drops faster than 2 PSI per hour. Tankless water heaters insights show similar risks, as their compact coils corrode faster from untreated hard water, demanding annual flushes that parallel whole-house pipe care. These methods pinpoint trouble without guesswork, often spotting fixes like segment replacements before full repiping.
Everyday Prevention Habits for Long-Term Protection
Prevent corrosion starting today with free or cheap habits. Insulate all cold pipes with foam sleeves from the hardware store to stop sweaty condensation that rusts metal—twist them on in 30 minutes. Flush water heaters yearly by draining the tank bottom, removing sediment that turns water acidic and attacks pipes nearby.
Install a whole-house water softener if hardness exceeds 10 grains per gallon; it swaps calcium for sodium, slashing scale by 90%. Run faucets before use to clear stagnant water where bacteria thrive. The importance of plumbing ventilation plays a big role too, as stuffy basements trap humid air fueling rust—add vents or fans to keep airflow moving and dryness in check. These routines add years to pipes without big spending.
Upgrading Materials and Water Treatment Options
For lasting defense, swap trouble spots with modern PEX plastic pipes—flexible, corrosion-proof, and easy to install with crimp tools under $100. Add phosphate filters at the main line; they coat pipes with a thin protective film, slowing rust 50-fold. For copper upgrades, choose Type L over thin Type M for thicker walls resisting pits.
Aerate water with inline bubblers to boost oxygen, forming stable patinas on copper. Budget $500-2,000 for targeted repipes in high-risk areas like bathrooms. Pair with reverse osmosis under sinks for drinking water free of metals. These upgrades pay off fast by cutting leak risks.
When to Bring in the Professionals
DIY goes far, but bubbling paint, musty odors, or pressure crashes mean call experts for borescopes, ultrasonic thickness checks, or full chemistry labs. Pros map systems invisibly and recommend anode rods for tanks. Expect $300-600 for inspections yielding repair plans.
Conclusion
Detecting and preventing pipe corrosion in older homes boils down to watchful eyes, smart tests, daily habits, and timely upgrades that keep water pure and pipes strong. From stain spotting to softeners and insulation, these steps empower you to outsmart rust without overwhelm. Stay consistent, and your home's plumbing will deliver reliable service for decades, safe and worry-free.