How to Safely Replace Worn-Out Valves and Connectors?
Valves and connectors keep water flowing smoothly in your home, but when they wear out from mineral buildup, corrosion, or age, they leak or fail, risking floods and big repair bills. Replacing them yourself saves money and prevents emergencies, using basic tools like wrenches and pipe cutters anyone can handle with care. Follow these clear steps to swap old parts safely, restoring tight seals and reliable shutoffs without calling pros every time. This guide covers everything from prep to testing, making the job straightforward and secure for homeowners ready to tackle plumbing basics.
Gathering the Right Tools and Materials
Before starting, round up essentials from the hardware store: two adjustable wrenches or a pipe wrench set, a bucket for catching drips, Teflon tape or pipe dope for threads, a pipe cutter or hacksaw, emery cloth for cleaning, and replacement parts matching your old ones—brass ball valves for shutoffs or compression connectors for copper lines. Measure diameters first: 1/2-inch for sinks, 3/4-inch for laundry. Buy extras like shutoff caps for open ends.
Wear safety glasses and gloves to shield from sharp edges or bursts. Lay down towels and have a flashlight handy for tight spots. Shut off the main water supply at the meter or basement valve, then open faucets upstairs to drain lines and relieve pressure—water may spurt initially, so stay alert. This prep takes 15 minutes but prevents slips, ensuring a dry workspace.
Shutting Down and Draining the System Safely
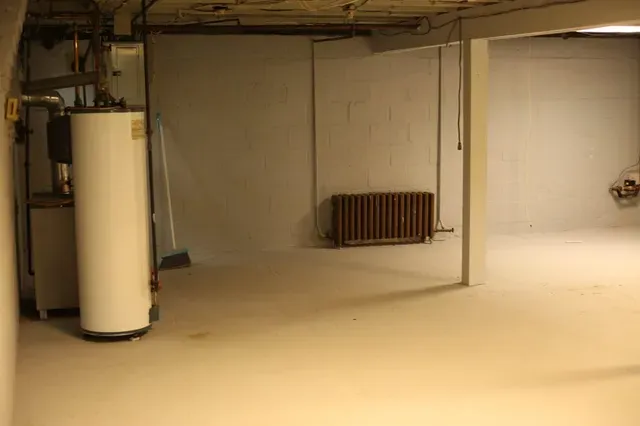
Locate your home's main shutoff—often a gate valve near the water meter or a lever ball valve in the basement—turn it clockwise fully until snug, avoiding overtightening that strips threads. For local jobs like under-sink valves, use the inline shutoff first. Drain residual water by opening the lowest faucet and nearest fixture; a 5-gallon bucket catches flow, preventing slips on wet floors.
Label pipes with tape if multiple lines confuse you, and cap open ends with rubber plugs or plastic nuts to block dirt. Test dryness by wiping joints—any drips mean pressure lingers, so double-check shutoffs. Patience here avoids surprises, keeping the job clean and controlled.
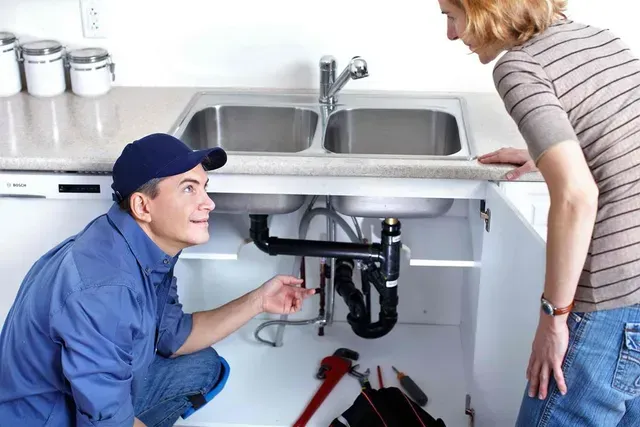
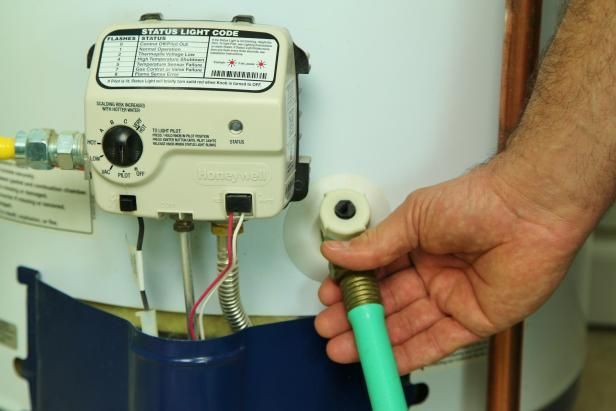
Removing the Old Valve or Connector Step by Step
Place your bucket under the work area and loosen the nut connecting the valve to pipes using two wrenches—one holds the pipe steady, the other turns counterclockwise. For compression fittings, unscrew the ferrule nut slowly; it may stick from scale, so apply penetrating oil and wait 10 minutes if needed. Ball valves unscrew at inlet and outlet unions—grip firmly but gently to avoid twisting supply lines.
If soldering copper, cut the pipe 1 inch beyond the fitting with a cutter, deburr edges with sandpaper for smooth joins later. For stuck galvanized parts, heat lightly with a propane torch if experienced, but skip if unsure—call help. Pry old connectors free with pliers, wiping corrosion gently. Inspect pipes for damage; minor pits get emery cloth smoothing, but deep grooves need cutting back.
All City Plumbers advises photographing setups before disassembly, helping match replacements exactly and easing reassembly.
Preparing and Installing the New Parts
Clean threads shiny with emery cloth or a wire brush, removing old tape or dope completely—grit causes new leaks. For threaded valves, wrap new male ends clockwise with two layers of Teflon tape, starting at the first thread and overlapping halfway, then trim excess flush. Pipe dope adds extra seal on high-pressure lines.
Slide compression rings and nuts onto pipe ends, insert into the fitting, and hand-tighten before wrenching 1/4 turn past snug—overtightening crushes copper. For push-fit connectors like SharkBite, cut pipe square, mark insertion depth, and push firmly until it clicks; no tools needed beyond cutters. Expansion tanks tie in here too, as worn connectors on these pressure buffers fail often—replace during jobs to balance hot water systems without spikes.
Test fit before full tightening, ensuring alignment straight—no bends stress joints.
Securing Joints and Checking for Leaks
Tighten all nuts evenly, alternating sides to pull fittings square. For soldered joints, flux pipe ends, slip fittings on, heat evenly with torch until solder melts and flows—avoid overheating plastic nearby. Cool with wet rag, then wipe excess.
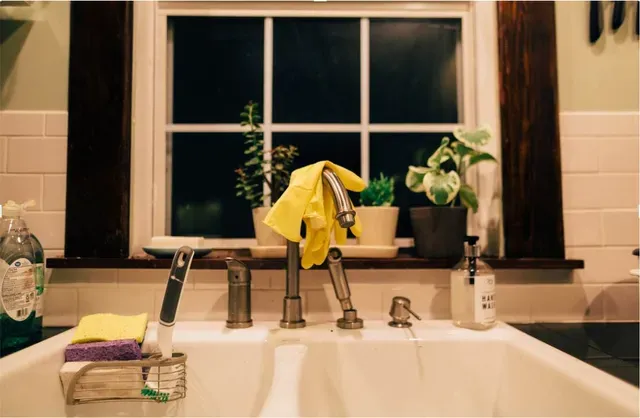
Reconnect supply lines, turn main water slowly counterclockwise, watching for sprays. Open fixture faucets gradually; steady flow without drips means success. Wipe joints dry, run water 5 minutes, and recheck—soap bubbles on threads reveal weepers for retightening. Outdoor kitchen plumbing demands similar care, routing frost-proof lines with buried connectors to handle summer use without winter bursts.
Final Testing and Long-Term Care Tips
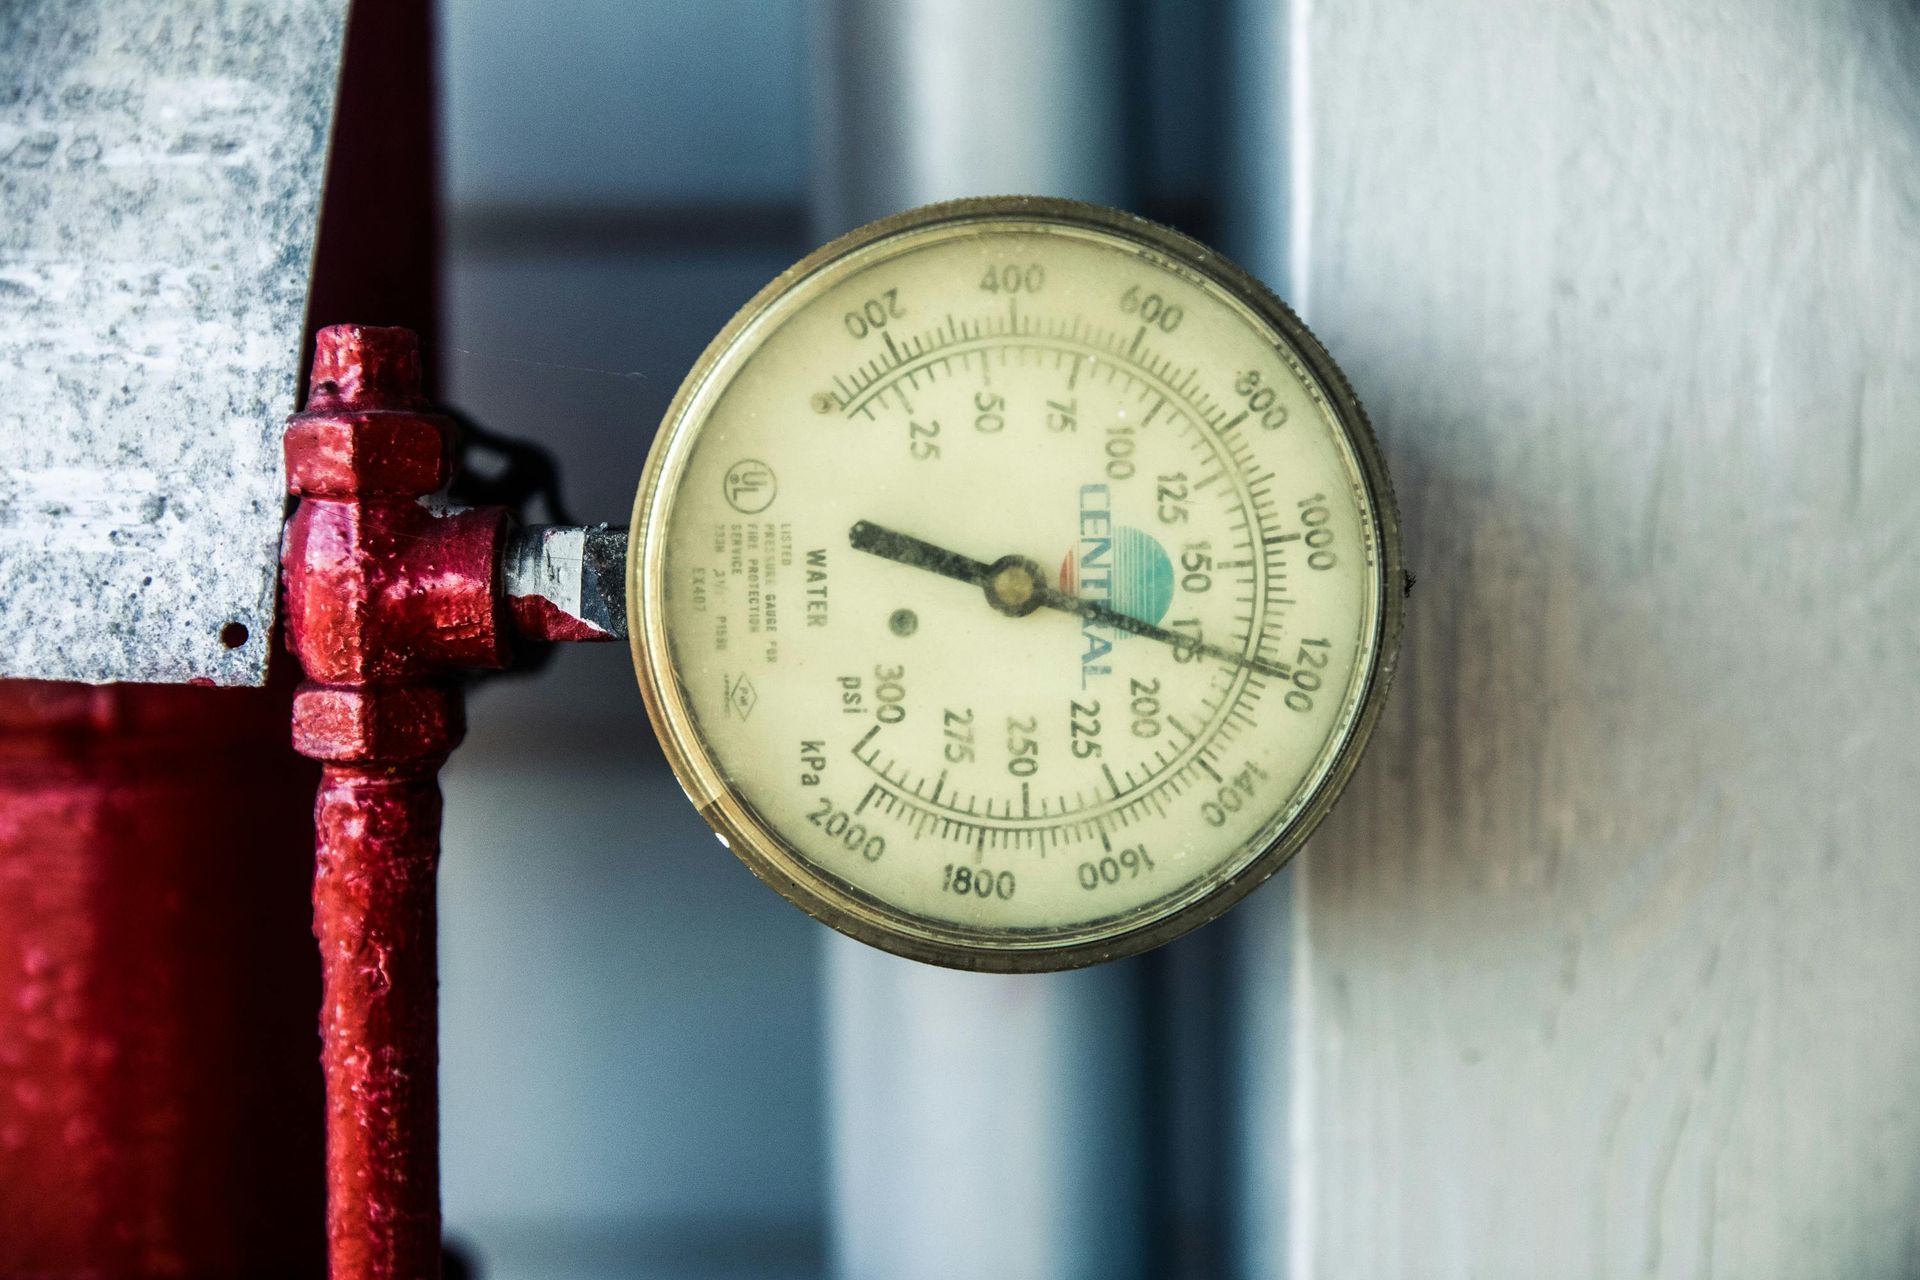
Pressure-test by shutting fixtures and watching gauges if equipped—stable 50-60 PSI holds. Cycle valves open-closed 10 times, feeling smooth action without grinding. Insulate new lines with foam tubes against sweat corrosion.
Annual checks twist handles for ease and scan for rust; replace every 10-15 years proactively. Log dates for warranties. These habits extend life, dodging repeats.
When to Call a Professional
Leaky mains, multi-story jobs, or gas lines need experts—symptoms like low house pressure post-job signal deeper issues. Budget $150-400 per valve for pros.
Conclusion
Safely replacing worn-out valves and connectors boils down to smart prep, careful removal, clean installs, and thorough tests that restore plumbing peace. From tools to tweaks like tape and tanks, these steps empower confident fixes, saving time and stress. Stay vigilant with checks, and your home's water system will run reliably for years, leak-free and strong.