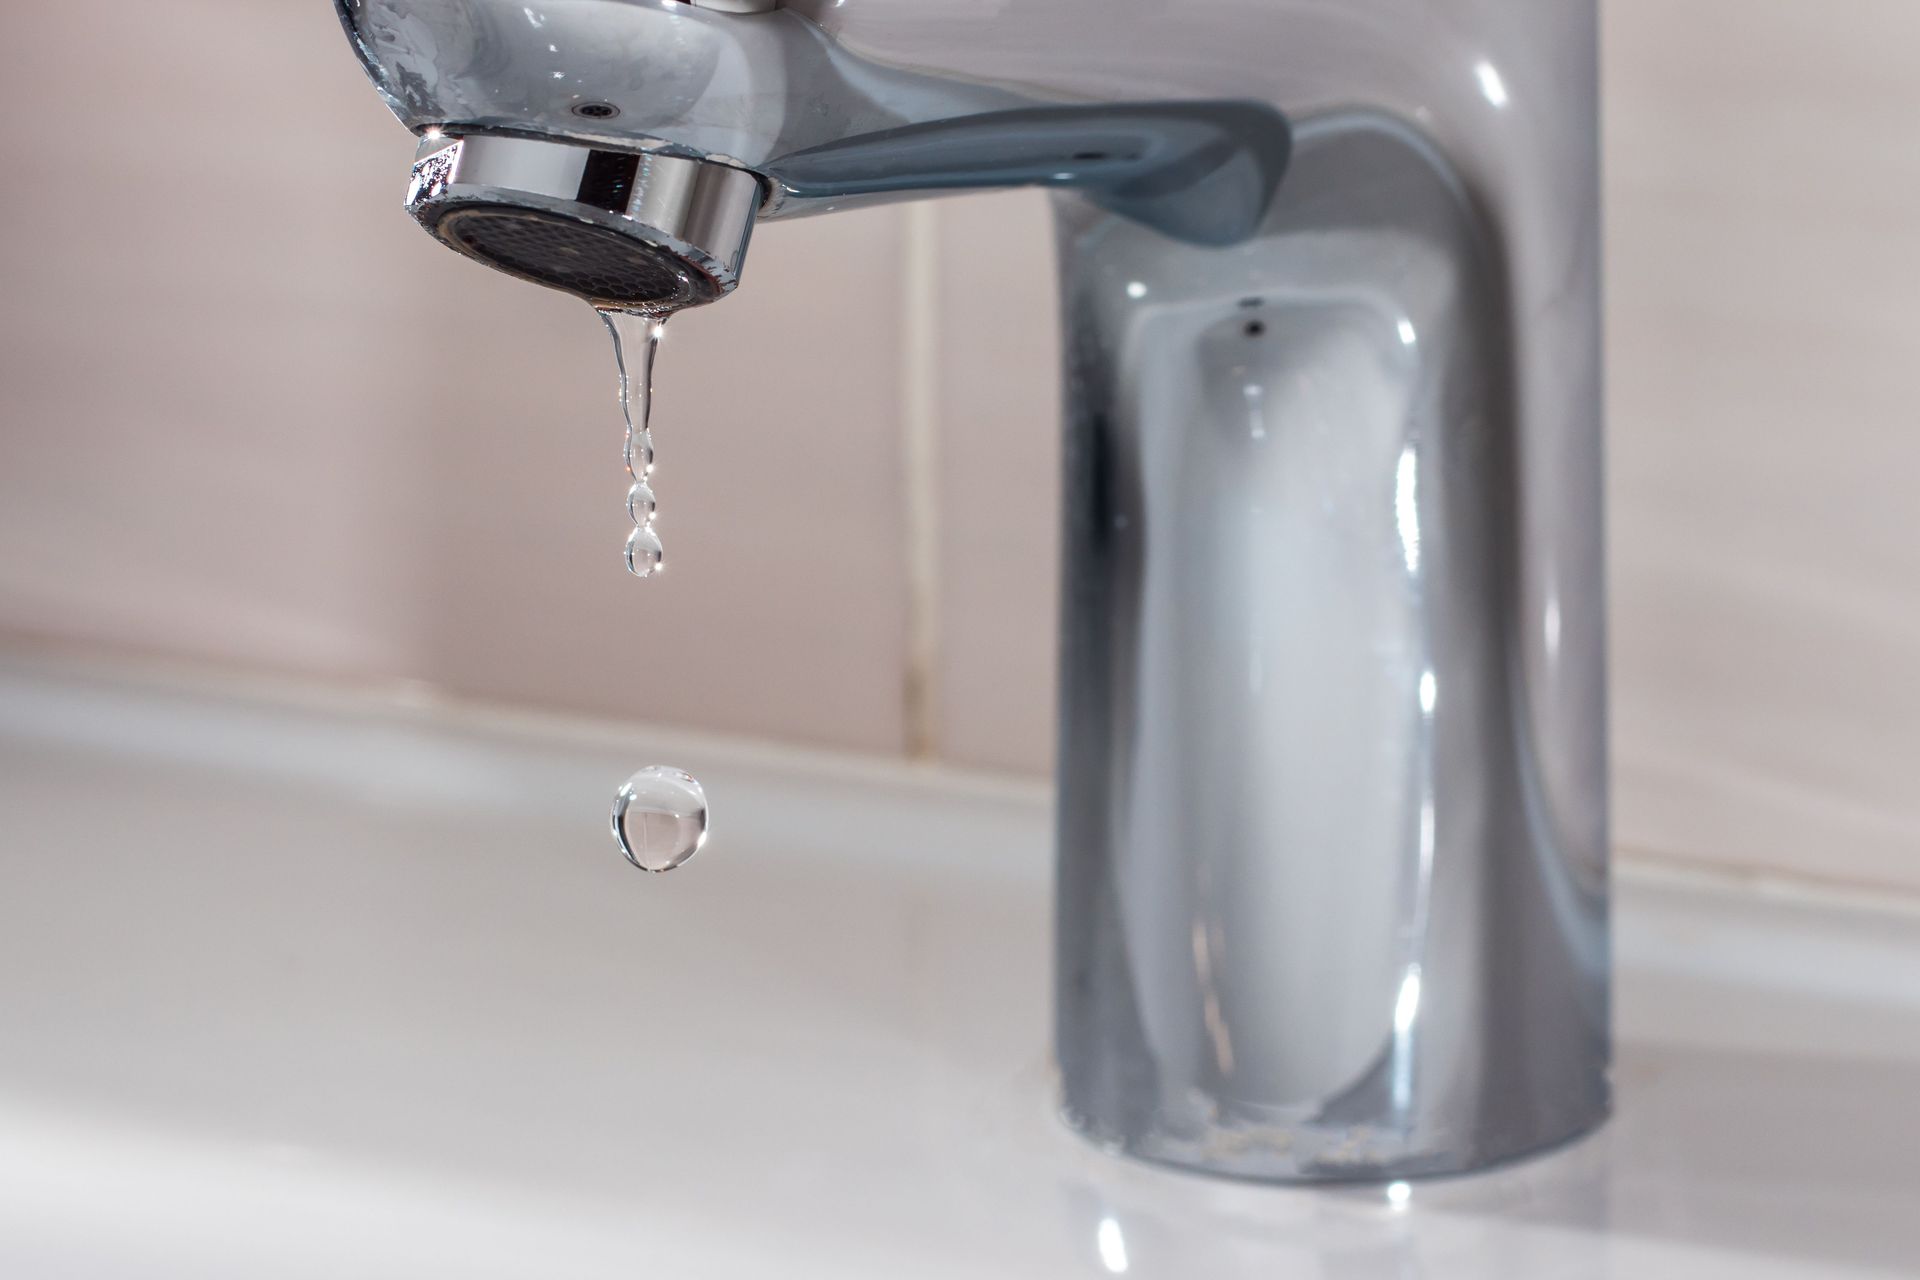
How to Fix a Leaky Faucet
Dealing with a leaky faucet can be a real nuisance, not to mention the wasted water and higher utility bills it can cause. If you’re hearing that constant drip, drip, drip and feeling a bit overwhelmed, don’t worry – you’re not alone! Fixing a leaky faucet is a common home maintenance task that can save you money and conserve water. In this guide, we’ll walk you through simple, step-by-step instructions to help you repair your faucet quickly and efficiently. Let’s dive in and get that leak fixed once and for all!
Read more about What is a slump pump and how does it work!
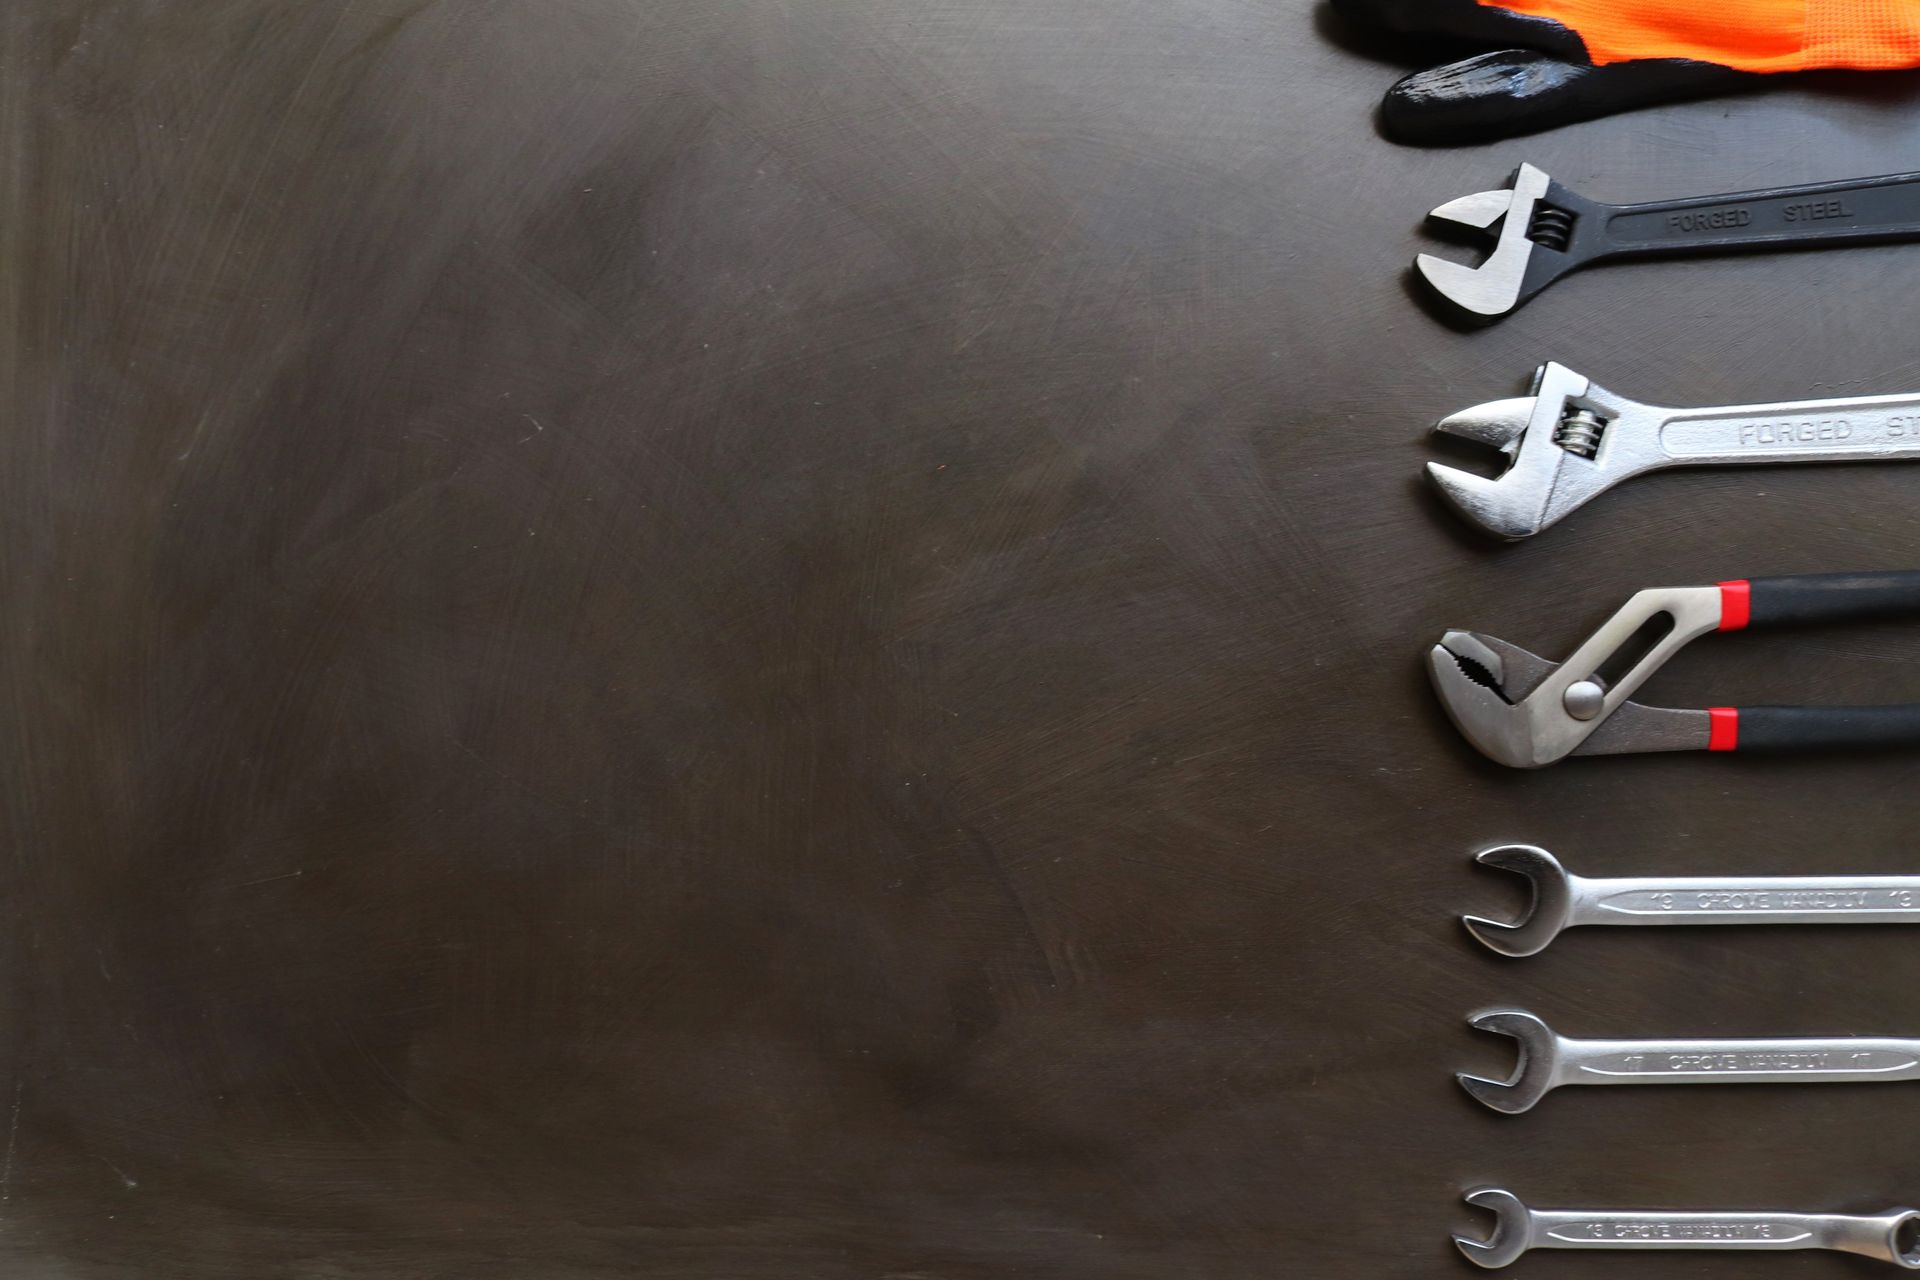
Tools and Materials Needed
Tools:
- Adjustable wrench
- Screwdriver (flathead and Phillips)
- Allen wrench set
- Plumber’s tape (Teflon tape)
- Utility knife or scissors
- Needle-nose pliers
- Basin wrench (if necessary)
- Cleaning cloth
Materials:
- Replacement parts specific to your faucet type (washers, O-rings, seals)
- Plumber’s grease
Having these tools and materials on hand will ensure a smooth and efficient repair process for your leaky faucet.
Step-by-Step Guide to Fixing a Leaky Faucet
Step 1: Turn Off the Water Supply
- Locate the shut-off valves under the sink.
- Turn the valves clockwise to shut off the water.
- Open the faucet to drain any remaining water.
Step 2: Close the Drain
- Use a sink plug to prevent small parts from falling down the drain.
- Place a towel or rag in the sink for added safety.
Step 3: Remove the Faucet Handle
- Use an appropriate screwdriver or Allen wrench to remove screws.
- Carefully remove any decorative caps to access the screws.
- Lift off the handle and set it aside.
Step 4: Disassemble the Faucet
- Follow the specific instructions for your faucet type (compression, ball, cartridge, or ceramic disc).
- Keep track of the order and position of all parts to ensure proper reassembly.
Step 5: Inspect and Replace Damaged Parts
- Check washers, O-rings, and seals for wear and tear.
- Replace any damaged parts with new ones specific to your faucet model.
- Apply plumber’s grease to new O-rings and seals for a better fit.
Step 6: Reassemble the Faucet
- Reassemble the parts in the reverse order of disassembly.
- Ensure all parts are tightly secured but do not over-tighten.
Step 7: Turn the Water Supply Back On
- Slowly turn the shut-off valves counterclockwise to restore the water supply.
- Turn on the faucet to check for leaks.
- Tighten any parts if minor leaks are detected and check again.
Common Issues and Troubleshooting
Persistent Leaks
- Issue: After replacing parts, the faucet continues to leak.
- Solution: Double-check that all parts are installed correctly and tightly secured. Ensure the replacement parts are the correct type and size for your faucet model. If the problem persists, consider replacing the entire faucet assembly or consulting a professional plumber.
Low Water Pressure
- Issue: The faucet has low water pressure after reassembly.
- Solution: Remove and clean the aerator (the screen at the tip of the faucet spout). Debris can accumulate in the aerator, reducing water flow. Soak the aerator in vinegar to dissolve mineral deposits, then rinse and reinstall.
Difficulty Turning the Faucet Handle
- Issue: The handle is hard to turn or doesn’t move smoothly.
- Solution: Check for proper lubrication of moving parts. Apply plumber’s grease to the valve stem and other moving parts. Ensure that parts are reassembled correctly without overtightening, which can cause stiffness.
Dripping from the Spout
- Issue: Water continues to drip from the spout even when the faucet is off.
- Solution: Ensure that the seat washer or cartridge is properly seated and not damaged. For compression faucets, check the valve seat inside the faucet body for wear or corrosion and replace if necessary.
Handle Leaks
- Issue: Water leaks from around the faucet handle.
- Solution: Inspect the O-ring and packing nut. Replace any worn or damaged O-rings, and tighten the packing nut if it’s loose. Use plumber’s tape to create a better seal if needed.
Conclusion
Fixing a leaky faucet might seem daunting at first, but with the right tools, materials, and step-by-step guidance, it’s a task that most homeowners can tackle on their own. Addressing the leak promptly not only saves water and reduces utility bills but also helps prevent potential damage to your sink and fixtures. Remember to take your time, follow each step carefully, and don’t hesitate to consult a professional if you encounter any persistent issues. By keeping your faucet in good working order, you’ll enjoy a more efficient and reliable plumbing system in your home. Happy repairing!