5 Quick Steps to Make a Water Leak Repair
Discovering a water leak in your home can be stressful and alarming. The good news is, you can take quick and effective steps to address the problem before it causes significant damage. In this guide, we'll walk you through five straightforward steps to repair a water leak, helping you safeguard your home and maintain your plumbing system. So, let's dive in and tackle that leak head-on!
Contact All City Plumbers for excellent plumbing services!
Turn Off the Water Supply
The first step in repairing a water leak is to stop the flow of water to prevent further damage. Locate the main water valve, usually found near the water meter or where the main water line enters your home. Turn the valve clockwise to shut off the water supply completely. Double-check that the water is off by turning on a nearby faucet; if no water comes out, you're ready to move to the next step.
Clean Up Any Water & Dry The Pipes
Before you start the repair, it's essential to clean up any standing water and dry the area around the leak. Use towels or a mop to soak up water on the floor and surrounding surfaces. Once the area is dry, wipe the leaking pipe with a dry cloth to ensure it is completely moisture-free. This step is crucial because it helps the repair materials adhere better and ensures a more effective fix.
Apply Plumbing Putty to Leaky Pipe
Plumbing putty is a quick and effective way to seal small leaks temporarily. Take a small amount of putty and knead it until it's pliable. Apply the putty directly over the leak, pressing it firmly into the pipe and smoothing it out to ensure a tight seal. Allow the putty to set according to the manufacturer's instructions before turning the water back on. This should provide a temporary fix until a more permanent repair can be made.
Head to5 best Plumbing maintenance tips for homeowners!
Replace The Leaky Pipe
For a more permanent solution, replacing the leaky pipe section is often necessary. First, identify the damaged part of the pipe. Use a pipe cutter to remove the leaky section carefully. Measure and cut a new pipe segment to match the removed section. Fit the new pipe into place, securing it with appropriate fittings such as couplings or connectors. Tighten all connections to ensure a leak-proof seal before restoring the water supply.
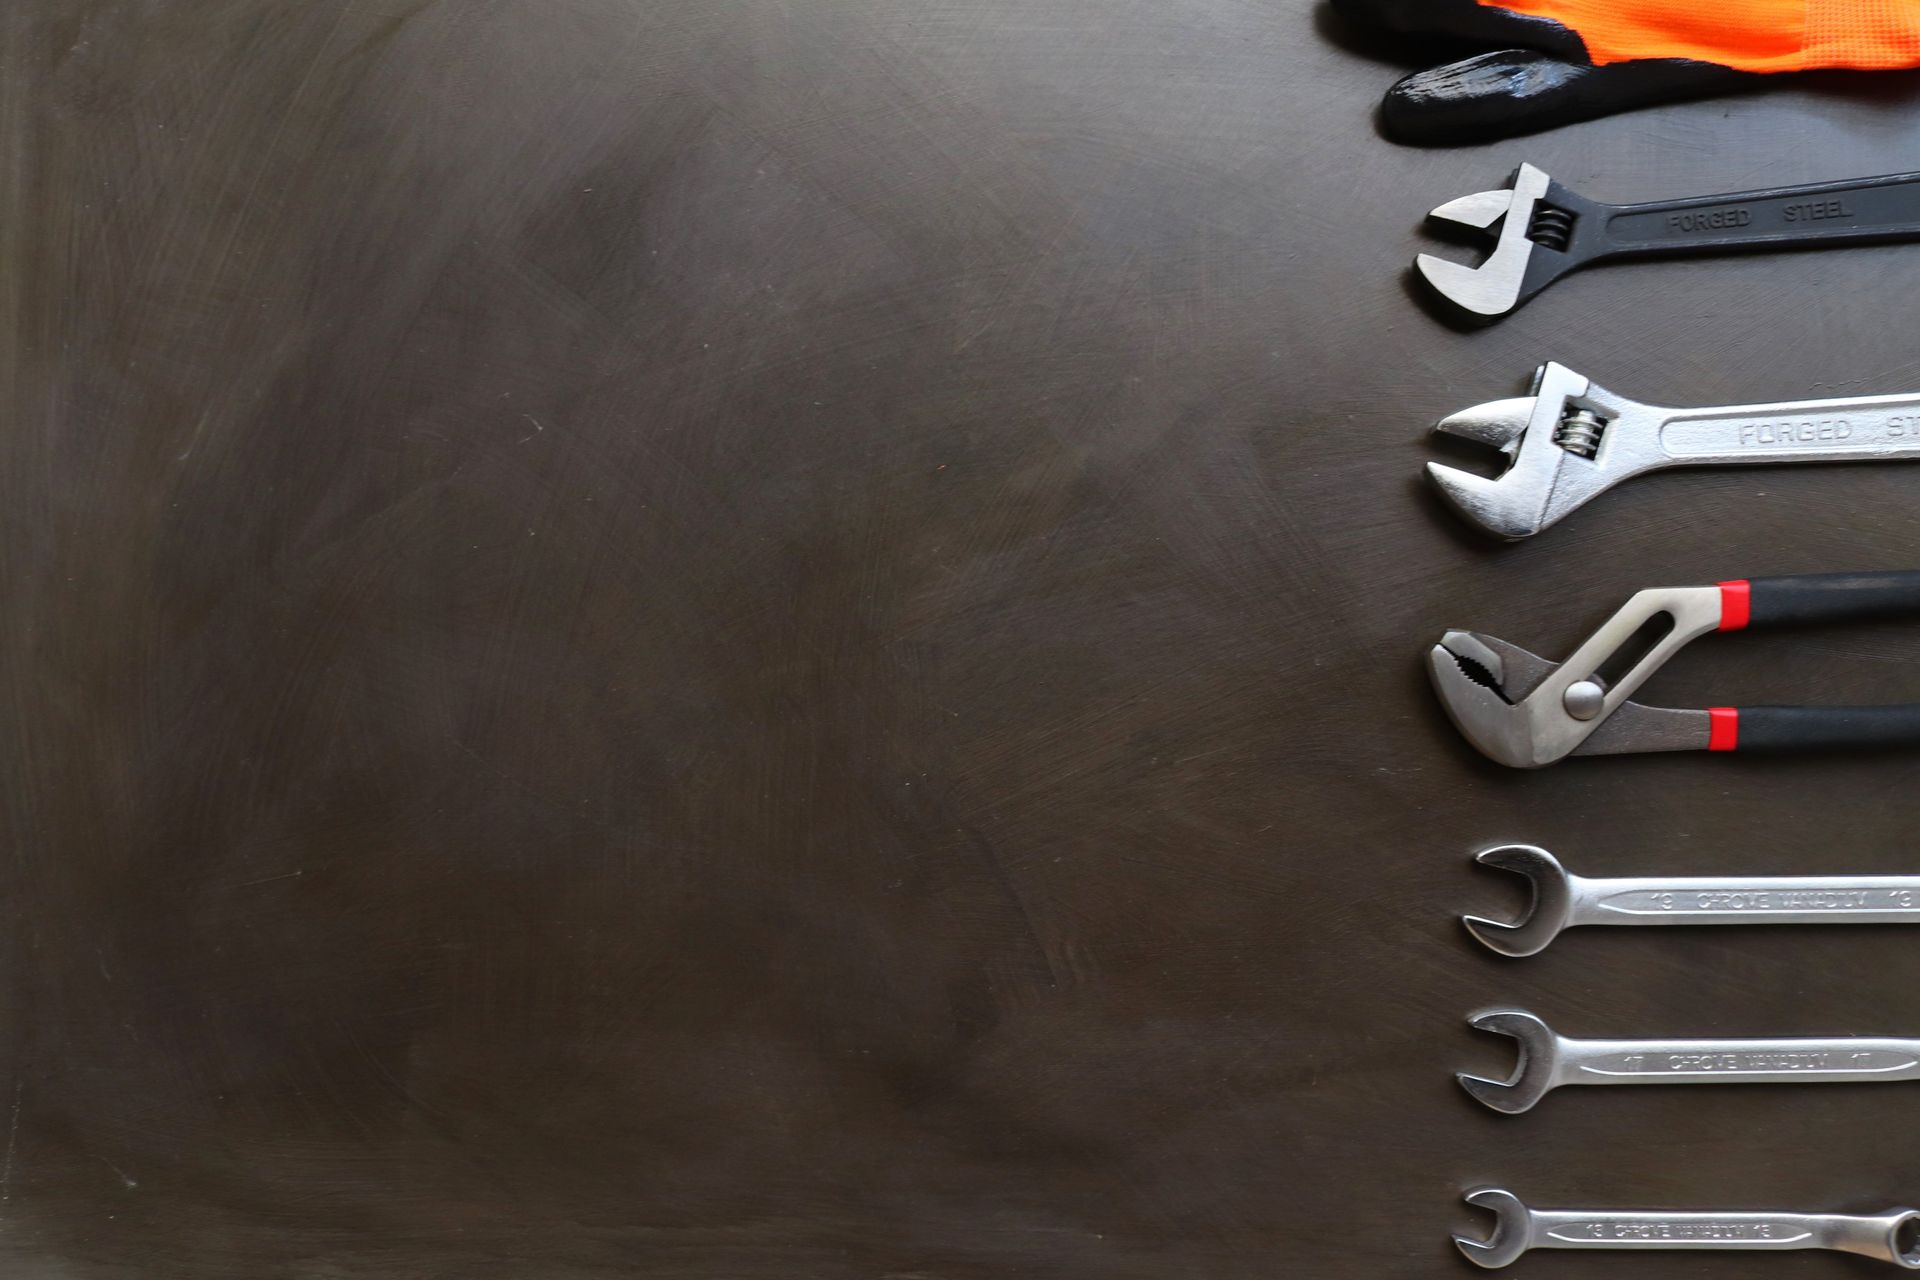
Using Clamps for Water Leak Repairs
Pipe clamps are another effective method for sealing leaks, especially for larger cracks or holes. Position the clamp directly over the leaky area, ensuring it covers the entire section of the pipe. Tighten the screws or bolts on the clamp to secure it in place. Once the clamp is tightly fitted, check for any remaining leaks. Adjust the clamp if necessary to ensure a complete seal. This method can serve as a robust temporary or even permanent fix, depending on the severity of the leak.
Conclusion
Fixing a water leak doesn't have to be a daunting task. By following these five simple steps—turning off the water supply, cleaning and drying the pipes, applying plumbing putty, replacing the leaky pipe, and using clamps—you can effectively address and repair leaks in your home. Regular maintenance and prompt repairs can prevent more significant damage and costly repairs in the future. Remember, if you encounter a complex leak or feel unsure about the repair process, it’s always best to seek professional assistance.
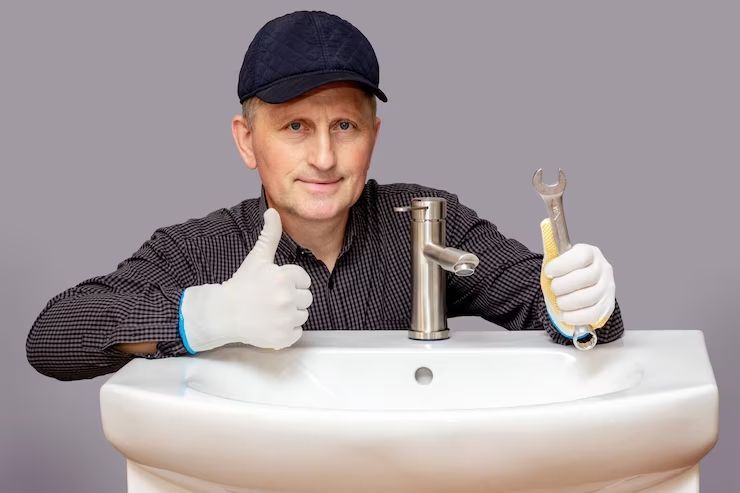
For expert help with any plumbing issues, contact All City Plumbers.
Our experienced team is ready to provide fast, reliable service and ensure your home’s plumbing system is in top condition. Don't hesitate to call us for all your plumbing needs!