How to Install a Water Shutoff Valve Near Key Appliances?
Installing a water shutoff valve near key appliances such as washing machines, water heaters, dishwashers, and toilets provides critical control for leak prevention and rapid response during emergencies. A properly installed valve allows occupants to isolate water flow to a single appliance without shutting off the entire house supply, reducing water damage risk and simplifying maintenance. This article explains how to choose the right valve, the installation process, leak isolation techniques, patching methods for associated piping, and long-term maintenance strategies to ensure reliable operation.
Choosing the Right Shutoff Valve Type
Selecting the appropriate valve depends on the appliance, pipe material, and available space. Common options include ball valves, gate valves, and angle stops. Ball valves offer superior reliability and full flow with a simple quarter-turn operation, making them ideal for most residential applications. Gate valves, with their multi-turn operation, are more prone to wear and sediment buildup, so they are generally less recommended for appliance-specific shutoffs.
For compact spaces behind appliances, angle stops that mount directly to the wall or floor provide a streamlined solution. Compression fittings work well for copper pipes, while threaded or push-to-connect fittings suit PEX, CPVC, and other modern materials. Ensure the valve size matches the existing pipe diameter—typically 3/8 inch for washing machines and dishwashers, and 1/2 inch for water heaters and toilets. Quality valves with brass or stainless-steel bodies provide long-term durability compared to plastic alternatives.
Planning the Installation and Preparation
Before installation, plan the valve location to ensure accessibility and ease of operation. The valve should be positioned where it can be reached quickly without moving appliances excessively, and where it won't be obstructed by cabinetry or stored items. Check local plumbing codes for requirements on valve placement and spacing, and obtain any necessary permits.
Prepare the work area by gathering tools and materials: the appropriate valve, pipe cutters, fittings, tubing, shut-off tools for existing supply lines, and a bucket or towels for water containment. Turn off the main water supply to the house and open faucets downstream to drain residual pressure. If the installation involves cutting into an existing line, confirm the pipe material and condition to select compatible fittings and avoid complications during the cut.
The Installation Process Step-by-Step
Begin by isolating the existing water line to the appliance. If a dedicated line already exists, shut it off at the main and drain the section. For new installations, identify the tapping point on the main supply or a nearby branch line where the valve will be added. Use a pipe cutter to make a clean, square cut at the designated location, removing any debris or burrs from the pipe ends.
For copper pipes, install a compression or threaded fitting with the valve, ensuring the joint is properly soldered if required. For PEX tubing, use a push-to-connect or crimp fitting compatible with the valve. For CPVC, use threaded fittings with appropriate primer and cement. Align the valve so the handle is oriented for easy access and operation, and secure the valve with mounting brackets if required by the design.
After installation, restore water pressure gradually and check all connections for leaks. Open the valve slowly to allow water to fill the line and verify that the appliance receives water without pressure issues. Test the valve by closing and reopening it to confirm smooth operation. If any leaks appear, tighten fittings or re-solder joints as needed before completing the job.
Leak Isolation and Emergency Response
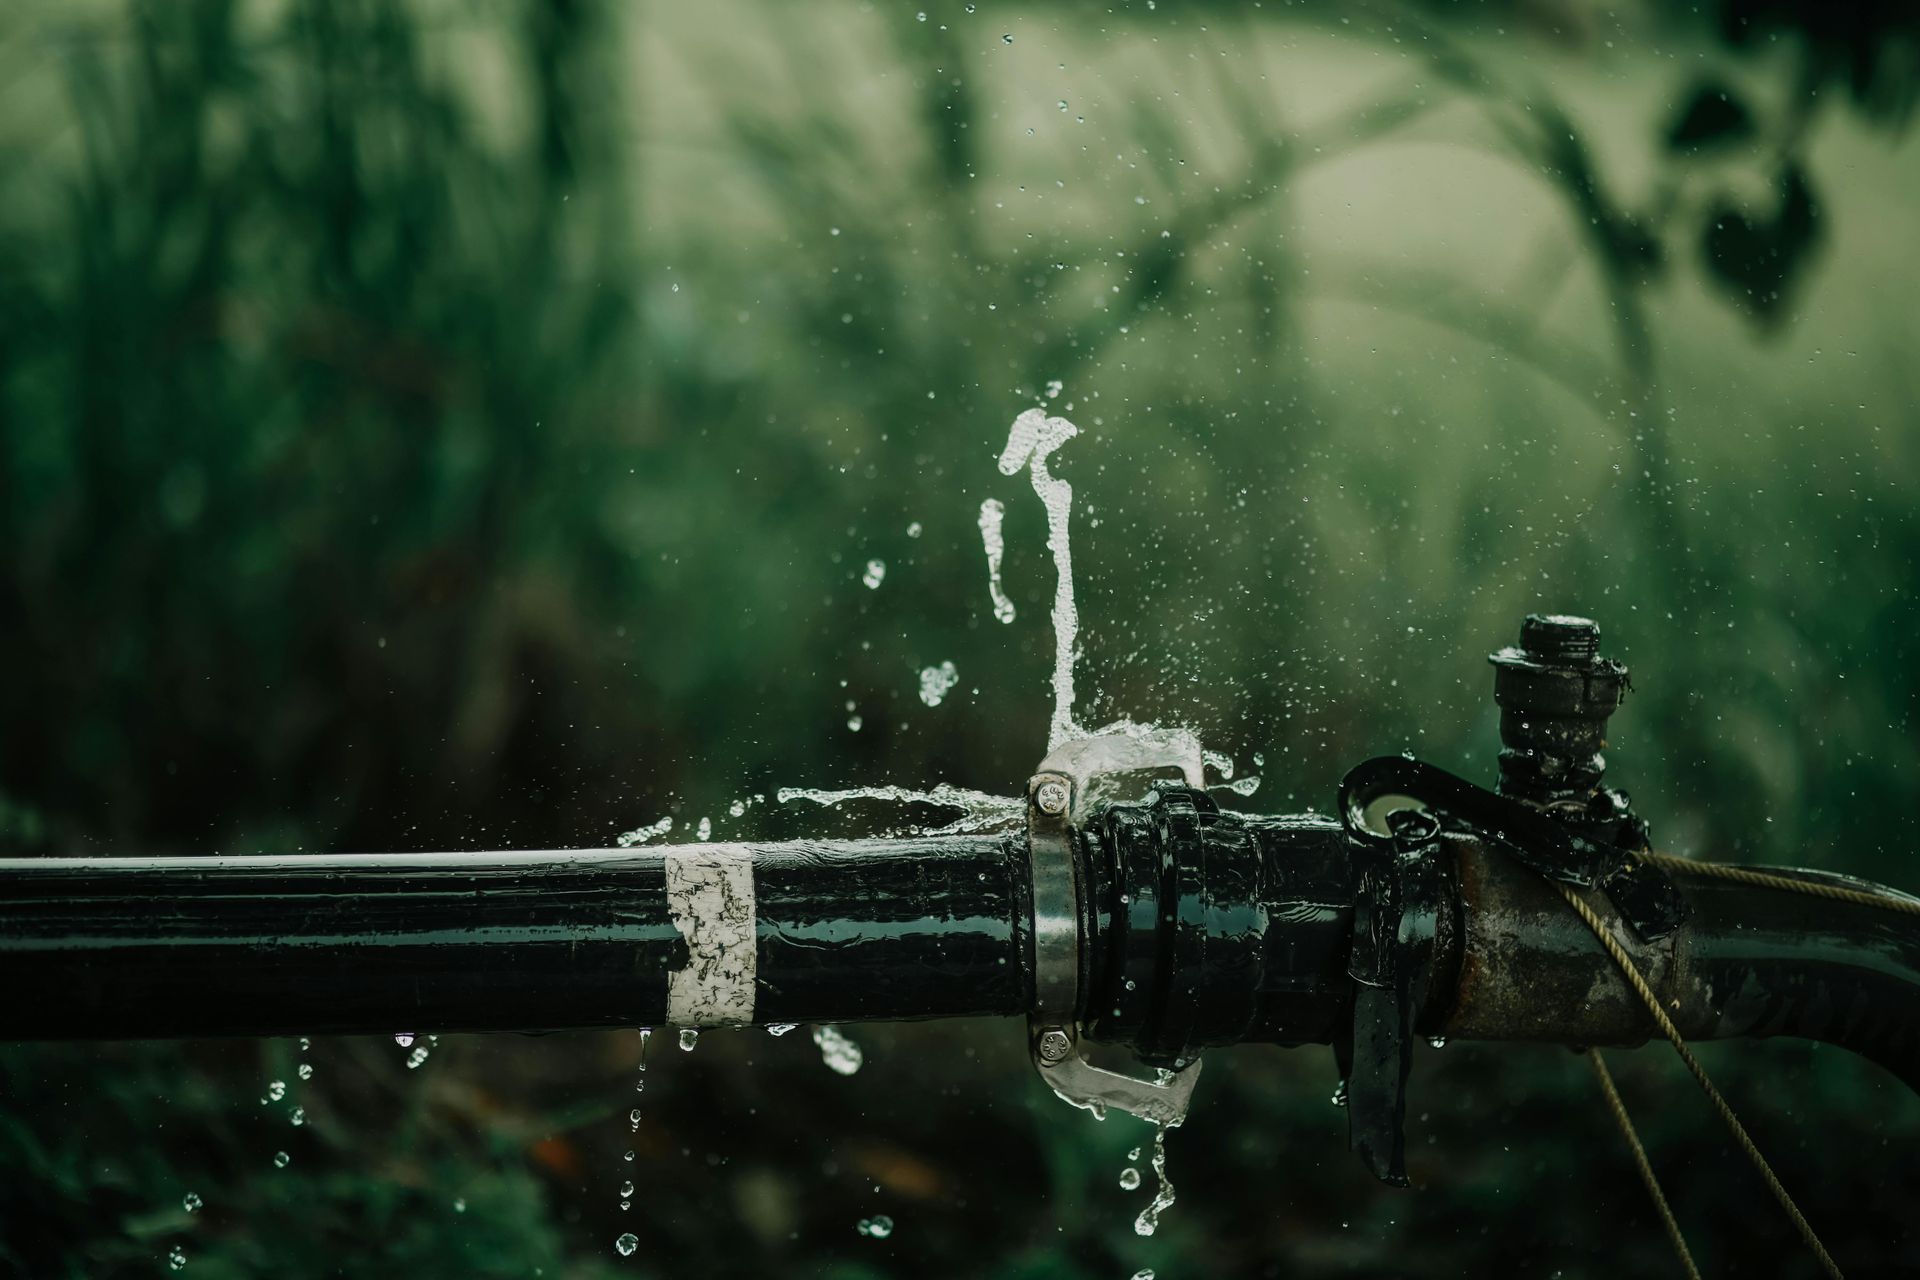
Once installed, the shutoff valve provides immediate leak isolation capability. In an emergency, turning off the valve stops water flow to the affected appliance without disrupting the rest of the plumbing system. This rapid response minimizes water damage and allows time for repairs or professional consultation. Teach household members how to locate and operate the valve to ensure quick action during emergencies.
For properties with multiple shutoff points, create a simple map or label each valve to identify its associated appliance. This documentation helps emergency responders or maintenance personnel locate the correct valve quickly. In cases where multiple valves are installed, consider installing a master shutoff near the main entry point for whole-house isolation during major incidents.
Familiarity with emergency services protocols is also important. If a leak causes significant damage or poses safety risks, contact licensed plumbers or emergency services immediately. Reputable plumbing companies such as All City Plumbers often offer emergency response services for urgent leaks, valve failures, or water damage incidents.
Repair Process for Valve Failures and Leaks
Valves may fail over time due to worn seals, sediment buildup, or corrosion. If a valve becomes difficult to operate or leaks at the stem, it may need repair or replacement. For minor stem leaks, tightening the packing nut or replacing the packing washer can restore function. For more significant failures, replacing the entire valve is often more cost-effective than attempting repairs.
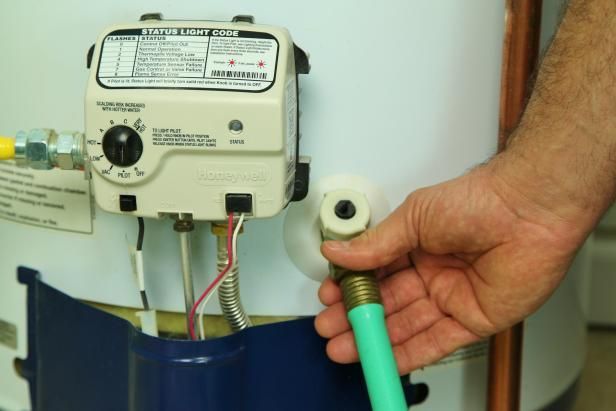
To replace a failed valve, shut off the main water supply and drain the affected line. Cut out the old valve and install a new one using the same fitting type and pipe material. Ensure the new valve is properly aligned and secured, then test for leaks after restoring water pressure. If the pipe itself is damaged during removal, repair or replace the affected section before installing the new valve.
Patching Methods for Associated Piping
When installing or replacing shutoff valves, associated piping may require minor repairs or patching. Small leaks at fittings can be resolved by replacing compression nuts, re-soldering copper joints, or installing threaded connectors with appropriate sealing compounds. For damaged pipe sections, cutting out the affected length and installing couplings or a new short run restores integrity.
In cases where piping is embedded in walls or floors, access panels or small excavations may be necessary to reach the leak. Proper support and alignment of the repaired piping reduce stress on joints and prevent premature failures. When patching is used as a temporary measure, schedule permanent repairs promptly to avoid water damage or system downtime.
For properties with extensive plumbing networks, proactive inspections help identify issues early. Regular maintenance activities such as inspecting your crawlspace for plumbing issues can reveal moisture intrusion, pipe deterioration, or early signs of leaks that might affect newly installed valves or downstream appliances. These inspections complement valve installation by ensuring the broader plumbing system remains functional and safe.
Long-Term Maintenance Strategies
Routine maintenance ensures shutoff valves remain reliable and accessible. Periodically test each valve by closing and reopening it to confirm smooth operation and prevent sediment buildup from stiffening the mechanism. Lubricate the valve stem if the design allows, and check for signs of corrosion or leakage at connection points.
Inspect the area around each valve for water stains, mold, or moisture that might indicate a leak. Clean the valve handle and surrounding area to maintain accessibility. If the valve is installed in a location prone to debris or sediment, consider adding an inline filter to protect the valve mechanism and downstream appliances.
For properties with multiple valves, maintain a maintenance log that records installation dates, test results, and any repairs performed. This documentation helps track valve performance and identify patterns that might indicate broader plumbing issues. Coordinate valve maintenance with other plumbing maintenance tasks to ensure comprehensive system care.
Integrating Valve Maintenance with Overall Plumbing Care
Shutoff valve maintenance should be integrated with broader plumbing maintenance practices. Regular inspections of the building's infrastructure—such as inspecting your crawlspace for plumbing issues—can reveal early signs of pipe deterioration or moisture that might affect valve performance or downstream fixtures. Monitoring pump behavior and drainage patterns can prevent pressure anomalies that stress newly installed valves.
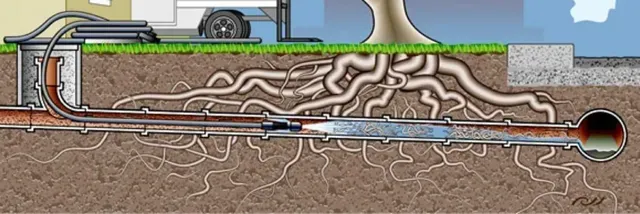
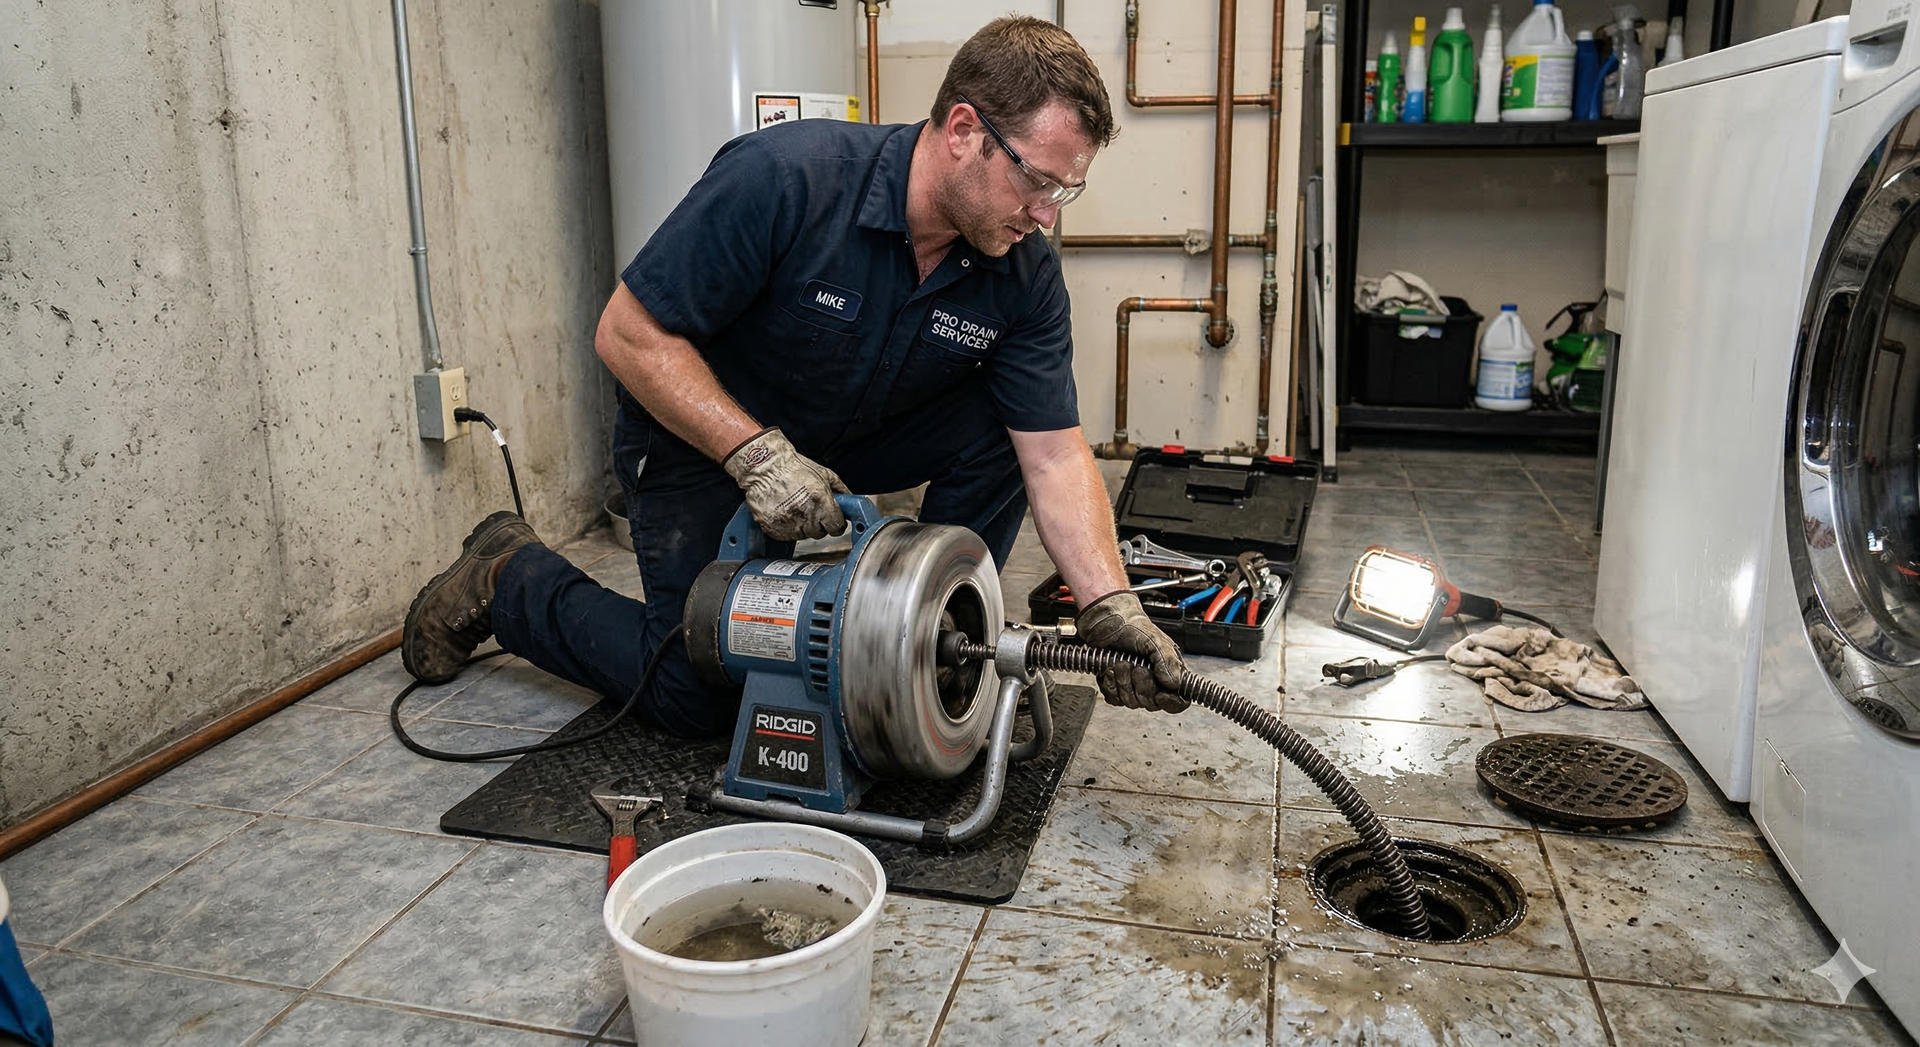
Addressing related plumbing concerns helps maintain overall system health. Activities such as drain cleaning prevent clogs that can cause water backup or pressure fluctuations, which indirectly affect valve and appliance performance. Coordinating these maintenance activities with a qualified service provider creates a comprehensive approach to plumbing system health.
Selecting a Qualified Service Provider
While DIY installation is possible for experienced homeowners, hiring a licensed plumber ensures proper installation and code compliance. Look for professionals with experience in valve installation and with local plumbing codes. Verify licensing, insurance, and references before hiring. Reputable companies will provide detailed proposals, document all work, and follow manufacturer guidelines.
Firms with broad capabilities, such as All City Plumbers, can handle related tasks like leak detection, drain cleaning, and general plumbing maintenance in a single engagement, reducing coordination delays and ensuring consistent service quality. Request warranties on installation work and ask about maintenance packages that include periodic valve testing and inspections.
Emergency Services and Rapid Response
In cases where a valve installation is part of a emergency response—such as replacing a failed valve during a major leak—contact emergency plumbing services immediately. Licensed plumbers who offer emergency response can arrive quickly to install temporary isolation valves, perform rapid repairs, or replace failed components.
Emergency services are particularly important for incidents that pose safety risks or cause significant water damage. Having a trusted emergency plumbing provider on call ensures rapid response during critical situations. Many plumbing companies maintain emergency hotlines and prioritize urgent calls to minimize damage and restore normal operation quickly.
Conclusion
Installing water shutoff valves near key appliances is a practical and essential upgrade that provides critical control for leak prevention and emergency response. Proper valve selection, careful installation, and regular maintenance ensure reliable operation and minimize water damage risk. Valve installations should be integrated with broader plumbing maintenance practices to maintain overall system health and safety.
Engage qualified professionals for complex installations or emergency situations to ensure proper execution and code compliance. A proactive approach that includes scheduled valve testing, regular inspections of the building's infrastructure, and coordination with emergency services when needed will protect your home and appliances from water damage for years to come.