Step-by-Step: Inspecting Your Crawlspace for Plumbing Issues
The crawlspace beneath your home is a critical but often overlooked area that houses essential plumbing components, including water supply lines, drain pipes, shut-off valves, and sometimes water heaters or expansion tanks. Undetected plumbing issues in this space can lead to significant water damage, mold growth, structural deterioration, and increased utility costs before they become apparent in living areas. Regular crawlspace inspections enable homeowners to identify problems early, prevent catastrophic failures, and maintain the integrity of their plumbing system. Because crawlspace environments are typically dark, damp, and confined, inspections require proper preparation, safety equipment, and a systematic approach to ensure thorough assessment and accurate diagnosis of potential issues.
Preparing for a Safe Crawlspace Inspection
Before entering your crawlspace, proper preparation ensures safety and enables effective inspection. Wear appropriate protective gear including a N95 respirator mask to filter dust and mold spores, safety goggles to protect eyes from debris, heavy-duty gloves to prevent cuts from sharp objects, and coveralls or old clothing that can be washed afterward. Bring a bright flashlight or headlamp with fresh batteries, as crawlspace lighting is typically inadequate for detailed inspection. Check for adequate ventilation before entering, and if the space is poorly ventilated or you detect strong musty odors, limit your time inside and consider using a portable fan to improve air circulation. Clear a path to critical areas by moving insulation or debris carefully, and have a cell phone or communication device available in case you need assistance. If your crawlspace has electrical wiring, be cautious of exposed wires and avoid contact with any electrical components.
Systematic Visual Inspection of Water Supply Lines
Begin your crawlspace inspection by systematically examining all water supply lines running through the space. Follow the main water line from where it enters the home outward, checking every accessible section for signs of leaks, corrosion, or damage. Look for water stains, discoloration, or mineral buildup on pipes, which indicate past or ongoing leaks. Inspect pipe joints, fittings, and connection points closely, as these are common failure locations where leaks typically originate. Check for sagging or improperly supported pipes that may stress joints and lead to failures over time. Examine both copper and plastic piping for signs of corrosion, pitting, or cracking, and note any areas where pipes contact wood framing or other materials that could be damaged by moisture. Pay special attention to areas where pipes pass through walls or floors, as these transition points are vulnerable to leaks from movement or settling.
Examining Drain Pipes and Waste Lines for Problems
Drain pipes and waste lines require careful inspection for different issues than supply lines, focusing on blockages, improper slope, joint failures, and venting problems. Look for signs of leakage at pipe joints and connections, noting any water stains, dampness, or mildew growth that suggests water escaping from the pipe. Check for proper slope and alignment, as drain pipes must maintain consistent downward gradient toward the main sewer line to function properly. Sagging or bellied sections of pipe can collect waste and cause blockages that lead to backups and odors. Inspect drain pipes for cracks, especially in older cast iron or clay pipes that may have deteriorated over time. Look for signs of root intrusion where pipes meet the main sewer line, as tree roots seeking moisture can penetrate pipe joints and cause severe blockages. Note any gurgling sounds or slow drainage observed in upper fixtures, as these may indicate drain line problems located in the crawlspace.
Identifying Leak Sources and Assessing Damage
When you discover evidence of water in the crawlspace, identifying the leak source is critical for effective repair and preventing further damage. Trace water stains or moisture trails upward to their origin, following the path water takes as it flows downward from the leak point. Distinguish between active leaks, which show fresh water, wet surfaces, or dripping, and old leaks, which show dried stains, mineral deposits, or corrosion without current moisture. Use a moisture meter if available to assess the extent of water damage in surrounding materials including wood framing, insulation, and subflooring. Check for signs of mold growth, which appears as black, green, or white fuzzy patches on wood or insulation, and note any musty odors that indicate persistent moisture problems. Assess whether the leak is from a supply line under pressure, which will continue flowing until shut off, or a drain line, which only leaks when water is used. This assessment informs the urgency of repair and the leak isolation strategy.
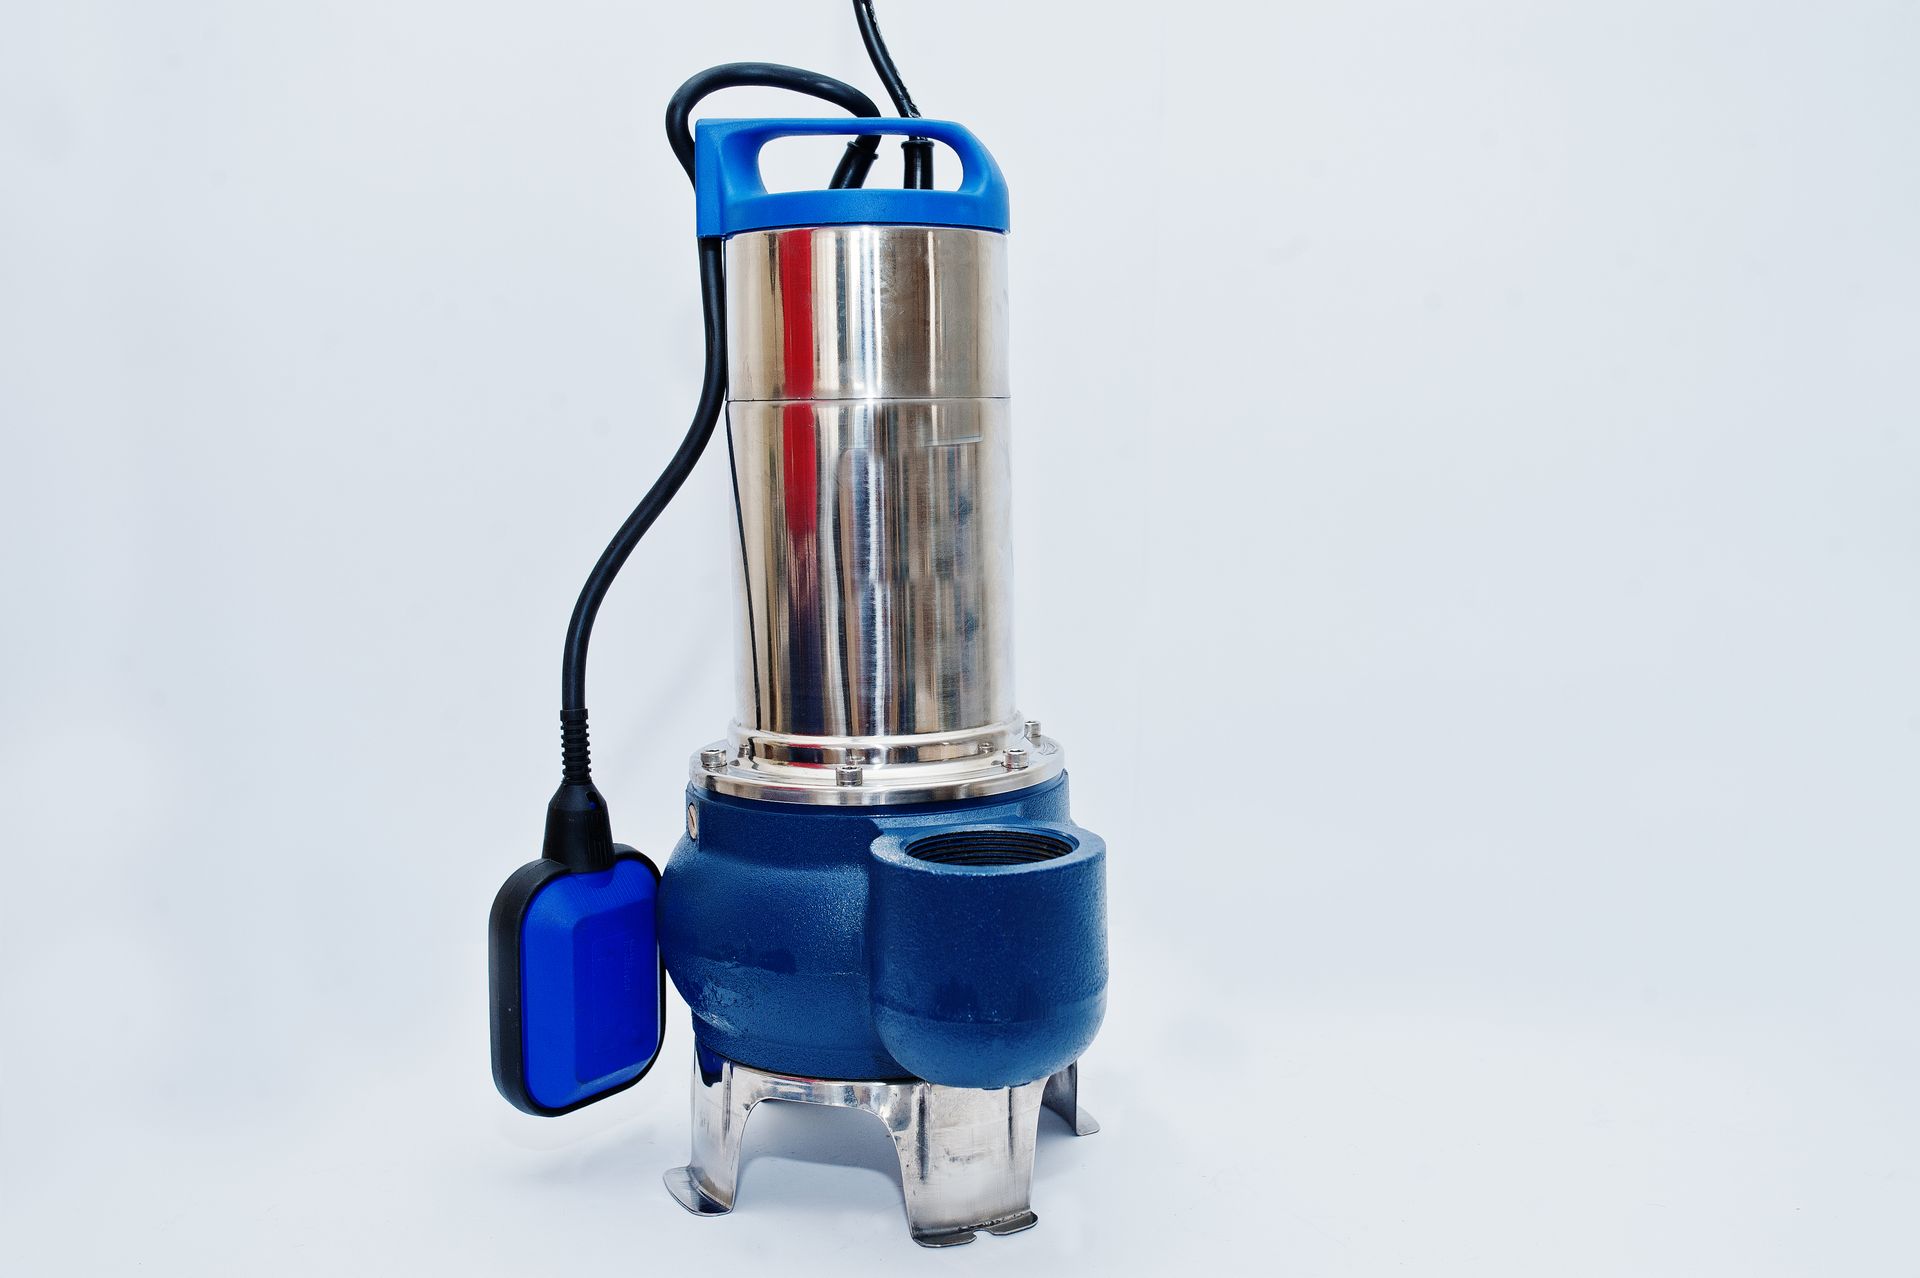
Leak Isolation Techniques for Crawlspace Plumbing Problems
Leak isolation is essential when addressing crawlspace plumbing leaks to prevent continued water damage while repairs are scheduled. For supply line leaks, locate the nearest shut-off valve and turn it off to stop water flow to the affected section. If a localized shut-off is not available or accessible, shut off the main water supply to the entire home to stop all water flow. For drain line leaks, isolation involves determining when water is being used in fixtures that feed that drain line and minimizing use until repairs are completed. In some cases, temporarily capping a drain line may be necessary to stop water from reaching the leak point. Effective leak isolation not only stops active water damage but also creates a drier environment for proper repair and prevents mold growth that thrives in moist conditions. Professional plumbers from companies like All City Plumbers have experience isolating complex crawlspace leaks and can quickly stop water flow while minimizing disruption to household water service.
Temporary Patching Methods for Crawlspace Leaks
Temporary patching methods provide immediate relief from crawlspace leaks and can stabilize the situation until permanent repairs are completed. For small pinhole leaks in copper supply lines, copper repair tape or epoxy putty can seal the leak temporarily by creating a watertight barrier over the damaged area. Rubber repair clamps with hose liner can be wrapped around small cracks or holes in plastic or metal pipes and tightened to stop water flow. For drain line leaks at joints, wrapping the joint with waterproof plumbing tape or applying waterproof epoxy around the connection may temporarily stop seepage. These temporary measures are particularly valuable for preventing ongoing water damage during weekends or after hours when professional repair services may be unavailable. However, temporary patches are not permanent solutions and should be followed by professional repair or replacement to ensure long-term reliability and prevent recurrence.
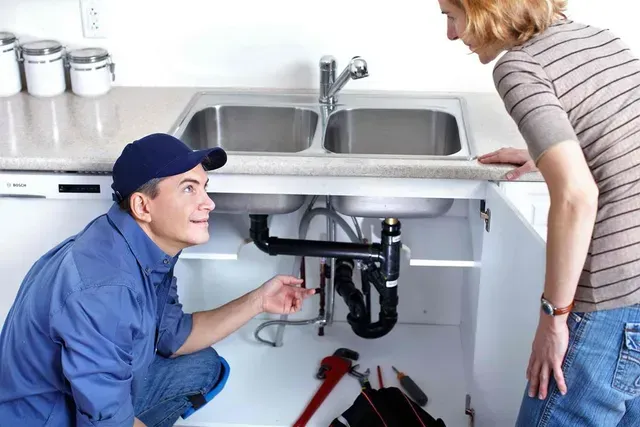
The Professional Repair Process for Crawlspace Plumbing Issues
When crawlspace plumbing problems require professional intervention, technicians follow a systematic repair process designed to address issues comprehensively while minimizing property disruption. The process begins with thorough diagnosis using visual inspection, moisture meters, and sometimes video camera technology to locate exact problem areas and assess the extent of damage. Once the problem is identified, the plumber develops a repair plan that may involve accessing pipes through existing crawl openings, removing damaged sections of pipe, and installing new piping with proper fittings and support. For supply line repairs, technicians may use soldering for copper pipes, solvent welding for PVC, or crimping for PEX, depending on the pipe material. Drain line repairs may involve replacing damaged sections, correcting improper slope, or clearing blockages. In cases where crawlspace access is limited, trenchless technologies or strategic access points may be used to minimize disruption. The repair process ensures that problems are fixed correctly, code requirements are met, and the plumbing system is restored to full functionality.
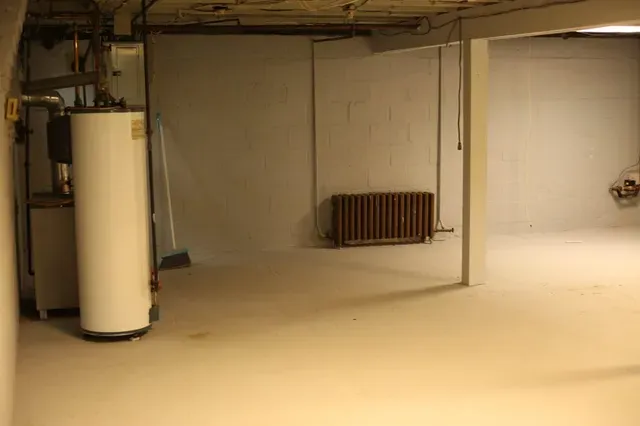
Evaluating Water Heater Components and Expansion Tanks
If your water heater or related components are located in or near the crawlspace, they require special attention during inspection. Check the water heater for signs of leakage around the base, connections, and pressure-relief valve, noting any water stains or corrosion. Inspect the temperature and pressure relief valve by lifting the test lever briefly to ensure it operates properly and discharges water when activated. Examine expansion tanks, which are critical components that absorb pressure fluctuations in closed plumbing systems and prevent stress on water heaters and pipes. Expansion tanks should have air pressure matching system requirements and should not show signs of waterlogging or failure. A failed expansion tank can cause excessive pressure that leads to water heater damage, pipe failures, and premature component wear. Check the air pressure in expansion tanks using a tire gauge at the air valve and compare to manufacturer specifications, adding air if pressure is low or replacing the tank if it shows signs of failure. Proper maintenance of water heater components and expansion tanks prevents costly failures and extends system lifespan.
Long-Term Maintenance Strategies for Crawlspace Plumbing Health
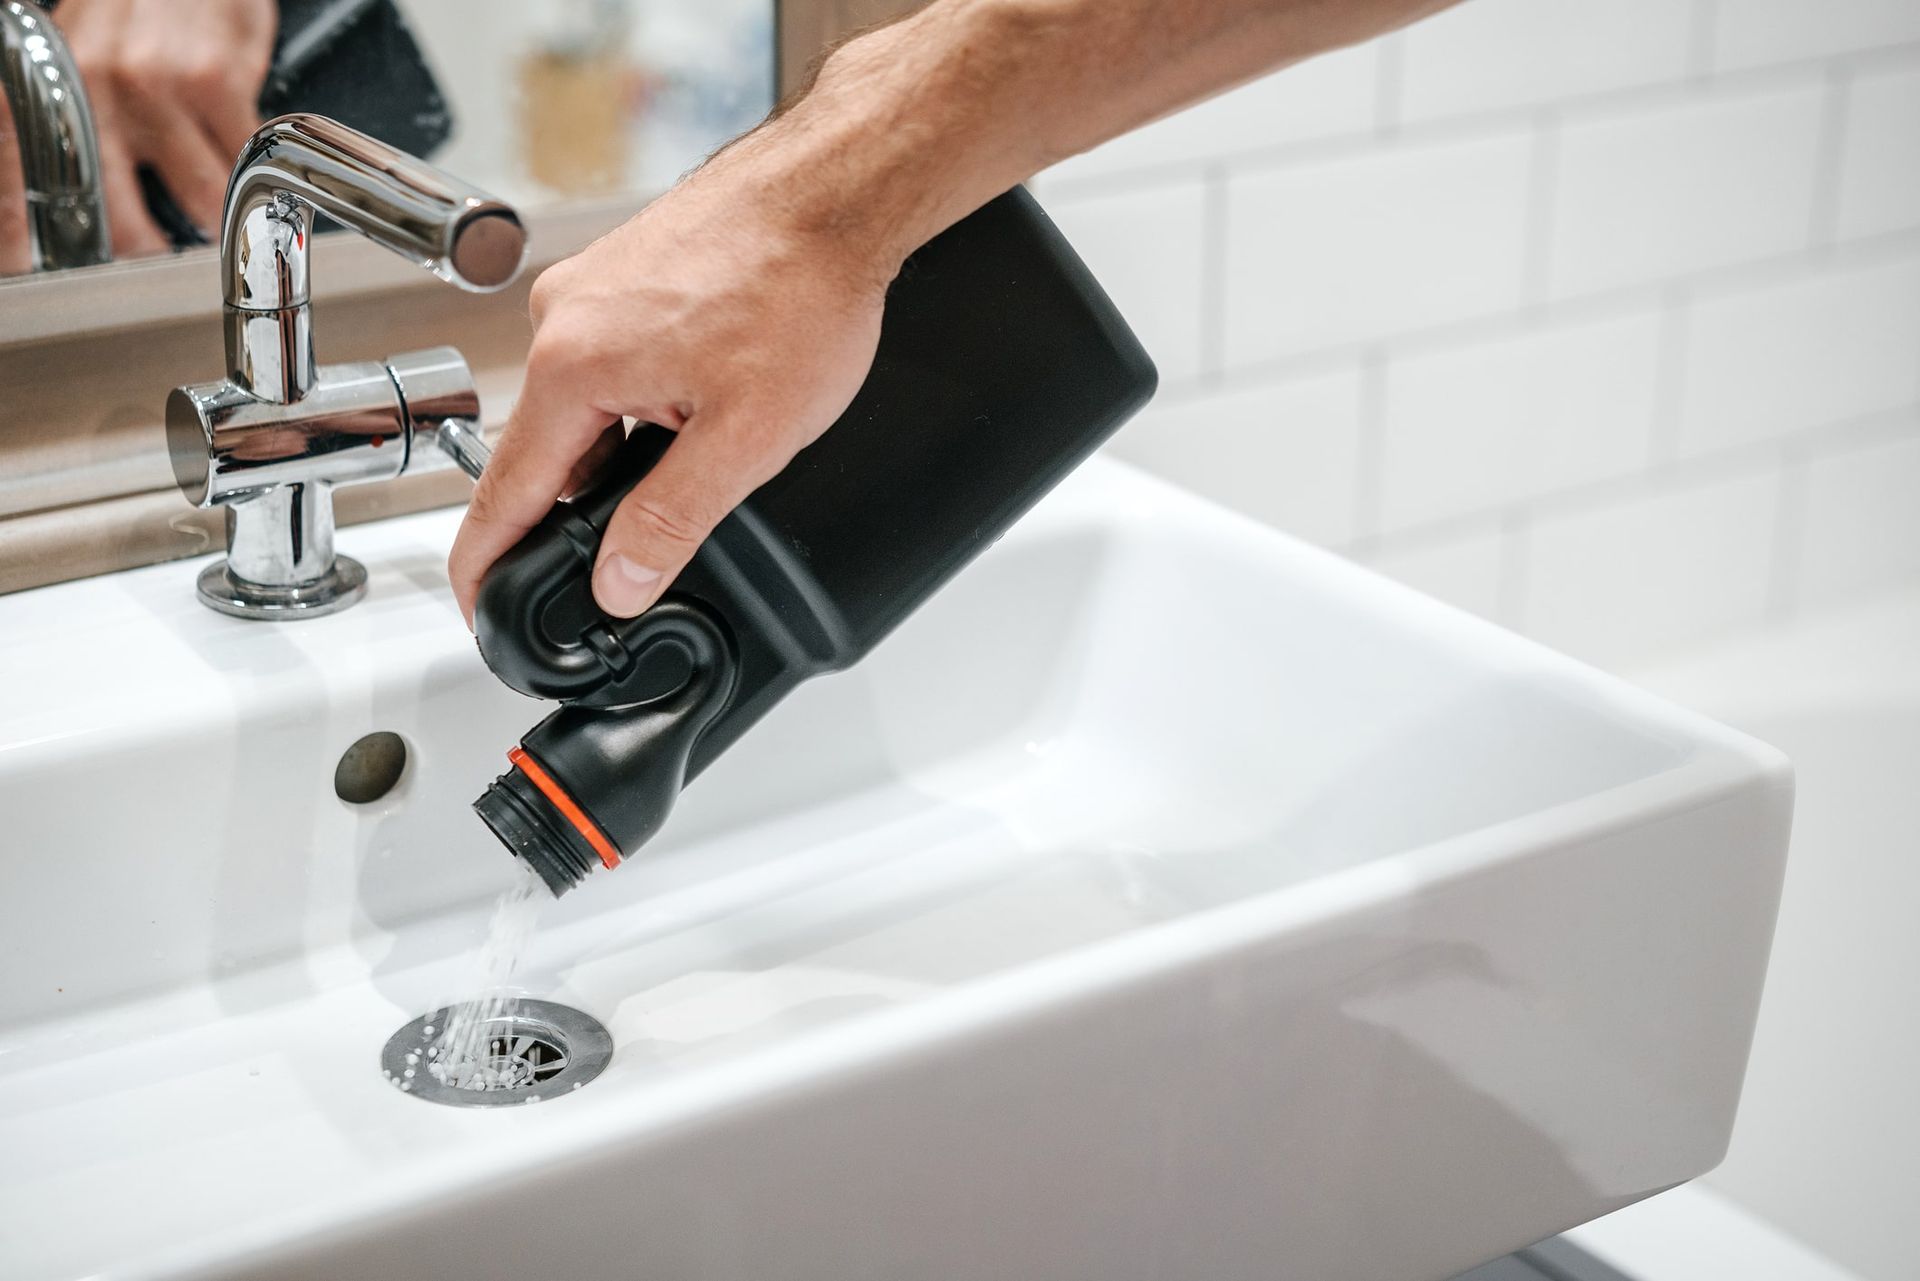
Implementing long-term maintenance strategies is essential for preventing crawlspace plumbing problems and maintaining system integrity over time. Schedule annual crawlspace inspections to identify early signs of leaks, corrosion, mold, or structural issues before they become critical. Maintain proper crawlspace ventilation and moisture control by ensuring vapor barriers are intact, drains function properly, and humidity levels remain below sixty percent to prevent mold growth and wood rot. Insulate exposed water pipes in cold climates to prevent freezing and bursting during winter months. Address drainage issues around your home's foundation to prevent water from pooling beneath the structure and entering the crawlspace. Adopt monthly home maintenance for garbage disposal and water heater to ensure these appliances function properly and do not contribute to drainage problems or leaks that could affect the crawlspace. This includes running cold water through the garbage disposal while grinding, avoiding fibrous materials, flushing the water heater annually to remove sediment, and checking for leaks around both fixtures. Proper maintenance prevents problems, extends the life of your plumbing system, and protects your home from water damage.
When to Call Professional Plumbing Services for Crawlspace Issues
Knowing when to call professional plumbing services for crawlspace issues prevents minor problems from escalating and ensures proper diagnosis and repair. Professional assistance is necessary when you discover active leaks that you cannot safely isolate or repair, when you detect extensive mold growth that requires professional remediation, when drain lines show signs of bellied sections, root intrusion, or severe blockages, when water heater components or expansion tanks show signs of failure, or when you lack the tools, knowledge, or physical ability to safely access and inspect the crawlspace. Professional plumbers have specialized equipment including video cameras, moisture meters, pipe locators, and repair tools that enable accurate diagnosis and effective repair. They also possess the expertise to identify complex issues such as improper pipe slope, inadequate support, or code violations that require comprehensive solutions. Delaying professional intervention allows problems to worsen, potentially leading to extensive water damage, structural deterioration, health hazards from mold exposure, and significantly higher repair costs.
Conclusion
Inspecting your crawlspace for plumbing issues is a critical maintenance task that enables early problem detection, prevents catastrophic water damage, and protects the structural integrity of your home. A systematic approach involving proper preparation, thorough visual inspection of supply and drain lines, leak source identification, and assessment of water heater components ensures comprehensive evaluation. Understanding the repair process, leak isolation techniques, and temporary patching methods empowers you to address problems effectively and know when professional intervention is necessary.
Long-term maintenance strategies prevent crawlspace plumbing problems from developing and maintain system health over time. Annual inspections, proper moisture control, pipe insulation, and adherence to monthly home maintenance for garbage disposal and water heater create a comprehensive approach to plumbing care that prevents leaks, mold growth, and costly failures. By inspecting your crawlspace regularly and addressing issues promptly, you protect your investment, maintain a healthy home environment, and ensure reliable plumbing function for years to come.