The Best Practices for Maintaining a Grease Trap in Your Home?
A grease trap is an essential component in any home that deals with significant amounts of cooking grease, oils, and fats in its wastewater. While commonly found in commercial restaurants, residential grease traps are increasingly popular in homes with large kitchens, multiple cooking appliances, or those connected to septic systems. Proper maintenance of a grease trap prevents costly plumbing backups, eliminates unpleasant odors, and protects your home's waterline from dangerous buildup. Understanding the best practices for maintaining a grease trap ensures your plumbing system operates smoothly and efficiently for years to come.
Understanding How a Grease Trap Works and Its Importance
A grease trap is a plumbing device designed to intercept most greases and solid materials before they enter a wastewater disposal system. The device works by slowing down the flow of warm water mixed with grease, oils, and fats, allowing these materials to cool and solidify. As the water cools inside the trap, grease rises to the top while solid waste settles at the bottom, and only the clearer water in the middle flows out into the sewer or septic system. This separation process prevents grease from accumulating in pipes, causing blockages, and creating expensive plumbing emergencies.
The importance of maintaining a grease trap cannot be overstated. When grease traps are neglected, they become overwhelmed with accumulated grease and solids, leading to reduced capacity and eventual failure. A failed grease trap allows grease to enter the plumbing system, where it cools and hardens inside pipes, creating stubborn blockages that require professional intervention. Over time, these blockages can cause complete pipe failures, sewage backups into the home, and contamination of surrounding soil if connected to a septic system. Regular maintenance prevents these issues and extends the lifespan of your entire plumbing system.
Signs That Your Grease Trap Needs Immediate Maintenance
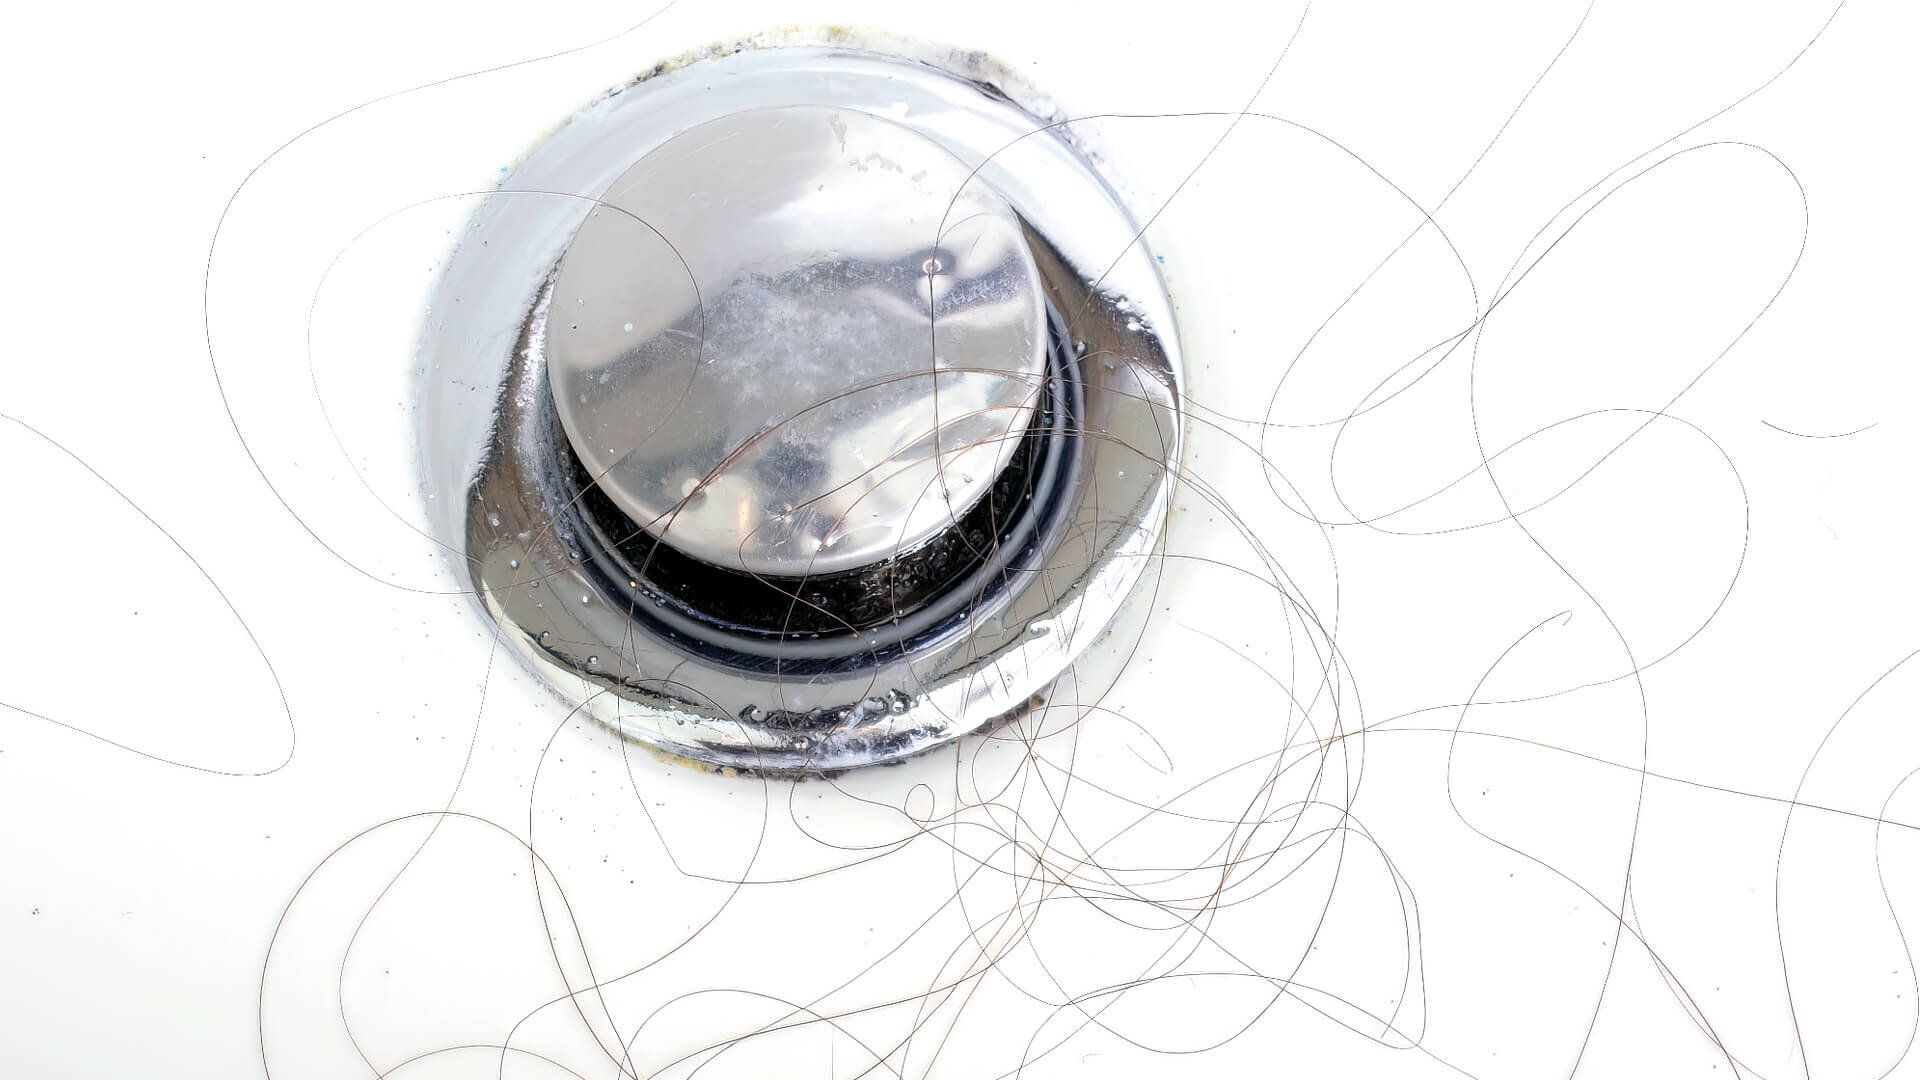
Recognizing the signs of a poorly maintained grease trap helps you address problems before they escalate into serious plumbing emergencies. The most common indicator is slow-draining sinks, particularly in the kitchen, where water takes longer than usual to disappear after use. This occurs when accumulated grease and solids restrict the flow of water through the trap and into the drainage system. Another warning sign is unpleasant odors emanating from drains, which result from decomposing grease and food particles trapped inside the device.
Gurgling sounds from drains when water flows indicate air trapped in the plumbing system due to blockages caused by grease buildup. Visible grease or oily residue around the drain opening or on the surface of standing water in the sink clearly shows the grease trap is not functioning properly. In homes with septic systems, unusually lush patches of grass or soggy soil near the septic tank may indicate grease has breached the trap and contaminated the system. If you notice any of these signs, immediate maintenance or cleaning is necessary to prevent further damage.
The Repair Process for Grease Trap Issues
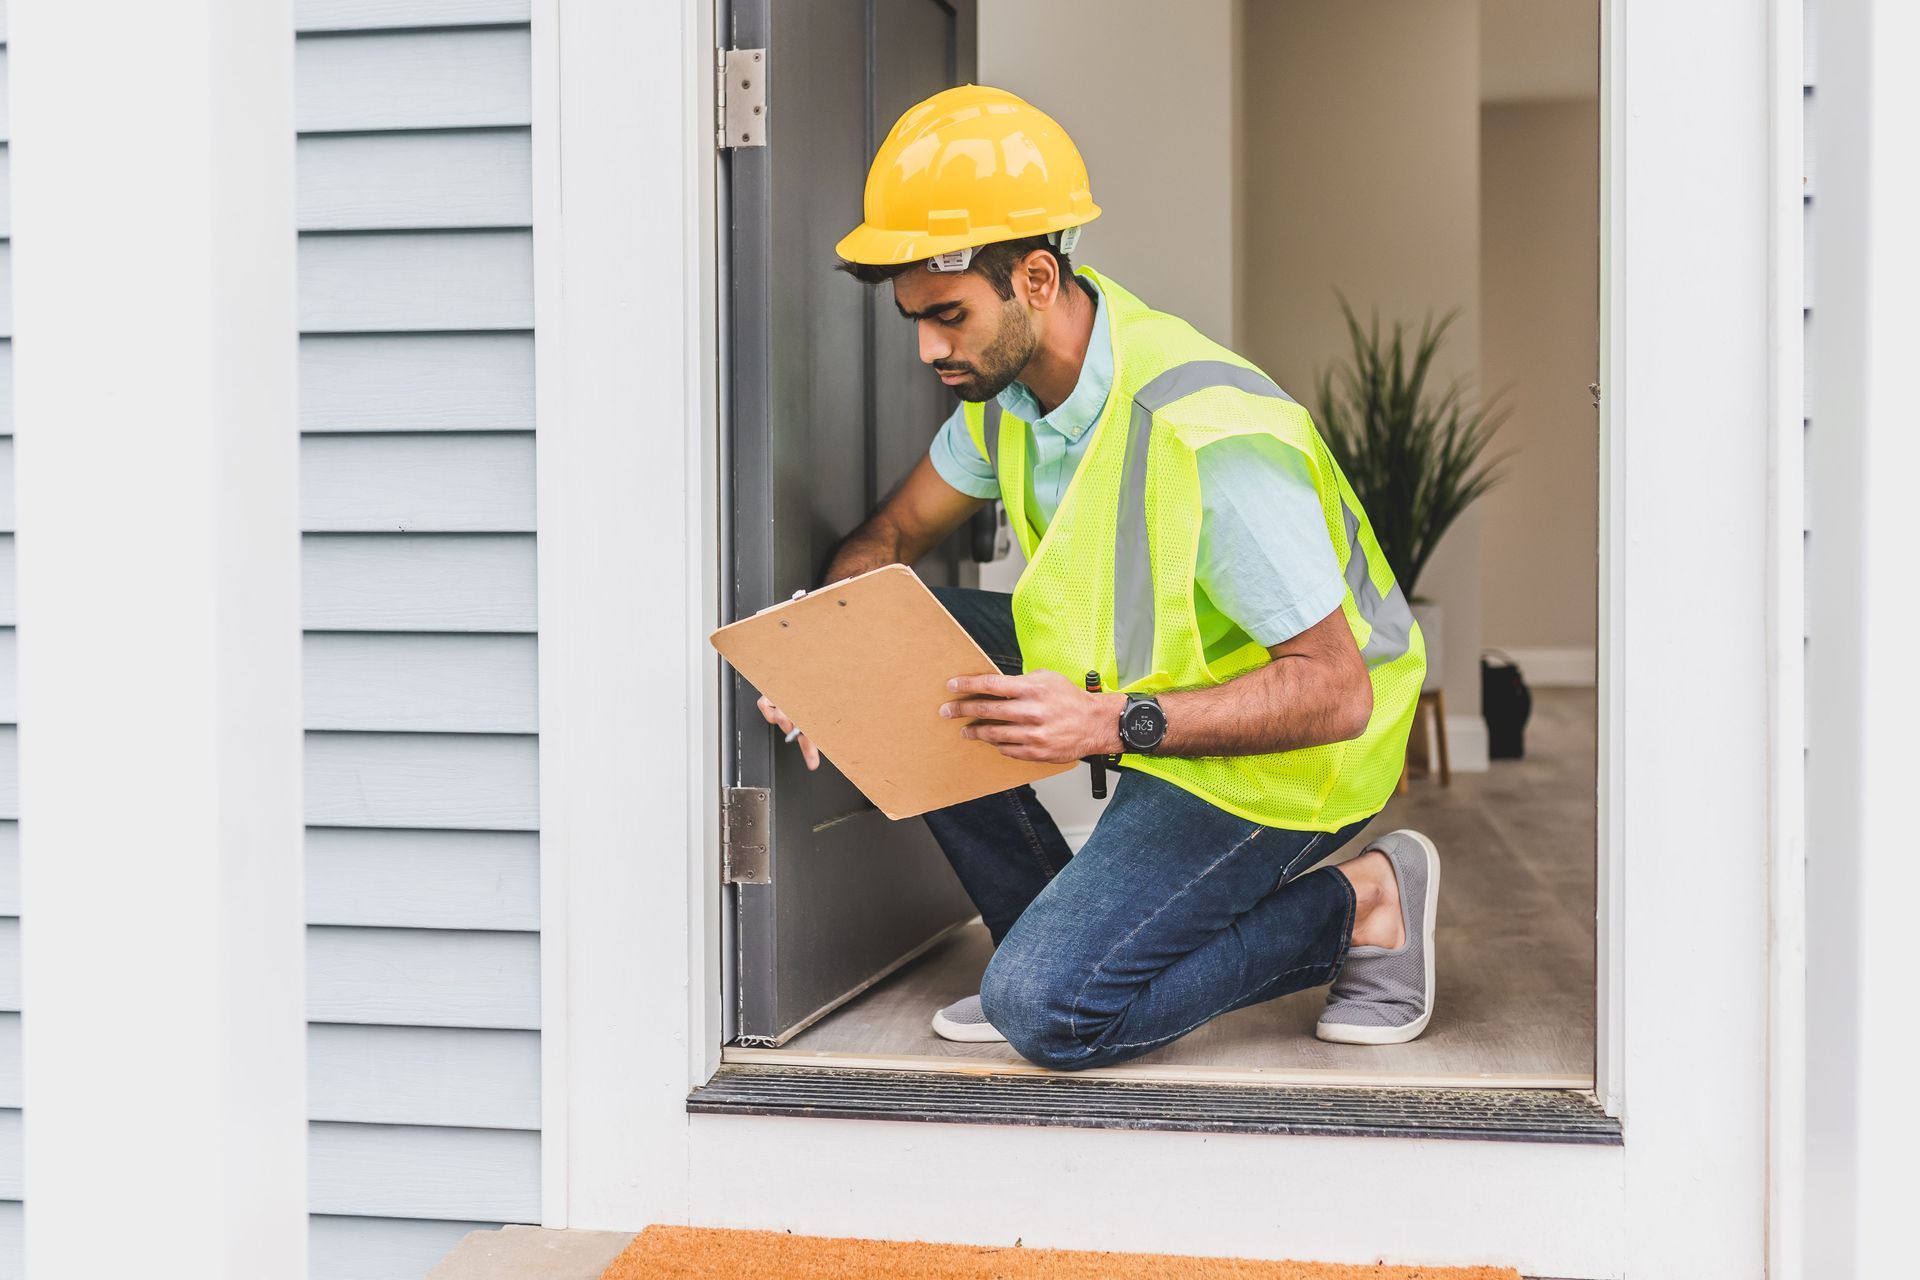
When a grease trap develops problems beyond simple clogging, a repair process becomes necessary. The first step in any repair is diagnosing the specific issue, which may involve cracks in the trap body, damaged seals, malfunctioning inlet or outlet pipes, or internal component failure. Inspect the grease trap exterior for visible cracks, corrosion, or signs of leakage. Check all connections between the trap and plumbing pipes to ensure they are secure and properly sealed.
If the grease trap body is cracked or severely corroded, replacement is often the only viable solution. Small cracks can sometimes be patched temporarily, but these repairs rarely last and may fail under pressure. For traps with damaged internal components, such as broken baffles or malfunctioning flow controllers, removing the trap and replacing the damaged parts is necessary. Some modern grease traps have replaceable internal cartridges that can be swapped without replacing the entire unit. Always follow manufacturer guidelines when repairing internal components to ensure proper function.
Leak Isolation and Emergency Containment Procedures
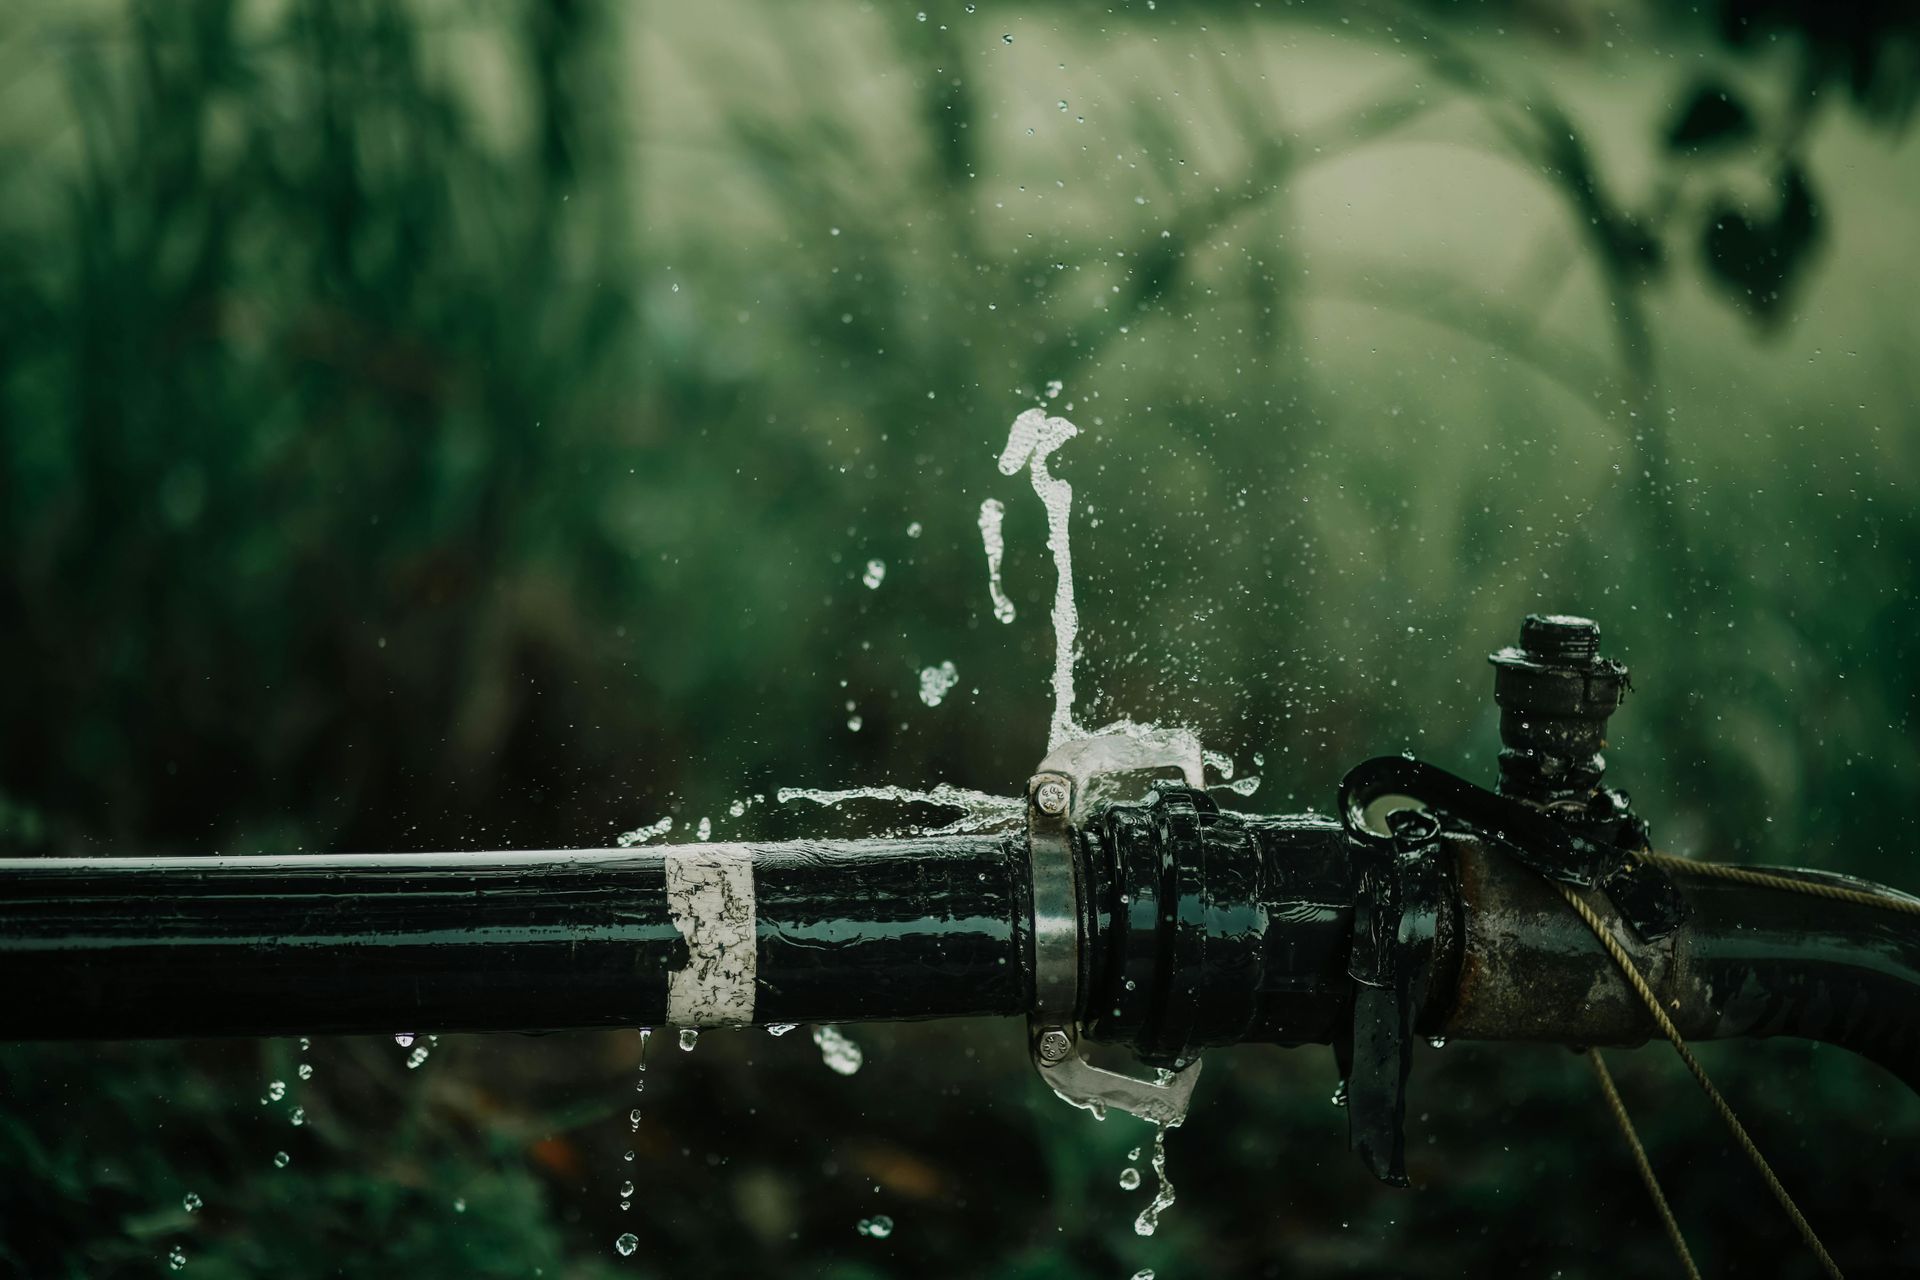
When a grease trap begins leaking, immediate isolation is critical to prevent water damage, soil contamination, and sewage backups. Start by shutting off all water sources that flow through the grease trap, including kitchen sinks, dishwashers, and garbage disposals. This stops additional water from entering the system and exacerbating the leak. If the leak is severe, consider shutting off the main water supply to your home to prevent further water from entering the plumbing system.
Place buckets, towels, or tarps under the leak to catch escaping water and prevent it from spreading to flooring or surrounding areas. For outdoor grease traps, dig a small trench around the leak to direct escaping water away from the foundation and into a safe drainage area. Monitor the leak closely and check for signs of worsening, such as increased water flow, spreading contamination, or foul odors intensifying. If the leak cannot be contained or poses a safety risk, contact professional plumbers from All City Plumbers, who provide emergency services for severe plumbing issues that threaten property or health.
Temporary Patching Methods for Minor Grease Trap Leaks
While permanent repairs should always be performed for significant grease trap issues, temporary patching methods can provide immediate relief for minor leaks until professional assistance is available. For small cracks in plastic grease trap bodies, epoxy putty can create a temporary watertight seal. Wear latex or nitrile gloves to protect your skin, then mix the epoxy putty by hand until it achieves a consistent color. Apply the putty directly over the crack, pressing firmly to ensure it adheres properly, and smooth the edges to create a seamless seal. Allow the putty to cure according to manufacturer instructions before allowing water to flow through the trap again.
For leaks at pipe connections or seals, applying additional pipe thread sealant or replacing worn O-rings can temporarily stop seeping. Ensure all connections are tight but not overly tight, as excessive force can crack fittings. Self-fusing silicone tape can also be wrapped around small cracks or leak points, bonding to itself without adhesive to create a flexible, watertight barrier. These temporary methods are not permanent solutions and should be followed by proper repair or replacement soon after. Water and grease damage can escalate quickly, so even minor leaks should be addressed professionally to ensure long-term reliability.
Regular Cleaning Schedule and Frequency Guidelines
The cornerstone of grease trap maintenance is regular cleaning, which prevents accumulated grease and solids from overwhelming the device. The frequency of cleaning depends on the size of the grease trap, the amount of cooking your home does, and the type of waste entering the system. For residential grease traps, cleaning every 30 to 90 days is typically recommended, with heavier cooking households requiring more frequent service. Small under-sink grease traps may need cleaning every 30 days, while larger outdoor units can often go 60 to 90 days between cleanings.
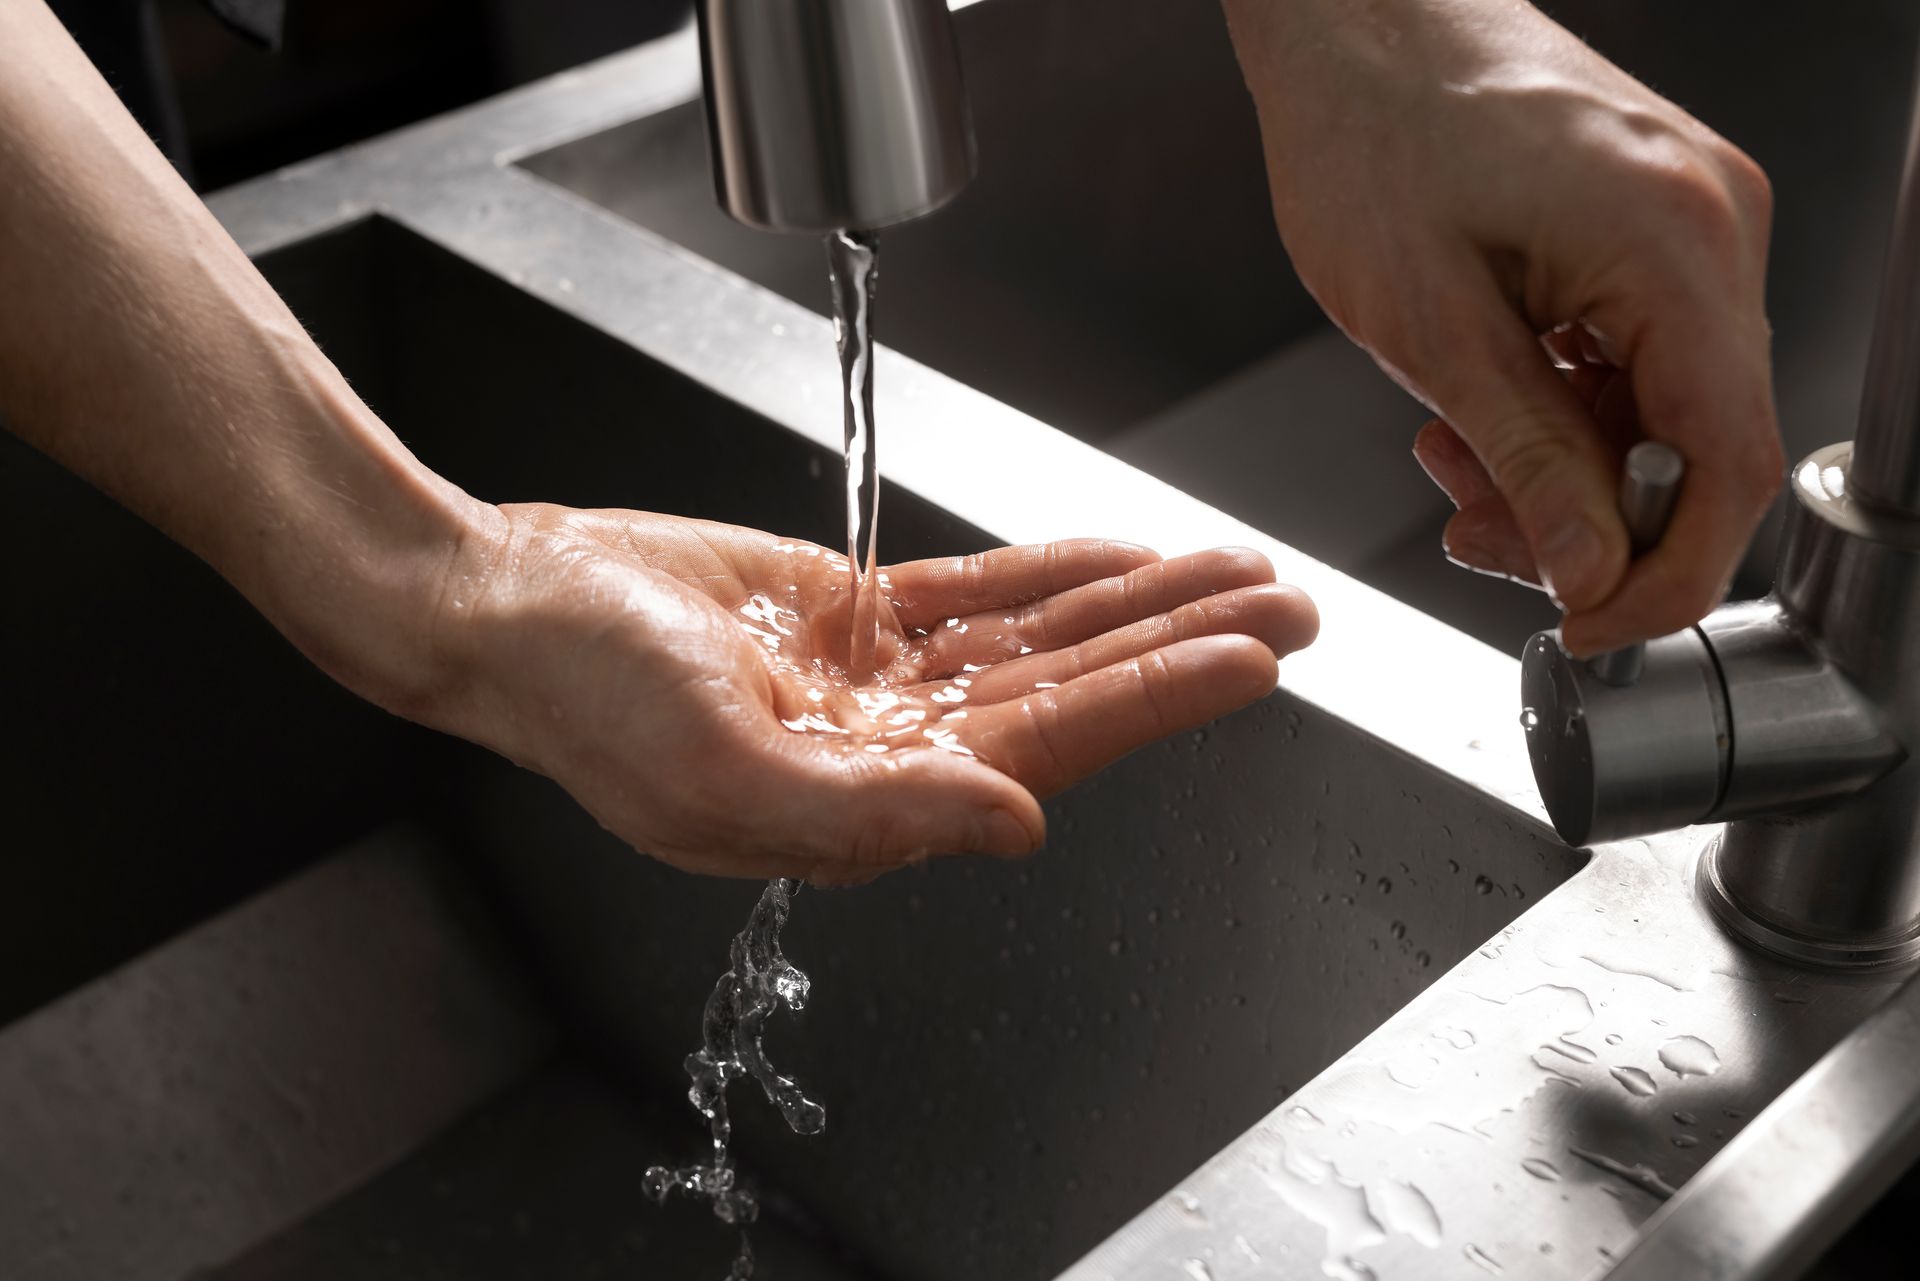
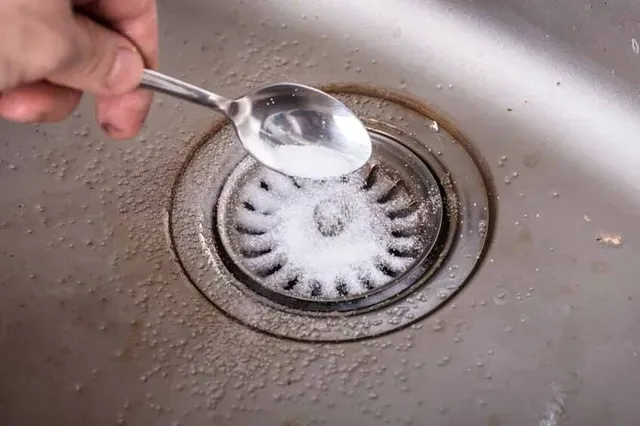
To clean a grease trap, first shut off all water sources and allow the trap to empty completely. Remove the trap cover carefully, wearing protective gloves to avoid contact with contaminated water and grease. Use a scoop or bucket to remove the layer of solidified grease from the top and the layer of settled solids from the bottom. Dispose of this waste properly in sealed containers, never in regular trash or by pouring it down drains. Scrub the interior walls of the trap with a stiff brush and hot water to remove any remaining grease residue. Rinse thoroughly and reinstall the cover, ensuring all seals are properly seated.
Professional Cleaning Services and When to Hire Them
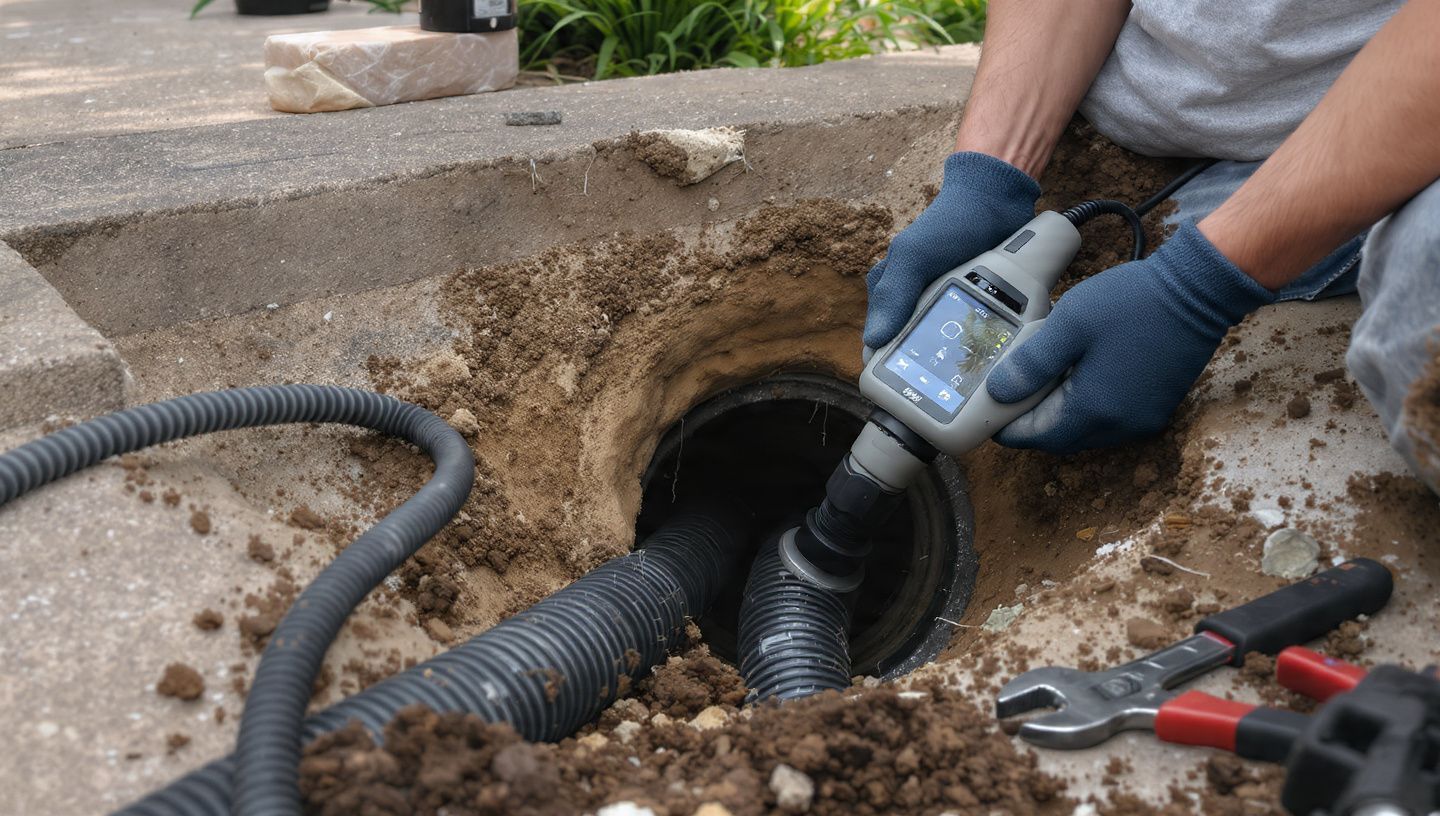
While DIY cleaning is suitable for routine maintenance, professional cleaning services offer thorough cleaning, inspection, and expertise that ensure your grease trap functions optimally. Professional plumbers have specialized equipment, including high-pressure water jets and vacuum pumps, that remove grease and solids more effectively than manual cleaning. They can also inspect the trap for hidden issues like cracks, corrosion, or internal component damage that may not be visible during DIY cleaning.
Hire professional cleaning services when your grease trap is unusually large, located in an inaccessible area, or if you notice persistent problems after DIY cleaning. Professional services are also recommended annually for comprehensive inspection and maintenance, even if routine DIY cleaning is performed regularly. If you experience sewage backups, persistent odors, or visible damage to the trap, professional intervention is necessary immediately to prevent further damage. Professional plumbers can also provide documentation of maintenance, which may be required for insurance purposes or home resale.
Long-Term Maintenance Strategies for Optimal Performance
Establishing a long-term maintenance strategy ensures your grease trap continues functioning properly and prevents future problems. Create a maintenance calendar that tracks cleaning dates, inspections, and any repairs performed. Document the amount of waste removed during each cleaning to monitor usage patterns and adjust cleaning frequency if needed. Regularly inspect all plumbing connections to the grease trap for signs of wear, corrosion, or leakage, and address issues promptly before they escalate.
Prevent excessive grease from entering the trap by practicing proper kitchen waste disposal. Never pour cooking grease, oils, or fats down the drain, even in small amounts. Instead, collect these materials in sealed containers and dispose of them in regular trash. Use sink strainers to catch food particles before they enter the drainage system, and scrape plates thoroughly before washing. Limit the use of garbage disposals, as they send additional waste through the grease trap and increase the frequency of required cleanings. If your garbage disposal requires attention, consider professional garbage disposal repair and replacement services to ensure proper function and minimize waste entering the grease trap.
Common Mistakes That Damage Grease Traps
Several common mistakes can damage grease traps and reduce their effectiveness. Pouring hot water down the drain immediately after cooking is a frequent error, as hot water melts grease and allows it to flow through the trap without solidifying, eventually clogging pipes downstream. Using harsh chemical drain cleaners is another mistake, as these chemicals can break down the grease trap's internal seals and damage plastic components. Chemical cleaners also kill beneficial bacteria in septic systems, reducing the system's ability to break down waste naturally.
Overloading the grease trap by allowing excessive waste to enter is another common error. This includes flushing large amounts of food particles, using the garbage disposal frequently, or connecting multiple high-volume appliances to the same trap. Grease traps have specific capacity limits, and exceeding these limits reduces effectiveness and accelerates wear. Ignoring maintenance schedules and delaying cleaning until problems appear is also detrimental, as accumulated grease and solids become harder to remove and may cause permanent damage to the trap.
Understanding Warranty Implications and DIY Risks
When performing maintenance or repairs on plumbing systems connected to your grease trap, understanding warranty implications is crucial. Many homeowners attempt DIY repairs on plumbing components without understanding how these actions affect warranties on related systems. For example, DIY disposal repair can void water heater warranty if the repair improperly affects water flow, pressure, or temperature regulation that the water heater depends on for proper operation. Always consult manufacturer guidelines and consider professional assistance for repairs that may impact warranty coverage.
Before attempting any DIY plumbing repair, check the warranty terms for all affected systems, including water heaters, garbage disposals, and pumps. If a repair requires specialized knowledge or tools, hiring a professional ensures the work is done correctly and warranty coverage remains intact. Professional plumbers provide documentation of repairs, which can be crucial if warranty issues arise later. Understanding these implications helps protect your investment and prevents costly warranty disputes.
Conclusion
Maintaining a grease trap properly is essential for preventing plumbing backups, eliminating odors, and protecting your home's waterline from dangerous grease buildup. By following regular cleaning schedules, practicing proper waste disposal, and addressing problems promptly, you ensure your grease trap functions optimally and extends the lifespan of your entire plumbing system. Professional cleaning services provide thorough maintenance and inspection that complement DIY efforts, ensuring long-term reliability and performance.
Understanding the repair process, leak isolation procedures, and temporary patching methods empowers you to handle minor issues while knowing when professional intervention is necessary. Avoiding common mistakes like pouring hot water down drains, using harsh chemicals, and overloading the trap prevents unnecessary damage. By implementing these best practices consistently, you maintain a healthy, efficient plumbing system that serves your home reliably for years to come.