The Best Way to Remove a Stuck Drain Plug From a Tub?
A stuck drain plug in a bathtub is a frustrating plumbing problem that prevents proper water drainage, makes cleaning difficult, and can lead to water overflow if not addressed promptly. Drain plugs become stuck due to mineral buildup, corrosion, hair and debris accumulation, or simply because they were tightened too firmly during previous installation. Removing a stuck drain plug requires the right tools, proper technique, and patience to avoid damaging the tub or drain assembly. This comprehensive guide provides professional, step-by-step instructions for safely removing a stuck drain plug, along with repair processes, leak isolation, patching methods, and long-term maintenance strategies to prevent future problems.
Understanding Different Types of Bathtub Drain Plugs
Bathtub drain plugs come in several types, each with its own mechanism and removal method. The most common types include lift-and-turn plugs, push-down plugs, trip-lever plugs, and pop-up plugs. Lift-and-turn plugs require you to lift the plug and turn it clockwise to open or counterclockwise to close. Push-down plugs work by pushing down to close and pulling up to open. Trip-lever plugs have a lever on the overflow plate that you slide up or down to control the plug. Pop-up plugs use a knob or lever that you twist to raise or lower the plug.
Understanding which type you have is essential for selecting the correct removal method. Lift-and-turn and push-down plugs are typically screwed directly into the drain and can be removed by unscrewing them. Trip-lever and pop-up plugs are connected to a linkage system inside the drain, requiring removal of the overflow plate and linkage before accessing the plug itself. Some modern tubs have screwless drain plugs that rely on friction or magnetic retention, making removal more challenging. Identifying your plug type before attempting removal prevents unnecessary force that could damage the drain or tub surface.
Gathering Necessary Tools Before Attempting Removal
Before attempting to remove a stuck drain plug, gather all required tools to ensure a smooth, efficient process. You will need a pair of needle-nose pliers or channel-lock pliers for gripping the plug, a flat-head screwdriver for prying or removing overflow plates, an adjustable wrench or drain key for unscrewing stubborn plugs, rubber pliers or a cloth to protect the plug finish, white vinegar or descaling solution for dissolving mineral buildup, a small bucket or towel to catch water, and possibly a utility knife for cutting away hair and debris. Having these tools ready prevents interruptions and ensures you can complete the removal in one continuous session.
For particularly stubborn plugs, consider acquiring a specialized drain plug removal tool, which is designed specifically for gripping and unscrewing drain plugs without damaging them. These tools are available at most hardware stores and home improvement centers. If the plug is corroded or heavily mineralized, you may also need a wire brush a pad to scrub away buildup after removal. For trip-lever or pop-up plugs, you will need a screwdriver to remove the overflow plate and access the internal linkage. Having the correct tools based on your plug type ensures successful removal without unnecessary damage.
Initial Attempts to Loosen a Stuck Drain Plug
Begin the removal process by attempting the simplest methods first, as these often work for moderately stuck plugs without requiring specialized tools. For lift-and-turn or push-down plugs, try gripping the plug firmly with needle-nose pliers or rubber pliers and turning it counterclockwise. Apply steady, moderate pressure while turning, avoiding excessive force that could crack the plug or damage the drain threads. If the plug does not turn easily, wrap a cloth around it to protect the finish and use an adjustable wrench for additional leverage.
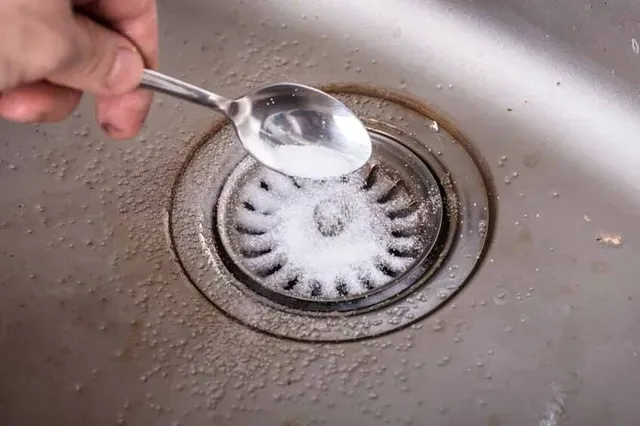
For plugs that are stuck due to mineral buildup, apply white vinegar or a descaling solution directly onto the plug and the drain threads. Let the solution sit for 15 to 30 minutes to dissolve mineral deposits that may be binding the plug. You can also soak a cloth in vinegar and wrap it around the plug, leaving it for an hour before attempting removal again. This chemical approach softens the mineral buildup and makes unscrewing the plug easier. After soaking, attempt to turn the plug again with pliers or a wrench, using steady pressure and avoiding jerking motions.
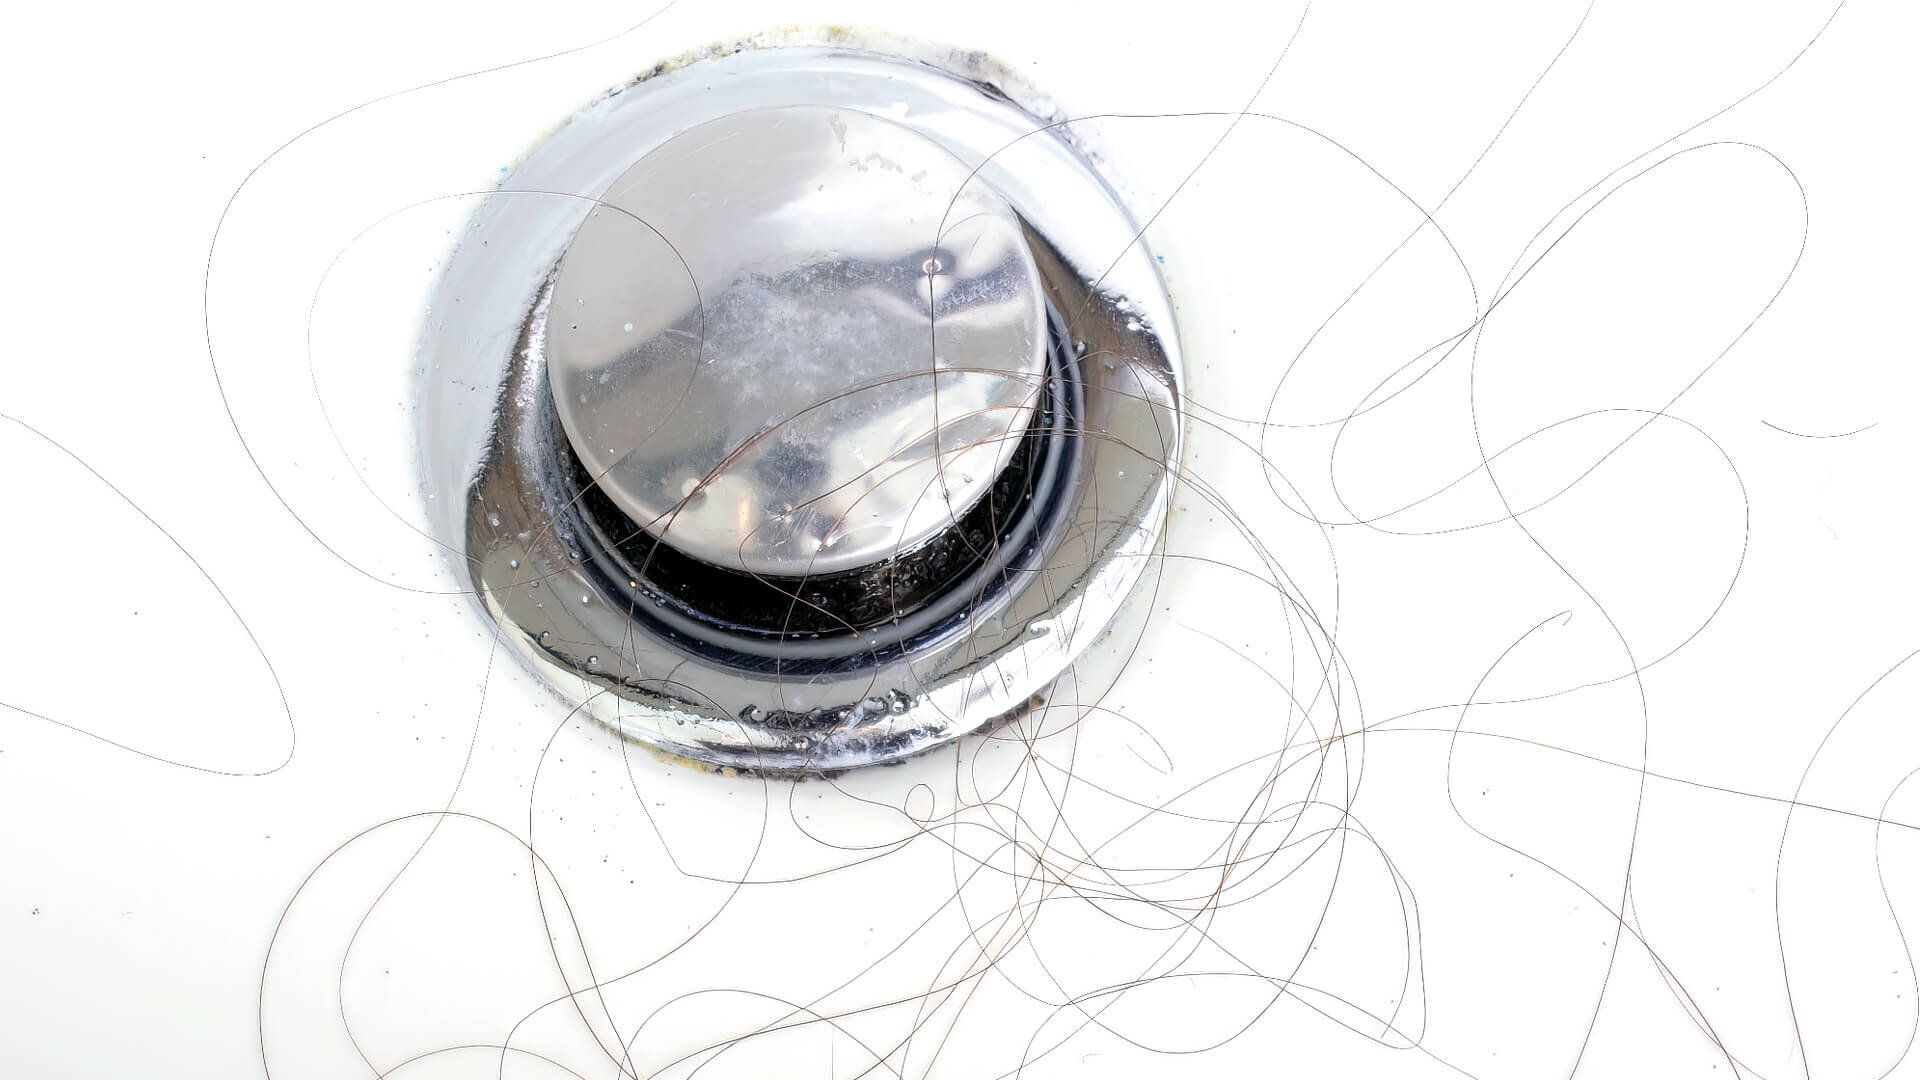
If the plug is stuck due to hair and debris accumulation, use a utility knife or wire brush to carefully cut away or scrape away visible debris from around the plug base. This reduces the friction holding the plug in place and may allow it to turn more freely. Be gentle when scraping to avoid damaging the tub surface or drain assembly. For trip-lever or pop-up plugs, remove the overflow plate using a screwdriver, then inspect the linkage for debris or damage that may be preventing the plug from moving. Clean the linkage thoroughly and attempt to move the plug manually before proceeding with removal.
Advanced Techniques for Severely Stuck Drain Plugs
When initial attempts fail and the plug remains severely stuck, advanced techniques are necessary to remove it without damaging the drain. For plugs that cannot be turned with pliers or wrenches due to extreme corrosion or mineral buildup, apply heat to the plug using a hair dryer or heat gun. Heat expands the metal slightly and can break down mineral deposits, making the plug easier to unscrew. Apply heat for 2 to 3 minutes, then attempt to turn the plug again with pliers or a wrench. Be careful not to overheat the plug, as excessive heat can damage the tub surface or surrounding materials.
For plugs that are completely seized and cannot be turned, you may need to cut the plug off using a utility knife, wire saw, or reciprocating tool with a metal-cutting blade. Carefully cut around the base of the plug, working slowly to avoid damaging the drain threads. Once the plug is cut free, remove the remaining pieces and clean the drain thoroughly. This method is destructive and requires replacing the plug with a new one, but it is effective for severely stuck plugs that cannot be removed otherwise. After cutting, inspect the drain threads for damage and clean them thoroughly before installing a new plug.
Another advanced technique involves using a drain extraction tool, which is designed to grip the inside of a drain plug and provide leverage for unscrewing. These tools are inserted into the plug, tightened to grip the interior, and then turned counterclockwise to remove the plug. Drain extraction tools are available at hardware stores and are particularly effective for plugs that have broken off at the top, leaving only the base remaining. Use these tools carefully to avoid damaging the drain threads, and follow manufacturer instructions for proper operation.
Leak Isolation and Emergency Containment Procedures
While removing a stuck drain plug is a minor repair that rarely causes major leaks, having knowledge of leak isolation procedures is valuable for any plumbing task. If you accidentally damage the drain assembly during removal and cause water to leak, immediately block the tub drain with a rag or waterproof tape to prevent water from flowing into the damaged area. If water is leaking from the drain pipe underneath the tub, you may need to shut off the water supply to the tub or the entire home to prevent further water damage.
Place buckets, towels, or tarps under any leaks to catch escaping water and prevent it from spreading to flooring or surrounding areas. Monitor the leak closely and check for signs of worsening, such as increased water flow or spreading contamination. If the leak cannot be contained or poses a safety risk, contact professional plumbers from All City Plumbers, who provide emergency services for severe plumbing issues that threaten property or health. Professional plumbers can quickly repair damaged drain assemblies and ensure the system is properly sealed and functional.
For minor leaks that can be managed temporarily, apply waterproof tape or epoxy putty around the leak point to create a temporary seal. Wear latex or nitrile gloves when handling epoxy putty, and mix it by hand until it achieves a consistent color. Apply the putty directly over the leak, pressing firmly to ensure it adheres properly, and allow it to cure according to manufacturer instructions before allowing water to flow through the drain again. These temporary methods are not permanent solutions and should be followed by proper repair soon after to ensure long-term reliability.
Installing a New Drain Plug After Removal
Once the stuck drain plug is removed, inspect the drain threads for damage, corrosion, or residual mineral buildup. Clean the threads thoroughly with a wire brush and white vinegar solution to remove any debris that could prevent the new plug from seating properly. If the threads are damaged or corroded, you may need to replace the entire drain assembly rather than just the plug. For minor thread damage, applying plumber's tape or pipe thread sealant can help create a secure seal with the new plug.
Select a new drain plug that matches the type and size of the original plug. Most hardware stores sell universal drain plug kits containing multiple sizes and types, making it easy to find a compatible replacement. If you are unsure of the correct size, measure the diameter of the drain threads with a ruler or take the old plug to the store for matching. Ensure the new plug has the same thread direction as the original, as most are standard right-hand threads, but some older or specialty tubs use left-hand threads.
Install the new drain plug by screwing it into the drain threads by hand, turning it clockwise until it is hand-tight. Ensure the plug is aligned properly with the drain so that it sits straight and does not cross-thread. Cross-threading can damage both the plug and drain threads, leading to leaks and difficulty removing the plug in the future. Once hand-tight, use rubber pliers or a cloth to tighten the plug an additional quarter to half turn, being careful not to overtighten. Overtightening can crack the plug or damage the drain threads, resulting in leaks.
Testing for Proper Function and Water Flow
After installing the new drain plug, test for proper function and water flow to ensure the replacement was successful. Fill the tub with a few inches of water and observe the drain area for any signs of leaking around the plug or drain assembly. If leaks are present, turn off the water, unscrew the plug, check the thread positioning, and retighten the plug more securely. If leaks persist after retightening, the threads may be damaged or the plug may not be sealing properly, requiring replacement of the entire drain assembly.
Once no leaks are detected, test the plug mechanism by opening and closing it multiple times to ensure it moves smoothly and seats properly. For lift-and-turn plugs, verify that lifting and turning the plug opens and closes the drain as expected. For push-down plugs, confirm that pushing down closes the drain and pulling up opens it. For trip-lever or pop-up plugs, operate the lever or knob to ensure the plug raises and lowers correctly. The plug should move smoothly without sticking, and it should seal tightly when closed to prevent water from draining.
Check that water drains properly when the plug is open, with no slow drainage or gurgling sounds that indicate blockages in the drain line. If drainage is slow despite the plug being open, there may be debris or buildup in the drain line that requires drain cleaning. Regular drain cleaning prevents buildup that can cause clogs and makes future plug removal easier. Perform drain cleaning periodically using a mixture of baking soda and vinegar followed by hot water, or use a professional drain cleaning service for stubborn clogs.
Long-Term Maintenance to Prevent Future Stuck Plugs
Establishing a routine maintenance schedule is essential for preventing future stuck drain plugs and ensuring your tub drain remains functional. Clean the drain plug every 3 to 6 months by removing it and scrubbing it with a wire brush and white vinegar solution to remove mineral buildup, hair, and debris. Rinse the plug thoroughly and reinstall it, ensuring it seats properly. This simple maintenance step prevents clogs, maintains smooth operation, and extends the lifespan of the plug.
Apply a small amount of plumber's grease or silicone-based lubricant to the plug threads annually to reduce friction and prevent corrosion. This makes future removal easier and prevents the plug from becoming stuck due to mineral buildup or corrosion. Avoid using harsh chemical drain cleaners regularly, as these can damage the plug and drain assembly. Instead, use natural cleaning methods like baking soda and vinegar, which are effective and safe for all plumbing components.
Monitor water quality in your home to identify hard water issues that accelerate mineral buildup. If you have hard water, consider installing a water softener to reduce mineral content in your water supply, which will reduce buildup in drain plugs, pipes, and other plumbing fixtures. Regularly check the drain plug for signs of corrosion, cracks, or wear, and replace it promptly if any damage is detected. A damaged plug can allow debris to enter the drain, causing clogs and requiring more extensive cleaning. Understanding how other plumbing components interact with your drain is also important for overall system health. Be cautious when performing DIY plumbing repairs near the drain, as improper work can affect related systems. For example, DIY disposal repair can void water heater warranty if the repair improperly affects water flow or pressure that the water heater depends on for proper operation.
Conclusion
Removing a stuck drain plug from a tub requires patience, proper tools, and the right technique to avoid damaging the drain or tub surface. By following the systematic process of gathering tools, attempting initial loosening methods, using advanced techniques for severely stuck plugs, and installing a new plug properly, you can restore proper drainage and prevent future problems. Proper installation prevents common issues like leaks, poor function, and premature plug failure, ensuring the plug operates smoothly for years.
Long-term maintenance, including regular cleaning, applying lubricant to threads, monitoring water quality, and addressing plumbing issues promptly, extends the lifespan of your drain plug and prevents it from becoming stuck again. Understanding how components like water heaters and drainage systems interact with your drain helps you maintain overall system health and prevent problems. Whether you choose to remove the stuck plug yourself or hire professional plumbers for assistance, a properly maintained drain plug provides essential convenience and functionality for your bathing routine.