How to Install an Outdoor Hose Bib the Right Way?
Installing an outdoor hose bib correctly ensures reliable water access, prevents leaks, and reduces the risk of freeze damage and water waste. Whether replacing an old fixture or adding a new one, the right approach combines careful planning, correct materials, and attention to the surrounding environment. This article covers the repair process, methods to isolate and stop leaks, durable patching techniques, and long-term maintenance practices to keep your outdoor plumbing performing well for years.
Planning and choosing the right location
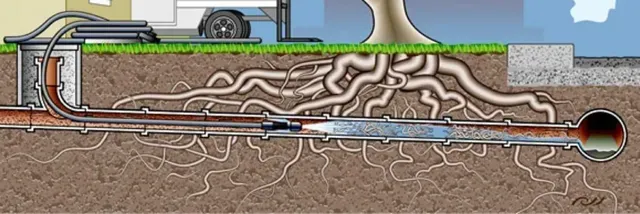
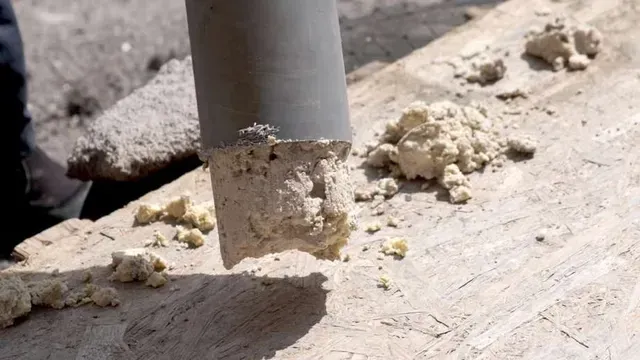
Selecting the proper location for a hose bib is the first step toward a dependable installation. Consider accessibility for filling watering cans and attaching hoses while keeping the fixture away from high-traffic walkways to minimize accidental damage. Evaluate the interior waterline layout so the new connection can be tied into an existing supply with minimal disruption. You should also consider future landscaping plans and the potential for root growth; install the bib where it will be least susceptible to intrusion to protect your waterline from root invasion. If you are installing the fixture on an exterior wall, check for sufficient clearance behind the siding or masonry to accommodate the pipe and shutoff mechanisms.
Turn off water and isolate the line
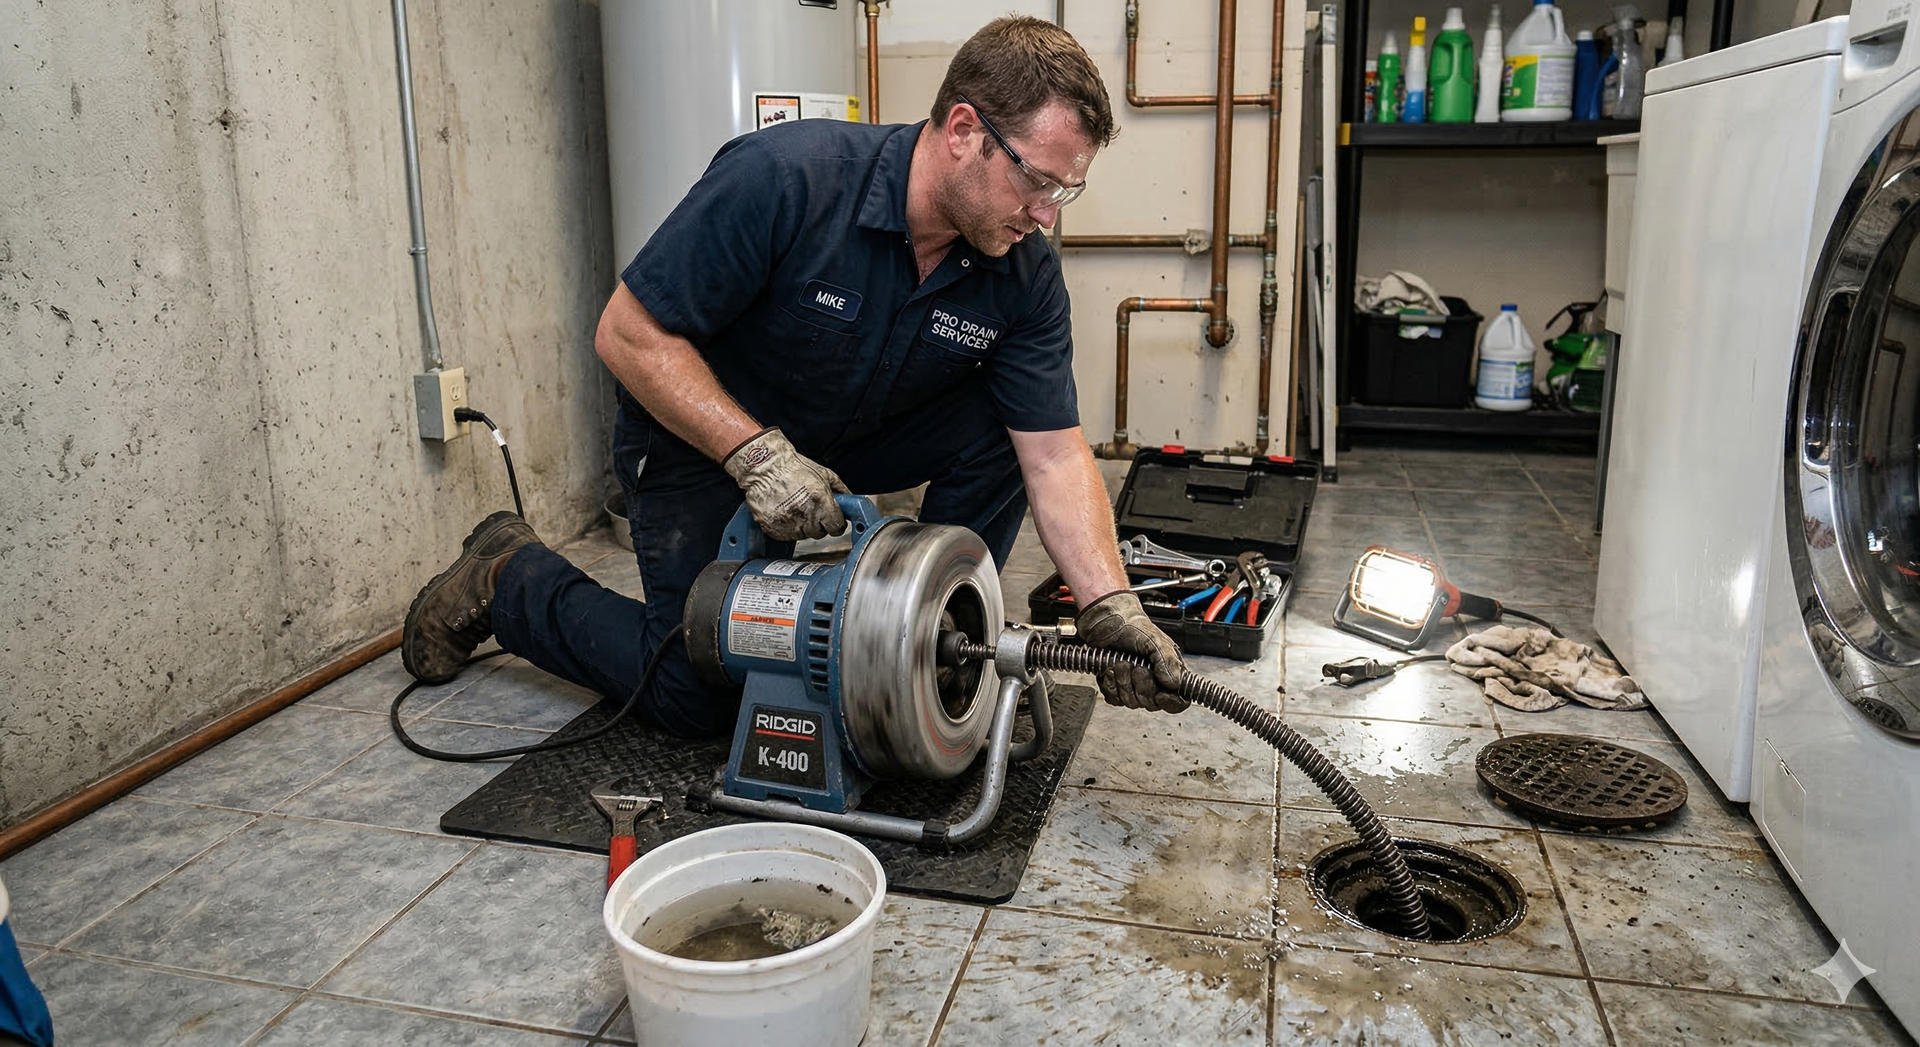
Before any work begins, isolate the water supply to the section you will be working on. Locate the nearest shutoff valve that controls the line feeding the outdoor bib and turn it off. If a local shutoff is not present, you may need to shut off the main water supply for the structure. Relieve residual pressure by opening an indoor faucet on the same line and by gently draining the pipe where possible. If you are unsure where to isolate the line or if you need rapid assistance, many tradespeople advertise emergency services and can help locate and secure the supply to minimize water damage and expedite repairs.
Removing the old bib and preparing the piping
With the water isolated and residual pressure relieved, remove the existing hose bib by unscrewing or cutting, depending on how it was attached. If the fixture is soldered or sweat-fitted, use appropriate tools to cut the pipe and clean the ends for the new connection. For threaded fittings, remove the old bib and clean the male or female threads with a wire brush to ensure a good seal for the replacement. Inspect the existing piping for corrosion, cracks, or soft spots. If the section of pipe feeding the bib is compromised, cut back to sound material. Clean and deburr the pipe ends before preparing new fittings, and choose materials—copper, CPVC, PEX, or brass—consistent with the existing plumbing and local code requirements.
Selecting the right hose bib and fittings
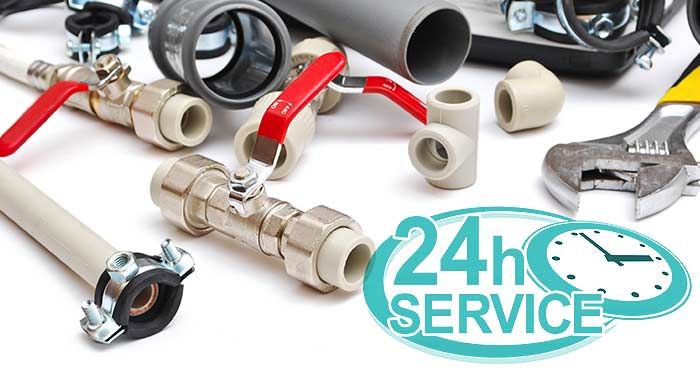
Choose a hose bib built for outdoor use, constructed of corrosion-resistant materials such as brass, and featuring a freeze-resistant stem if you are in an area that experiences low temperatures. A frost-free or anti-siphon bib may be appropriate depending on local regulations and intended use; anti-siphon models prevent backflow but are typically mounted vertically above potential contamination sources, while frost-free models locate the valve mechanism further inside the heated wall. Match threads and connection types to your existing piping: solder, compression, or threaded connections will each require different installation techniques and sealants. Apply thread tape or pipe dope to threaded fittings to ensure watertight joints, and solder joints per manufacturer and local code instructions.
Installing the new bib and sealing penetrations
Mount the new bib securely to the exterior wall using straps or a mounting plate to prevent stress on the piping from hoses or tugging. When passing pipe through exterior sheathing, create a properly sized penetration and seal it on both the interior and exterior sides to prevent air and moisture intrusion. Use a backflow preventer or vacuum breaker where required by code to protect potable water. For freeze protection, slope any interior piping slightly toward the house so residual water drains back indoors. Seal exterior gaps with appropriate exterior-grade caulk or foam to protect the wall assembly from water intrusion and to help maintain insulation continuity around the pipe.
Common repair techniques for leaks
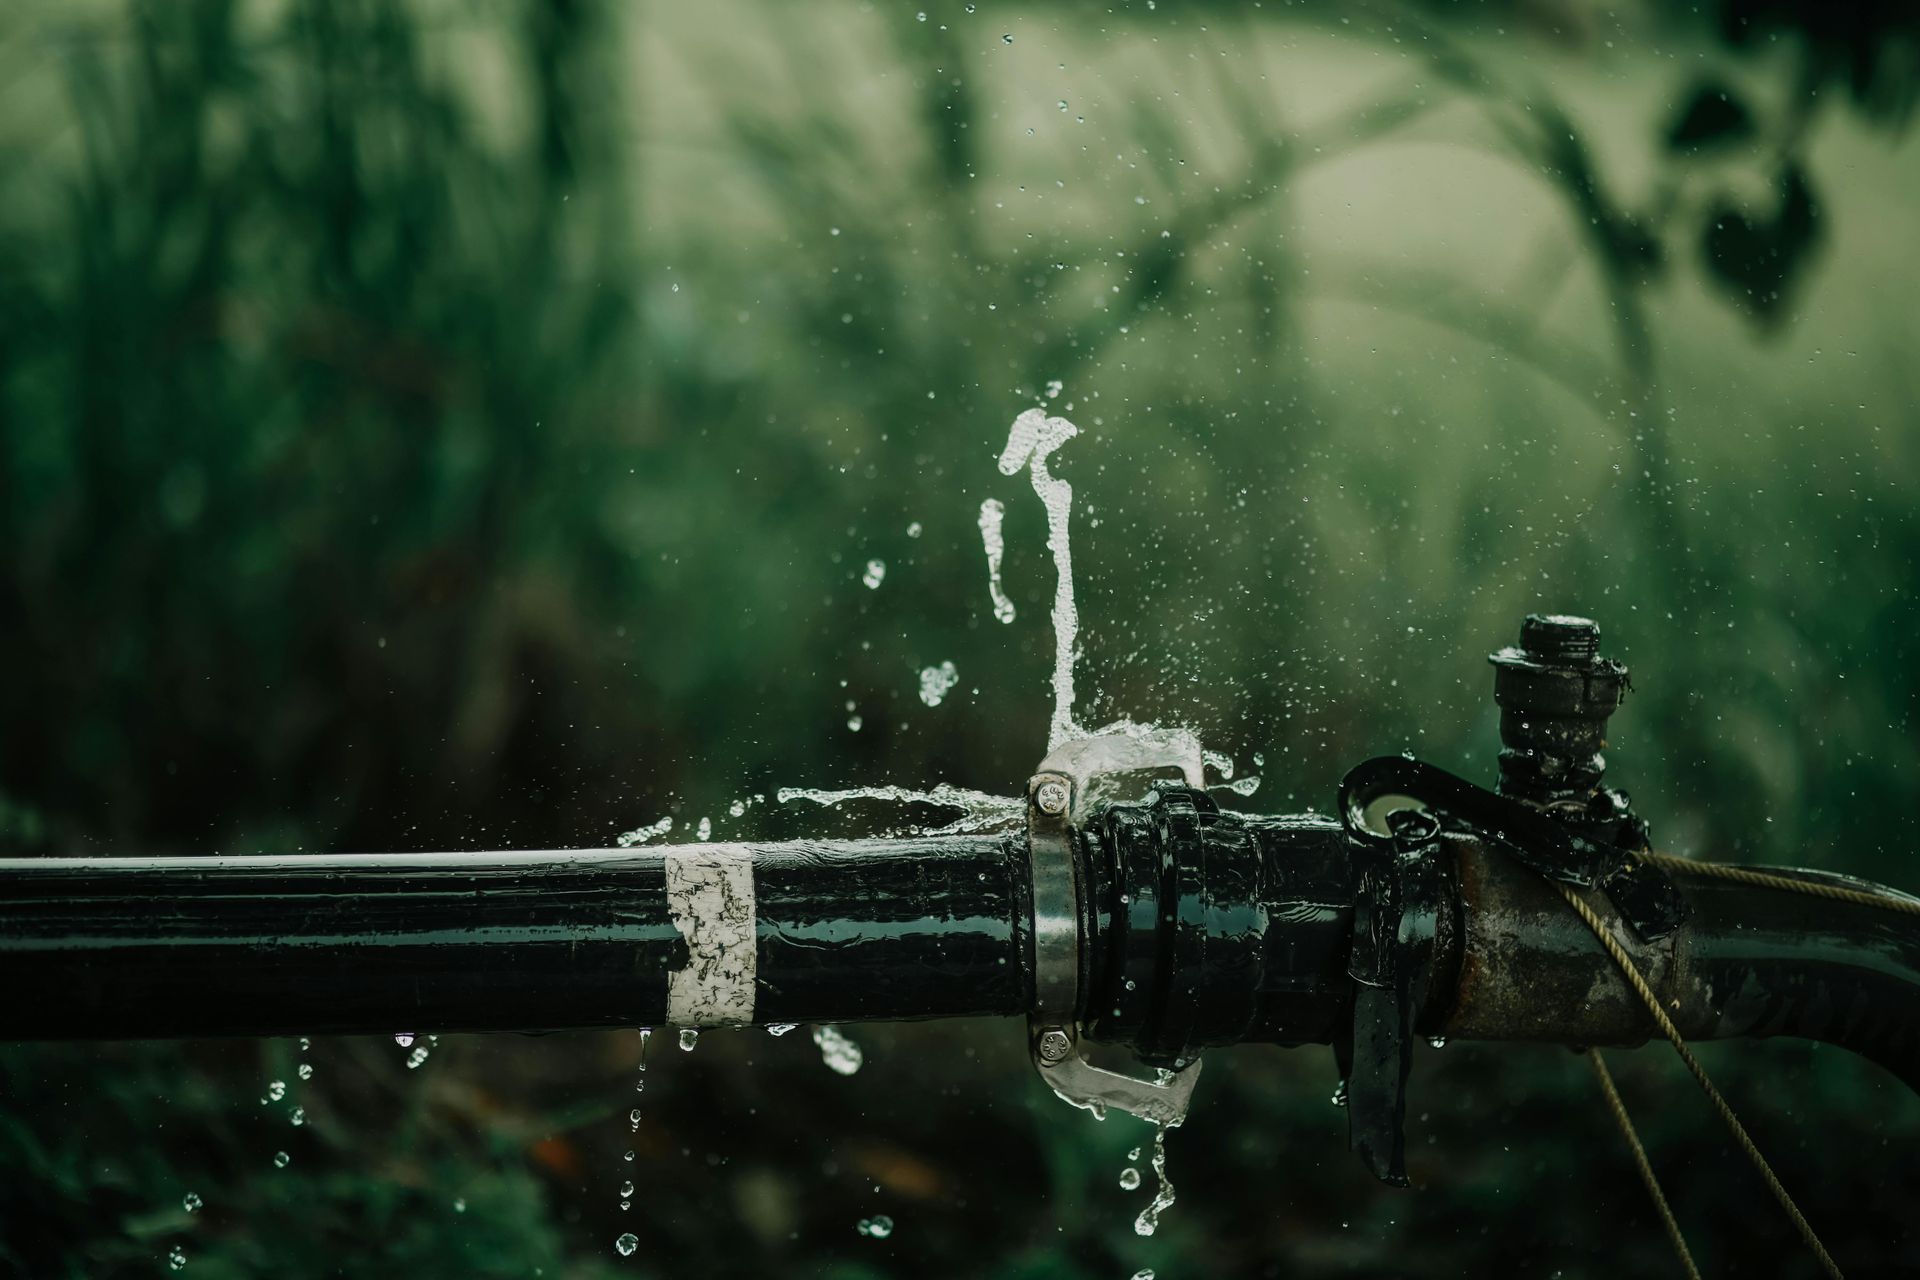
When dealing with leaks at or near a hose bib, identify whether the issue originates at the valve stem, the body of the bib, or the connection to the supply line. A leaking stem can often be fixed by replacing the packing or the internal washer, while leaks at the body often indicate corrosion or damage requiring full bib replacement. Leaks at threaded connections may be resolved by disassembling, cleaning, and reapplying thread sealant and tightening to the proper torque. If the supply pipe itself is leaking, repair options include soldered copper patches, replacement of a damaged section with a coupling, or using a compression repair sleeve for copper or plastic pipe. For immediate temporary fixes, specialized repair clamps or epoxy putty can stop leaks long enough for a planned replacement; however, these should not be considered permanent solutions.
Patching methods for small and large issues
Small leaks and pinholes in metal piping can sometimes be addressed with epoxy-based compounds designed for plumbing repairs. These products require a dry surface and adequate curing time and are best used as temporary measures or in locations where full replacement is impractical immediately. For larger-diameter failures or damaged fittings, replace the offending section using couplings, unions, or new lengths of pipe. In corrosion-prone situations, consider upgrading to more durable materials or installing a short stainless steel or brass stub-out that is easier to service in the future. Wherever a durable patch or replacement is made, pressure-test the repair by re-pressurizing the line and observing for leaks before restoring insulation and sealing wall penetrations.
Protecting the installation from environmental threats
An outdoor hose bib endures thermal cycling, moisture, physical stress, and biological pressure from roots. To protect your waterline from root invasion, avoid routing supply lines near large trees or major shrubs; if unavoidable, use root-resistant sleeves or deeper burial to reduce exposure. Insulate accessible piping with closed-cell foam covers to guard against freeze damage, and install a shutoff valve on the interior side of the wall that can be closed during winter or when the fixture is not in use. Consider installing a frost-free model if you frequently experience freezing temperatures; these designs shift the valve’s working parts inside the heated wall space, reducing the risk of burst pipes.
Testing, commissioning, and documenting the work
Once the new bib is installed and connections are secure, slowly restore water to the isolated section and check for leaks at every joint and the valve stem. Cycle the valve open and closed to confirm smooth operation and to seat any washers or packing. If you used soldered joints, allow time for the joint to cool and then test; if you relied on thread sealants or adhesives, follow manufacturer-specified cure times before applying full pressure. After testing, insulate exposed piping and create a simple record of the installation: date, materials used, and any shutoff locations. This documentation is valuable for future maintenance, service calls, and for anyone who may work on the system later. If something fails or you discover complex issues such as hidden corrosion or frozen pipes you cannot manage safely, contact licensed professionals who offer emergency services to handle urgent repairs.
Long-term maintenance and best practices
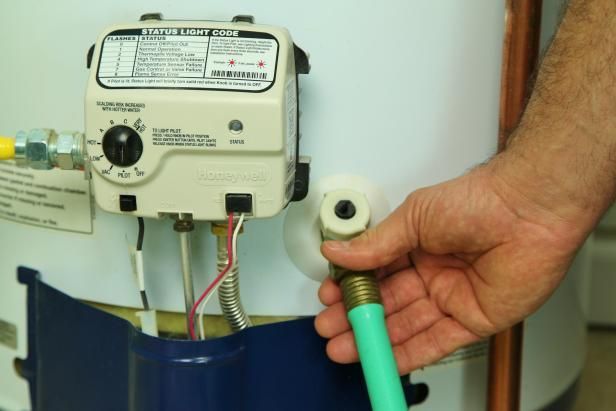
Routine checks prolong the life of an outdoor hose bib and prevent small problems from escalating. Inspect the fixture seasonally for drips, loose fittings, and signs of corrosion. Operate the valve periodically to prevent mineral buildup and stiffness. Before winter, shut off the interior shutoff valve, drain the line, and leave the outdoor bib in an open position to permit residual water to escape and reduce freeze risk. Replace packing or washers at the first sign of leakage; these inexpensive components are easier to swap than replacing the entire fixture. Maintain landscaping so roots and heavy plantings do not encroach on supply trenches, and consider running routine inspections on older supply lines to detect hidden degradation before failures occur.
When to call a professional
Many homeowners can replace a hose bib successfully with basic plumbing skills, but certain situations call for a professional assessment. If the supply piping is old, severely corroded, or accessible only through complex wall or slab penetrations, a trained plumber can recommend durable remediation and ensure code compliance. Professionals can also advise on best practices to protect municipal connections and prevent cross-connection hazards; specialized tools and experience are particularly helpful when soldering, re-routing supply lines, or excavating around critical infrastructure. For urgent leaks, burst pipes, or when you need immediate isolation and repair to prevent property damage, contact licensed plumbers—many of whom provide emergency services—to respond quickly and safely.
Conclusion
Installing an outdoor hose bib correctly starts with careful planning and finishes with thorough testing and routine maintenance. Selecting the right location, using durable materials, and properly sealing wall penetrations help prevent leaks, reduce the risk of freeze damage, and extend the lifespan of your plumbing system. Addressing minor issues early with appropriate repairs or replacement components can also help you avoid more costly problems down the road.
While many hose bib installations and basic repairs can be handled with the right tools and preparation, more complex plumbing issues are best left to professionals. If you encounter extensive corrosion, difficult pipe configurations, or urgent waterline problems, All City Plumbers can provide expert installation, dependable repairs, and fast emergency plumbing services when needed. By following best installation practices and protecting your outdoor plumbing from environmental hazards such as freezing temperatures and root intrusion, you can enjoy reliable outdoor water access for years to come.