How to Properly Maintain Your Sump Pump in the Winter

Youmna Rehman

Winter can be brutal on your home’s systems, and your sump pump is no exception. While many people focus on prepping their furnace or insulating their pipes, the sump pump often gets overlooked. Yet, when freezing temperatures hit, neglecting this crucial device can lead to malfunctions, flooding, and expensive repairs. This guide will show you how to properly maintain your sump pump during winter, keeping it in top shape and your home safe from water damage.


"How to Prevent Sump Pump Failures During Heavy Rain"


Why Winter Maintenance for Your Sump Pump Matters

Sump pumps are designed to protect your home from water damage by pumping out excess water from the basement or crawl space. But in winter, freezing temperatures can cause several issues:

  • Frozen Discharge Lines: Ice can block the water flow, forcing it back into the basement.
  • Overworked Pumps: Snowmelt and winter rains can overburden a poorly maintained pump.
  • Premature Wear and Tear: Lack of maintenance can shorten your pump’s lifespan, leaving you with costly replacements.


By taking preventive steps, you can avoid these common issues and ensure your sump pump runs smoothly all winter long.


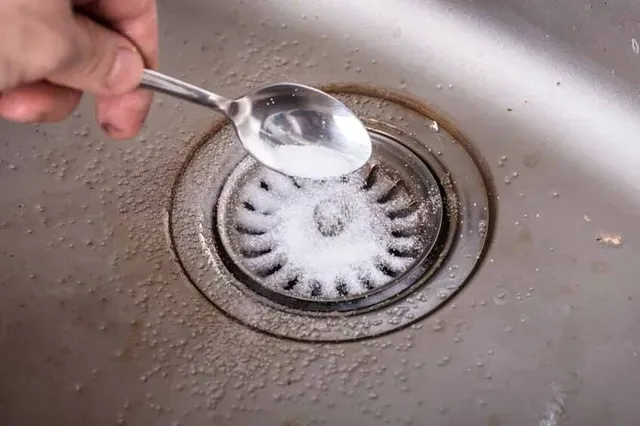
Step 1: Inspect and Clean Your Sump Pump

Before winter fully sets in, give your sump pump a thorough inspection and cleaning.

  • Remove Debris: Check the sump pit for any debris, dirt, or gravel that might clog the system. A clogged pump can overheat and fail.
  • Clean the Impeller: This small but vital component can get jammed with debris. Remove the pump and carefully clean the impeller to ensure smooth operation.
  • Test the Float Switch: Ensure the float moves freely and triggers the pump correctly. A stuck float can render your pump useless.

Pro Tip: Perform these checks at least twice a year, including before winter.


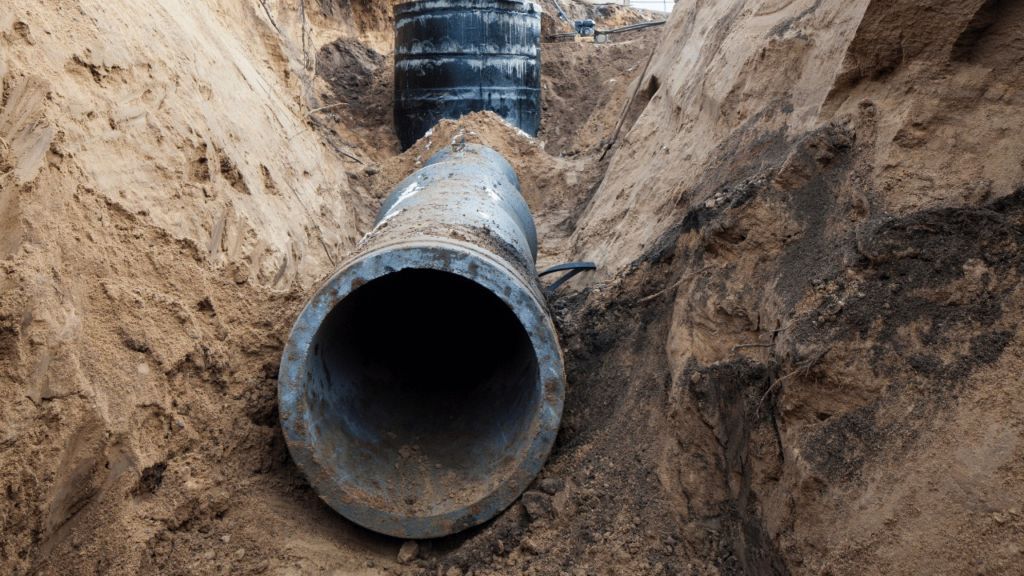
Step 2: Protect the Discharge Line

The discharge line is particularly vulnerable during winter. If it freezes, water has nowhere to go, leading to backups and potential flooding.

  • Use a Freeze-Proof Hose: Replace your standard discharge line with a hose designed to withstand freezing temperatures.
  • Bury the Line: Ensure the discharge line is buried below the frost line to prevent freezing.
  • Add Insulation: Wrap the exposed parts of the line with foam insulation to keep the water flowing.

Pro Tip: Make sure the discharge point is clear of snow and ice to avoid blockages.


Step 3: Check for Proper Ventilation

Good ventilation is key to preventing ice buildup in and around your sump pump system.

  • Inspect the Vent Pipe: Ensure it’s clear of debris and snow.
  • Keep Airflow Open: Avoid covering the sump pit or vent with heavy materials.
  • Maintain a Warm Environment: If your sump pump is located in a basement or crawl space, ensure the area is heated or well-insulated.

Step 4: Perform a Test Run

Before winter kicks into high gear, test your sump pump to ensure it’s functioning properly.

  • Pour Water into the Pit: Slowly pour a bucket of water into the sump pit. The pump should activate, drain the water, and shut off automatically.
  • Listen for Unusual Noises: Grinding, rattling, or gurgling noises may indicate a problem that needs addressing.
  • Check the Discharge Flow: Ensure water flows freely out of the discharge line without leaks or backflow.

Pro Tip: If your sump pump doesn’t activate or you notice issues, consult a professional plumber immediately.


Step 5: Invest in a Battery Backup System

Winter storms often bring power outages, leaving your sump pump powerless when you need it most. A battery backup system ensures your pump keeps running even during blackouts.

  • Choose the Right System: Look for battery backups compatible with your pump model.
  • Test Regularly: Check the battery’s charge and functionality to avoid unpleasant surprises.
  • Upgrade if Necessary: Consider advanced systems with longer runtimes for better protection.


Step 6: Install a Secondary Pump

For homes in areas prone to heavy snowfall or winter rains, a secondary sump pump adds an extra layer of protection.

  • Redundancy: If your primary pump fails, the secondary pump takes over.
  • Increased Capacity: Handles large volumes of water during extreme weather.
  • Peace of Mind: Reduces the risk of basement flooding significantly.


Step 7: Regularly Monitor Your Sump Pump

Even after taking all the precautions, it’s essential to keep an eye on your sump pump throughout the winter.

  • Weekly Checks: Look for signs of freezing, clogging, or unusual noises.
  • Install a Water Alarm: These devices alert you to rising water levels in the sump pit, giving you time to act.
  • Keep Records: Document maintenance and repairs for easy troubleshooting if issues arise.


Common Winter Problems and How to Fix Them

1. Frozen Discharge Line

Symptoms: Water pooling in the basement or backflow into the pit.
Solution:
Thaw the line using a heat gun or replace it with a freeze-proof hose.

2. Pump Running Non-Stop

Symptoms: The pump won’t shut off even when the pit is empty.
Solution:
Check the float switch for debris or damage and ensure the pump is appropriately sized for the pit.

3. Pump Not Activating

Symptoms: Water levels rise, but the pump doesn’t turn on.
Solution:
Inspect the power source, test the float switch, and clear the impeller of debris.


Conclusion: Don’t Let Winter Freeze You Out

Your sump pump is your first line of defense against basement flooding, and winter can be its toughest test. With proper maintenance, you can prevent common issues like frozen discharge lines, overworked pumps, and costly repairs. Take the time to inspect, clean, and prepare your sump pump before the freezing temperatures set in. If you’re unsure about any step, don’t hesitate to call a professional plumber. Remember, a little effort now can save you a fortune—and a lot of stress—later.

Why Plumbing Leaks Lead to Mold (And How to Stop It)?
by Hadi Masood 17 February 2026
Discover simple steps to stop mold after plumbing leaks: dry fast, clean smart, fix leaks, and prevent future issues for a healthy home. Expert tips inside!
What Causes Rusty Hot Water and How to Properly Stop It?
by Hadi Masood 17 February 2026
Learn what causes rusty hot water and how to properly stop it by inspecting your water heater, expansion tanks, and internal plumbing, then deciding if you need a plumber or waterline repair.
Why Your Hot Water Runs Out Faster Than It Should?
by Hadi Masood 15 February 2026
Discover why your hot water runs out faster than it should and learn how water heater issues, waterline repair and replacement, and expansion tanks may be affecting your supply.
Annual Water Heater Inspection Checklist for Homeowners
by Hadi Masood 15 February 2026
Use this annual water heater inspection checklist to keep your unit running safely and efficiently, and learn why your water heater and expansion tanks matter to your home’s plumbing.
How to Effectively Troubleshoot Lukewarm Shower Water?
by Hadi Masood 11 February 2026
Troubleshoot lukewarm shower water by checking your water heater, mixing valve, and plumbing pressure, and learn when to call a plumber or emergency services for help.
How to Extend Water Heater Life Beyond 12 Years?
by Hadi Masood 11 February 2026
Learn how to extend your water heater’s life beyond 12 years with expert maintenance tips, insulation advice, and guidance on why water heater expansion tanks matter.
Why Water Heater Expansion Tanks Matter & How to Prevent Damage?
by Hadi Masood 9 February 2026
Explore why water heater expansion tanks prevent pressure damage from thermal expansion, with sizing tips, installation steps, and maintenance for reliable plumbing.
Bathroom Water Hammer Explained and How to Stop the Loud Banging?
by Hadi Masood 30 January 2026
Unpack bathroom water hammer—causes like sudden valve closures and high pressure—and learn proven fixes like arrestors and PRVs for silent pipes.
by Hadi Masood 30 January 2026
Nothing disrupts a morning routine like a shower turning icy midstream, leaving you shivering and frustrated. This common issue stems from imbalances in your home's plumbing and heating systems, often triggered by everyday usage patterns or overlooked maintenance. Understanding the root causes empowers homeowners to diagnose problems swiftly and implement lasting fixes. This guide delves into the mechanics behind sudden temperature drops, explores diagnostic techniques, and outlines prevention strategies to keep your showers consistently warm. Common Causes of Sudden Cold Showers Sudden cold water in showers typically arises from water heater malfunctions or plumbing disruptions. Sediment buildup in tank-style heaters insulates the burner or element, causing inconsistent heating—over time, minerals from hard water accumulate at the bottom, reducing efficiency and leading to temperature fluctuations during peak demand. Similarly, a failing dip tube in the heater fails to direct cold incoming water to the top for proper mixing, so hot water depletes faster than it replenishes. High demand elsewhere in the home exacerbates this; simultaneous use of washing machines, dishwashers, or multiple faucets dilutes hot water supply. Pressure imbalances from clogged aerators or faulty mixing valves can also shift temperatures abruptly. In larger households, undersized heaters struggle with back-to-back usage, mimicking a sudden cold blast. Diagnosing Water Heater Problems Start diagnosis by checking the water heater's thermostat setting—most should hover between 120 and 140 degrees Fahrenheit for safety and performance. Listen for unusual noises like popping or rumbling, hallmarks of sediment; if present, a professional flush resolves it. Test the heating element in electric models with a multimeter for continuity, or inspect the gas burner for a weak blue flame indicating dirty components. Expansion tanks play a crucial role here—they mount on the cold water inlet to absorb thermal expansion pressure, preventing relief valve drips that signal overpressure and potential cold surges. Without one, especially in closed-loop systems, heaters cycle inefficiently, dropping output temperatures. Monitor the pressure relief valve; frequent activation points to expansion issues. For tankless units, error codes on the display often pinpoint flow sensors or igniters as culprits. Identifying Plumbing and Pipe Issues Plumbing beyond the heater often hides the problem. Reverse flow from check valves or backflow preventers can introduce cold water into hot lines, especially if sediment clogs them. Undersized pipes struggle with volume, causing pressure drops that chill the stream. Air locks from recent repairs trap bubbles, disrupting flow until purged by running all hot taps sequentially. Leaky fixtures upstream siphon hot water unnoticed, leading to sudden cools. Inspect for hidden corrosion in galvanized pipes, which narrows passages over time. All City Plumbers emphasize tracing lines with a pipe camera for blockages invisible to the eye, revealing scale or debris that starves the showerhead. The Impact of Water Pressure Fluctuations Pressure swings directly affect shower temperature consistency. Municipal supply variations, like nighttime boosts or peak-hour drops, strain home systems. Faulty pressure regulators fail to stabilize incoming force, overwhelming the heater. Clogged showerheads or aerators restrict hot flow while cold rushes in unchecked. In multi-story homes, gravity amplifies upper-floor issues, where thinner pipes can't maintain velocity. Install a whole-house pressure gauge to baseline readings—ideal is 50-80 PSI. Fluctuations beyond this trigger mixing valve failures, designed to blend water but prone to wear. Step-by-Step Fixes for Cold Showers Addressing the issue begins with simple resets. Flush the water heater by attaching a hose to the drain valve and running it until clear, refilling slowly to avoid air pockets. Clean aerators by soaking in vinegar overnight, then reinstall for restored balance. Insulate exposed pipes with foam sleeves to minimize heat loss in unheated spaces. For persistent problems, replace the dip tube or upgrade to a higher-capacity heater. Adding or servicing expansion tanks restores pressure equilibrium. Test post-fix by timing recovery—hot water should resume within 30 seconds of demand spikes. Preventive Maintenance Strategies Prevention hinges on routine care. Annually flush tank heaters and descale tankless ones to banish sediment. Set programmable schedules to avoid simultaneous high-demand usage, staggering laundry and showers. Install low-flow fixtures that ease heater load without sacrificing pressure. Prepare your plumbing before vacations by shutting off the water main, draining lines, and setting the heater to pilot mode—this averts stagnant water growth and pressure builds during absence. Water softeners combat mineral buildup in hard-water areas, extending system life. Upgrading for Long-Term Reliability Consider modern solutions like on-demand tankless heaters, which heat water instantly without standby losses, eliminating cold-start woes. Hybrid heat pump models offer efficiency gains up to 300 percent. Whole-home recirculation pumps deliver instant hot water, minimizing waste and temperature dips. Smart thermostats monitor usage patterns, adjusting preemptively. Pair with pressure-balancing shower valves that auto-compensate for fluctuations, ensuring steady warmth. Conclusion Sudden cold showers disrupt more than comfort—they signal underlying issues that, if ignored, escalate to costly repairs. By pinpointing causes from heater sediment to pressure imbalances and embracing proactive maintenance, you safeguard reliable performance year-round. Implementing these strategies not only restores blissfully warm showers but also boosts energy efficiency and system longevity for peace of mind.
How To Install ADA-Compliant Bathroom Fixtures?
by Hadi Masood 28 January 2026
Learn step-by-step how to install ADA-compliant bathroom fixtures for accessibility, including toilets, sinks, grab bars, and pro tips for compliance and safety.