How To Remove A Bathtub Drain Stopper
Removing a bathtub drain stopper is an essential skill for maintaining and cleaning your tub. Whether you're dealing with a clogged drain or just need to clean out accumulated gunk, knowing how to remove your drain stopper can save you time and money. This guide will walk you through the process, step by step, ensuring you can tackle this task with confidence.
Identify the Type of Stopper
First, you need to identify the type of stopper in your bathtub. Common types include lift-and-turn, push-and-pull, toe-touch, trip lever, and flip-it stoppers. Take a close look at your stopper and determine which category it falls into. This will guide you in selecting the appropriate removal method.
Gather Necessary Tools
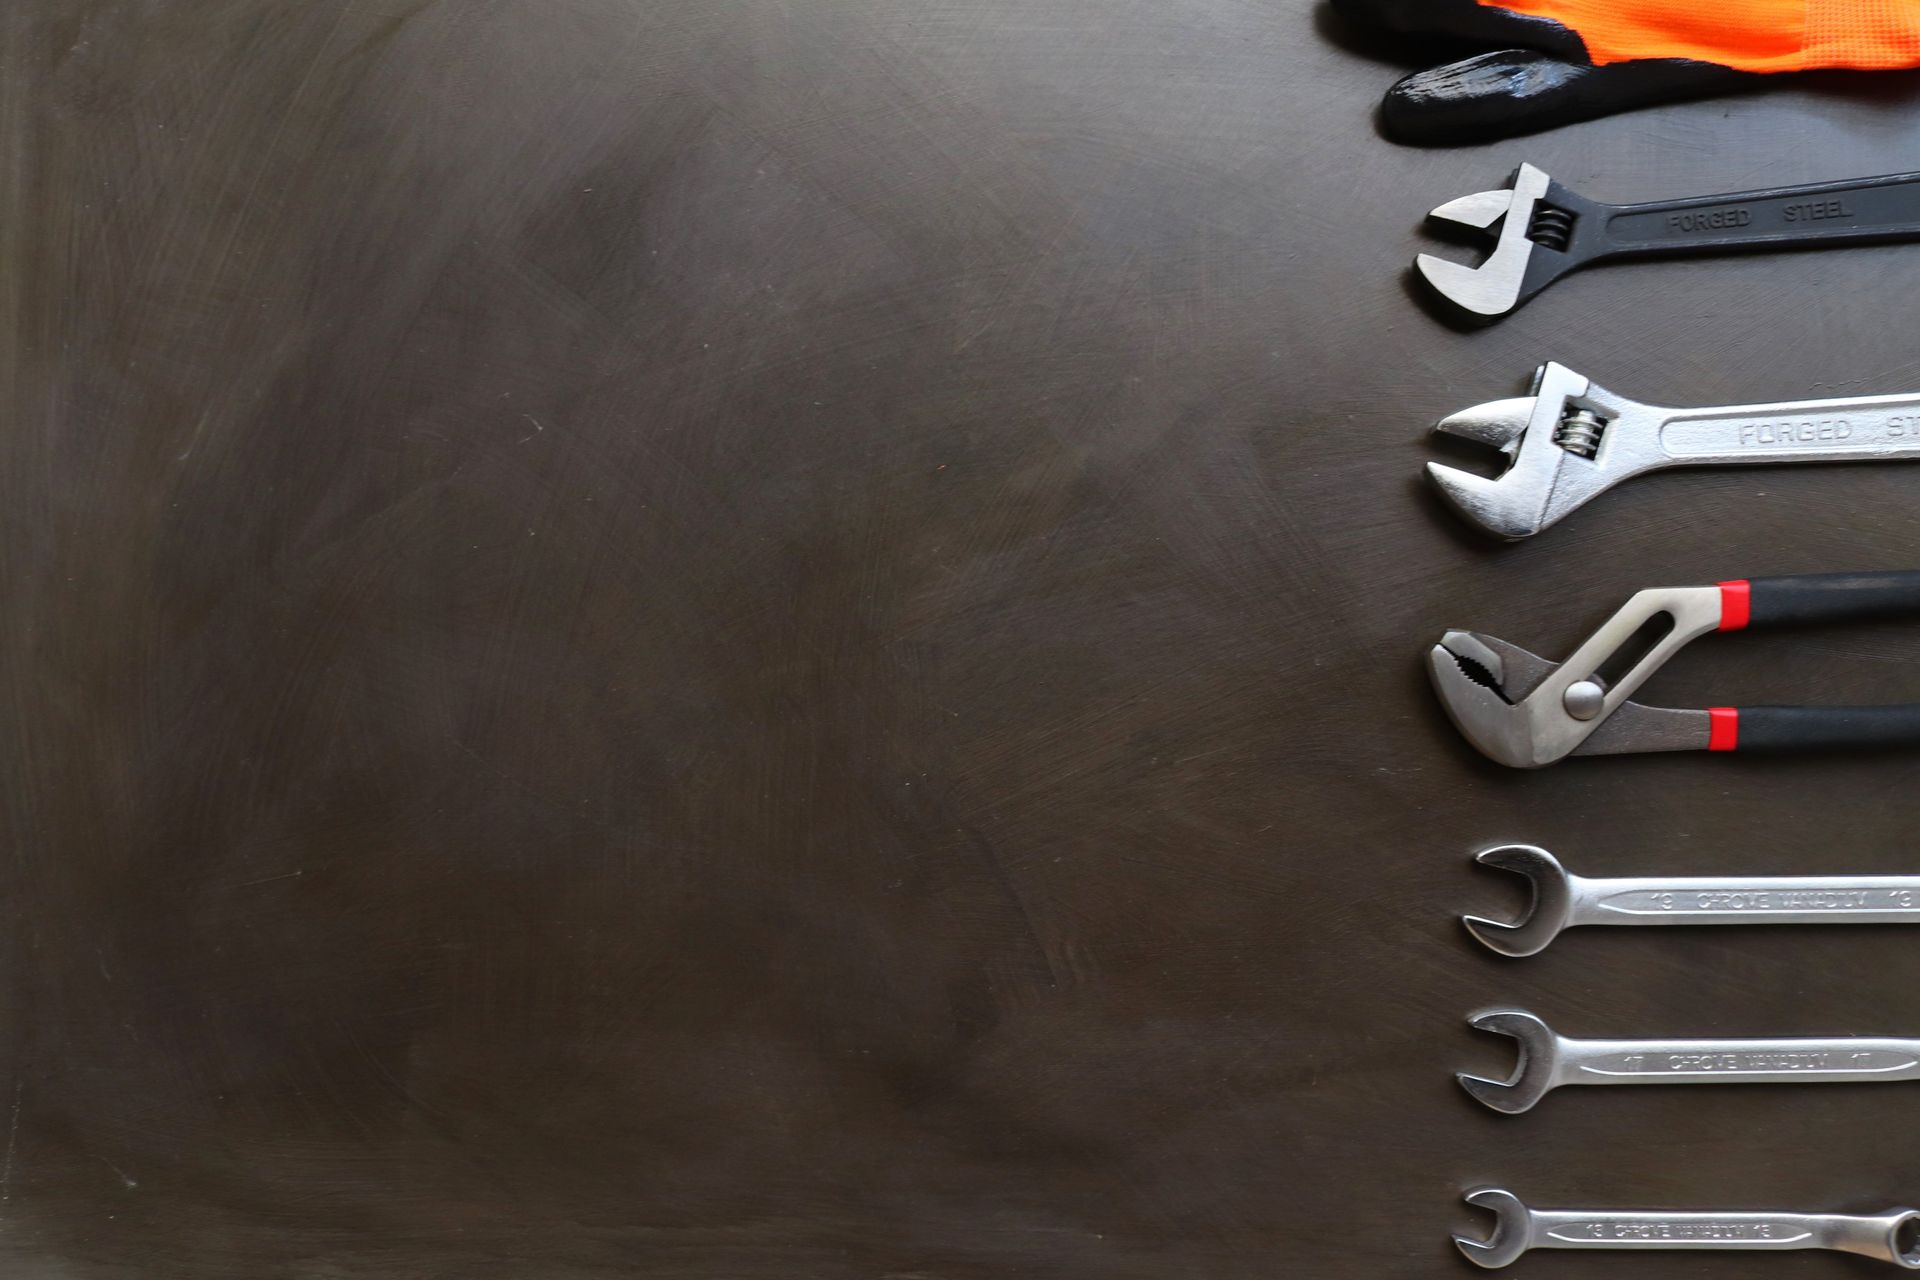
Before you start, gather all the tools you'll need: a flathead screwdriver, pliers, and a wrench. Having the right tools on hand will make the process smoother and prevent any unnecessary delays.
Prepare the Area
Prepare your work area by removing any bath mats or items around the tub. Ensure the tub is dry and clean to prevent slips. Wearing gloves can also protect your hands from sharp edges or grime.
Remove a Lift-and-Turn Stopper
- Set the stopper to the open position.
- Hold the stopper body and turn the knob counterclockwise.
- If the knob doesn’t unscrew, look for a set screw at the base and loosen it.
- Lift the stopper out of the drain.
Remove a Push-and-Pull Stopper
- Set the stopper to the open position.
- Grip the stopper body and pull it up while turning it counterclockwise.
- If it resists, check for a set screw under the stopper cap and loosen it.
- Lift the stopper out.
Remove a Toe-Touch Stopper
- Press the stopper down to the closed position.
- Turn the stopper counterclockwise to unscrew it.
- If it doesn't turn easily, use pliers for a better grip.
- Lift the stopper out of the drain.
Remove a Trip Lever Stopper
- Remove the screws from the overflow plate.
- Pull the plate and linkage out of the overflow pipe.
- Carefully extract the stopper mechanism from the drain.
- Inspect the linkage for any debris or damage.
Remove a Flip-It Stopper
- Set the stopper to the open position.
- Grip the stopper and pull it straight up.
- If it’s stuck, twist gently while pulling.
- Remove the stopper from the drain.
Clean and Inspect the Drain
Once the stopper is out, clean the drain thoroughly. Use a drain cleaner or a homemade solution of baking soda and vinegar to clear any debris. Inspect the drain for any signs of damage or corrosion that may need attention.
Reinstall or Replace the Stopper
Decide if you want to reinstall the same stopper or replace it with a new one. Follow the reverse steps of removal for reinstallation. Ensure the stopper fits snugly and operates smoothly to prevent leaks.
Test the Drain and Stopper
Test the stopper by filling the tub and ensuring it holds water without leaking. Then, release the stopper to check if the water drains properly. If you notice any issues, revisit the steps to make adjustments.
Conclusion
Removing a bathtub drain stopper might seem daunting, but with the right knowledge and tools, it’s a manageable task. Regular maintenance of your drain stopper can prevent clogs and ensure your bathtub remains in good working condition. Take these steps, and you'll be ready to handle any drain stopper issue that comes your way.