How to Repair a Broken Garbage Disposal
We've all been there: you're cleaning up after dinner, and suddenly, your garbage disposal stops working. It's frustrating, messy, and can disrupt your whole evening. But don't worry—whether your disposal is humming but not grinding, leaking, or just won't turn on, you can often fix these issues yourself. In this guide, we'll walk you through diagnosing and repairing your garbage disposal, saving you the cost and hassle of calling in the pros. However, if you find the task too daunting or the issue persists, remember that All City Plumbers are just a call away, ready to tackle even the toughest disposal dilemmas. So, let's roll up our sleeves and get your kitchen back in working order!
Read here about How to Unclog a Garbage Disposal!
Safety Precautions
- Disconnect Power: Always unplug the garbage disposal or switch off the circuit breaker before starting any repairs.
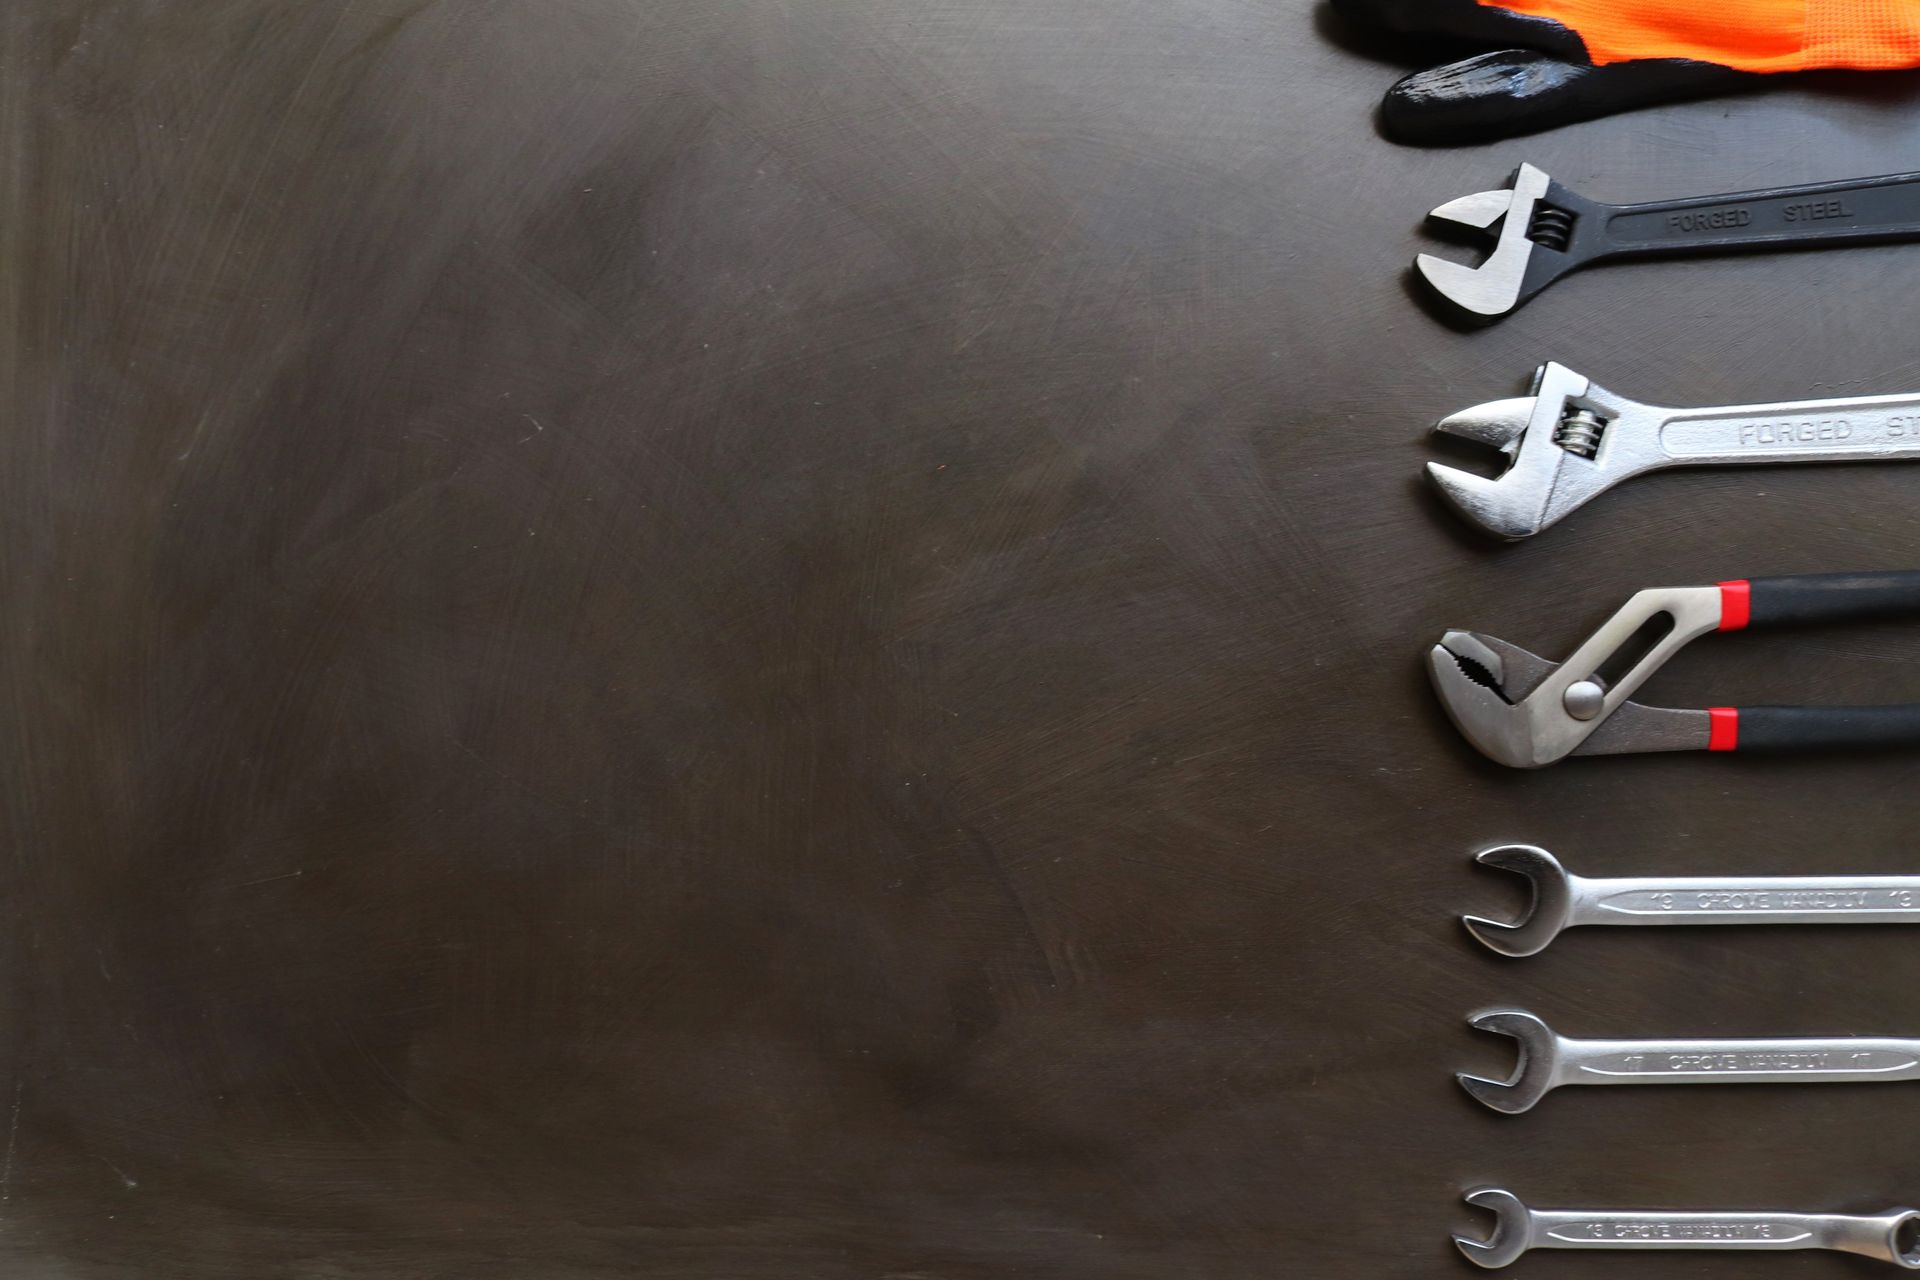
- Use Tools, Not Hands: Never reach into the disposal with your hands. Use tongs, pliers, or an offset wrench to remove obstructions.
- Check for Power: Use a voltage tester to ensure the power is off before beginning work.
- Avoid Water Contact: Ensure the area is dry to prevent any risk of electrical shock.
- Follow Manufacturer Guidelines: Adhere to the specific safety instructions provided by your garbage disposal's manufacturer.
Diagnosing the Problem:
To effectively repair a broken garbage disposal, you first need to identify the issue. Here are common problems and their signs:
- Disposal Not Turning On: If you flip the switch and hear nothing, the issue could be an electrical problem or a tripped reset button.
- Humming Noise Without Grinding: A humming noise often indicates that the motor is running, but the impeller or flywheel is jammed.
- Water Leaking: Leaks can occur from the sink flange, dishwasher hose, or discharge drainpipe.
- Slow Draining: Slow drainage is typically due to a clog in the drain pipes or disposal itself
Common Causes:
Understanding the common causes behind garbage disposal issues can help you diagnose and fix the problem more efficiently. Here are the typical culprits:
- Electrical Issues: Faulty wiring, a tripped circuit breaker, or a blown fuse can prevent the disposal from turning on.
- Jammed Impeller or Flywheel: Food scraps or foreign objects can jam the impeller or flywheel, causing the disposal to hum but not grind.
- Clogged Drain Pipes: Grease, food particles, and debris can build up in the drain pipes, leading to slow drainage.
- Faulty Seals or Connections: Over time, the seals and connections at the sink flange, dishwasher hose, or discharge drainpipe can wear out and cause leaks.
- Overloaded Disposal: Putting too much food waste at once can overwhelm the disposal, leading to jams or slow draining.
- Worn-Out Components: The disposal’s motor, blades, or internal mechanisms may wear out with age and use, leading to malfunction.

Step-by-Step Repair Guide:
Garbage Disposal Not Turning On:
- Push the Reset Button:
- Locate the reset button on the bottom of the disposal unit.
- Press the reset button to restore power.
- Test the disposal by turning it on.
- Check the Outlet:
- Ensure the disposal is properly plugged into the outlet.
- Test the outlet with another device to confirm it’s working.
- Check for Power:
- Inspect the circuit breaker and reset if tripped.
- Use a voltage tester to check if power is reaching the outlet.
- If no power, inspect the wiring and secure any loose connections.
Garbage Disposal Humming but Not Grinding:
- Turn off Power:
- Disconnect the disposal from the power source.
- Fix Flywheel and Impeller Jams:
- Insert an offset wrench or hex key into the flywheel hole at the bottom.
- Turn the wrench clockwise to dislodge any obstructions.
- If the obstruction is higher, use pliers or tongs to remove it.
- Restore Power:
- Reconnect the power and press the reset button.
- Run water and test the disposal with quick on/off bursts.
Garbage Disposal Leaking:
- Leak at the Sink Flange:
- Disconnect power and remove the disposal by turning it counterclockwise.
- Apply plumber’s putty between the sink flange and sink.
- Tighten the mounting bolts and reinstall the disposal.
- Leak at the Dishwasher Connection:
- Tighten the hose clamp on the dishwasher hose.
- Replace the hose if leaking continues.
- Leak at the Discharge Drainpipe:
- Tighten the bolts securing the discharge pipe.
- If leaking persists, replace the gasket seal.
Garbage Disposal Draining Slowly:
- Clear the Drain Trap:
- Disconnect the discharge pipe and drain trap.
- Check for and remove any clogs or obstructions.
- If the clog is further down, use a sink auger to clear the branch drain line.
- Reassemble the drain trap and discharge pipe.
Conclusion
Repairing a broken garbage disposal can be manageable with the right tools and knowledge. By following the step-by-step guide provided, you can address common issues such as electrical malfunctions, jammed impellers, leaks, and slow drainage effectively.
Remember, safety should always come first when working with electrical appliances. Always disconnect power before attempting any repairs and use appropriate tools to avoid injury.
If you encounter persistent problems or feel uncomfortable with the repair process, it's wise to seek professional assistance. All City Plumbers are available to provide expert help, ensuring your garbage disposal operates smoothly and efficiently.