Preventing Basement Floods with Proper Sump Pump Maintenance

Youmna Rehman

A flooded basement can be a nightmare for any homeowner, leading to costly repairs, mold growth, and structural damage. One of the most effective ways to prevent basement flooding is by maintaining your sump pump. This crucial device is designed to redirect water away from your home's foundation, but it can only function properly with regular care. In this guide, we’ll explore the importance of sump pump maintenance and provide actionable tips to keep it in top shape.


"How to Choose the Right Sump Pump for Your Home"


Why Sump Pump Maintenance Matters

A well-maintained sump pump ensures efficient water removal during heavy rains, snowmelt, or plumbing leaks. Neglecting maintenance can result in system failures when you need it most, leaving your basement vulnerable to flooding. Regular maintenance prolongs the pump’s lifespan and saves you money on repairs or replacements.


Key Maintenance Steps for Your Sump Pump

1. Inspect the Sump Pump Regularly

Conduct visual inspections every few months to check for visible wear, cracks, or corrosion. Look for loose connections or debris around the pump that could impede its function. .Ensure that protective coverings or enclosures are intact, as these are crucial for safeguarding the components from environmental factors. Maintain a record of each inspection to track any changes over time; this documentation can be invaluable for identifying trends that might indicate a developing issue. If any anomalies are detected, address them promptly to prevent further damage and maintain optimal performance. 

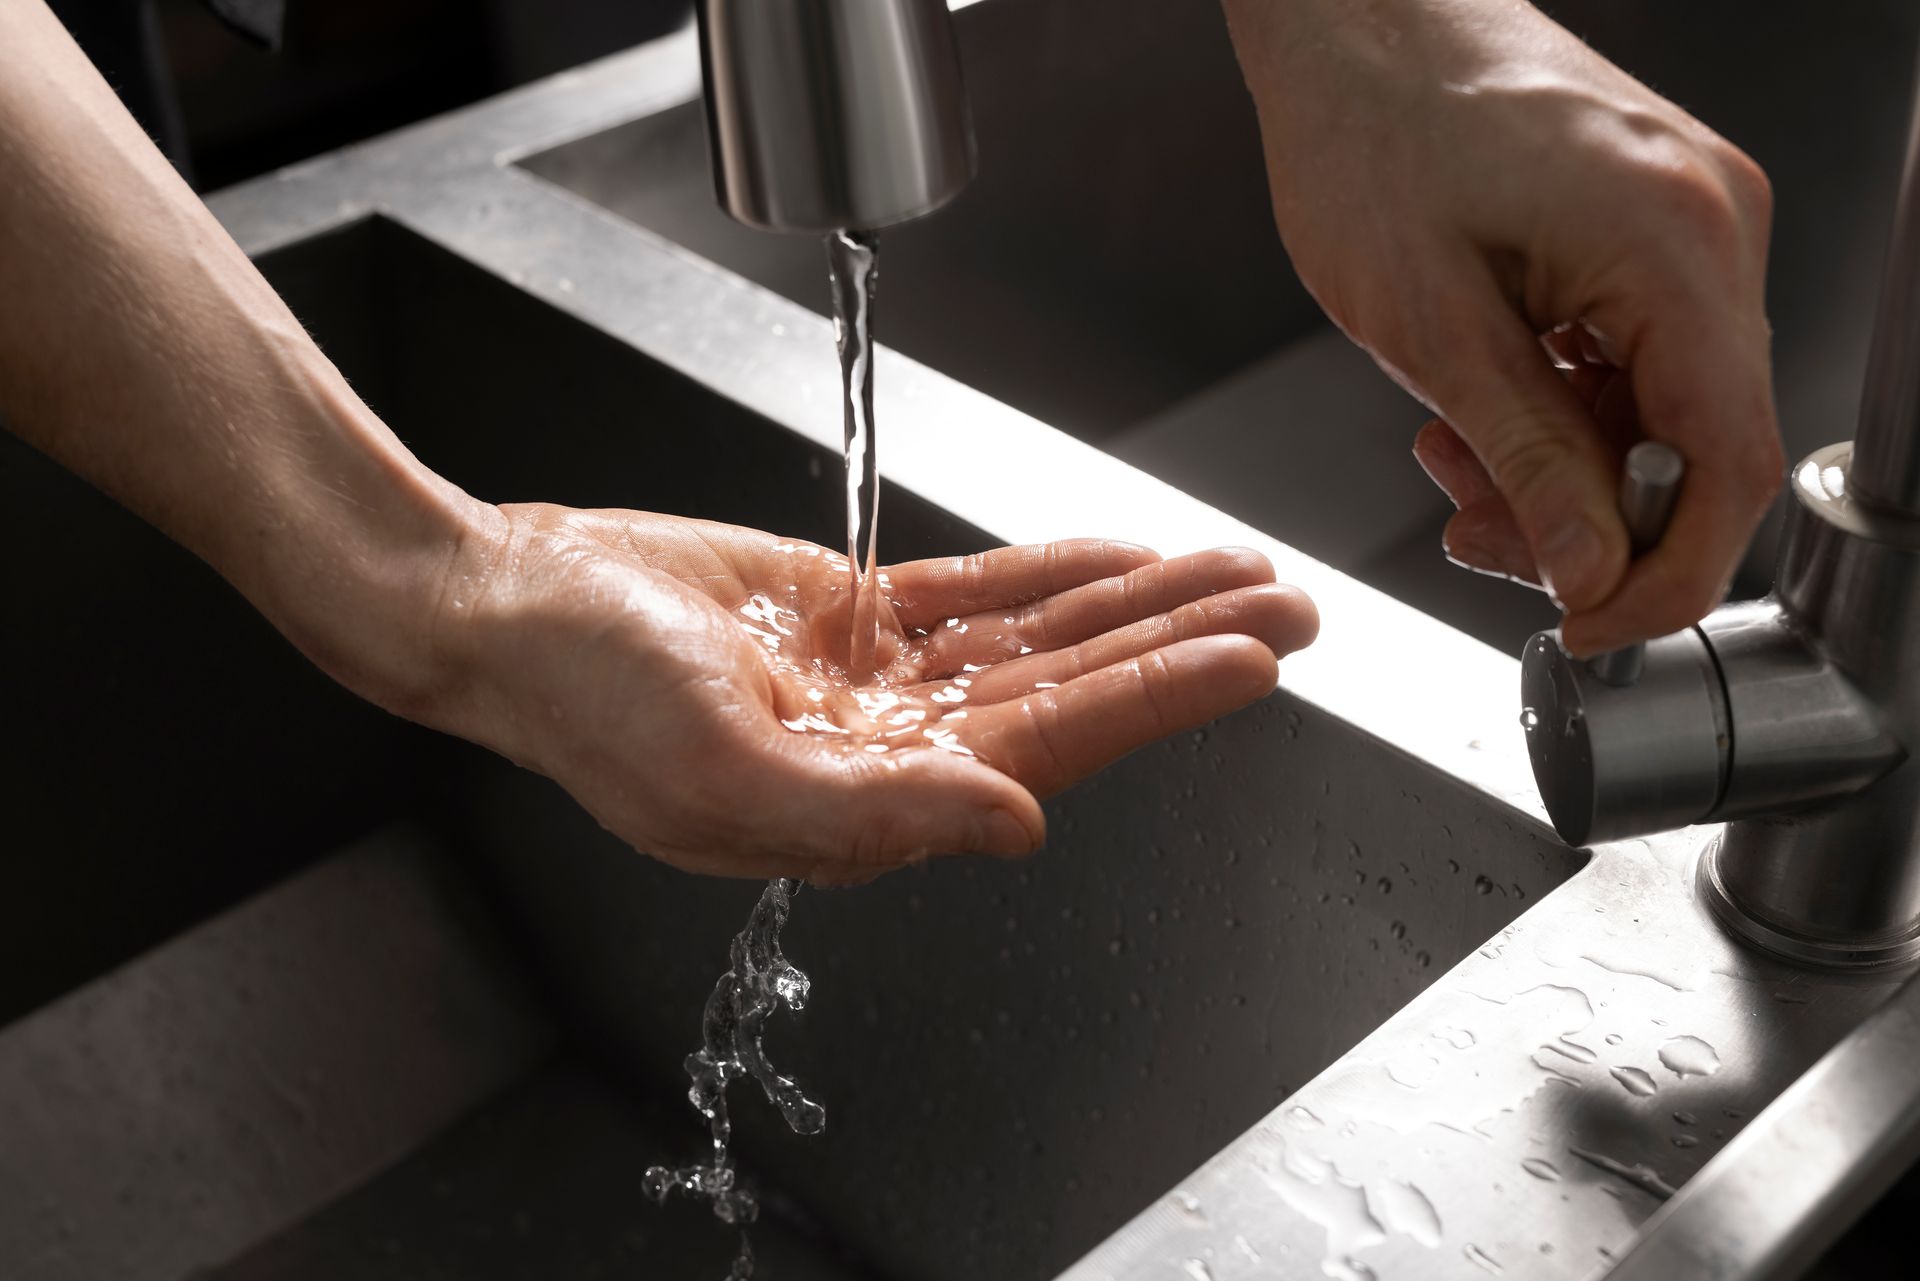
2. Test the Pump’s Functionality

Pour a bucket of water into the sump pit to activate the pump. Ensure it turns on automatically, pumps water out efficiently, and shuts off correctly. If the pump struggles or fails, it may need repair or replacement. If the pump operates smoothly, check the discharge pipe for any blockages or kinks that might hinder the water flow. Make sure the float switch is free to move and not obstructed by debris; this is crucial for the pump to function properly. Observing the pump in action allows you to identify any unusual noises or vibrations that could indicate underlying issues.


3. Clean the Sump Pit

Over time, dirt, debris, and small objects can accumulate in the sump pit, potentially clogging the pump. Remove these items to ensure water flows freely into the system. Regular maintenance is essential to prevent any buildup that could hinder the pump's performance. Inspect the sump pit periodically, ideally every few months, and clear out any accumulated materials. Additionally, check the pump’s intake screen for any obstructions that might restrict water flow. If you notice any signs of wear or damage on the pump itself, consider replacing it to avoid unexpected failures during heavy rainfall or flooding.


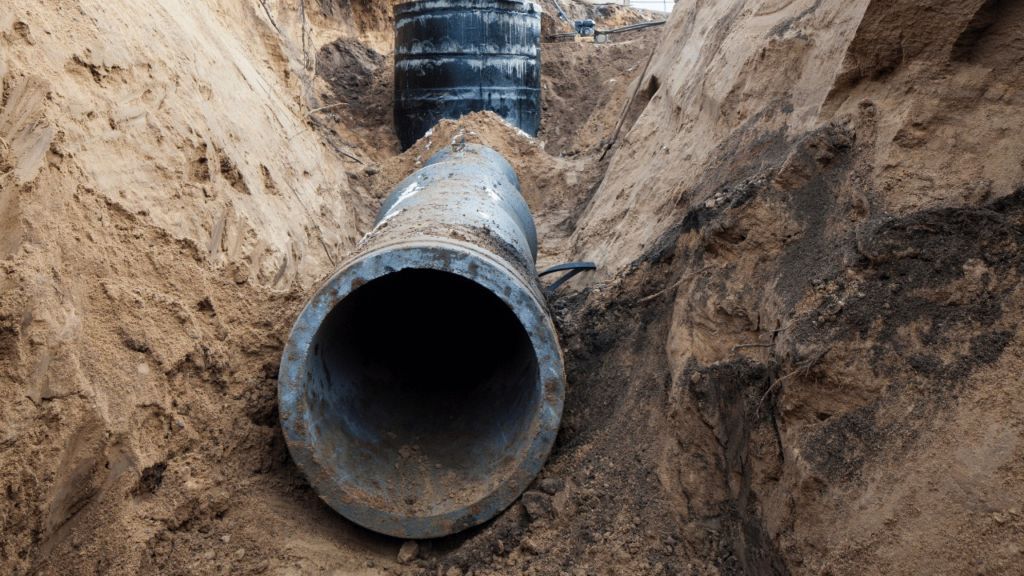
4. Examine the Discharge Pipe

The discharge pipe carries water away from your home. Inspect it for blockages, cracks, or disconnections. Ensure it directs water far enough away from your foundation to prevent recirculation. .If you notice any issues during your inspection, it's crucial to address them promptly. Blockages can often be cleared with a plumber's snake or high-pressure water jetting, while minor cracks may be sealed with appropriate waterproofing tape or sealants. For disconnections, realigning the pipes and securing them with brackets or connectors can restore proper functionality.


5. Check the Power Supply

A sump pump is only effective when it has a reliable power source. Ensure the pump is securely plugged into a functioning GFCI outlet. Test the backup battery (if applicable) and replace it as needed. Additionally, it’s essential to regularly inspect the sump pump for any signs of wear or damage. Check the pump's float switch, making sure it moves freely and isn’t obstructed by debris. Clean any buildup of dirt or sediment from the sump pit to allow for proper drainage. Keep the discharge pipe clear and ensure it’s funneling water away from your home’s foundation to prevent flooding.


6. Maintain the Float Switch

The float switch triggers the pump when water levels rise. Ensure it moves freely without getting stuck, as a malfunctioning float switch can prevent the pump from activating. Regularly inspect the float switch to catch any issues early. Debris or sediment can accumulate around it, hindering its movement. If necessary, clean the area around the switch to ensure unobstructed operation. Furthermore, test the float switch periodically by simulating a rise in water levels to confirm that the pump engages and disengages as intended. This proactive maintenance will help prevent unexpected flooding and prolong the life of the pump


7. Service the Check Valve

The check valve prevents water from flowing back into the sump pit. Test it periodically to ensure it’s working correctly. Replace it if it shows signs of wear. .Make sure to inspect the valve's seals for any cracks or degradation, as these can lead to leaks and reduced efficiency. If you notice any buildup of debris or mineral deposits around the valve, clean it gently to maintain optimal performance


Seasonal Maintenance Tips

Spring and Summer

Check the sump pump before the rainy season starts.

Clean and test the system monthly during periods of heavy rain.

Fall and Winter

Clear leaves and debris from the discharge area.

Insulate pipes and ensure they are free from blockages to prevent freezing.


Signs Your Sump Pump Needs Professional Attention

While DIY maintenance covers the basics, some issues require professional expertise. Watch for these warning signs:


Persistent loud noises or vibrations during operation.

Pump cycles frequently without removing water effectively.

Unusual odors indicating electrical or mechanical problems.

Water pooling around the foundation despite the pump running.

A pump older than 7-10 years with declining performance.


The Cost of Neglect

Failing to maintain your sump pump can lead to:

Basement Flooding: Thousands of dollars in water damage repairs.

Health Hazards: Mold and mildew growth, affecting air quality.

Premature Replacement: Frequent neglect reduces the pump’s lifespan, leading to expensive replacements.


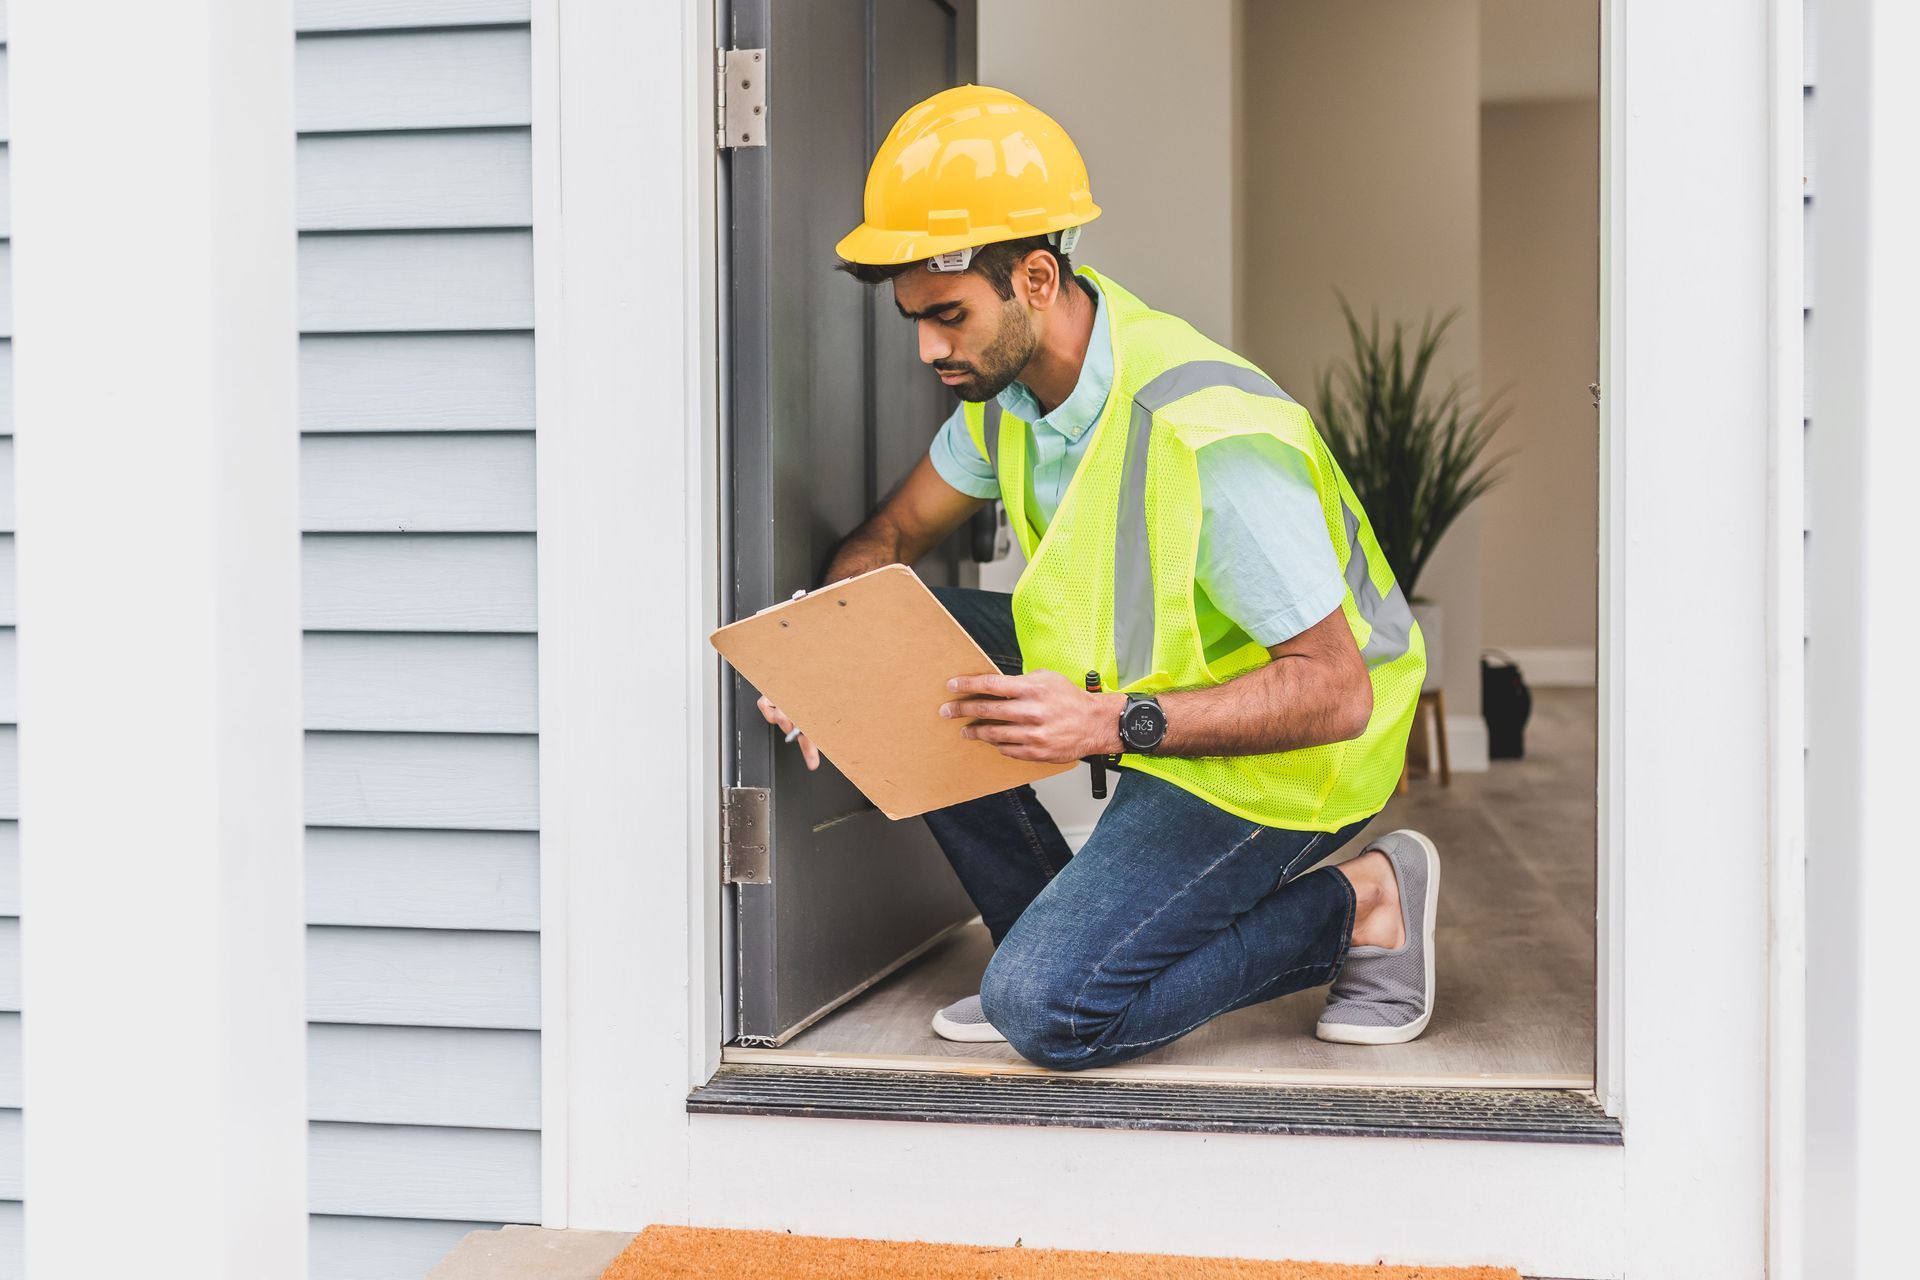
DIY Maintenance vs. Professional Inspections

Homeowners can handle basic maintenance tasks such as cleaning the pit, testing the pump, and inspecting visible components. However, annual professional inspections ensure the system operates at peak efficiency. Professionals can identify hidden issues, perform detailed cleanings, and recommend upgrades if necessary.


Conclusion

Proper sump pump maintenance is the cornerstone of basement flood prevention. By following regular maintenance routines and addressing problems promptly, you can protect your home from water damage, ensure a healthy living environment, and save on costly repairs. Don’t wait for a rainy day—start caring for your sump pump today to enjoy peace of mind tomorrow.

Why Your Hot Water Runs Out Faster Than It Should?
by Hadi Masood 15 February 2026
Discover why your hot water runs out faster than it should and learn how water heater issues, waterline repair and replacement, and expansion tanks may be affecting your supply.
Annual Water Heater Inspection Checklist for Homeowners
by Hadi Masood 15 February 2026
Use this annual water heater inspection checklist to keep your unit running safely and efficiently, and learn why your water heater and expansion tanks matter to your home’s plumbing.
How to Effectively Troubleshoot Lukewarm Shower Water?
by Hadi Masood 11 February 2026
Troubleshoot lukewarm shower water by checking your water heater, mixing valve, and plumbing pressure, and learn when to call a plumber or emergency services for help.
How to Extend Water Heater Life Beyond 12 Years?
by Hadi Masood 11 February 2026
Learn how to extend your water heater’s life beyond 12 years with expert maintenance tips, insulation advice, and guidance on why water heater expansion tanks matter.
Why Water Heater Expansion Tanks Matter & How to Prevent Damage?
by Hadi Masood 9 February 2026
Explore why water heater expansion tanks prevent pressure damage from thermal expansion, with sizing tips, installation steps, and maintenance for reliable plumbing.
Bathroom Water Hammer Explained and How to Stop the Loud Banging?
by Hadi Masood 30 January 2026
Unpack bathroom water hammer—causes like sudden valve closures and high pressure—and learn proven fixes like arrestors and PRVs for silent pipes.
by Hadi Masood 30 January 2026
Nothing disrupts a morning routine like a shower turning icy midstream, leaving you shivering and frustrated. This common issue stems from imbalances in your home's plumbing and heating systems, often triggered by everyday usage patterns or overlooked maintenance. Understanding the root causes empowers homeowners to diagnose problems swiftly and implement lasting fixes. This guide delves into the mechanics behind sudden temperature drops, explores diagnostic techniques, and outlines prevention strategies to keep your showers consistently warm. Common Causes of Sudden Cold Showers Sudden cold water in showers typically arises from water heater malfunctions or plumbing disruptions. Sediment buildup in tank-style heaters insulates the burner or element, causing inconsistent heating—over time, minerals from hard water accumulate at the bottom, reducing efficiency and leading to temperature fluctuations during peak demand. Similarly, a failing dip tube in the heater fails to direct cold incoming water to the top for proper mixing, so hot water depletes faster than it replenishes. High demand elsewhere in the home exacerbates this; simultaneous use of washing machines, dishwashers, or multiple faucets dilutes hot water supply. Pressure imbalances from clogged aerators or faulty mixing valves can also shift temperatures abruptly. In larger households, undersized heaters struggle with back-to-back usage, mimicking a sudden cold blast. Diagnosing Water Heater Problems Start diagnosis by checking the water heater's thermostat setting—most should hover between 120 and 140 degrees Fahrenheit for safety and performance. Listen for unusual noises like popping or rumbling, hallmarks of sediment; if present, a professional flush resolves it. Test the heating element in electric models with a multimeter for continuity, or inspect the gas burner for a weak blue flame indicating dirty components. Expansion tanks play a crucial role here—they mount on the cold water inlet to absorb thermal expansion pressure, preventing relief valve drips that signal overpressure and potential cold surges. Without one, especially in closed-loop systems, heaters cycle inefficiently, dropping output temperatures. Monitor the pressure relief valve; frequent activation points to expansion issues. For tankless units, error codes on the display often pinpoint flow sensors or igniters as culprits. Identifying Plumbing and Pipe Issues Plumbing beyond the heater often hides the problem. Reverse flow from check valves or backflow preventers can introduce cold water into hot lines, especially if sediment clogs them. Undersized pipes struggle with volume, causing pressure drops that chill the stream. Air locks from recent repairs trap bubbles, disrupting flow until purged by running all hot taps sequentially. Leaky fixtures upstream siphon hot water unnoticed, leading to sudden cools. Inspect for hidden corrosion in galvanized pipes, which narrows passages over time. All City Plumbers emphasize tracing lines with a pipe camera for blockages invisible to the eye, revealing scale or debris that starves the showerhead. The Impact of Water Pressure Fluctuations Pressure swings directly affect shower temperature consistency. Municipal supply variations, like nighttime boosts or peak-hour drops, strain home systems. Faulty pressure regulators fail to stabilize incoming force, overwhelming the heater. Clogged showerheads or aerators restrict hot flow while cold rushes in unchecked. In multi-story homes, gravity amplifies upper-floor issues, where thinner pipes can't maintain velocity. Install a whole-house pressure gauge to baseline readings—ideal is 50-80 PSI. Fluctuations beyond this trigger mixing valve failures, designed to blend water but prone to wear. Step-by-Step Fixes for Cold Showers Addressing the issue begins with simple resets. Flush the water heater by attaching a hose to the drain valve and running it until clear, refilling slowly to avoid air pockets. Clean aerators by soaking in vinegar overnight, then reinstall for restored balance. Insulate exposed pipes with foam sleeves to minimize heat loss in unheated spaces. For persistent problems, replace the dip tube or upgrade to a higher-capacity heater. Adding or servicing expansion tanks restores pressure equilibrium. Test post-fix by timing recovery—hot water should resume within 30 seconds of demand spikes. Preventive Maintenance Strategies Prevention hinges on routine care. Annually flush tank heaters and descale tankless ones to banish sediment. Set programmable schedules to avoid simultaneous high-demand usage, staggering laundry and showers. Install low-flow fixtures that ease heater load without sacrificing pressure. Prepare your plumbing before vacations by shutting off the water main, draining lines, and setting the heater to pilot mode—this averts stagnant water growth and pressure builds during absence. Water softeners combat mineral buildup in hard-water areas, extending system life. Upgrading for Long-Term Reliability Consider modern solutions like on-demand tankless heaters, which heat water instantly without standby losses, eliminating cold-start woes. Hybrid heat pump models offer efficiency gains up to 300 percent. Whole-home recirculation pumps deliver instant hot water, minimizing waste and temperature dips. Smart thermostats monitor usage patterns, adjusting preemptively. Pair with pressure-balancing shower valves that auto-compensate for fluctuations, ensuring steady warmth. Conclusion Sudden cold showers disrupt more than comfort—they signal underlying issues that, if ignored, escalate to costly repairs. By pinpointing causes from heater sediment to pressure imbalances and embracing proactive maintenance, you safeguard reliable performance year-round. Implementing these strategies not only restores blissfully warm showers but also boosts energy efficiency and system longevity for peace of mind.
How To Install ADA-Compliant Bathroom Fixtures?
by Hadi Masood 28 January 2026
Learn step-by-step how to install ADA-compliant bathroom fixtures for accessibility, including toilets, sinks, grab bars, and pro tips for compliance and safety.
What Are Some Of The Best Layouts For Dual Sink Bathrooms?
by Hadi Masood 28 January 2026
Explore top dual sink bathroom layouts: linear, island, L-shaped, and more, with plumbing, lighting, storage, and pro design tips.
How to Repair Leaking Vanity Drain Assemblies (Complete Guide)
by Hadi Masood 26 January 2026
Complete guide to fixing leaking vanity drain assemblies: disassembly, washer replacement, reassembly, testing, and pro upgrade tips.